Upload File in Snapdpl platform
-
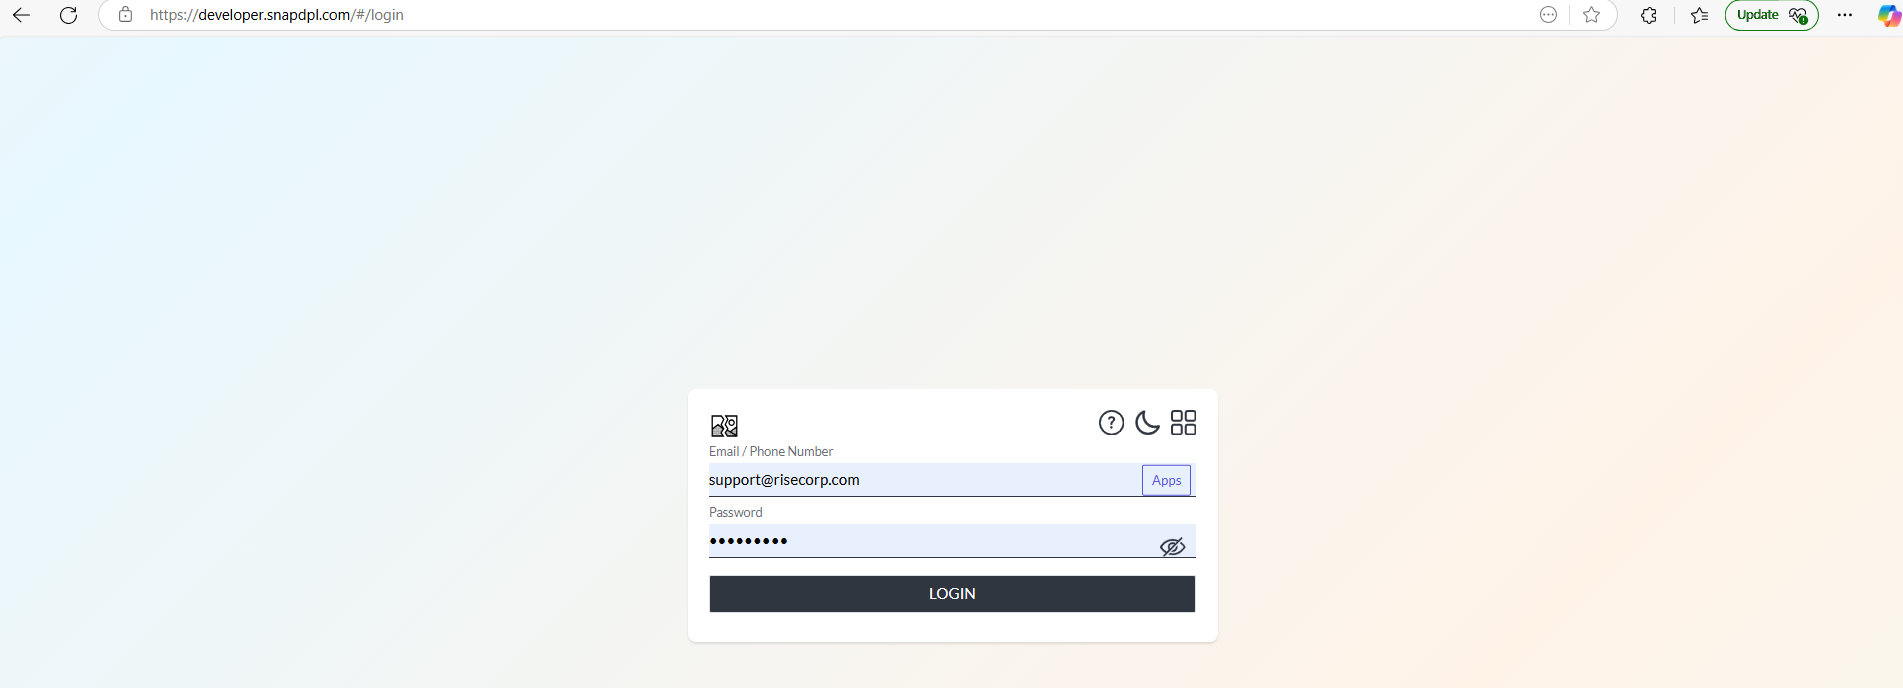
Open Snapdpl platform and login the page through valid credentials.
-
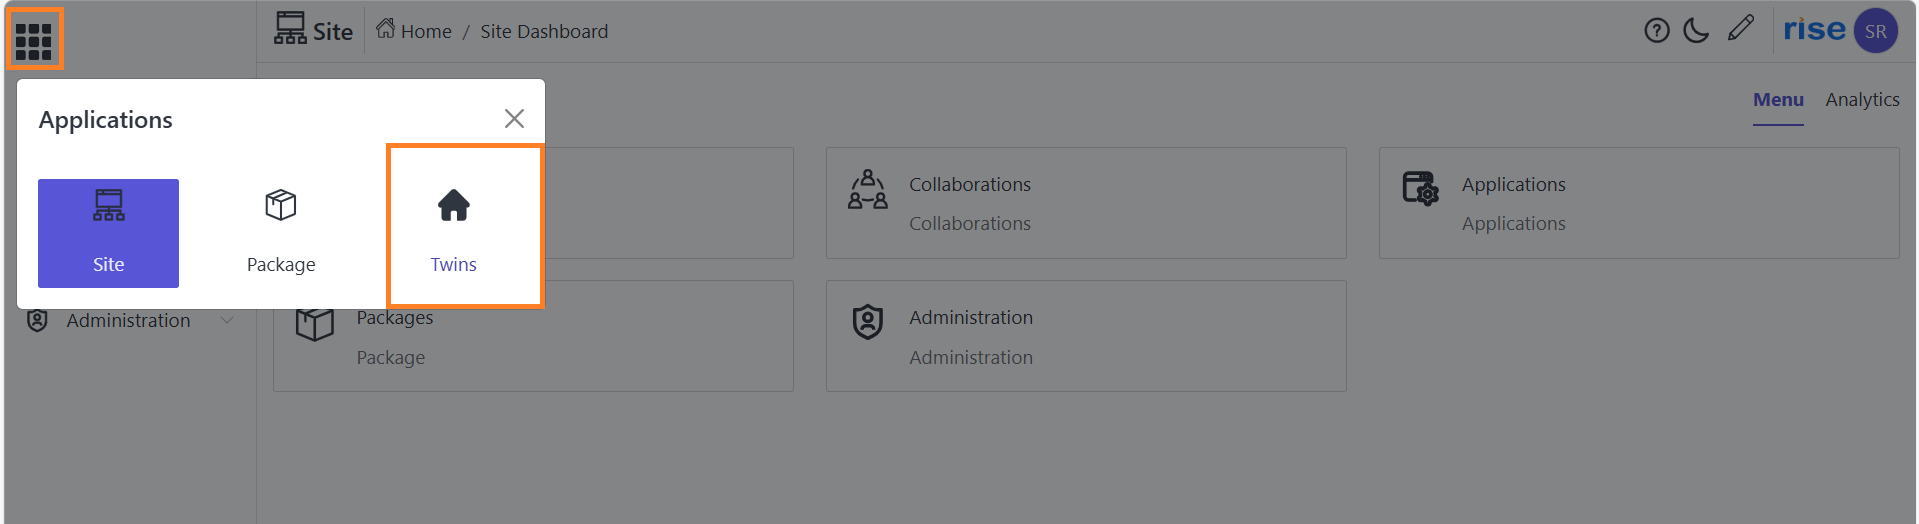
In home page click on application icon and select 'twins' option.
-
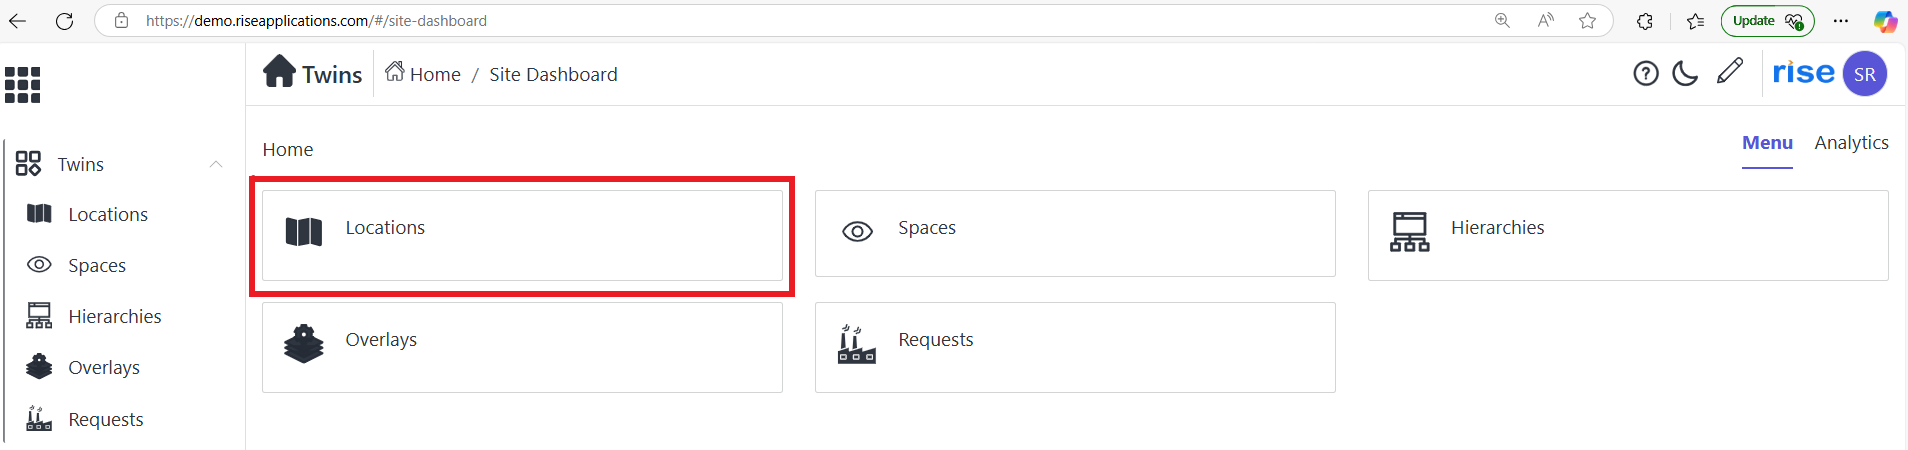
Click on 'location' option.
-
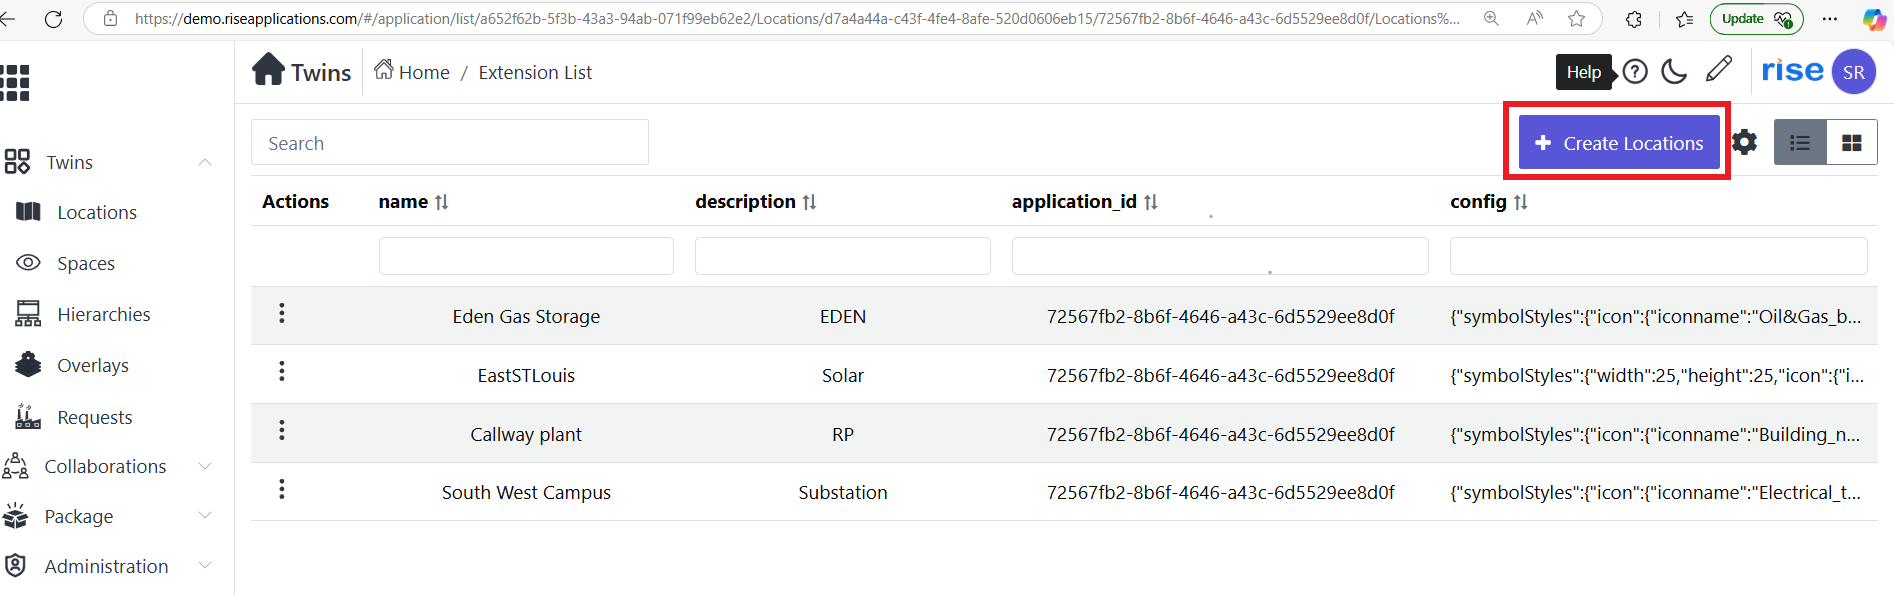
Click on 'create location' button.
-
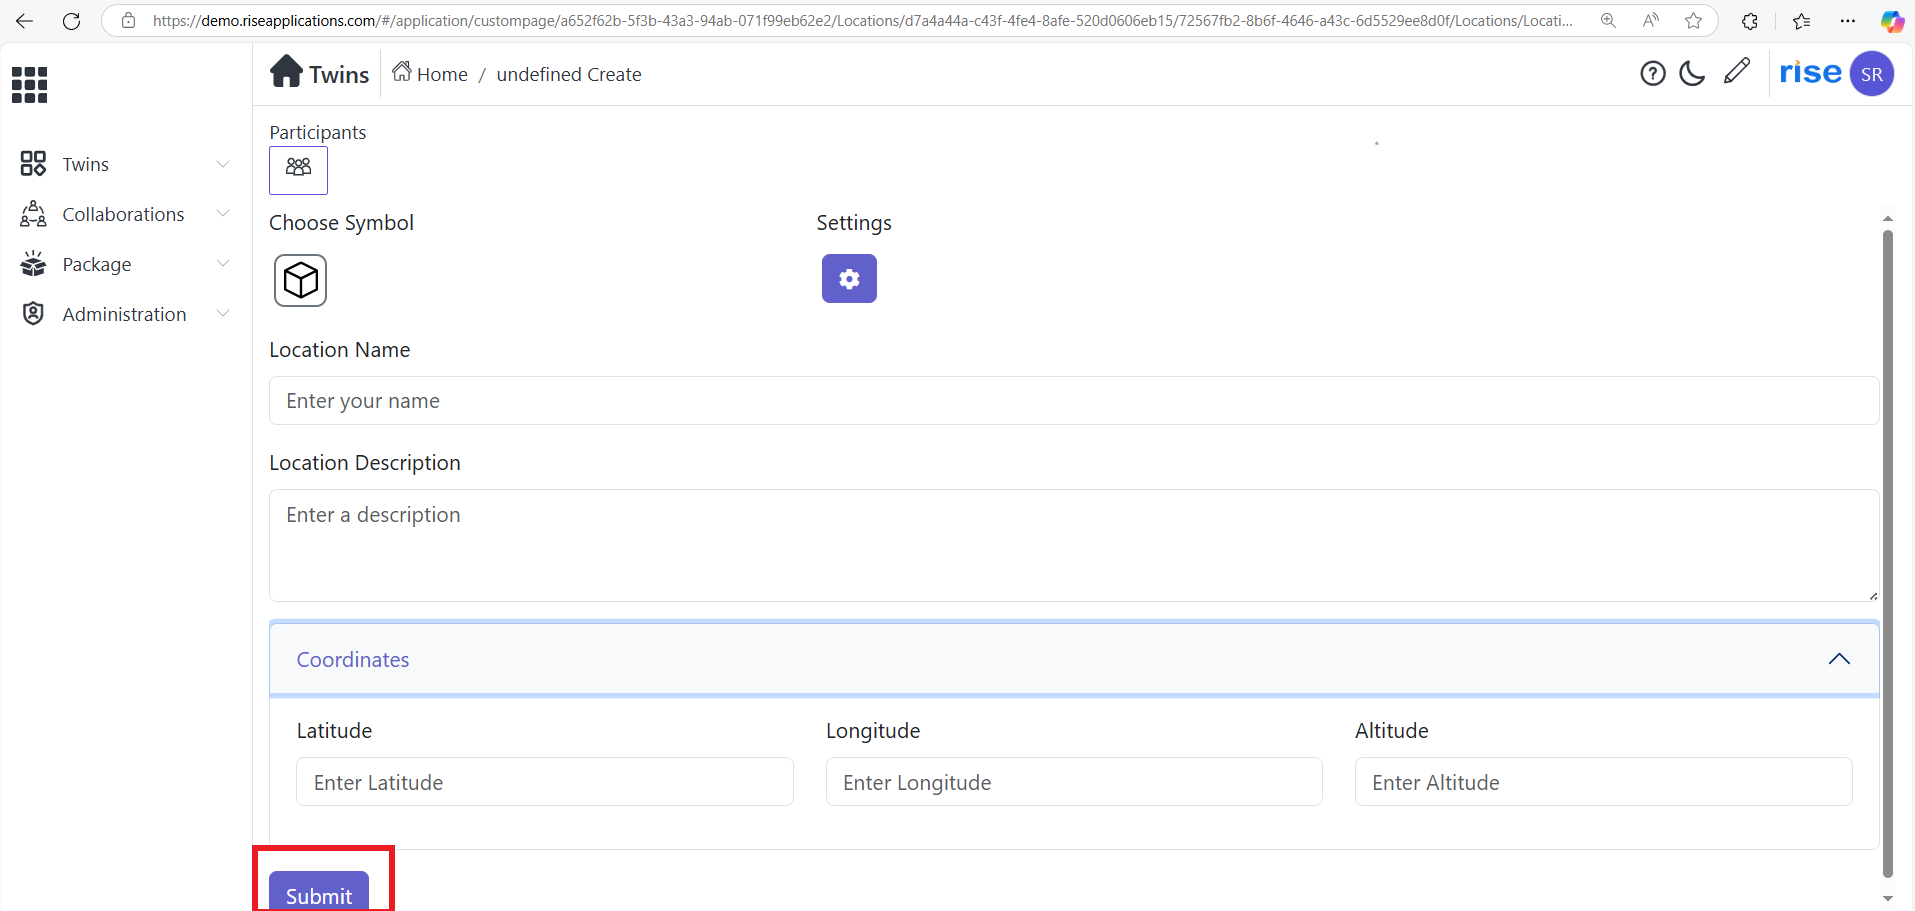
Fill all requirements in 'create location page' .After that click on submit button.
-
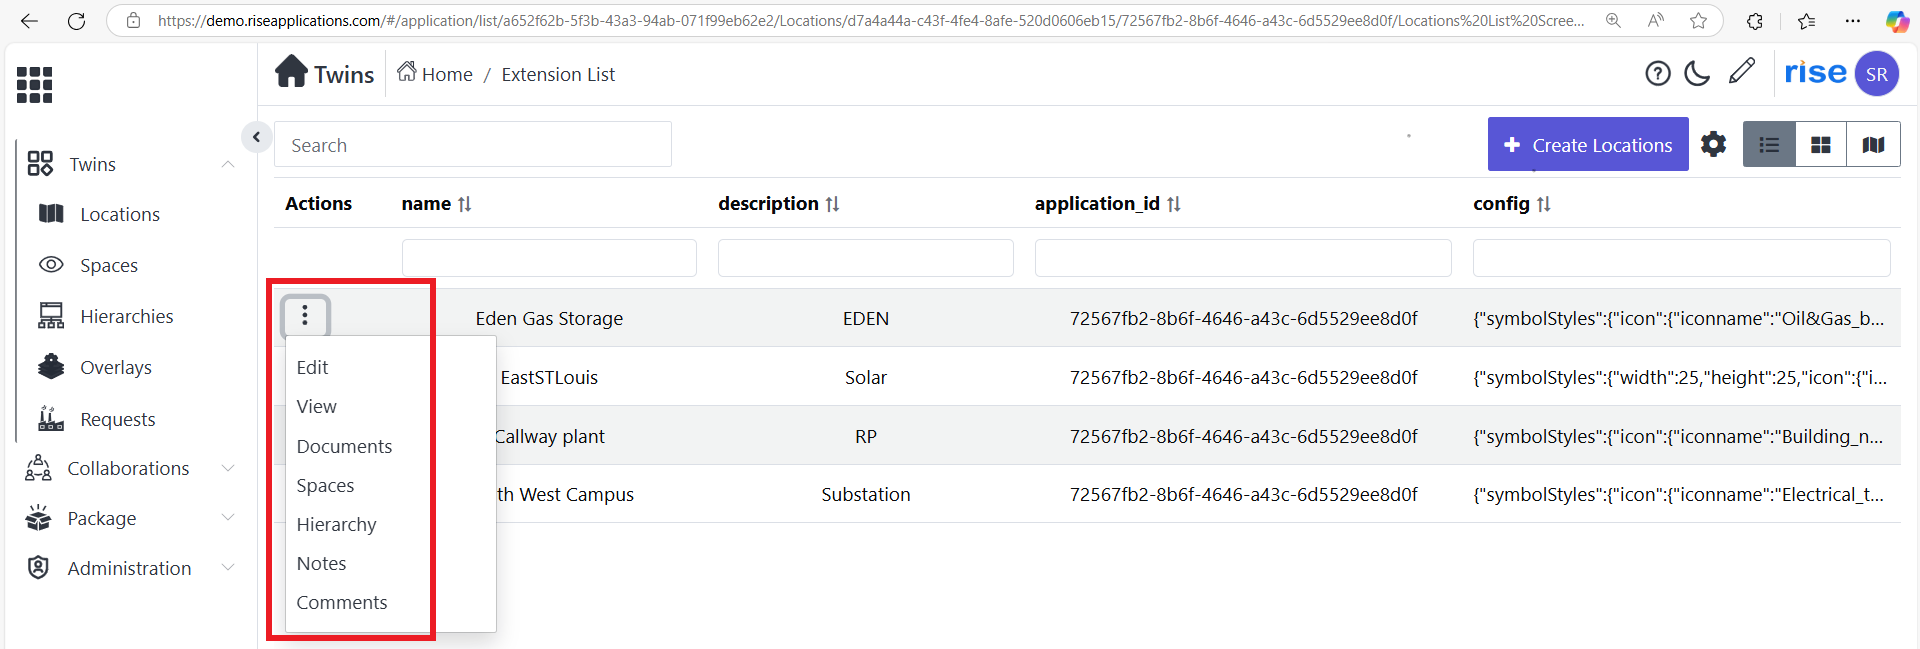
Click on 'action button' on created location option. And select 'spaces' options.
-
Click on 'create space' button.

-
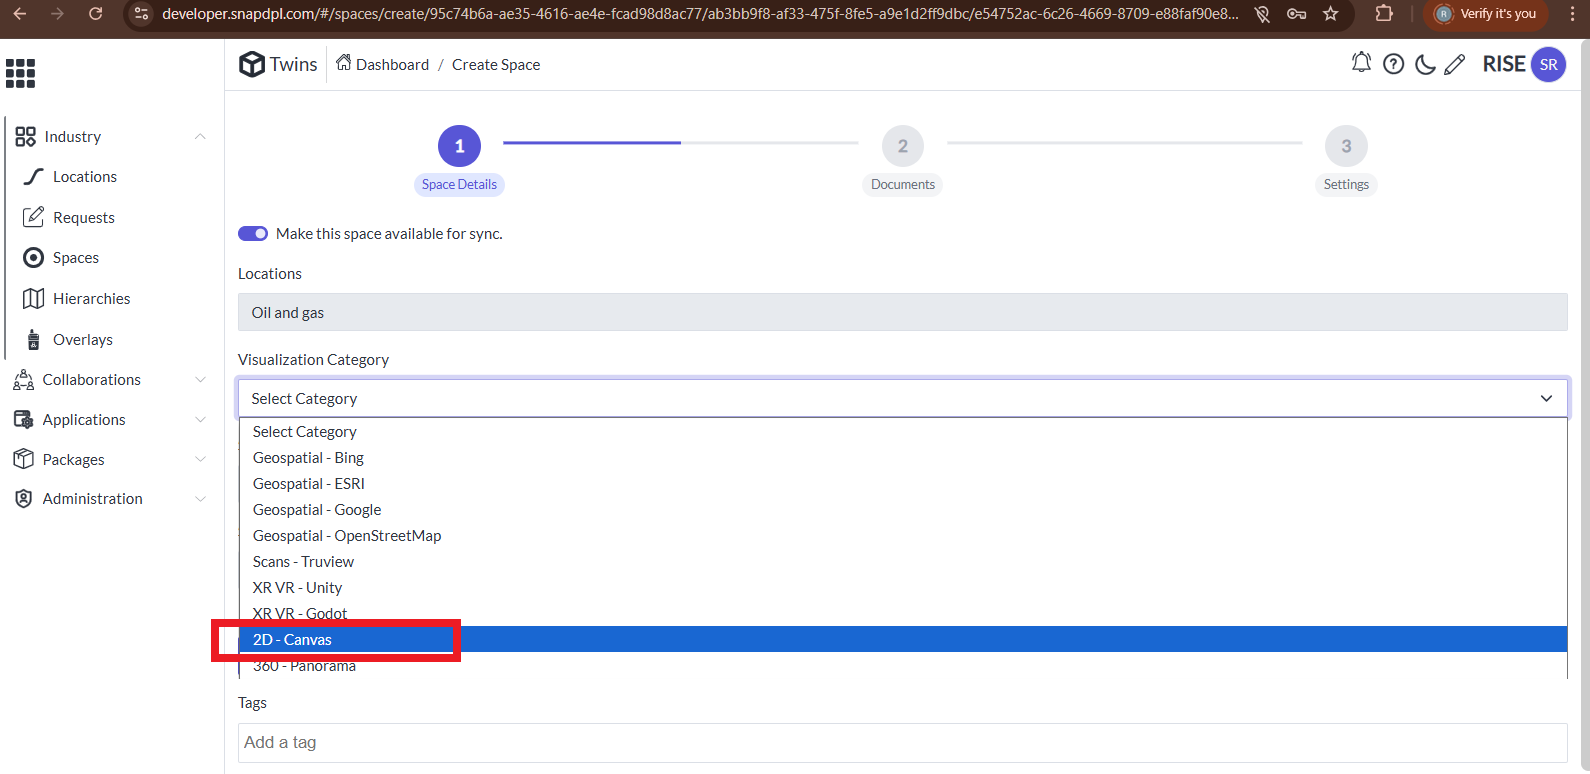
Choose Visualization Category as '2D-canvas' and fill the necessary data.click on create space.
-
Click on action button created space and choose 'document' option.

-
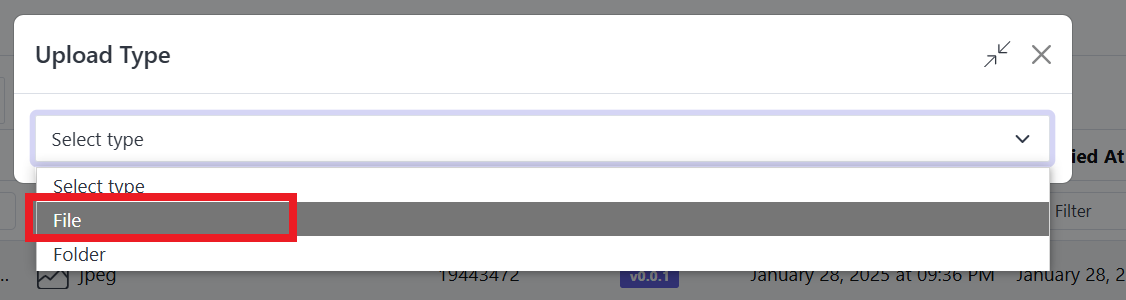
Choose upload type as 'file' .
-
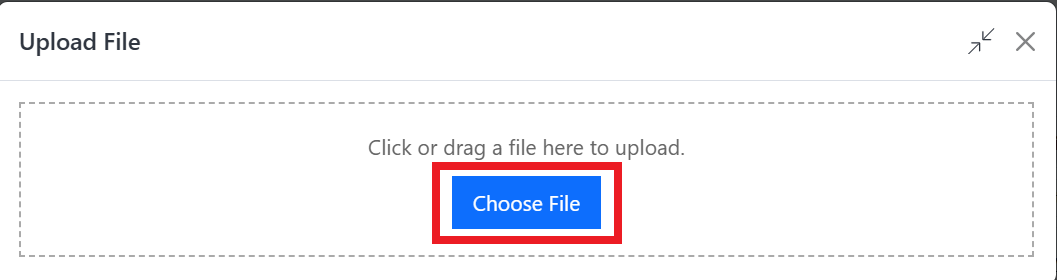
Click on 'choose file' or drag and drop the file in this below box.
-
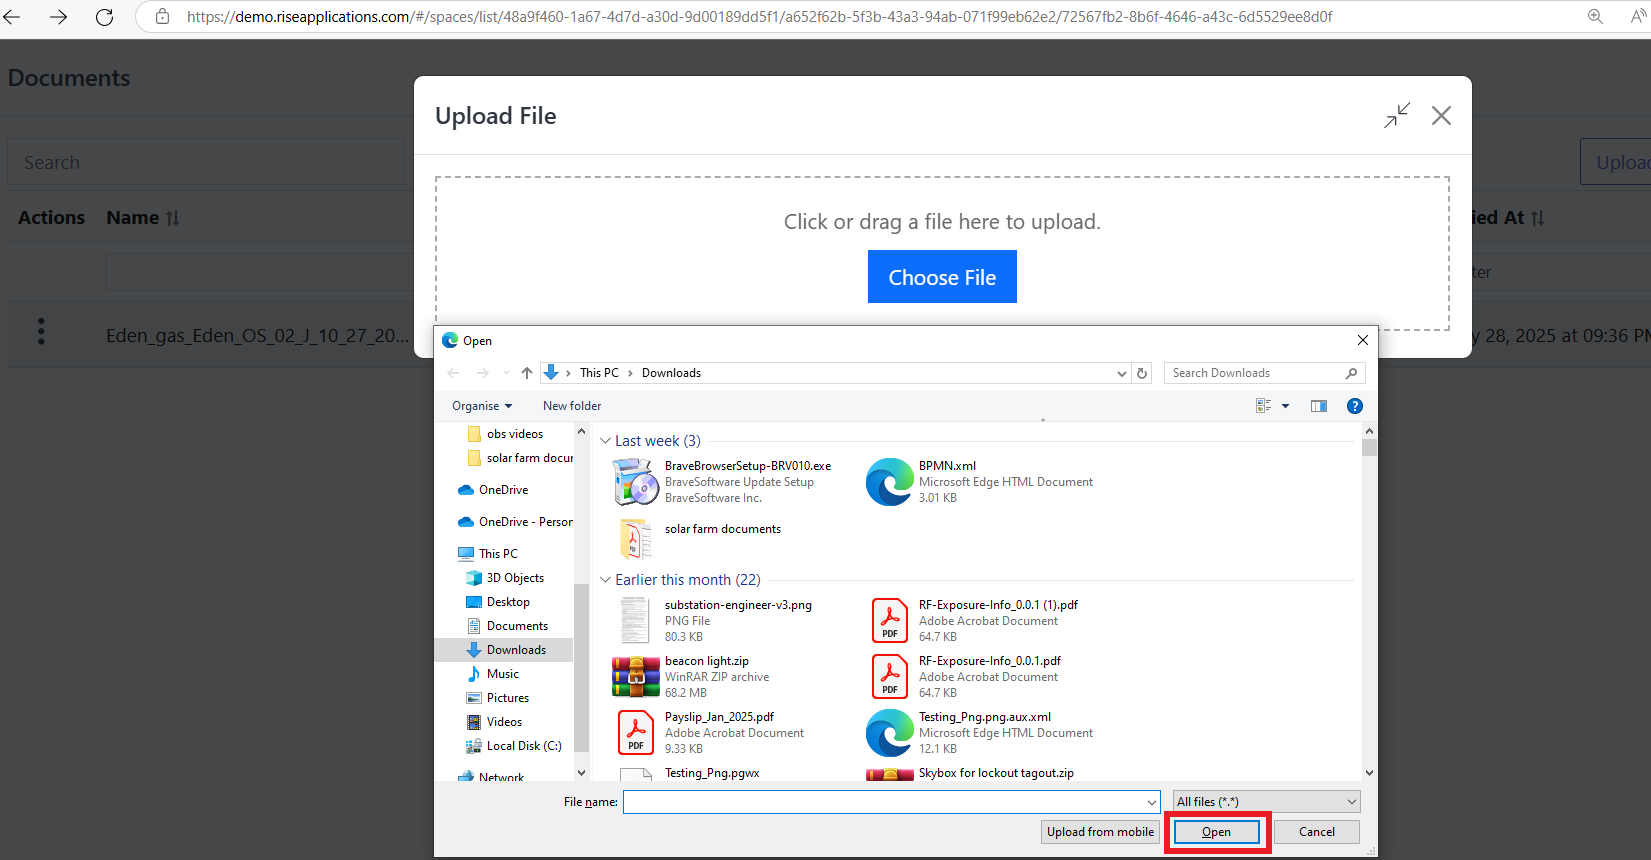
Locate the file (JPG, PNG, or PDF) and click 'Open' to upload it. The page will close automatically afterward.
-
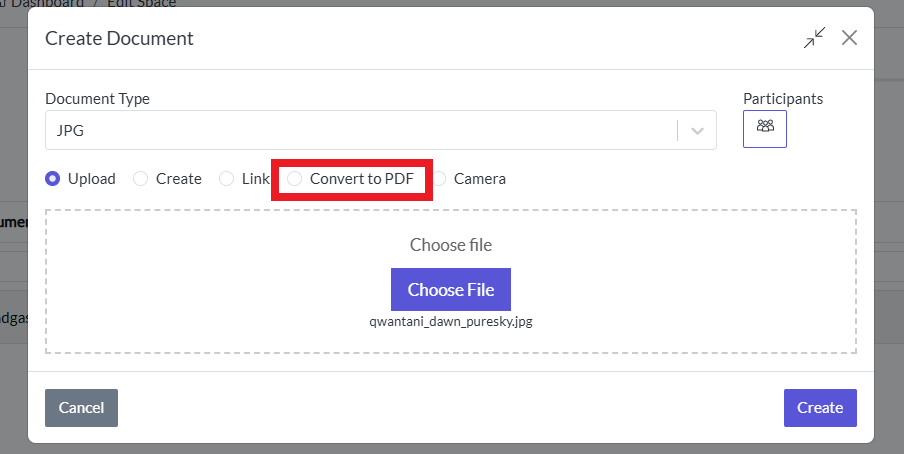
If the uploaded file is in JPG, JPEG, or PNG format, click the tick mark to convert it into a PDF.
-
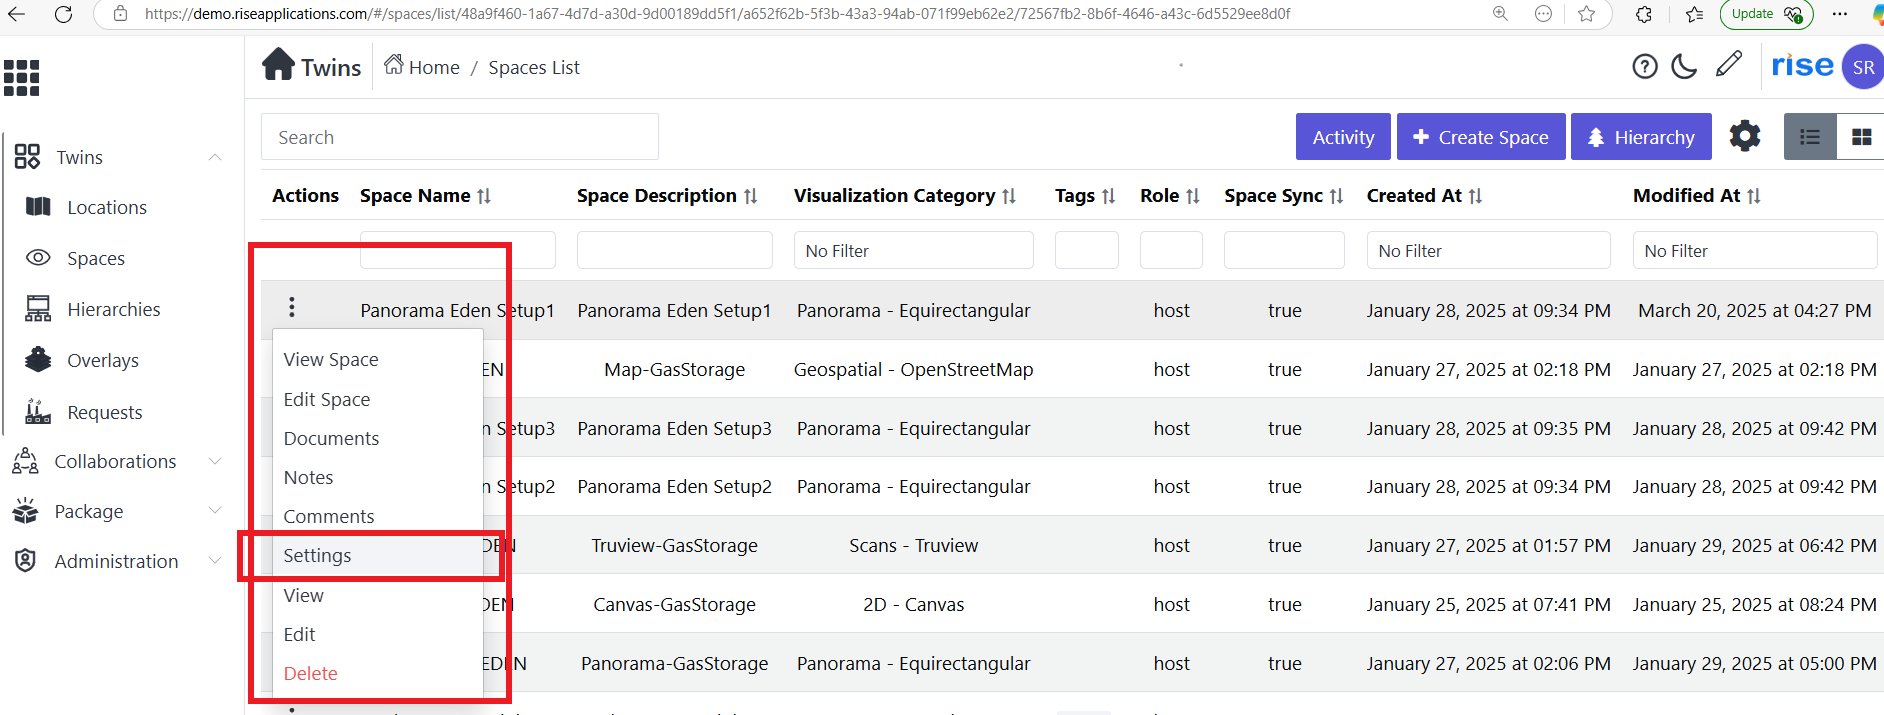
If next page was not open do this step. Click on action button and choose 'setting' option.
-
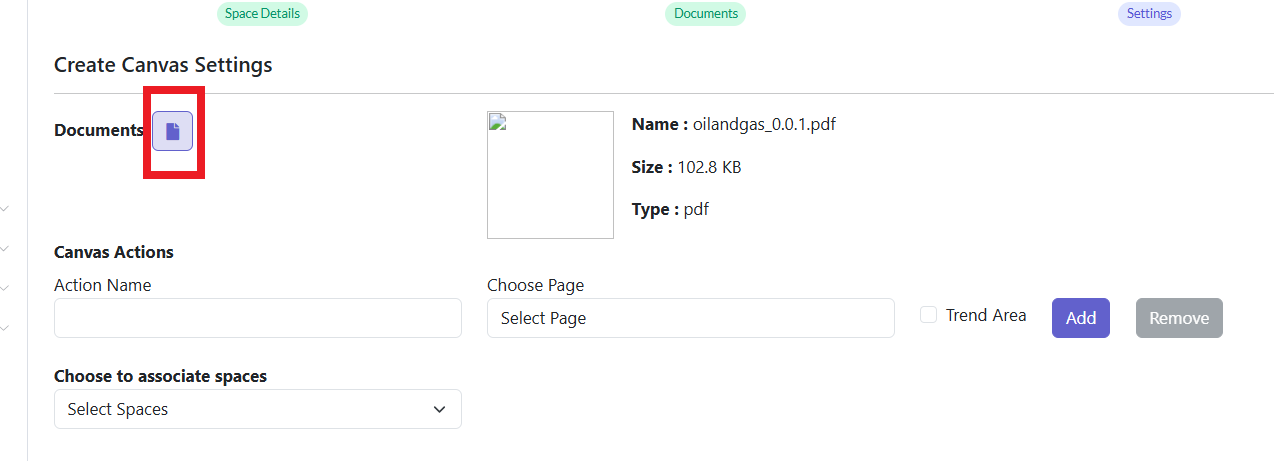
Setting page will open. Click on 'documents' icon.
-
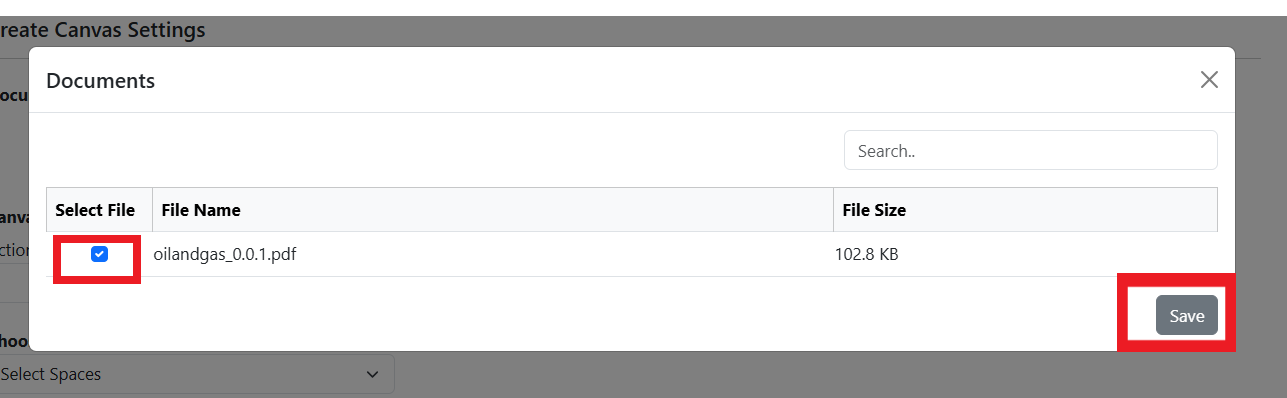
Choose the file and click on 'save' button.
-
Thumbnail will show of overall image. Click on save button.
Hierarchy in Snapdpl Platform
Hierarchy are the features for different spaces .It act as digital twin.Features of hierarchy are
-
Chart Dashboard
-
Documents
-
Comments
Process to achieve hierarchy is
-
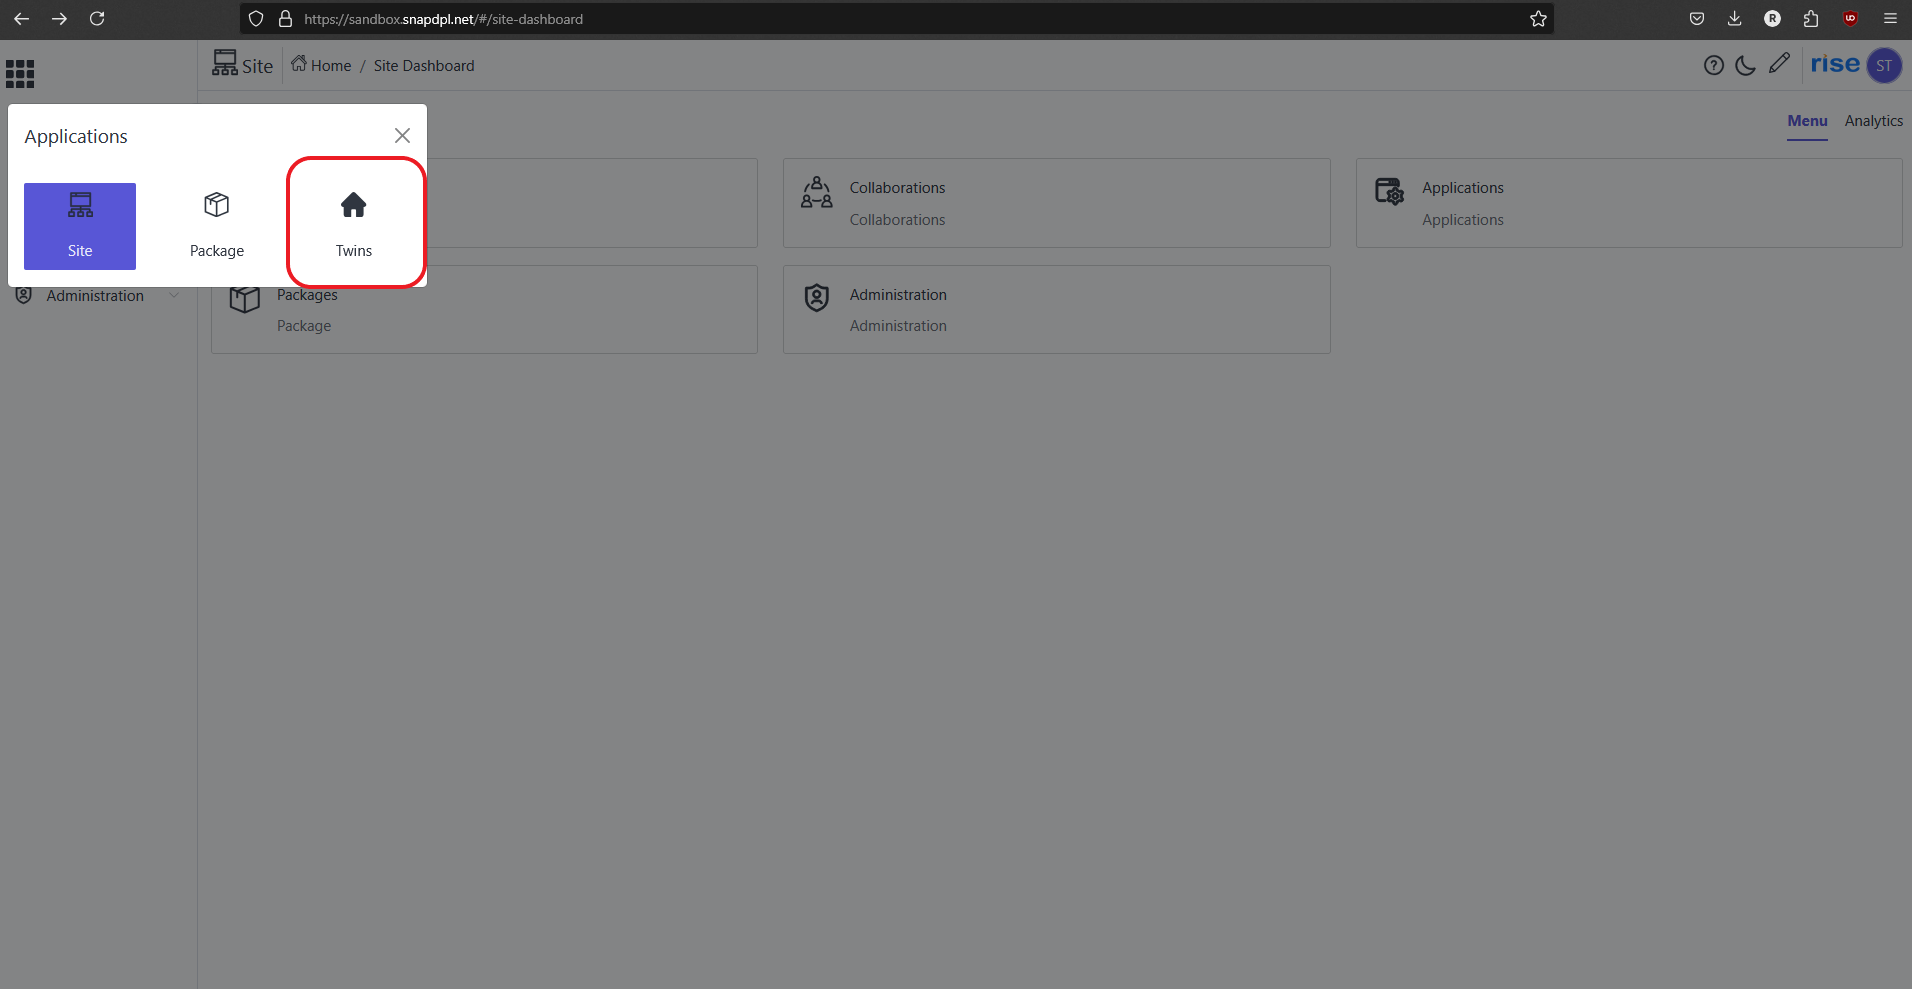
Click on home icon and select 'twins' application.
-
Click on location. And click on 'action button' on selected created location. Click on 'Hierarchy'.
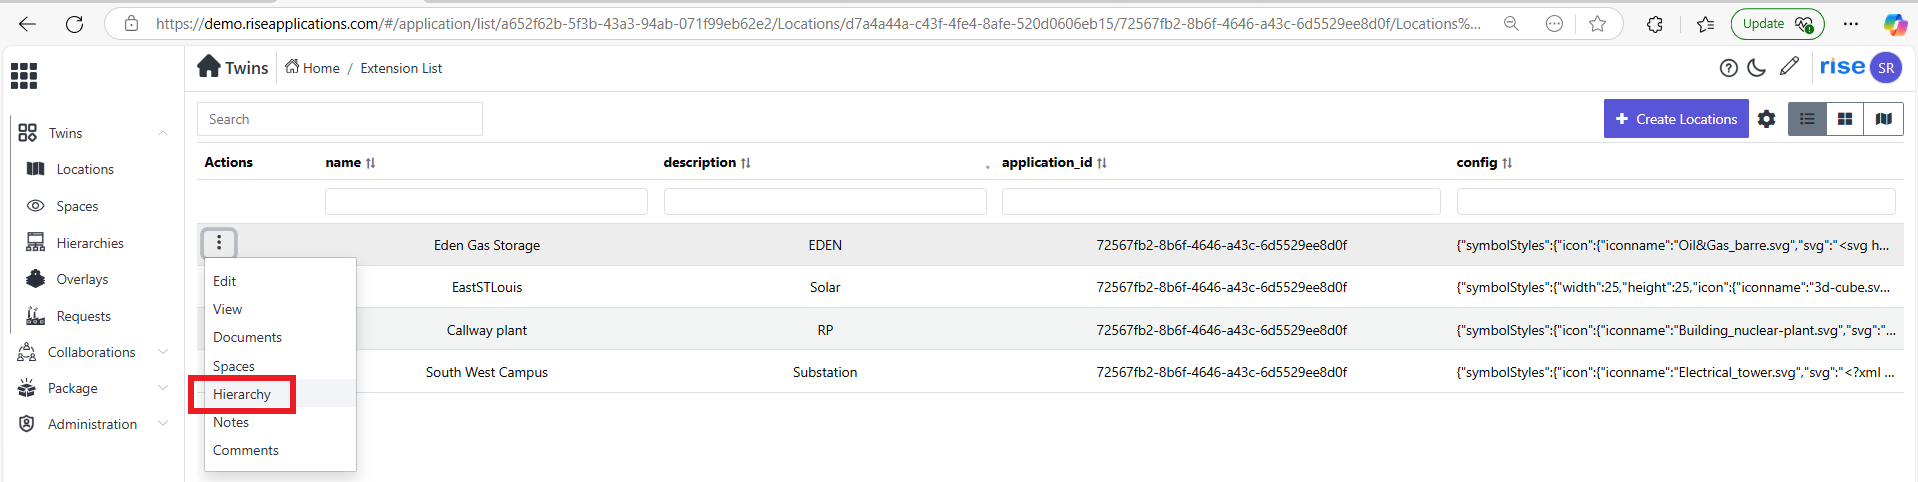
-
Default it creates hierarchy and hierarchy item. To create to new hierarchy click on 'create' and select 'hierarchy'.

View 2D canvas space SNAPDPL Platform
-
Click on home icon and select 'twins' application.
-
Click on location. And click on 'action button' on selected created location. Select 'space'. Space page will open.
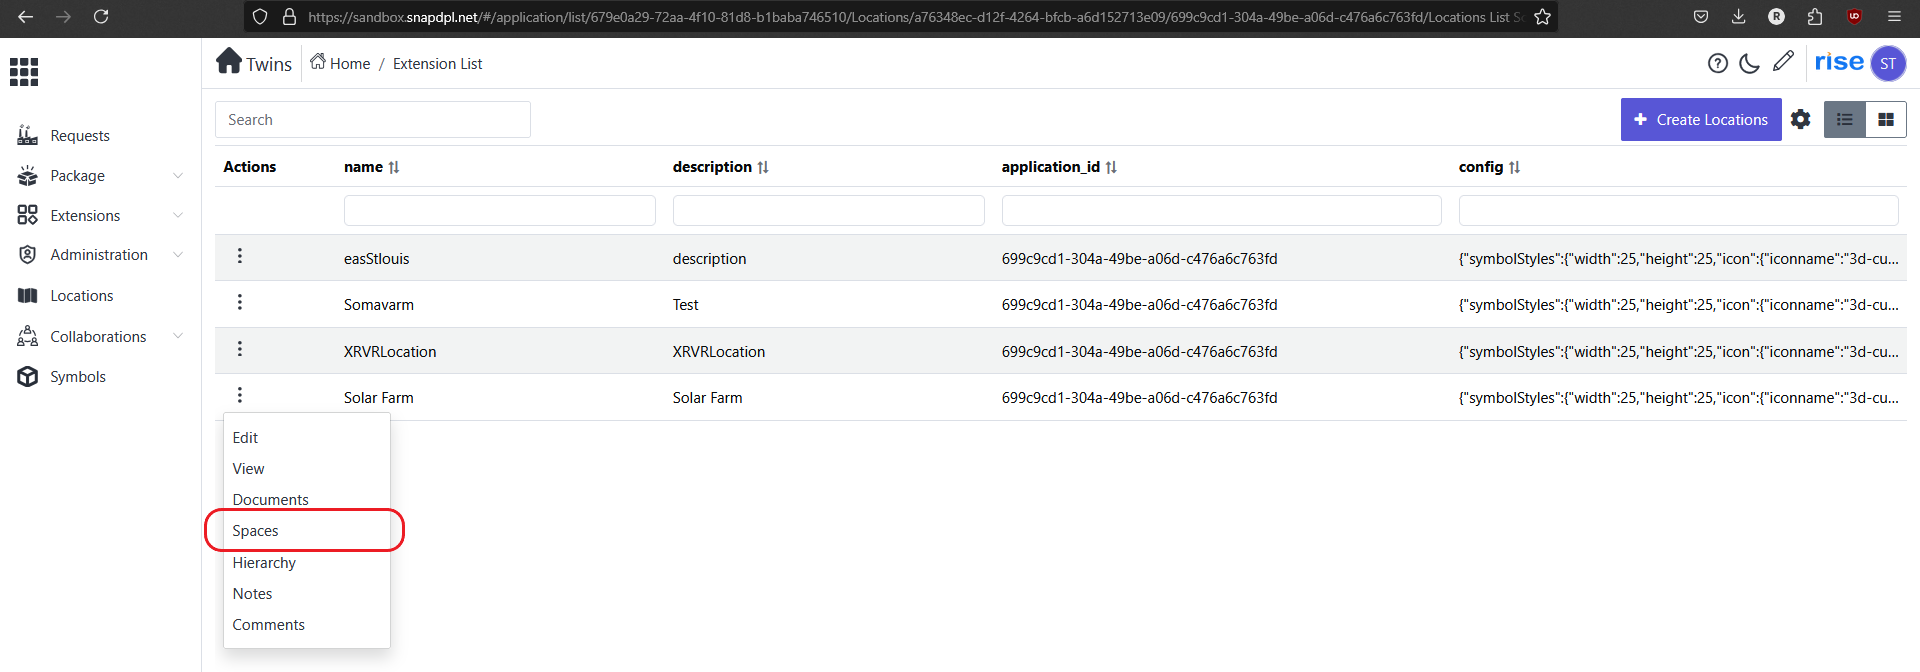
-
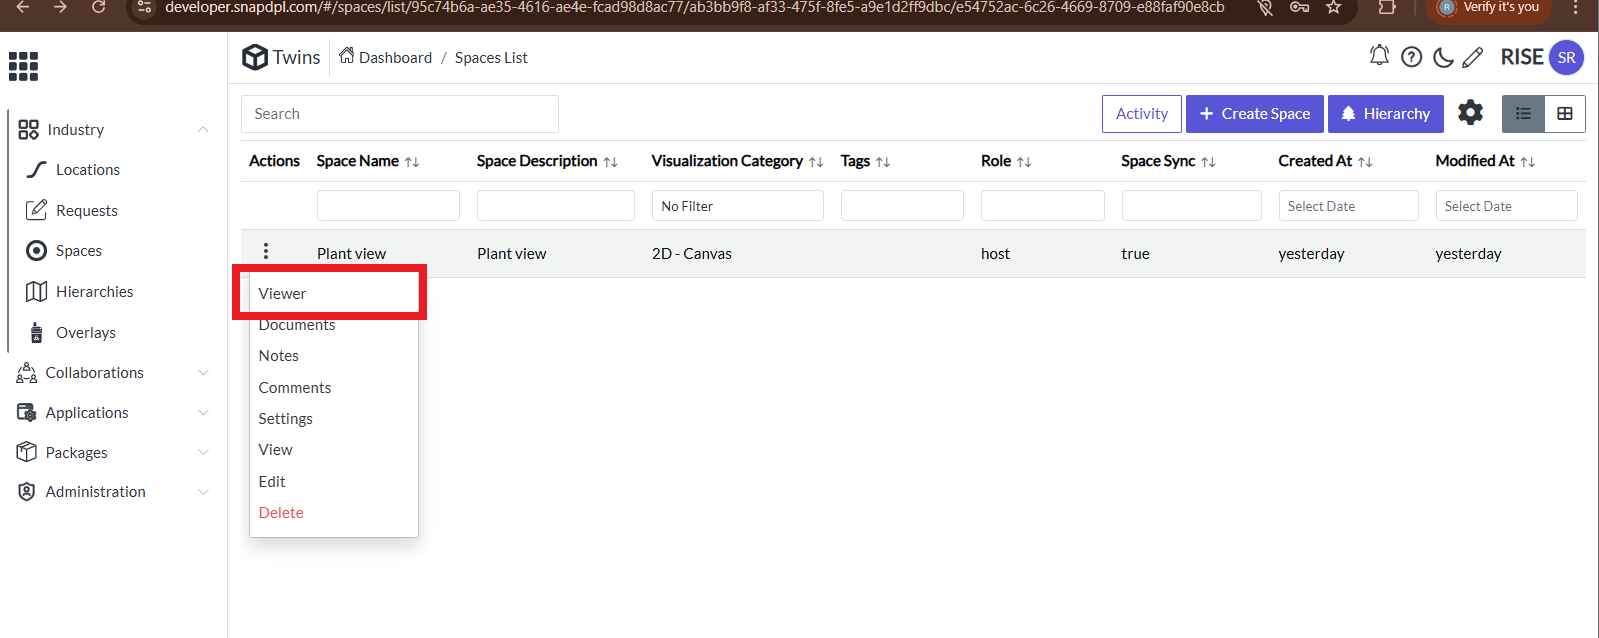
Click on 'action button' on selected space.
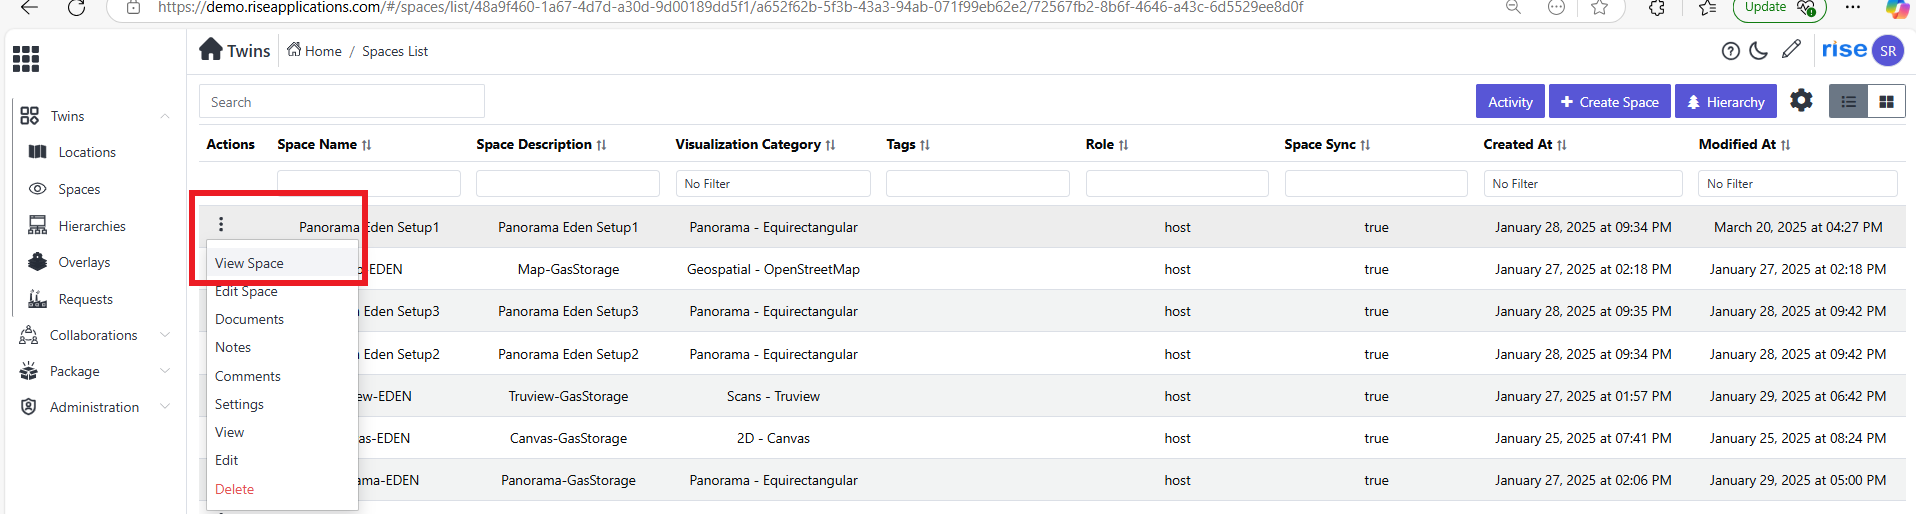
-
Click on 'viewer' option to view the space.