Conversion of RTC360 / BLK360 scan data to TruView Local, LGS, PTX, PTG, and E57 formats
Steps
1. Basic Workflow Overview
- Import
- Review and Optimize
- Finalize
- Report and Export
2. Launch the Cyclone REGISTER 360 application.
3. Click the Files menu located in the top-left corner.
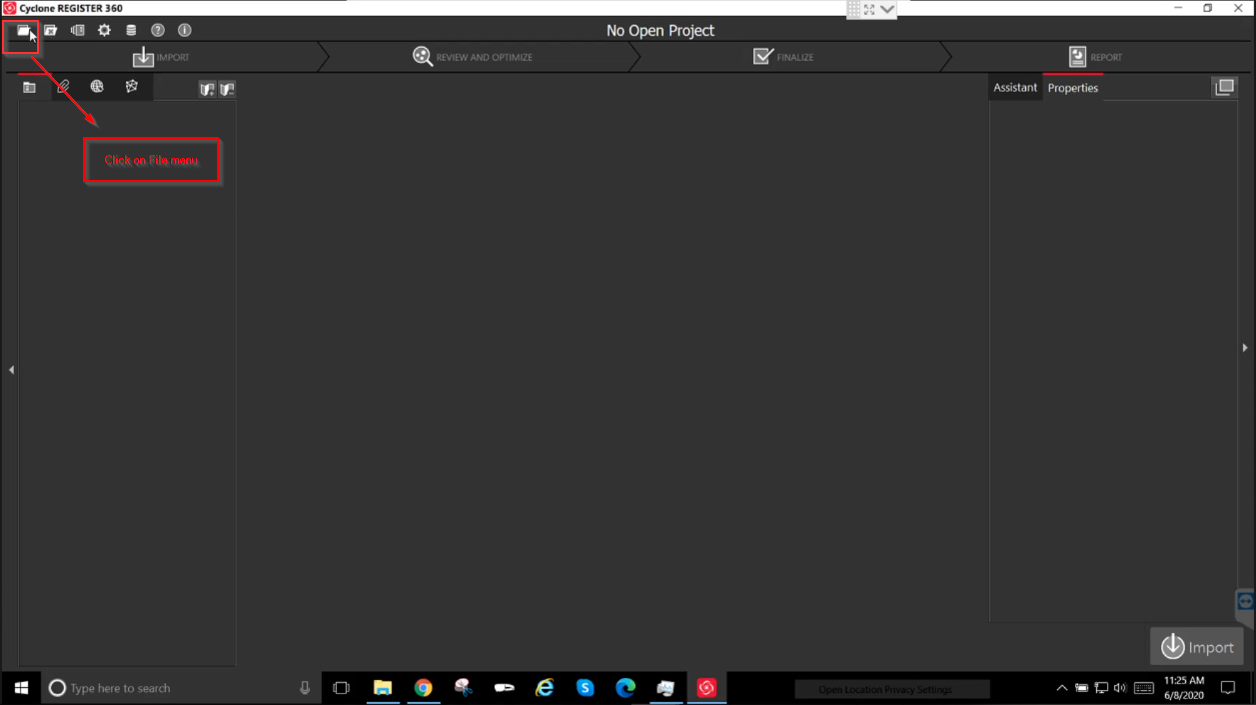
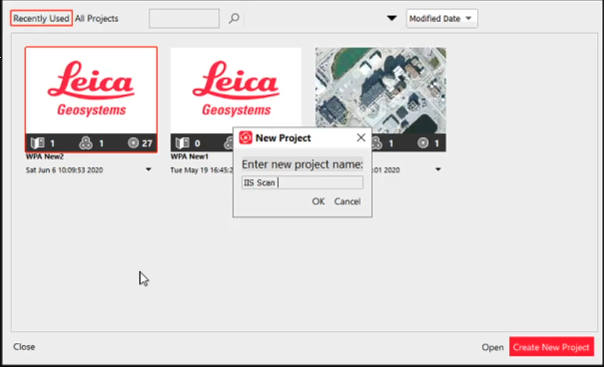
4. Open an existing project or click Create New Project.
Enter a project name and click OK.
5. System Resource Recommendation
For projects with more than 40 setups, a system configuration with more than 32 GB RAM is recommended.
Alternatively, stop unnecessary background services and tasks via Task Manager to maintain:
- Around 30% memory usage
- 10–15% CPU usage
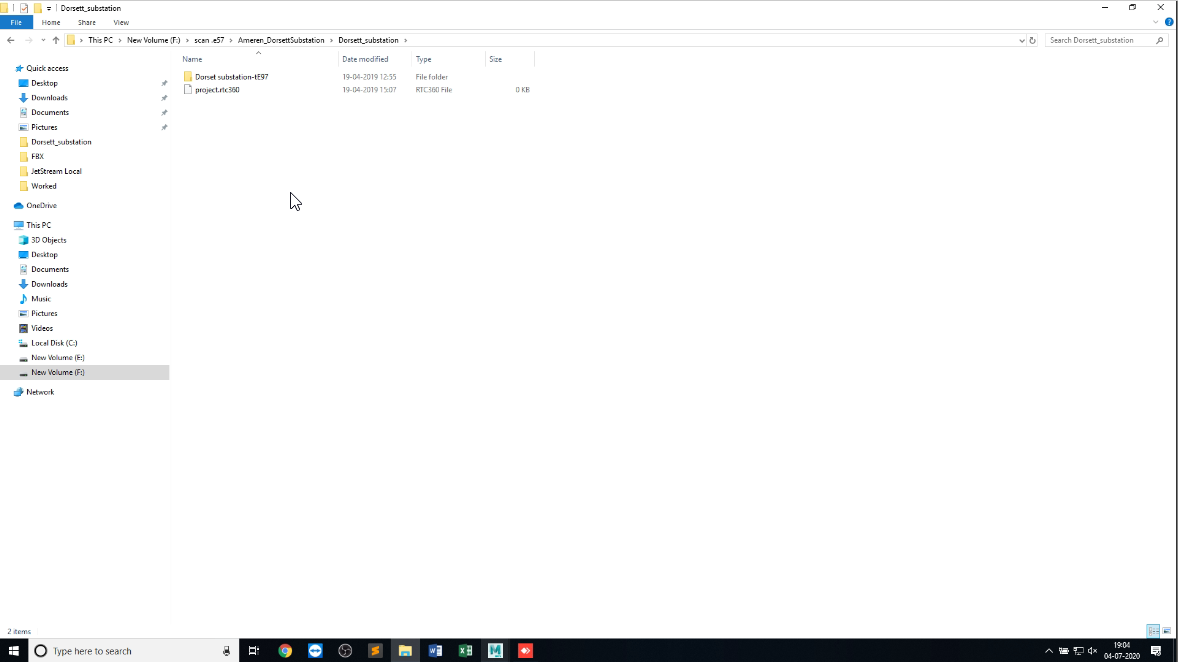
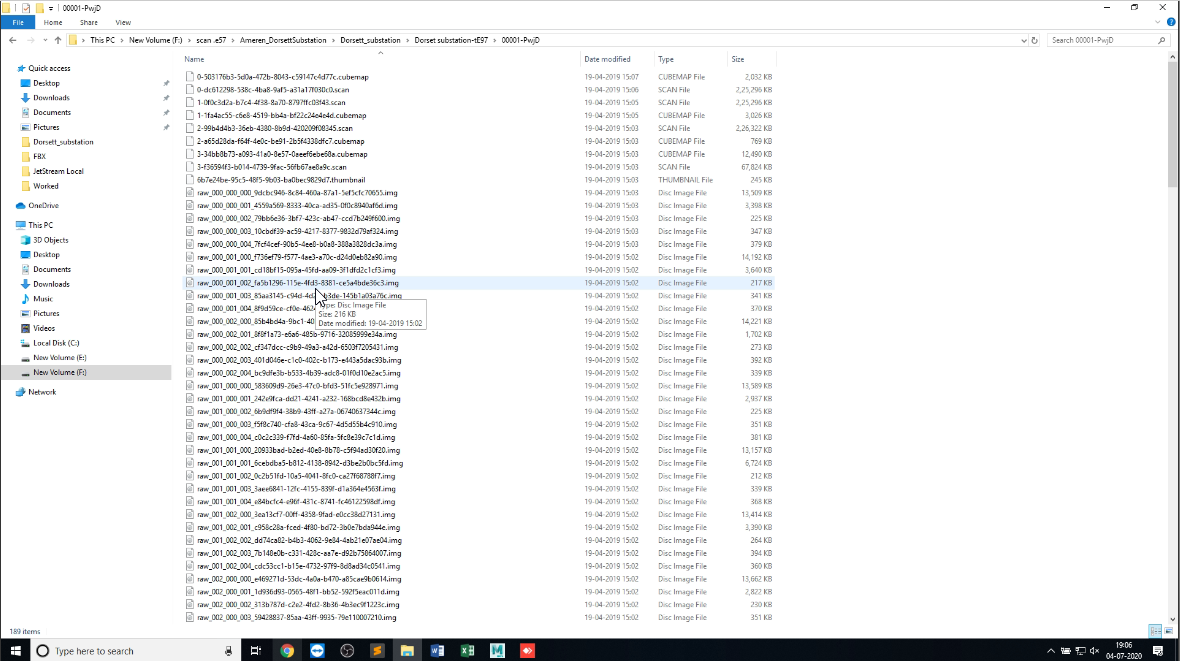
6. Folder Structure for Scan Import
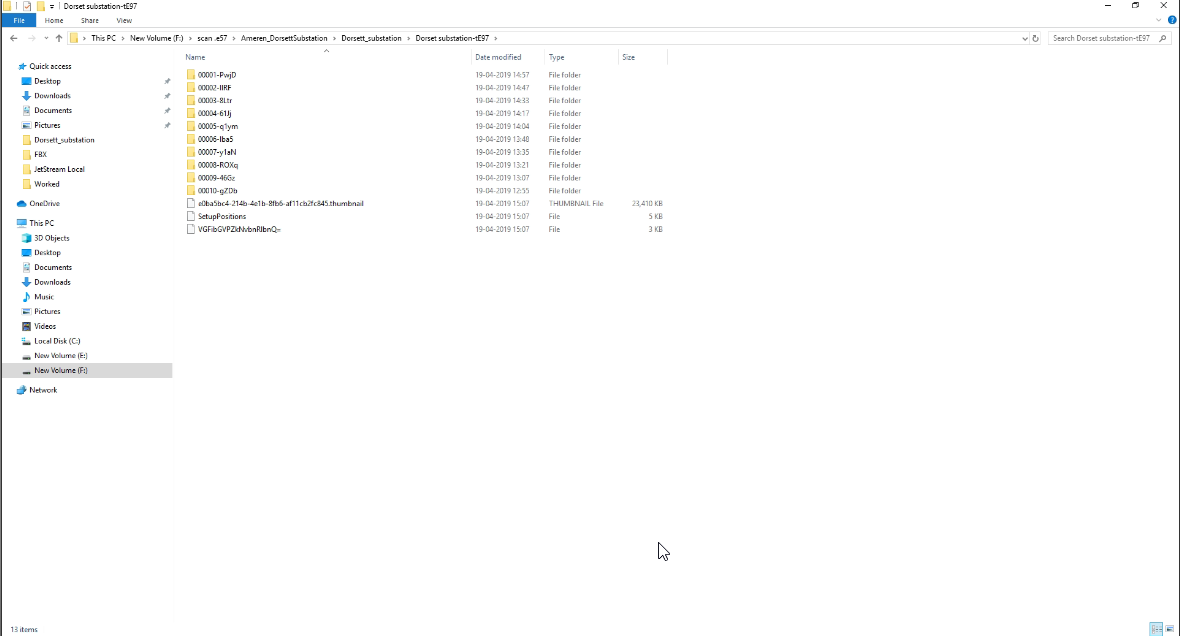
Maintain a proper folder structure for scan data before importing.
Each scan folder should include:
- Cubemap files
- Scan files
- Image files
- Thumbnail files
- Setup position files
Structure:
- Scan files folder + RTC360 file
7. Import Scan Files
Click Browse Files or use Drag and Drop.
Note:
- For drag-and-drop, select both the Scan files folder and the RTC360 file.
- For browsing, select only the RTC360 file.
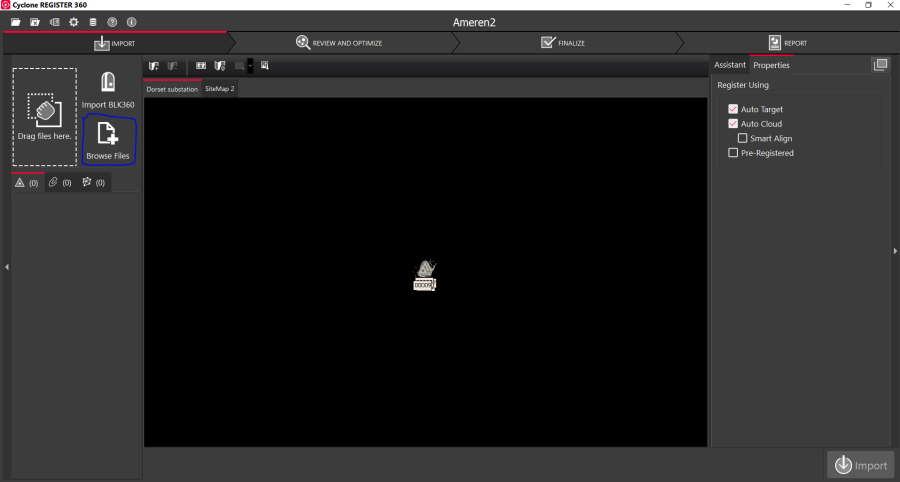
8. Select the .rtc360 file and click OK.
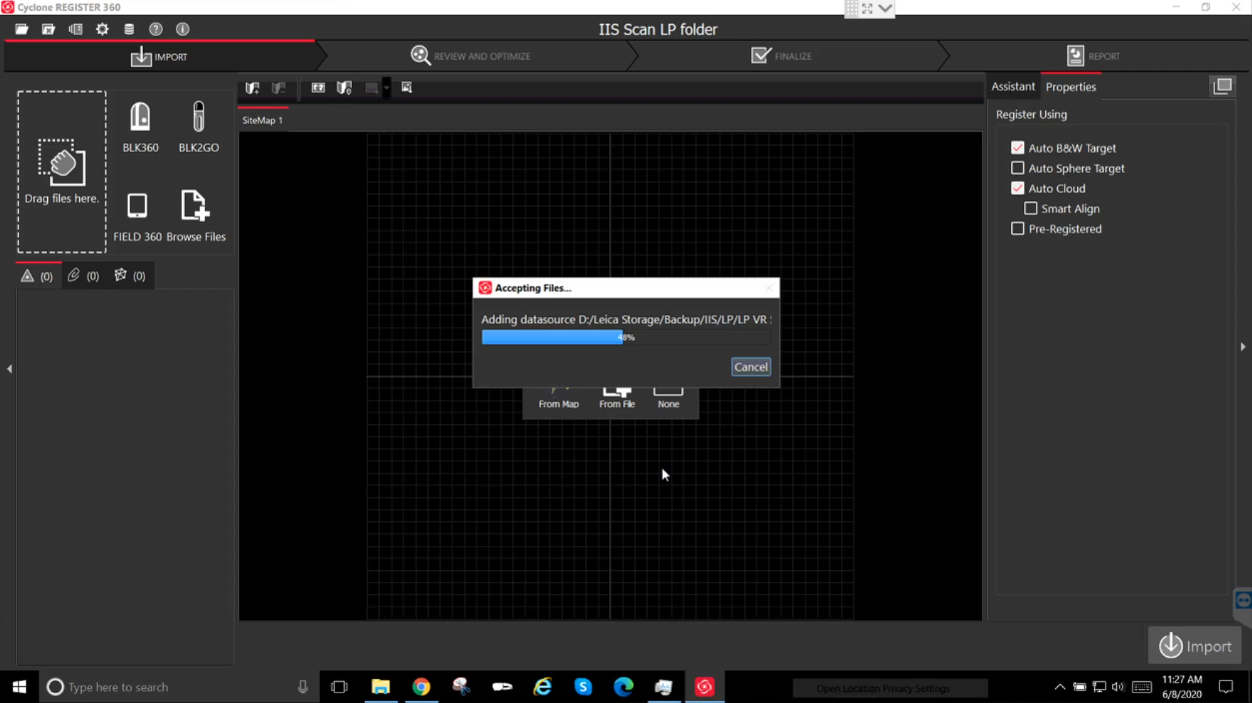
9. The system will display a loading progress while processing the files.
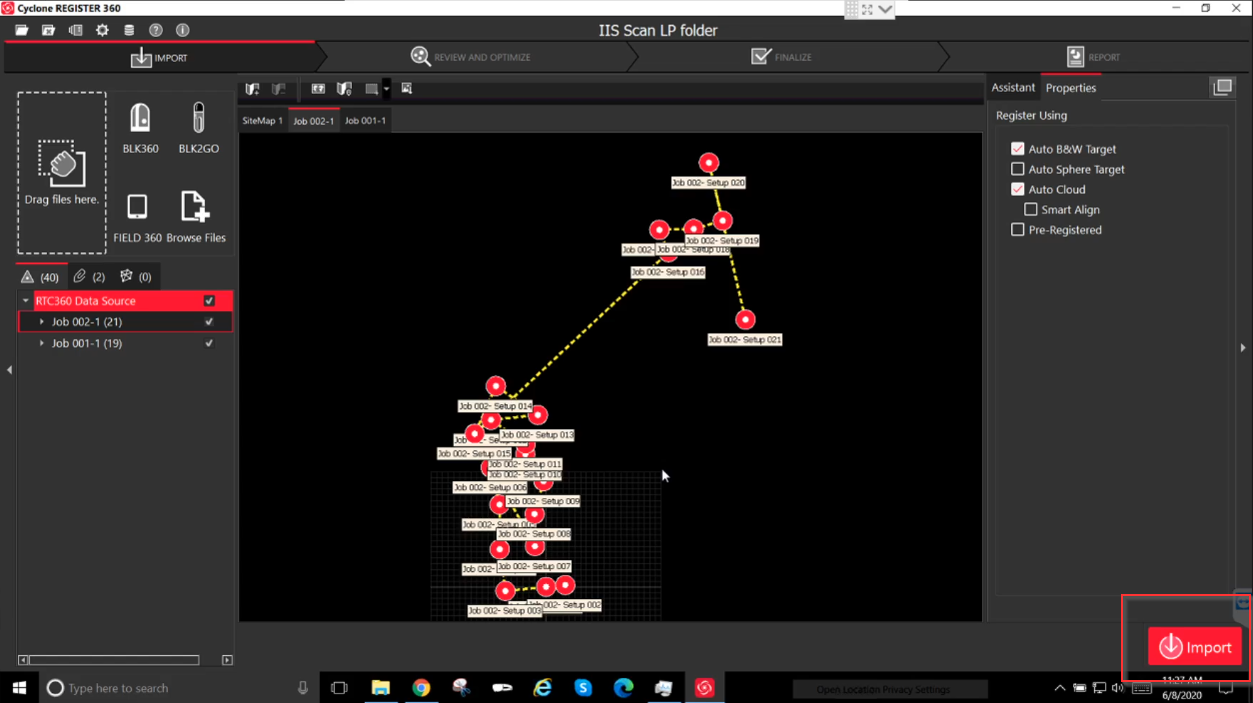
10. Click Import located at the bottom-right corner.
11. Import Duration
Import time depends on the number of scans and scan resolution.
- Example:
- 4 scans (~6 GB): 20–25 minutes
- 40 scans: Approximately 18 hours
12. Review and Optimize
Proceed to the Review and Optimize stage.
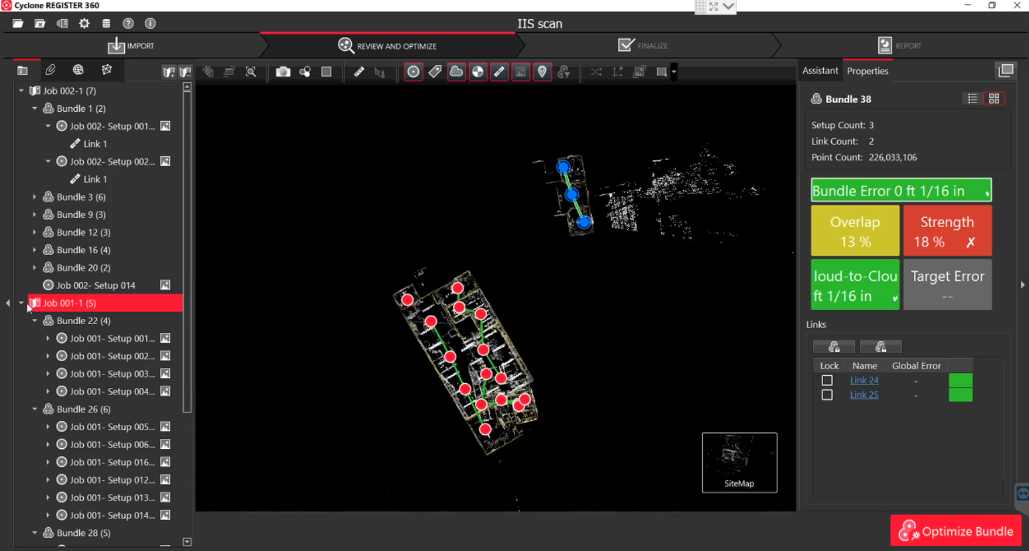
13. Create a SiteMap
- Move all setups into a single SiteMap.
- If scan strength is weak, adjust the strength above 50%.
- If acceptable strength cannot be achieved, delete unnecessary links or setups.
14. Validate Scan Links
- Ensure overlap and strength between scan stations are in green status.
- All link strengths should be greater than 50%.
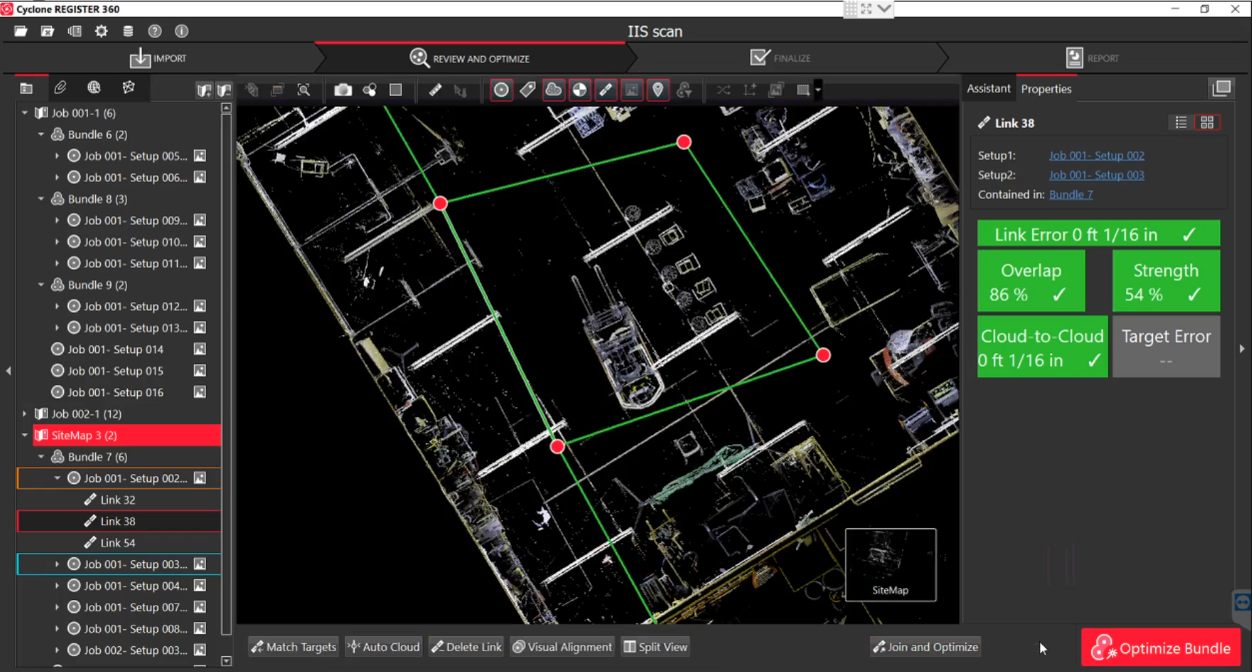
15. Visual Alignment
If any link strength or overlap appears in red or yellow, perform Visual Alignment.
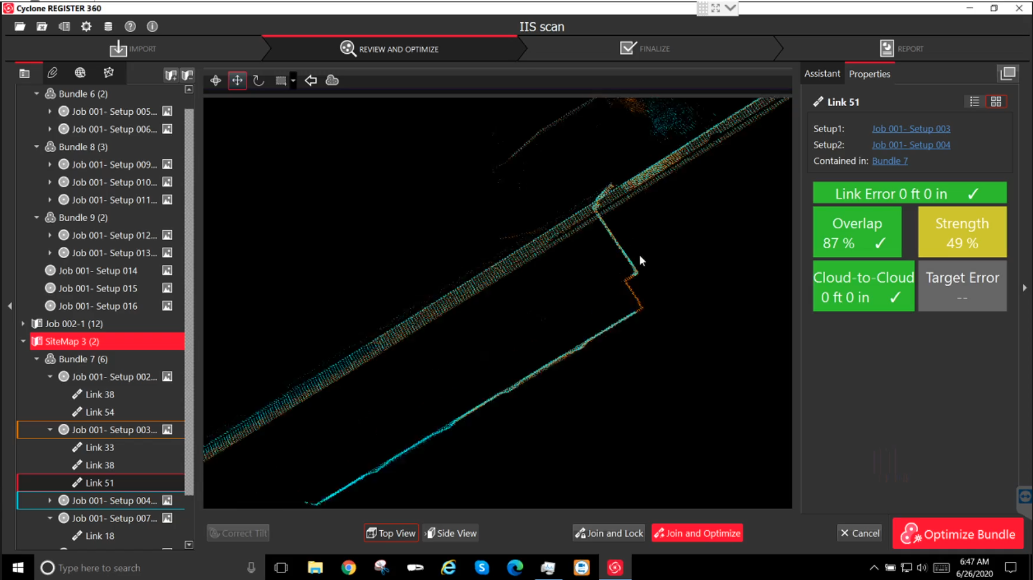
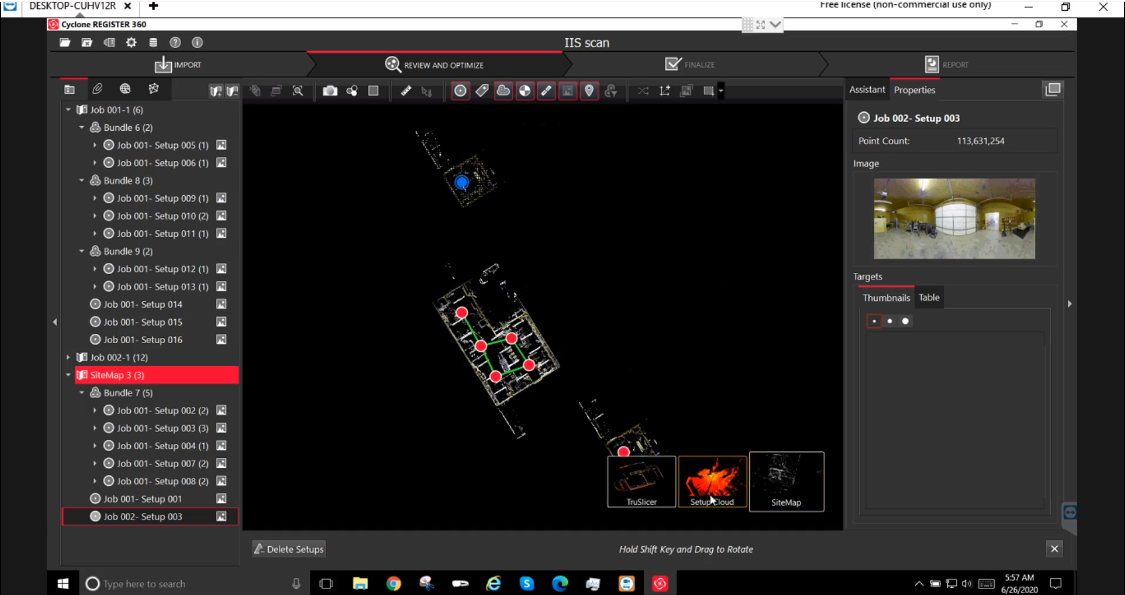
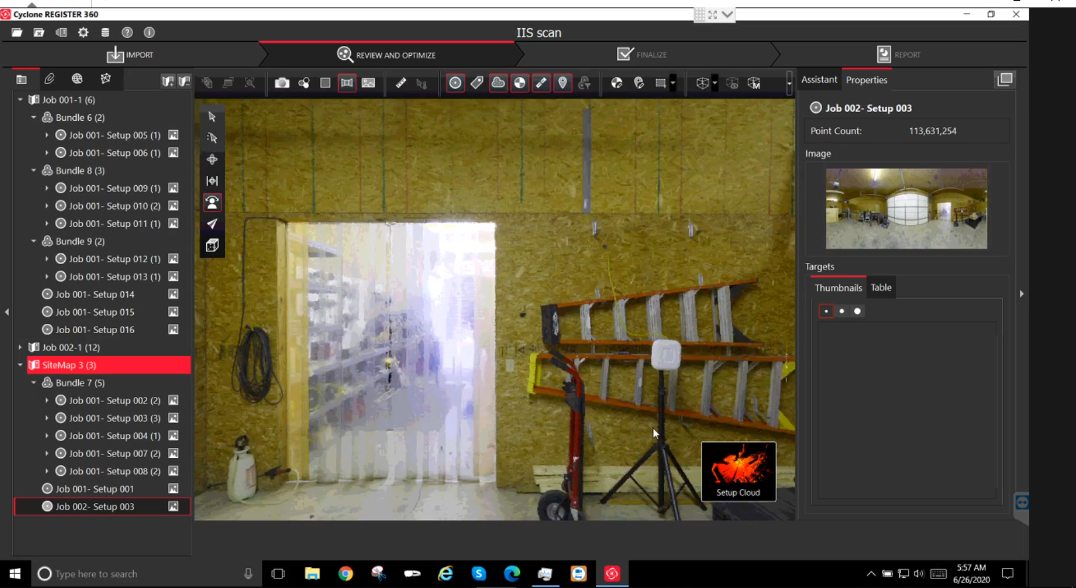
16. Verify Setup Cloud View
Check overlap and alignment of all scan links in the setup cloud view.
17. Perform Visual Alignment
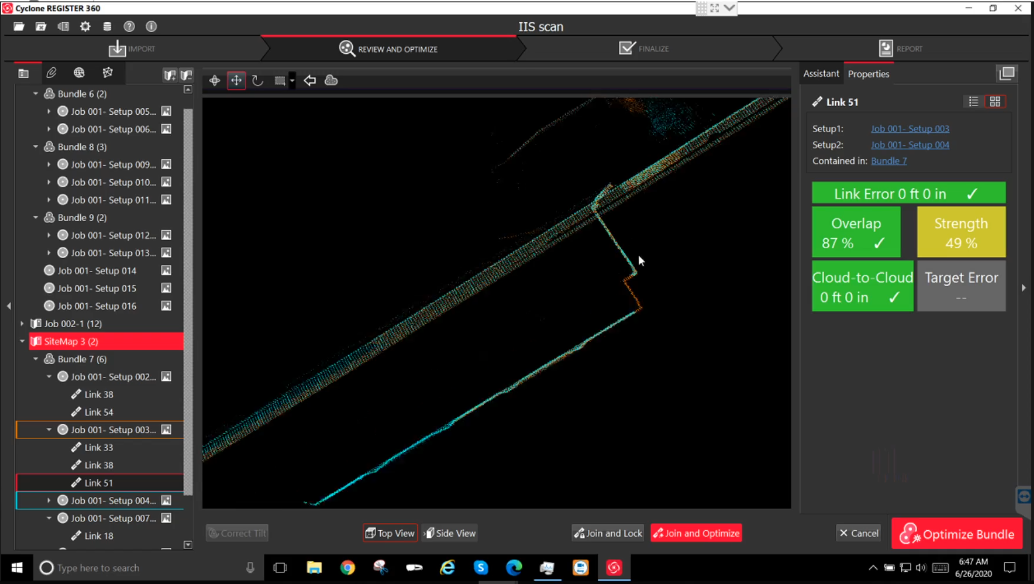
Use Top View and Side View:
- Align the blue layout over the orange layout.
- Use left-click and drag for reference alignment.
Top View:
Side View:
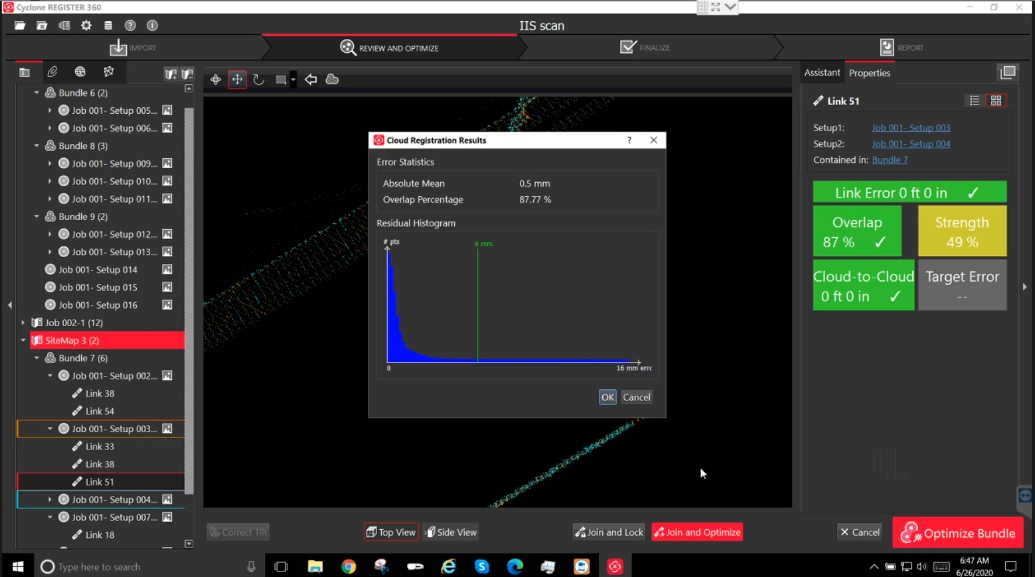
18. Join and Optimize
Click Join & Optimize after alignment.
Note:
Record the overlap percentage (including decimals). Even small decimal changes can significantly improve link strength.
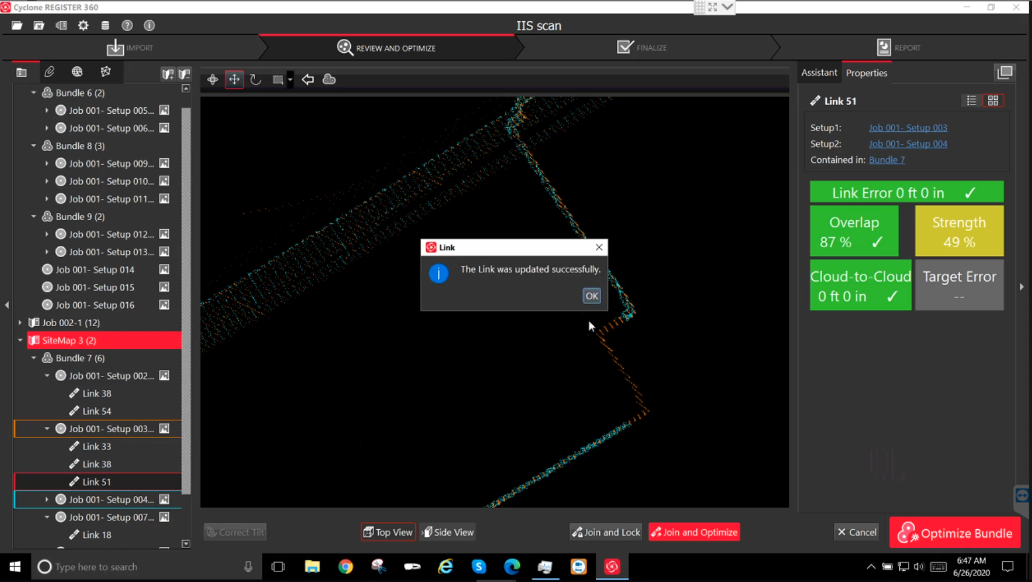
19. Click OK to update the link.
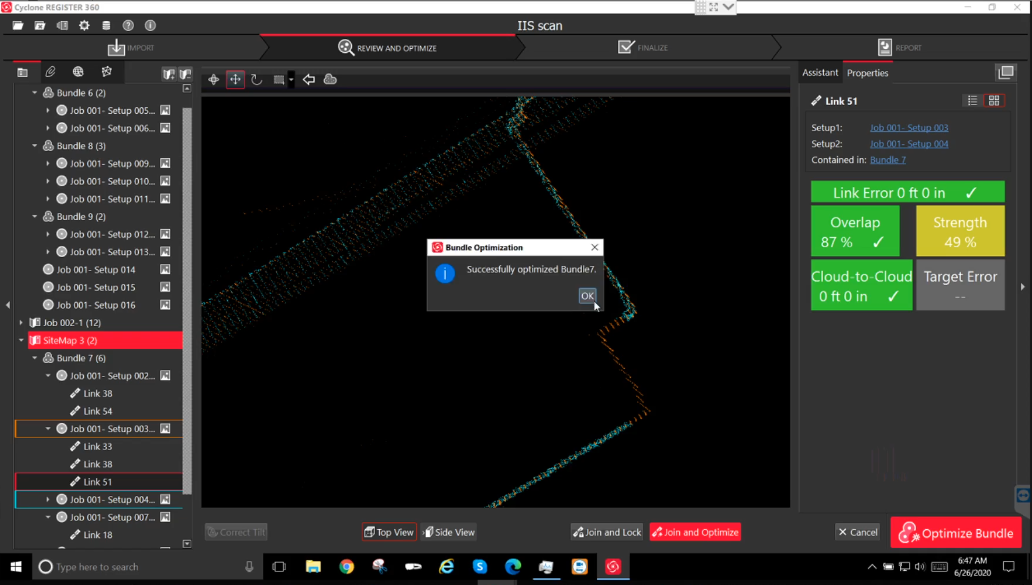
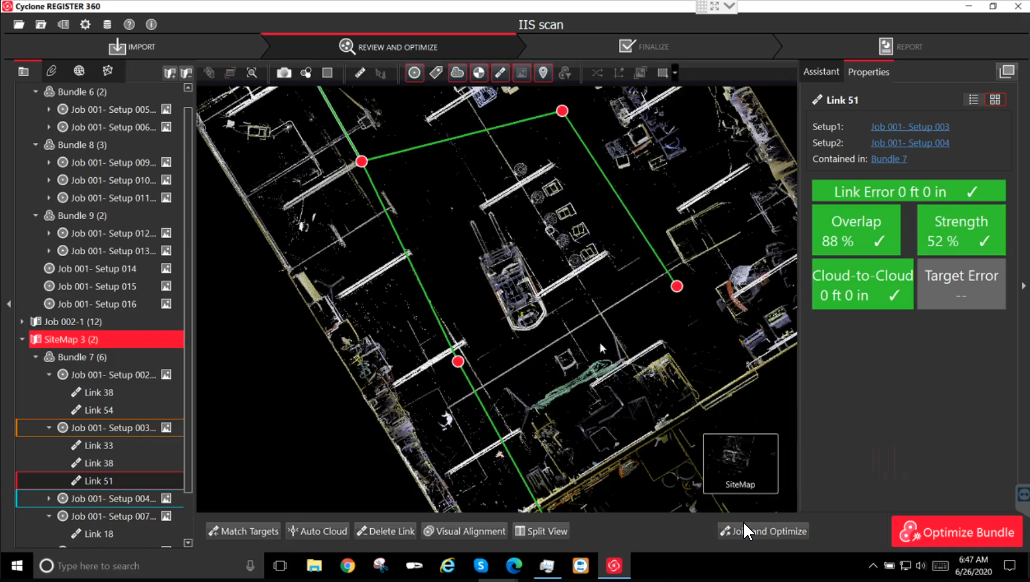
20. Bundle Alignment
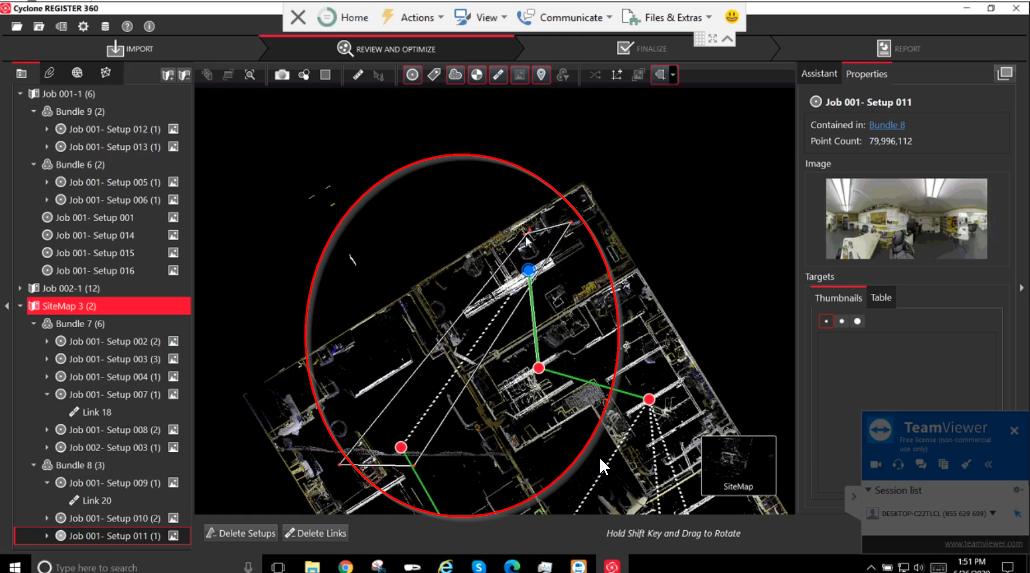
- Link all scan stations into a single bundle.
- Move bundles closer by dragging setups.
- Hold Shift to rotate bundles and create links.
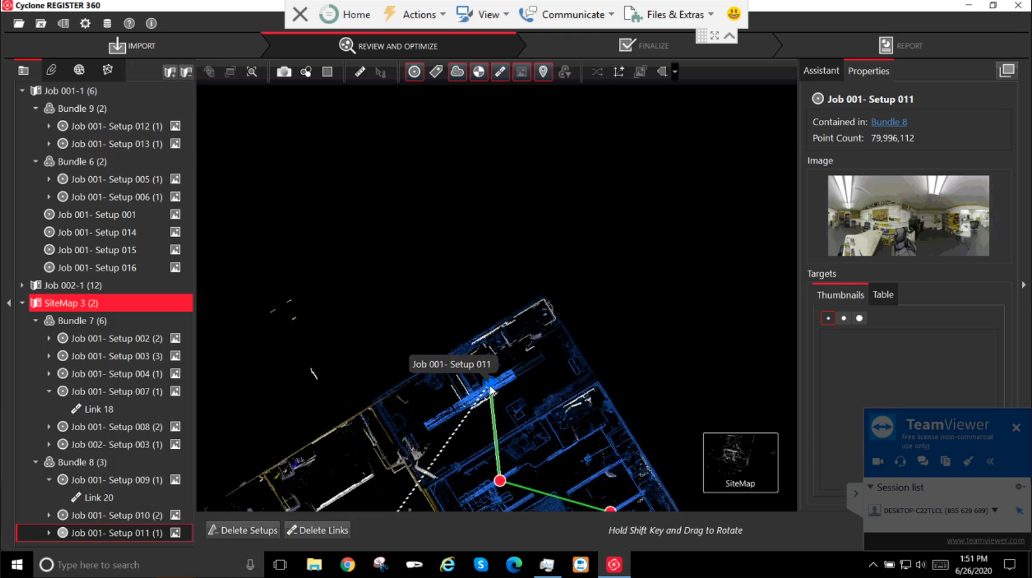
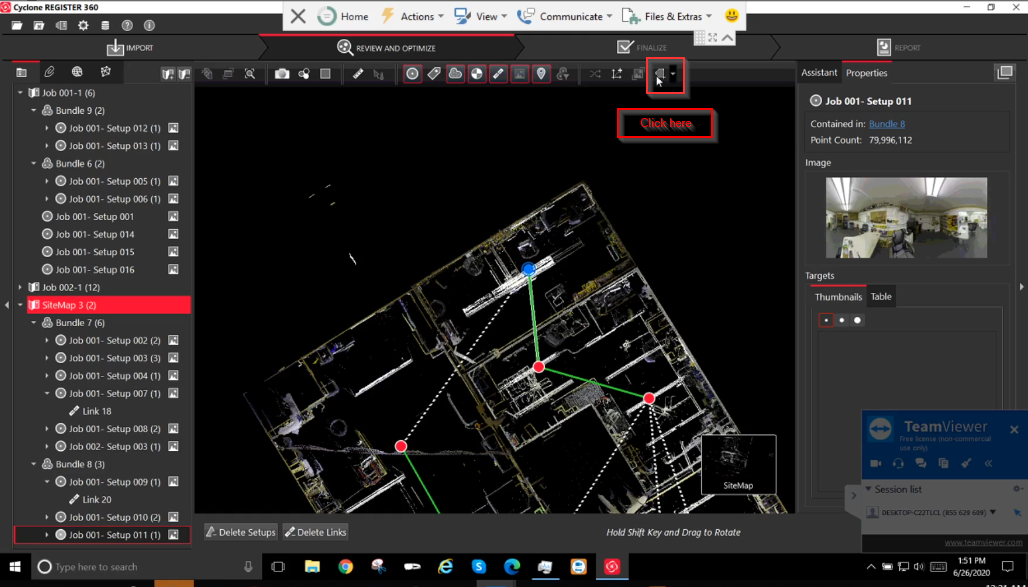
21. Align Multiple Bundles
- Use rectangle, circular, or polygon linking tools.
- Visual alignment is supported only between two bundles at a time.
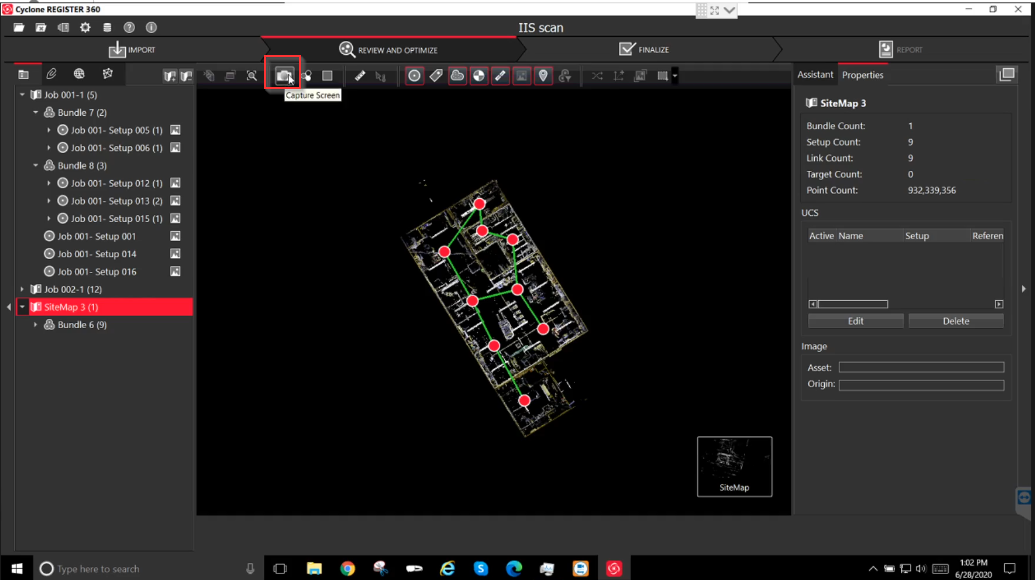
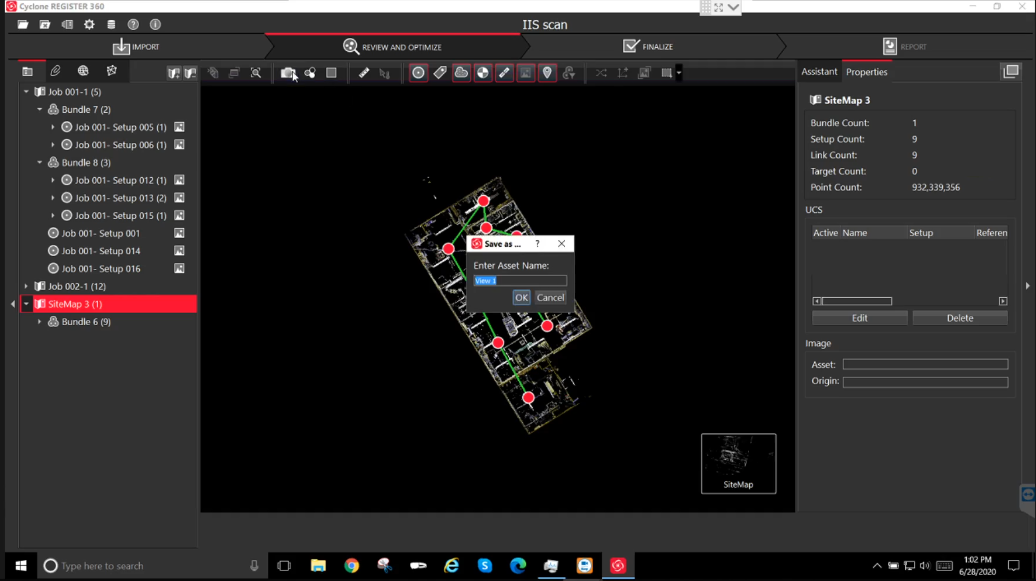
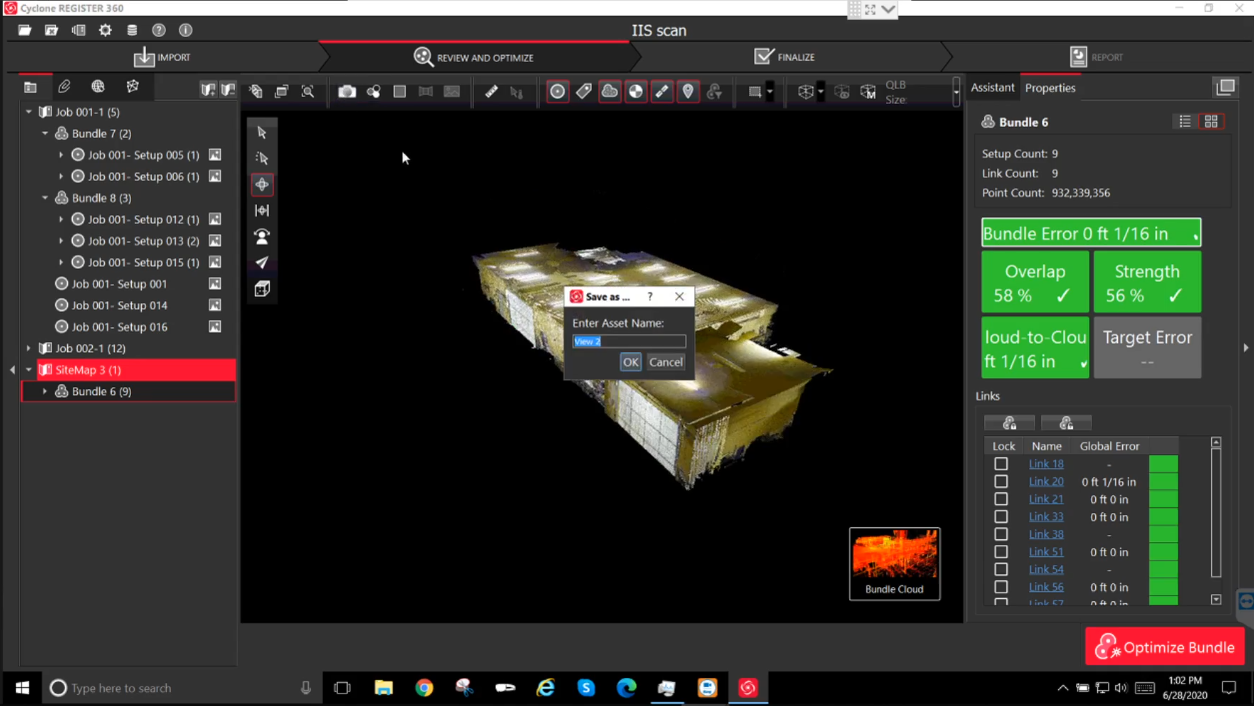
22. Capture Screenshots for Reporting
Capture screenshots of:
- SiteMap
- Bundle Cloud
- TruSlicer
These can be included in the PDF report.
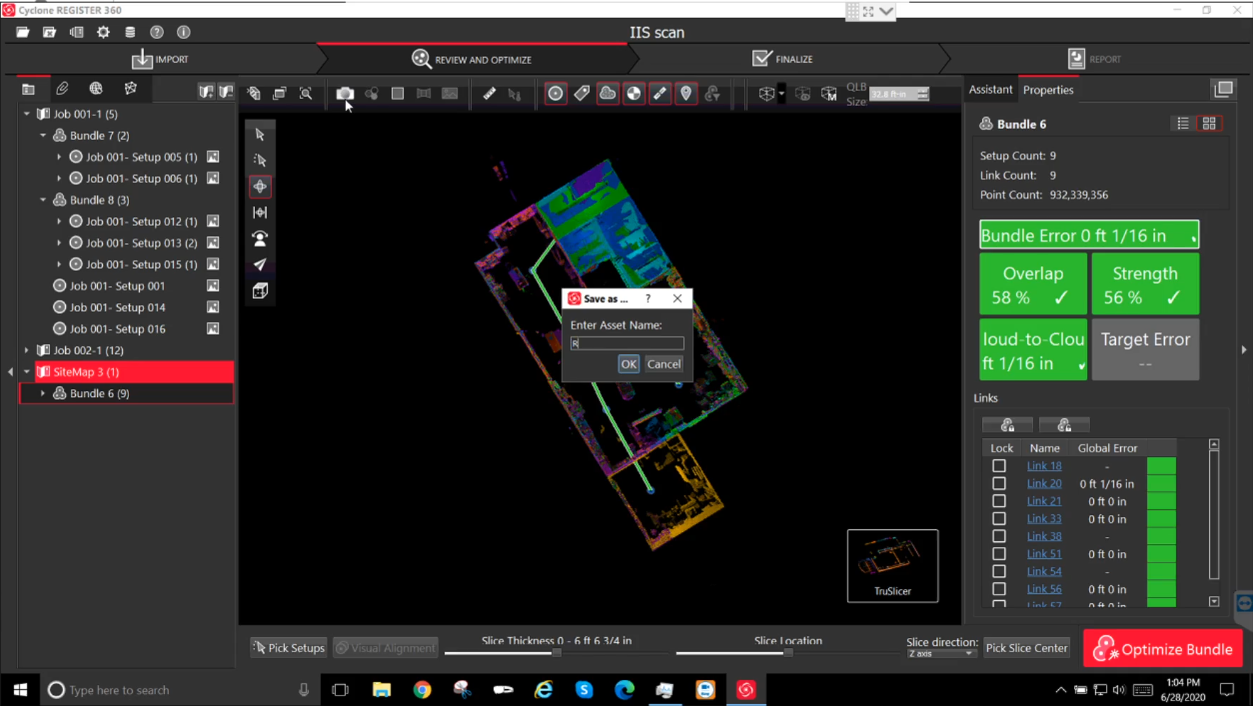
23. Capture Screen Asset
Click Capture Screen and enter an Asset Name.
24. Finalize Registration
If all links are valid, click Finalize.
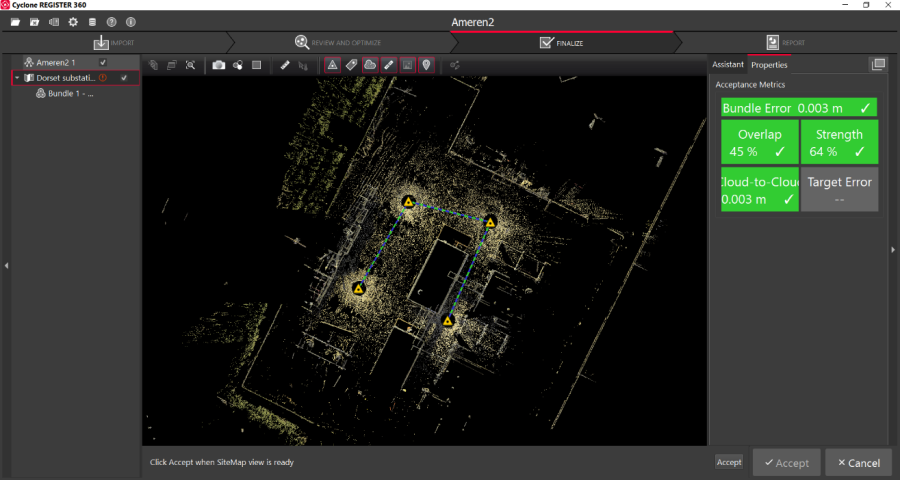
25. Accept Registration
- Click the Accept button (small font) at the bottom-right.
- Click Accept again when prompted.
26. Reporting and Export
Generate reports and export files in required formats.
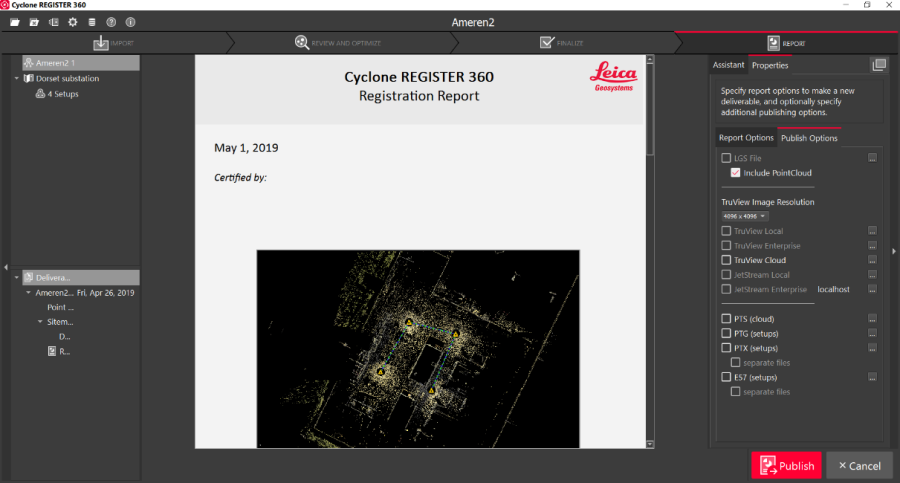
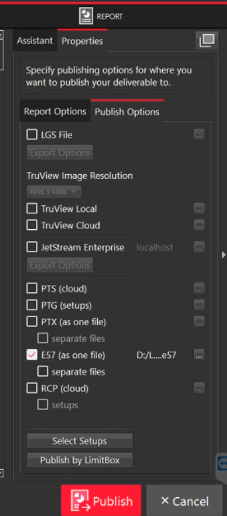
27. Publishing Options
Click Publish Options on the right panel to view export formats.
28. Select Export Format
Click the three dots next to each format to configure publishing options.
29. Publishing Outputs
The registration report is always generated as a PDF.
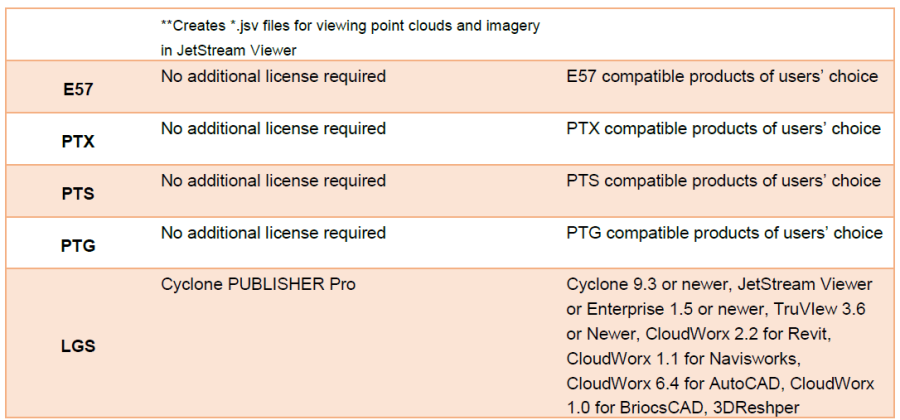
Optional publishing formats include:
- TruView Local / Enterprise
- TruView Cloud
- JetStream Local / Enterprise
- LGS
- E57
(Subject to available licenses and subscriptions.)
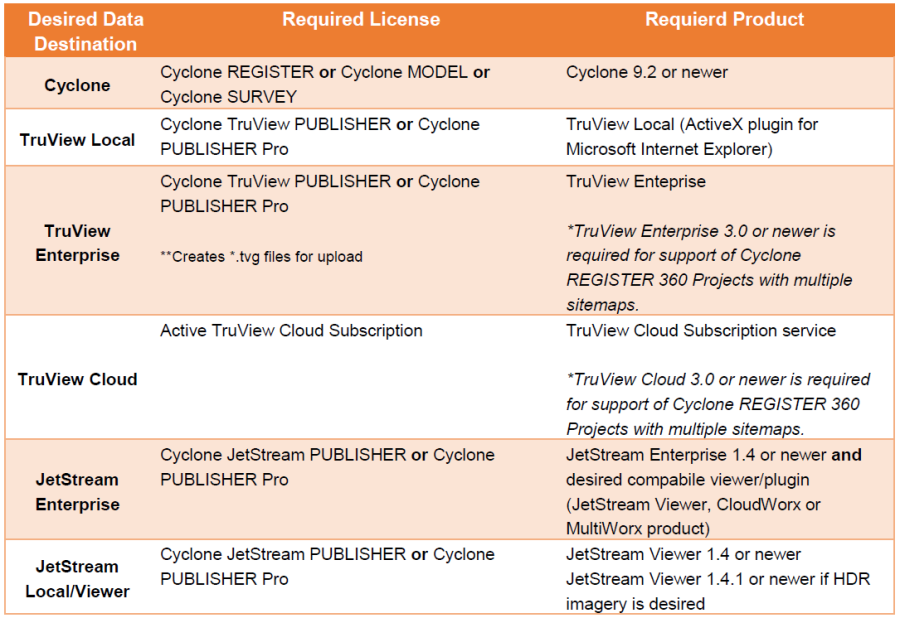
30. Review Publishing Summary
31. Publish Outputs
Select all required outputs and click the large red Publish button to perform batch publishing.
32. Output Completion
All published outputs will be generated and saved to the user-defined location.