Workflow: Convert JPEG/TIFF to GeoTIFF (Orthomosaic with Boundaries & Measurements)
This workflow demonstrates how to import drone imagery and generate orthomosaics, zonation maps, and surface models in Pix4Dfields.
Steps
-
Launch the Application
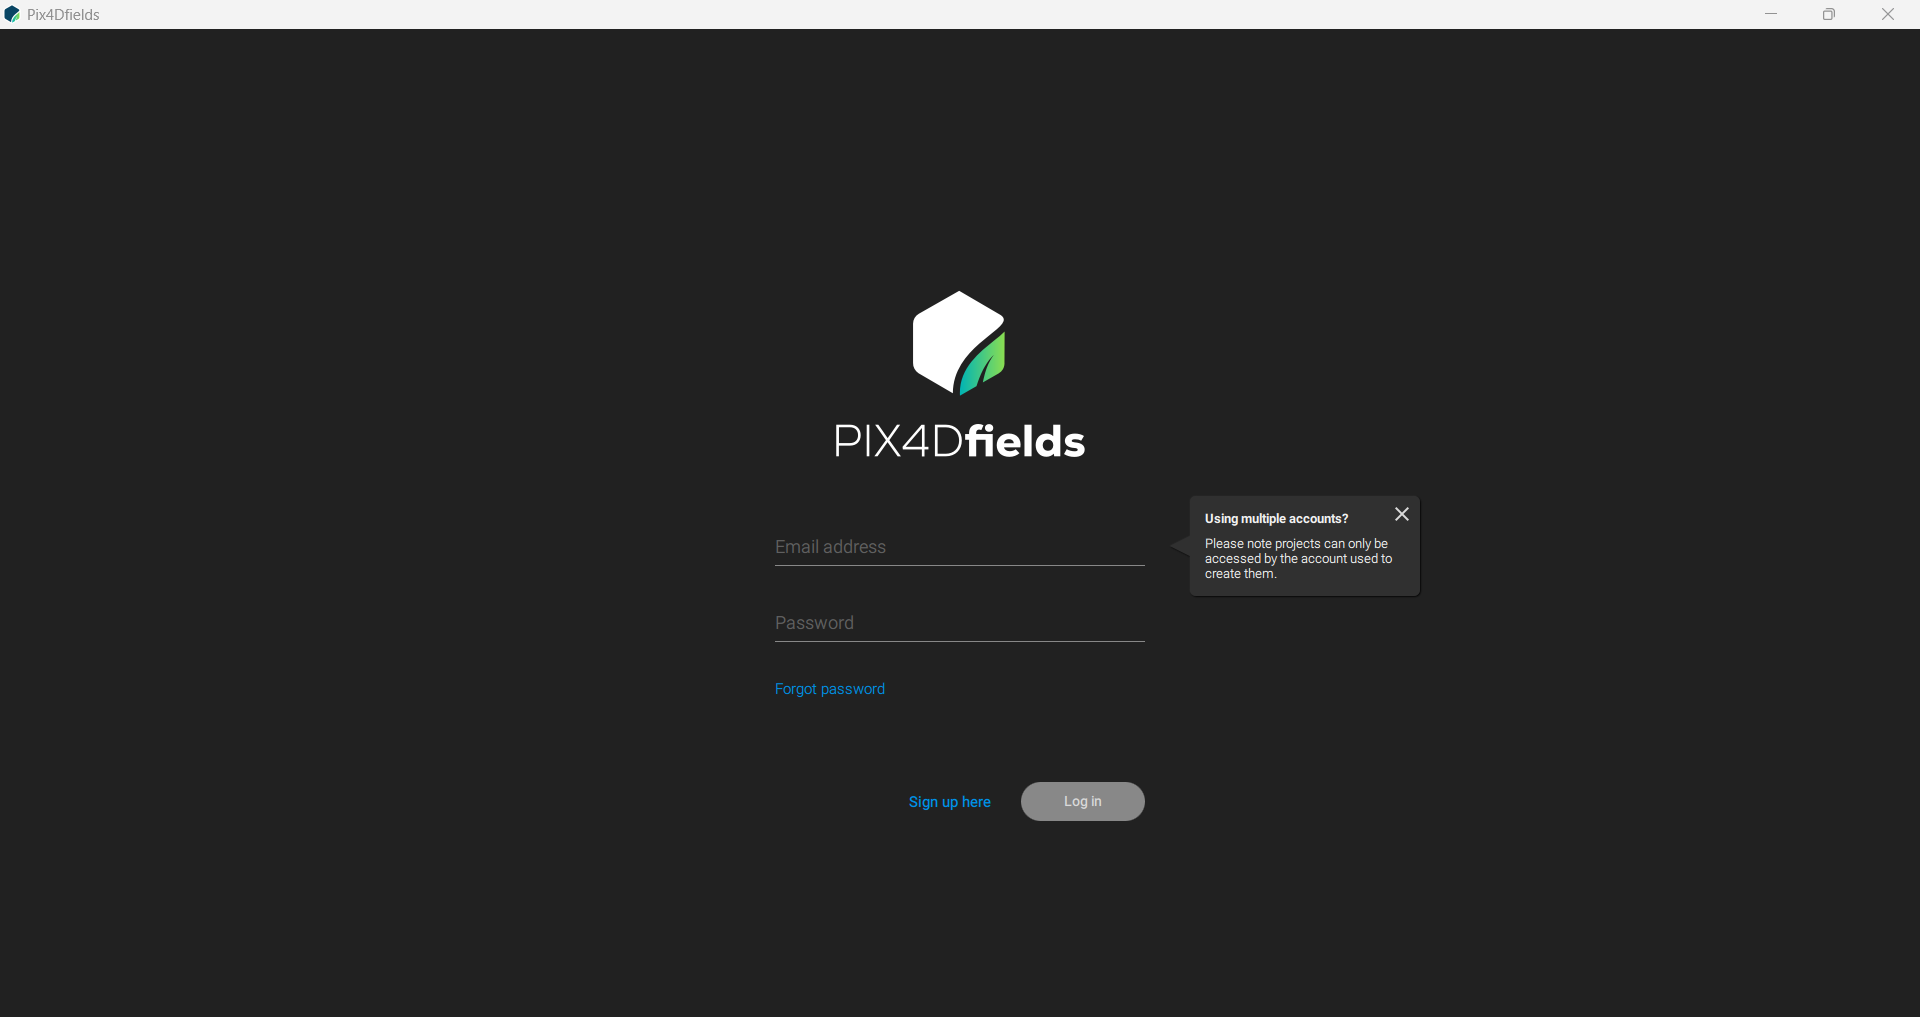
Open Pix4Dfields. The main interface appears as shown below:
-
Activate Trial License
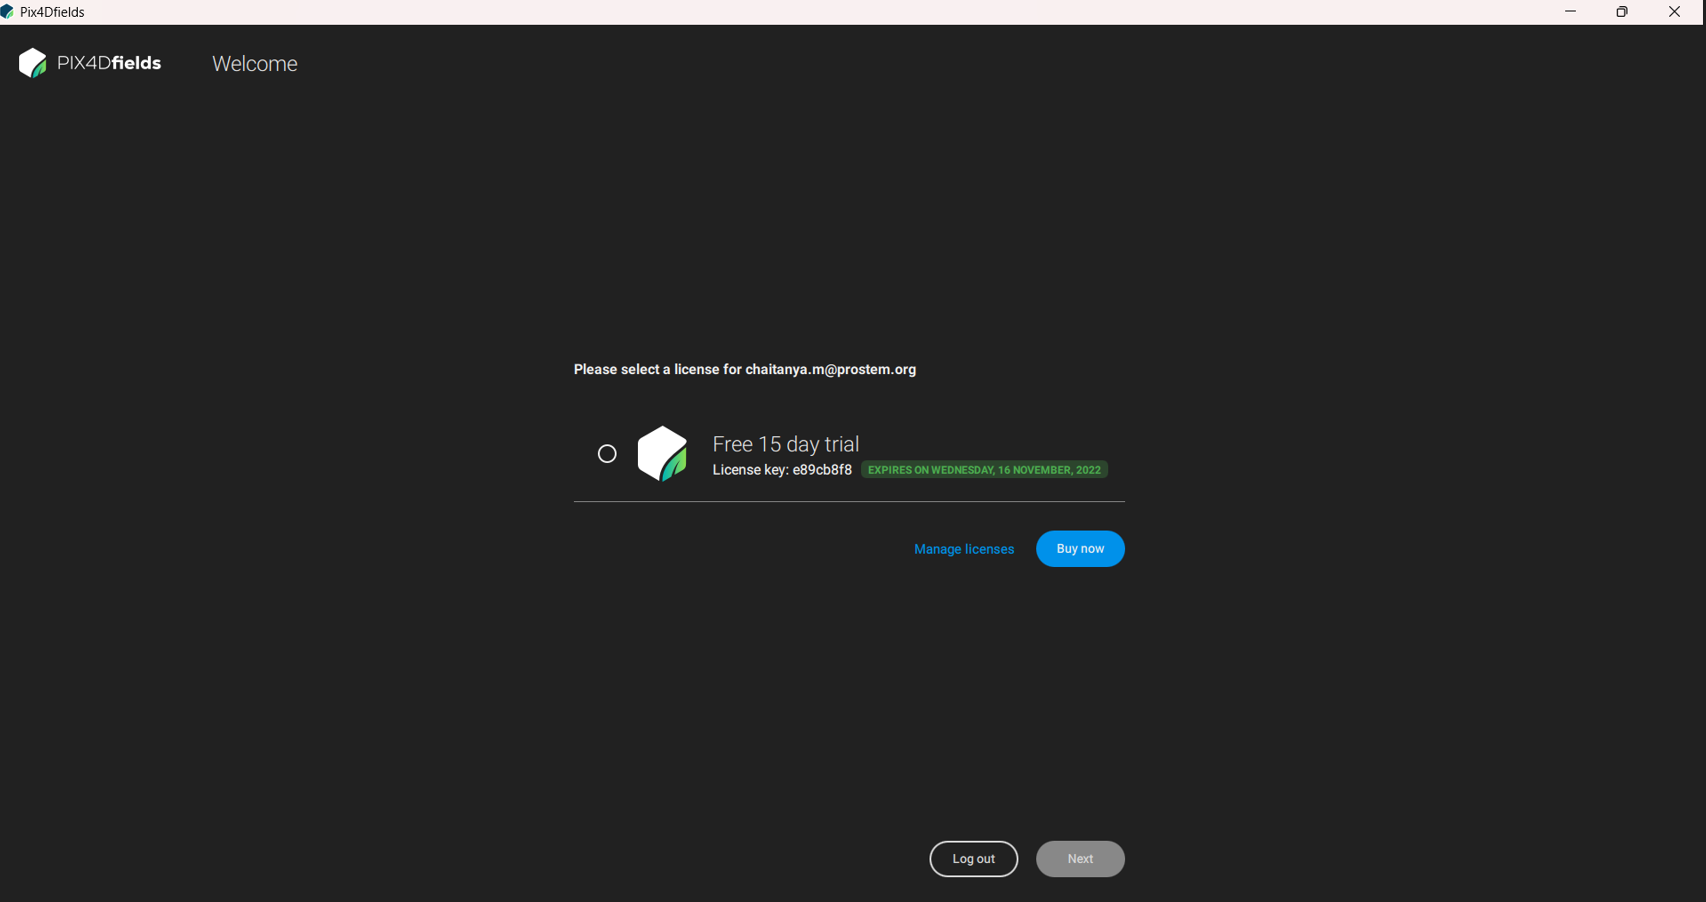
- Fill in the required details to activate the trial pack.
- Select Free 15-day trial and click Next.
-
Open the Application
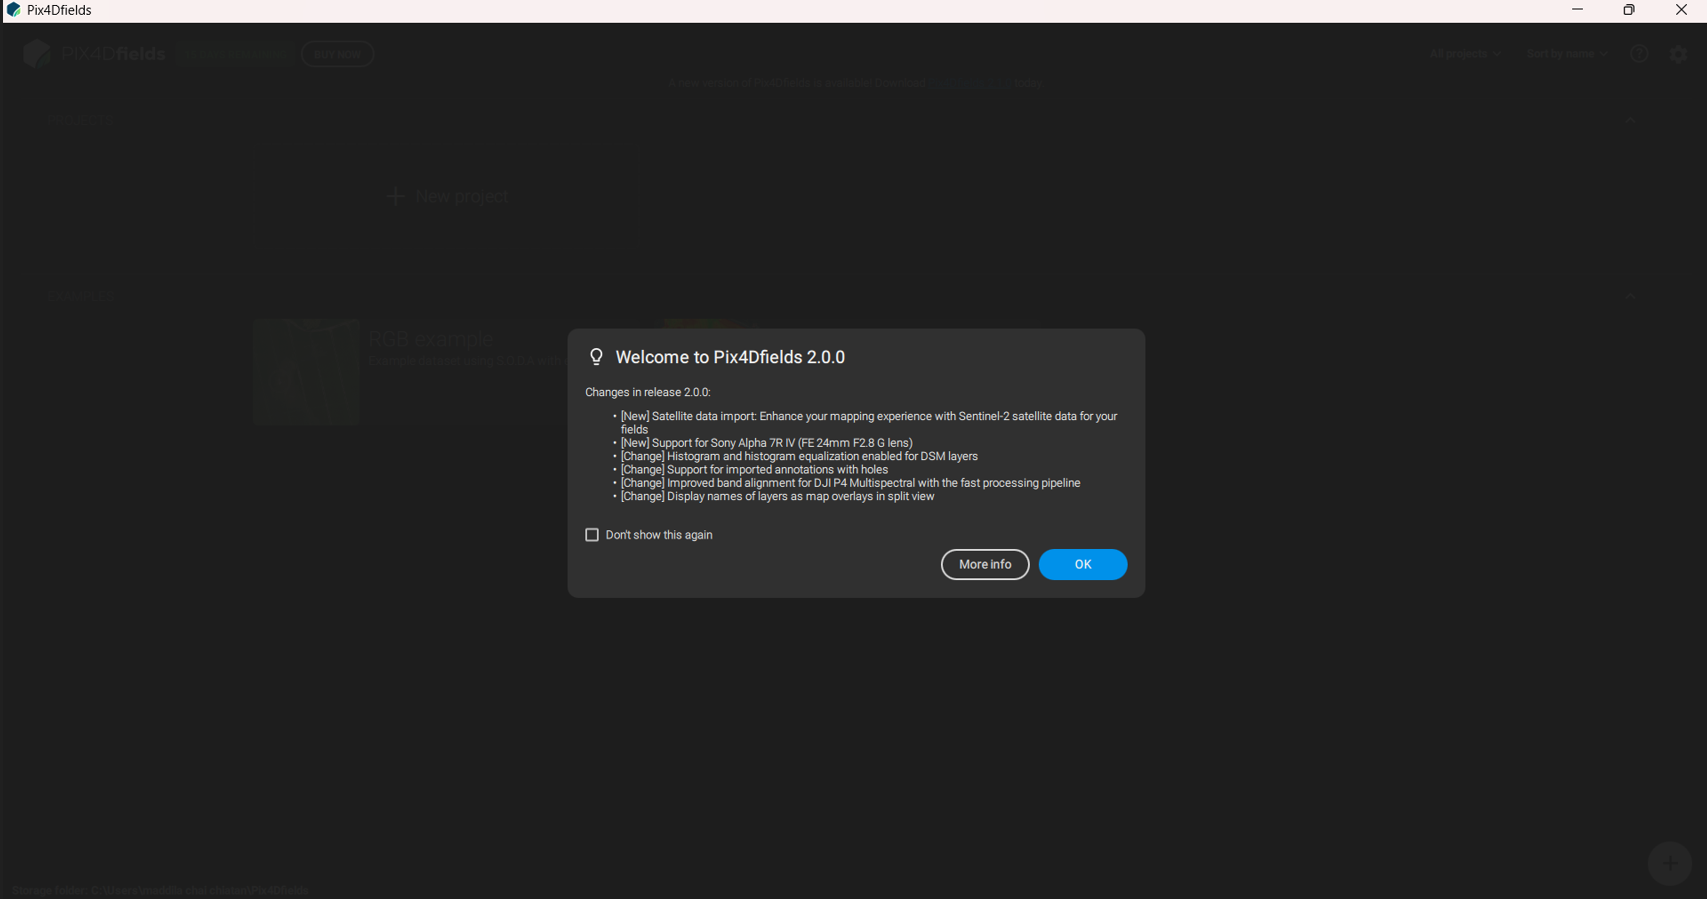
- Click OK on prompts to access the main processing interface.
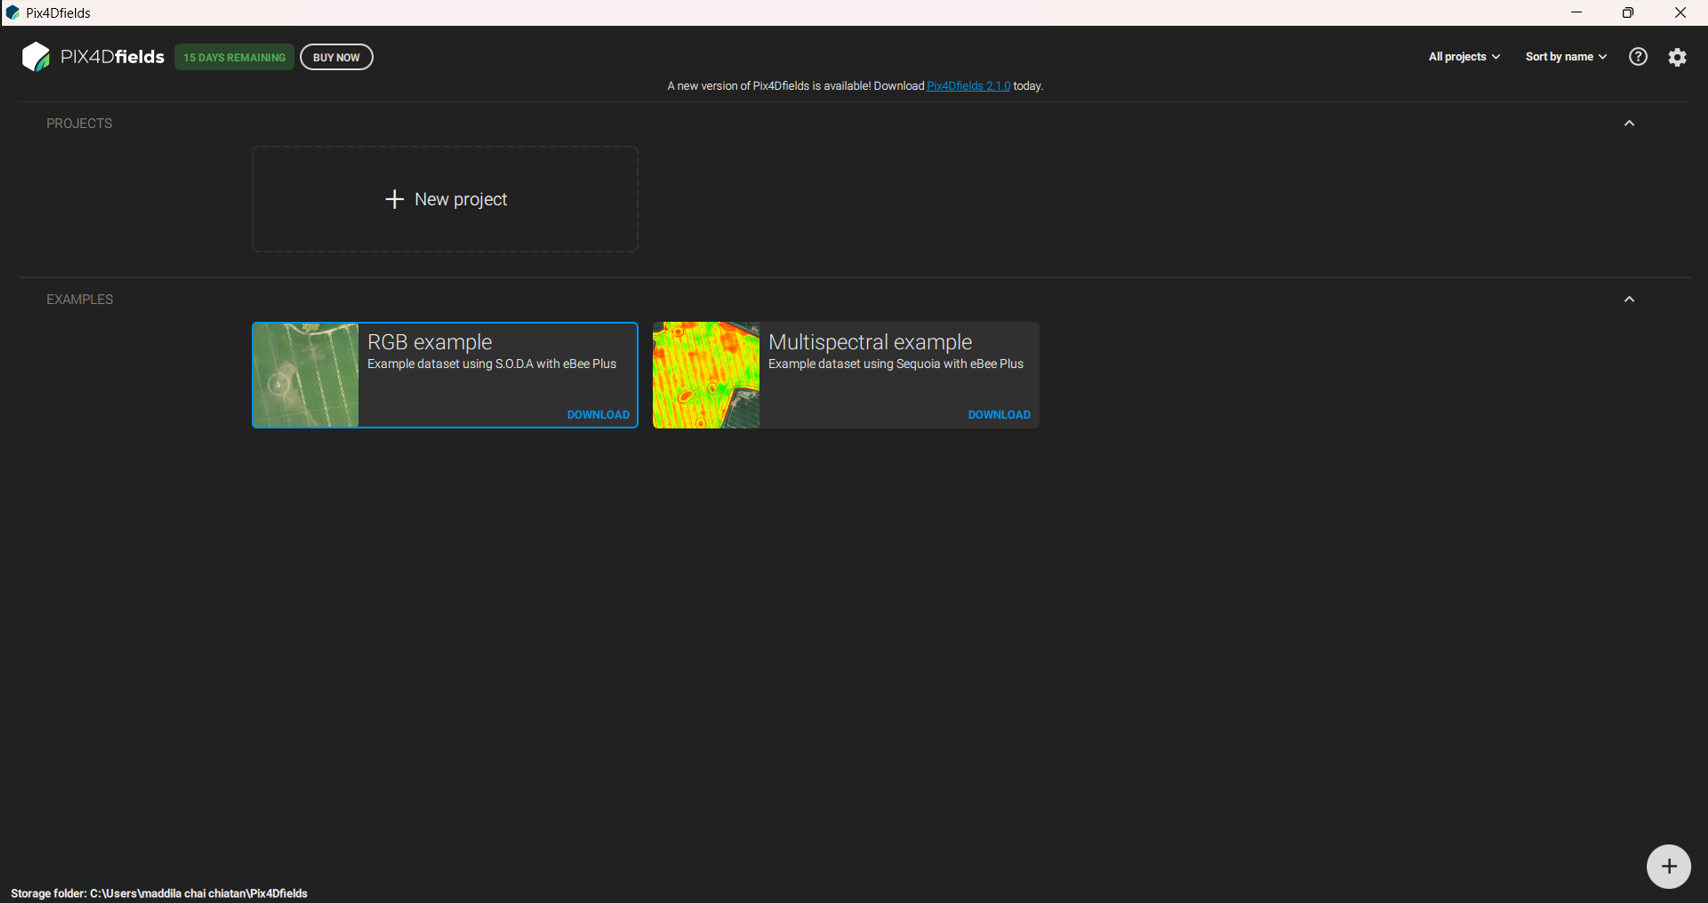
- Click OK on prompts to access the main processing interface.
-
Start a New Project
- Click New Project or Add at the bottom right.
- Click New Project or Add at the bottom right.
-
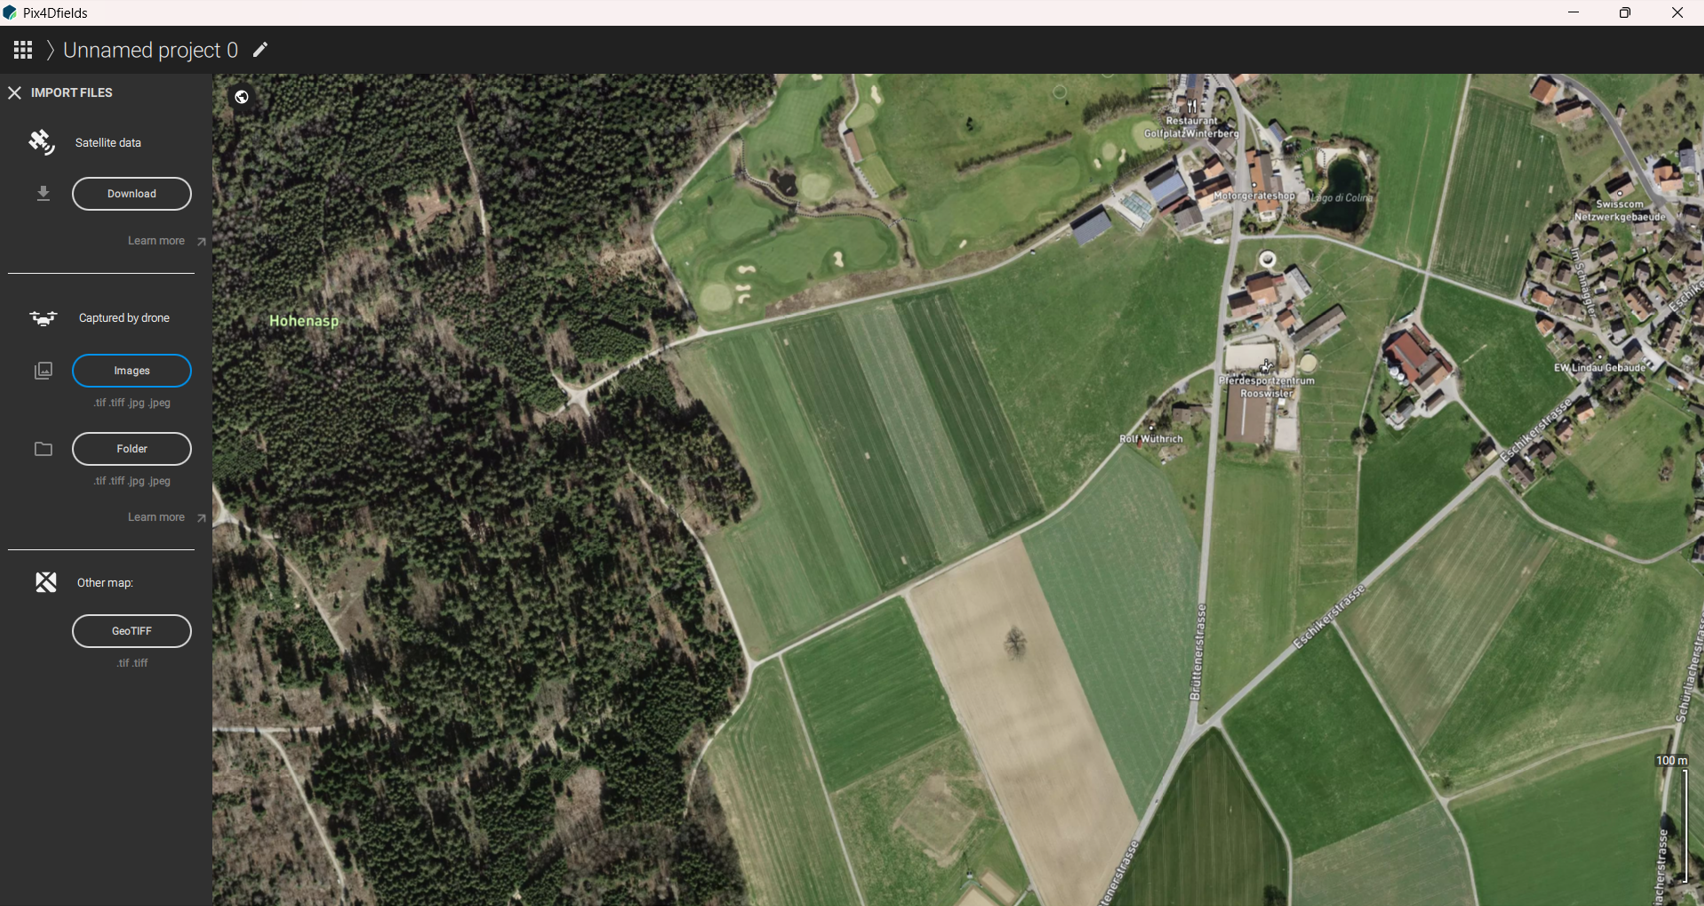
Import Drone Images
- From the left menu, select Images or Folder from the drone capture.
- Navigate to the local disk, select images/folder, and click Open.
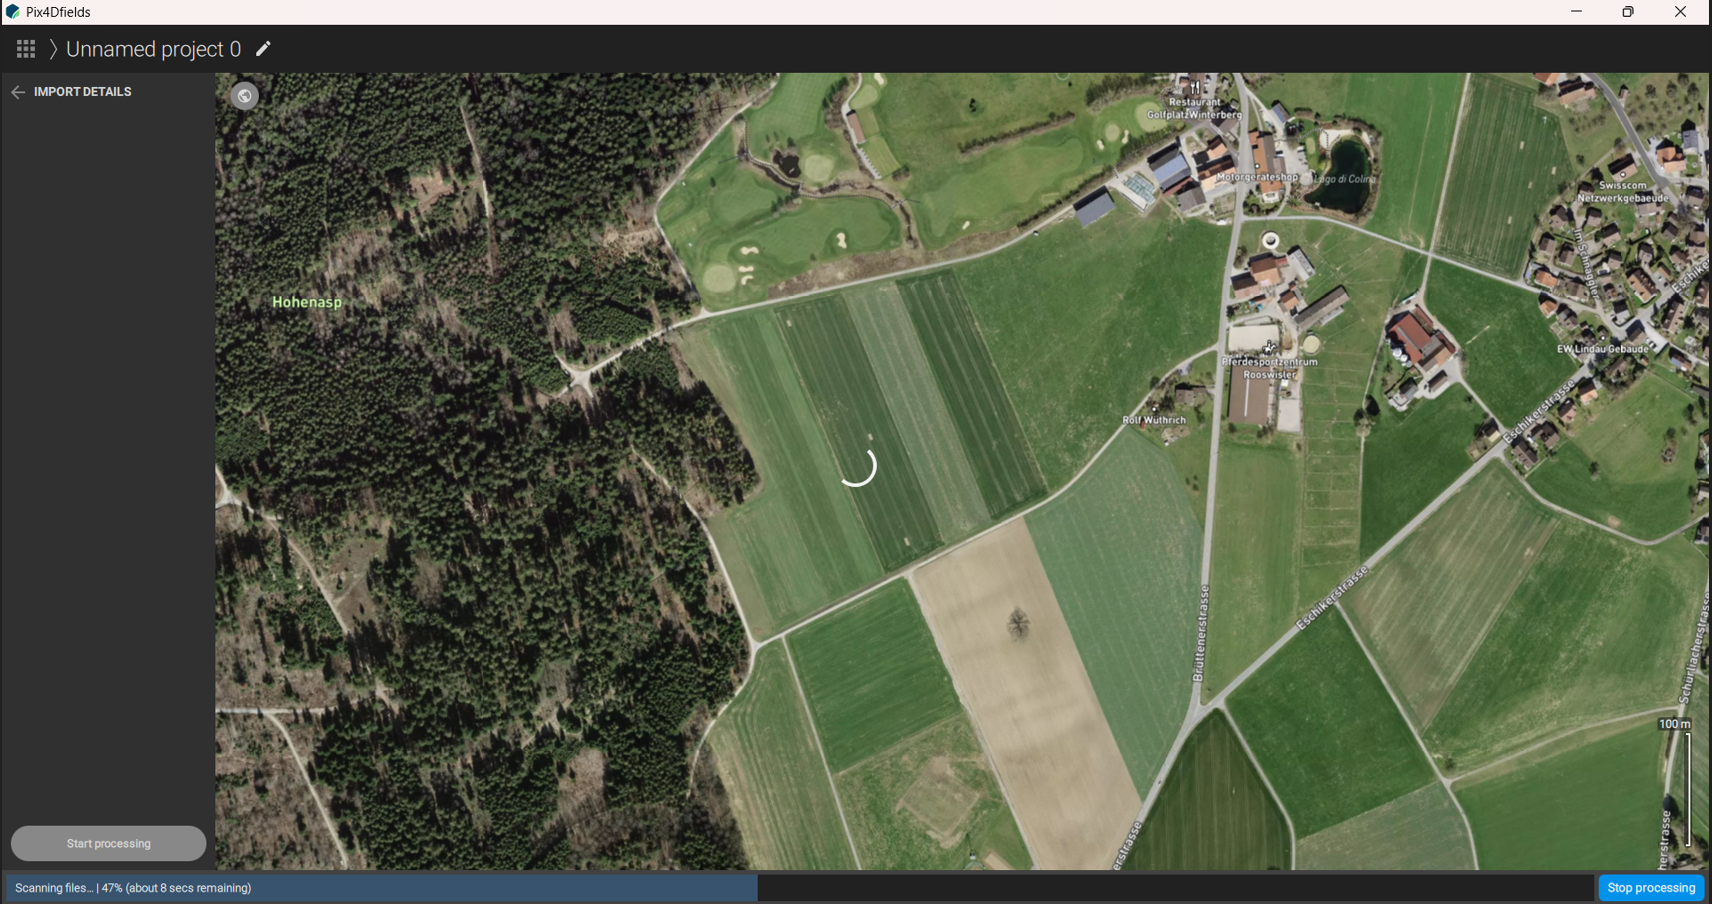
-
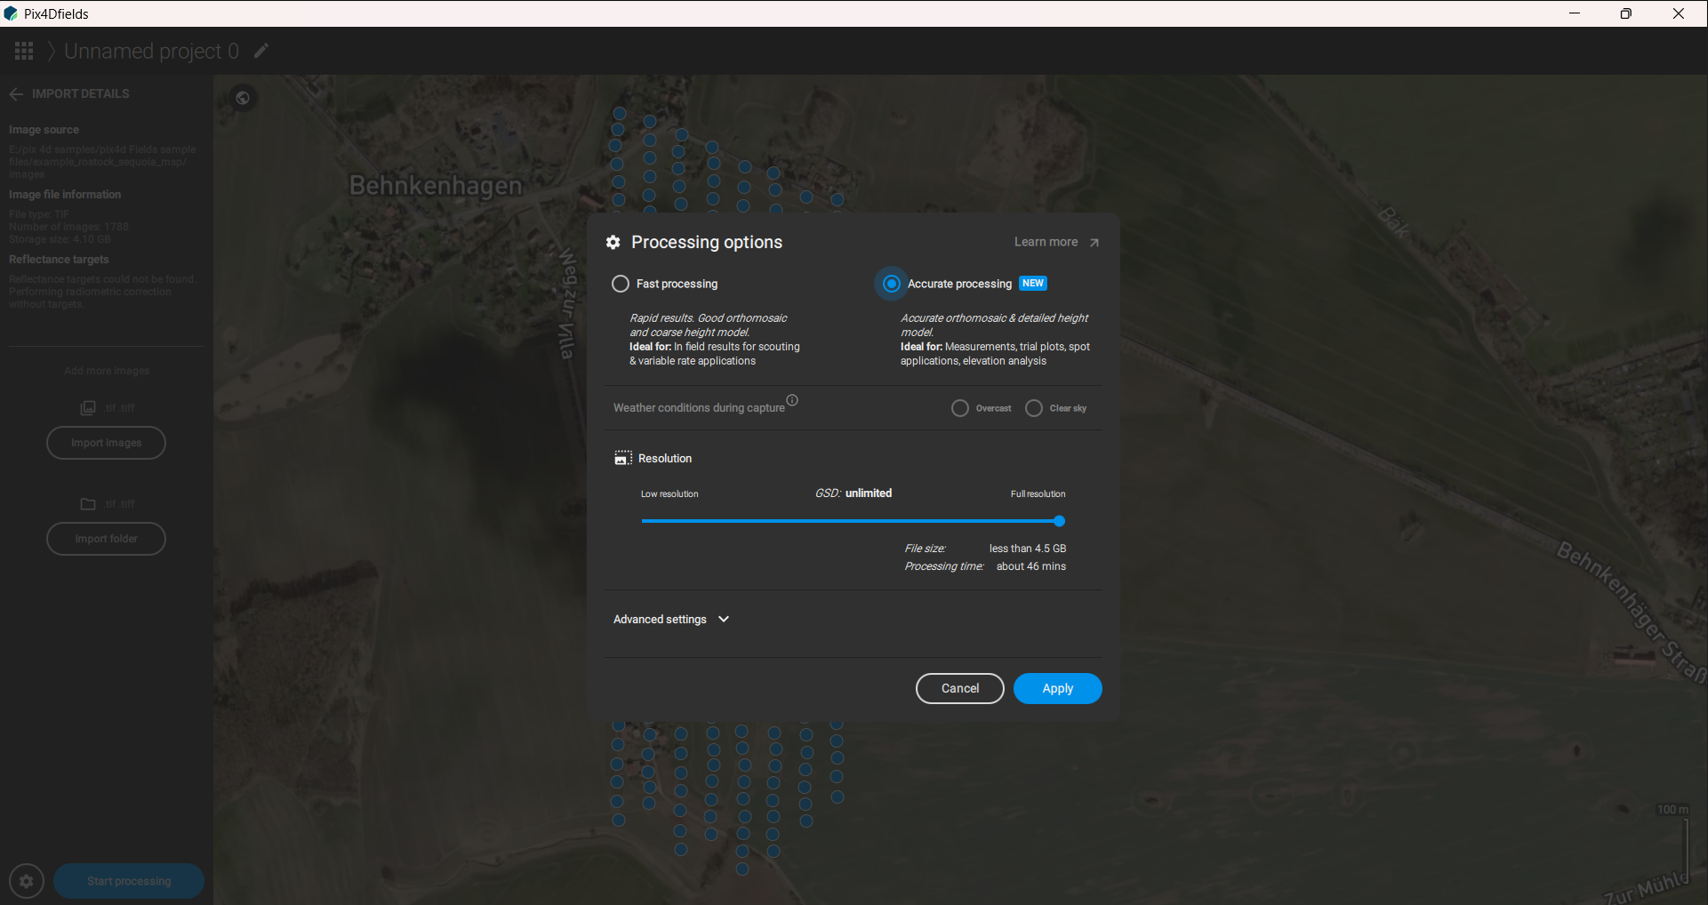
Select Processing Options
- Choose Fast Processing or Accurate Processing based on project needs.
- Click Apply.
-
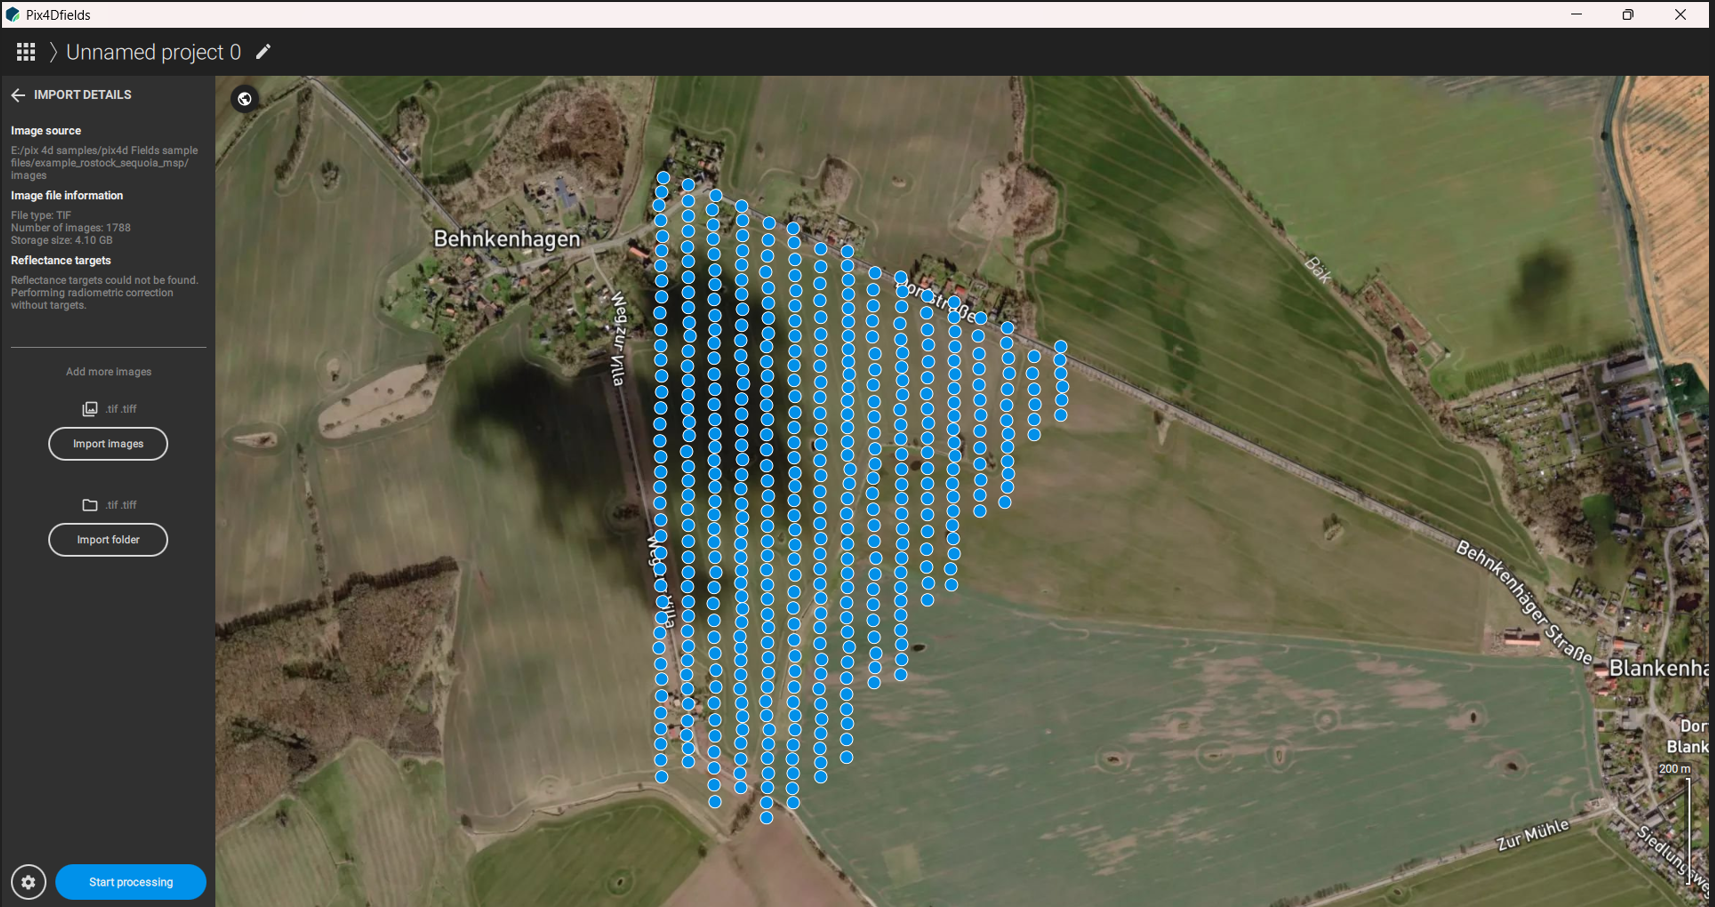
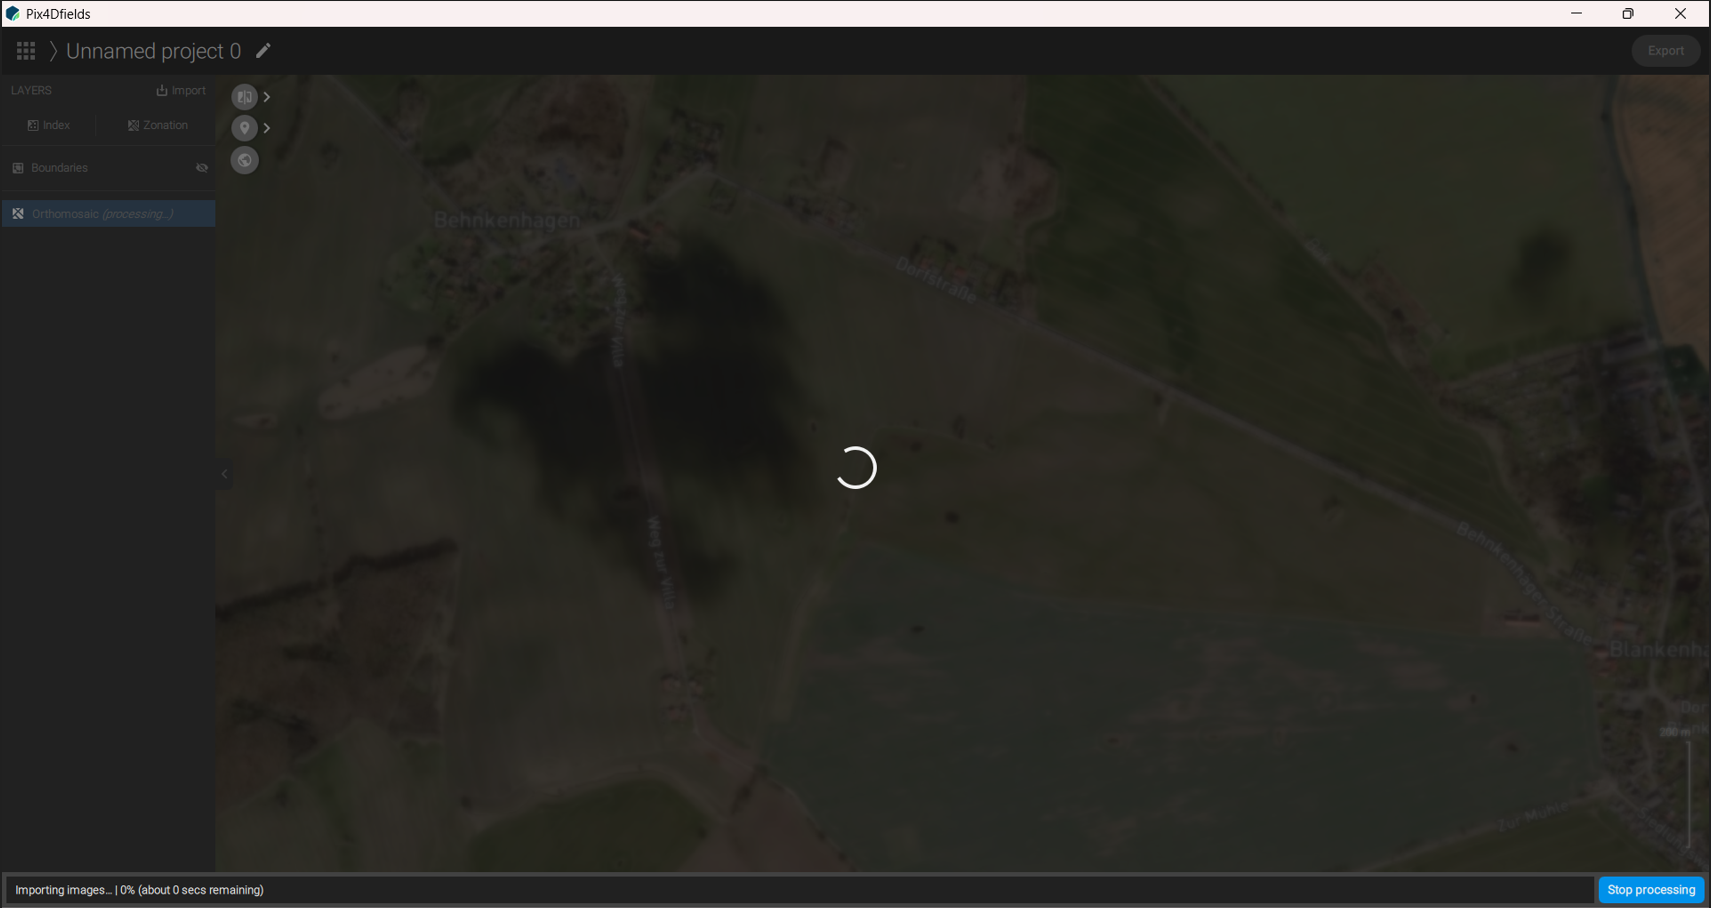
Start Processing
- Click Start Processing (blue button at bottom left).
- Processing time depends on dataset size.
-
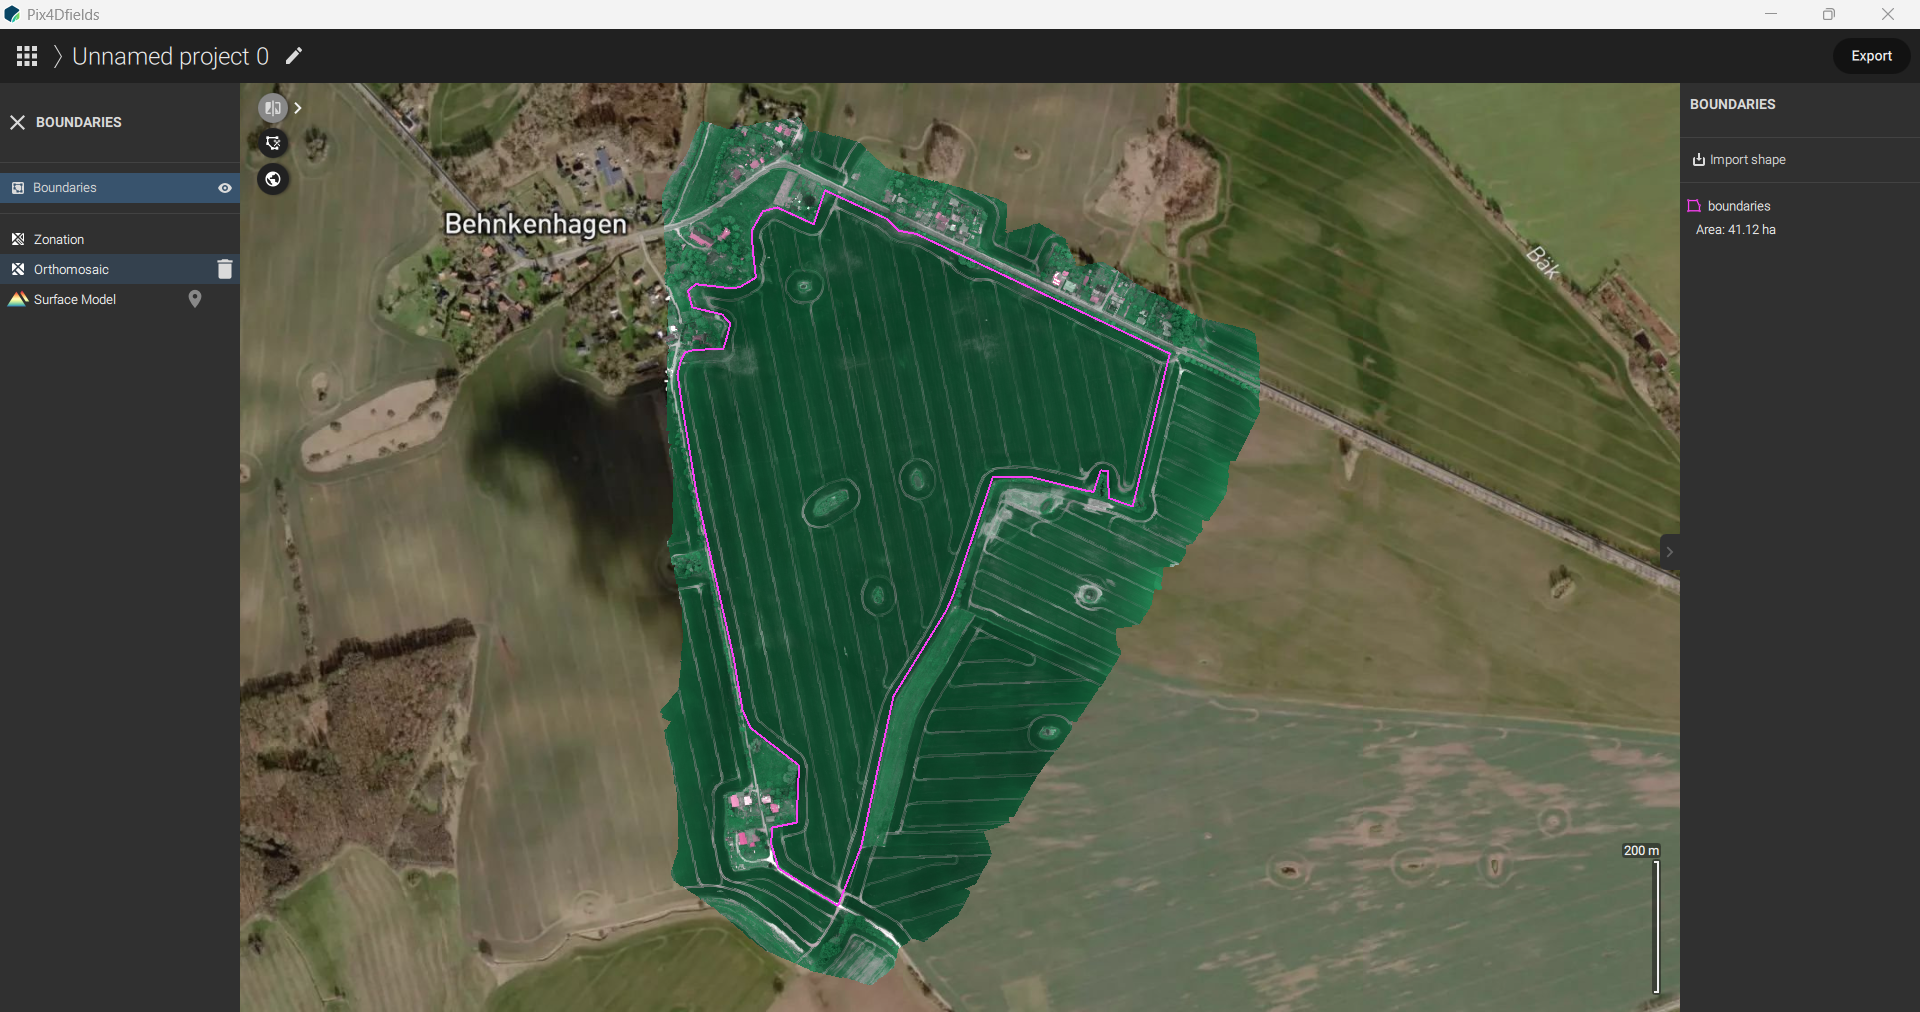
Post-Processing Review
- After completion, review the results:
- Orthomosaic
- Zonation maps
- Surface models
- After completion, review the results:
-
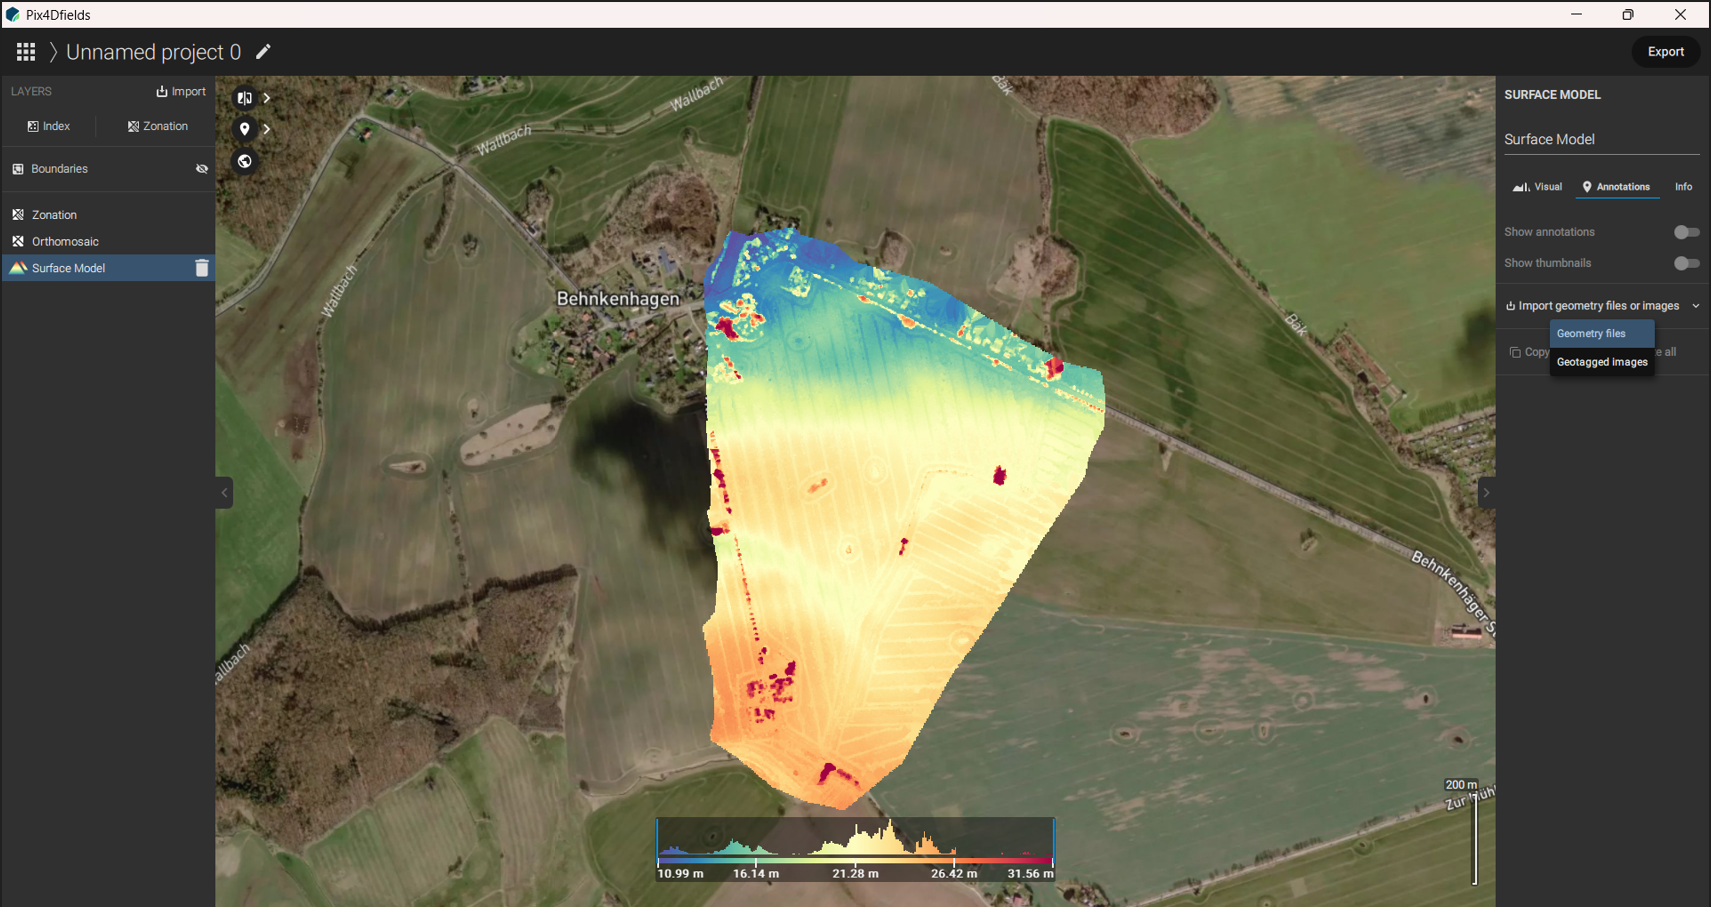
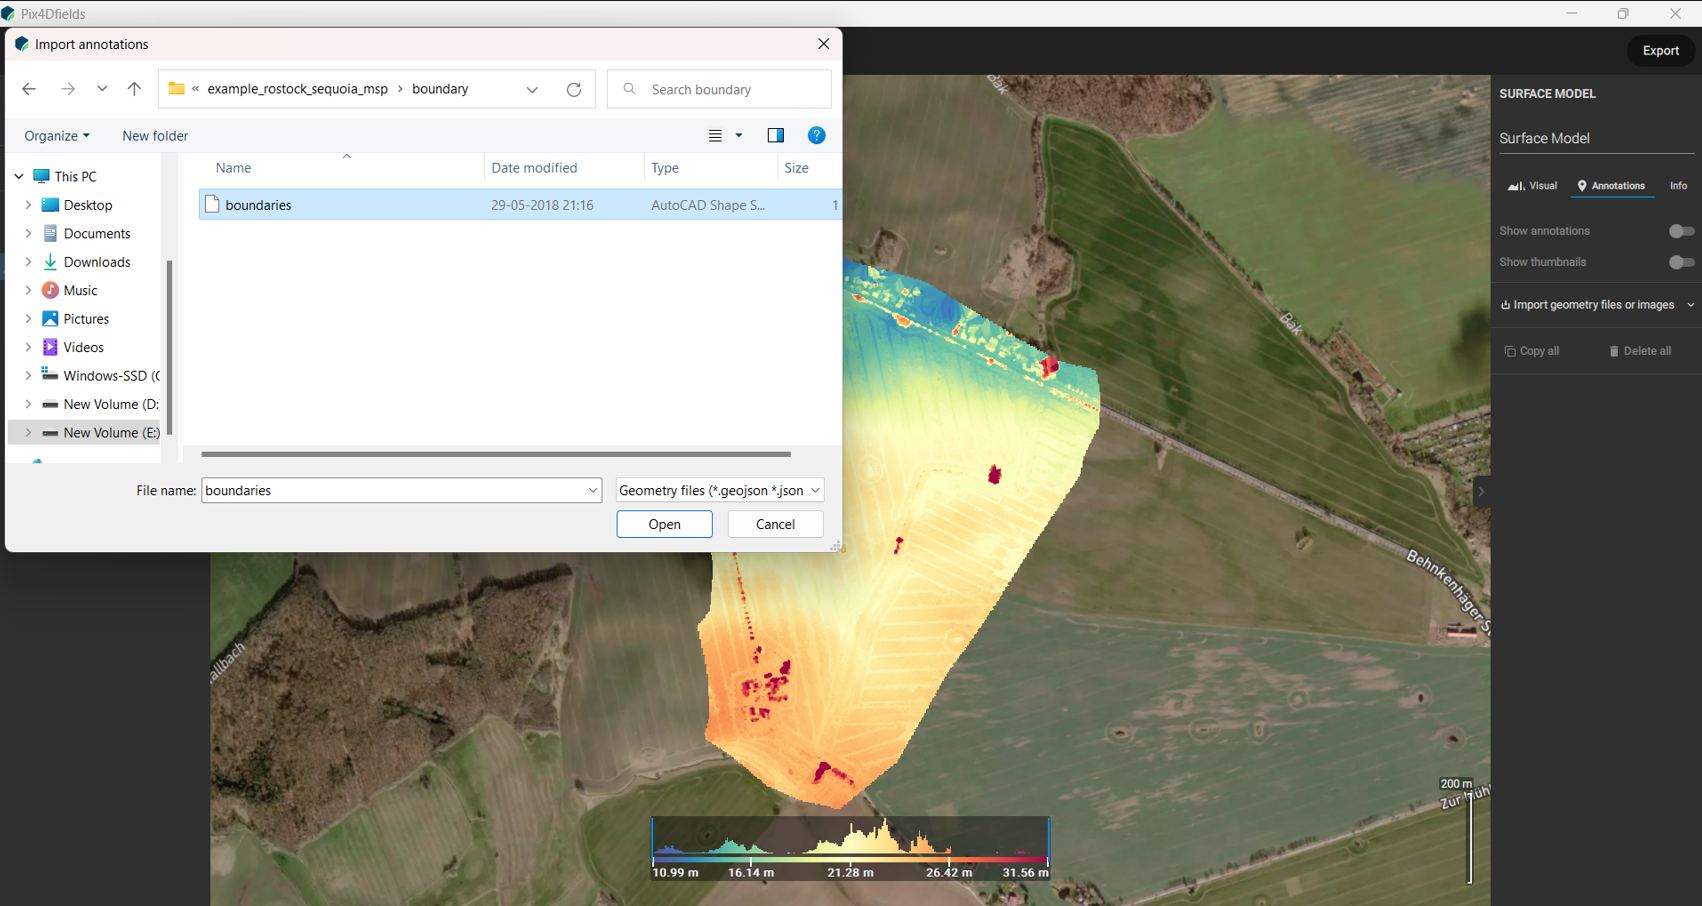
Import Geometry / Boundaries
- Click Annotations → Import Geometry.
- Choose Geometry files (boundaries) or Geo-tagged images.
-
View Options
- Click the globe icon for different views:
- Satellite View
- Street View
- None
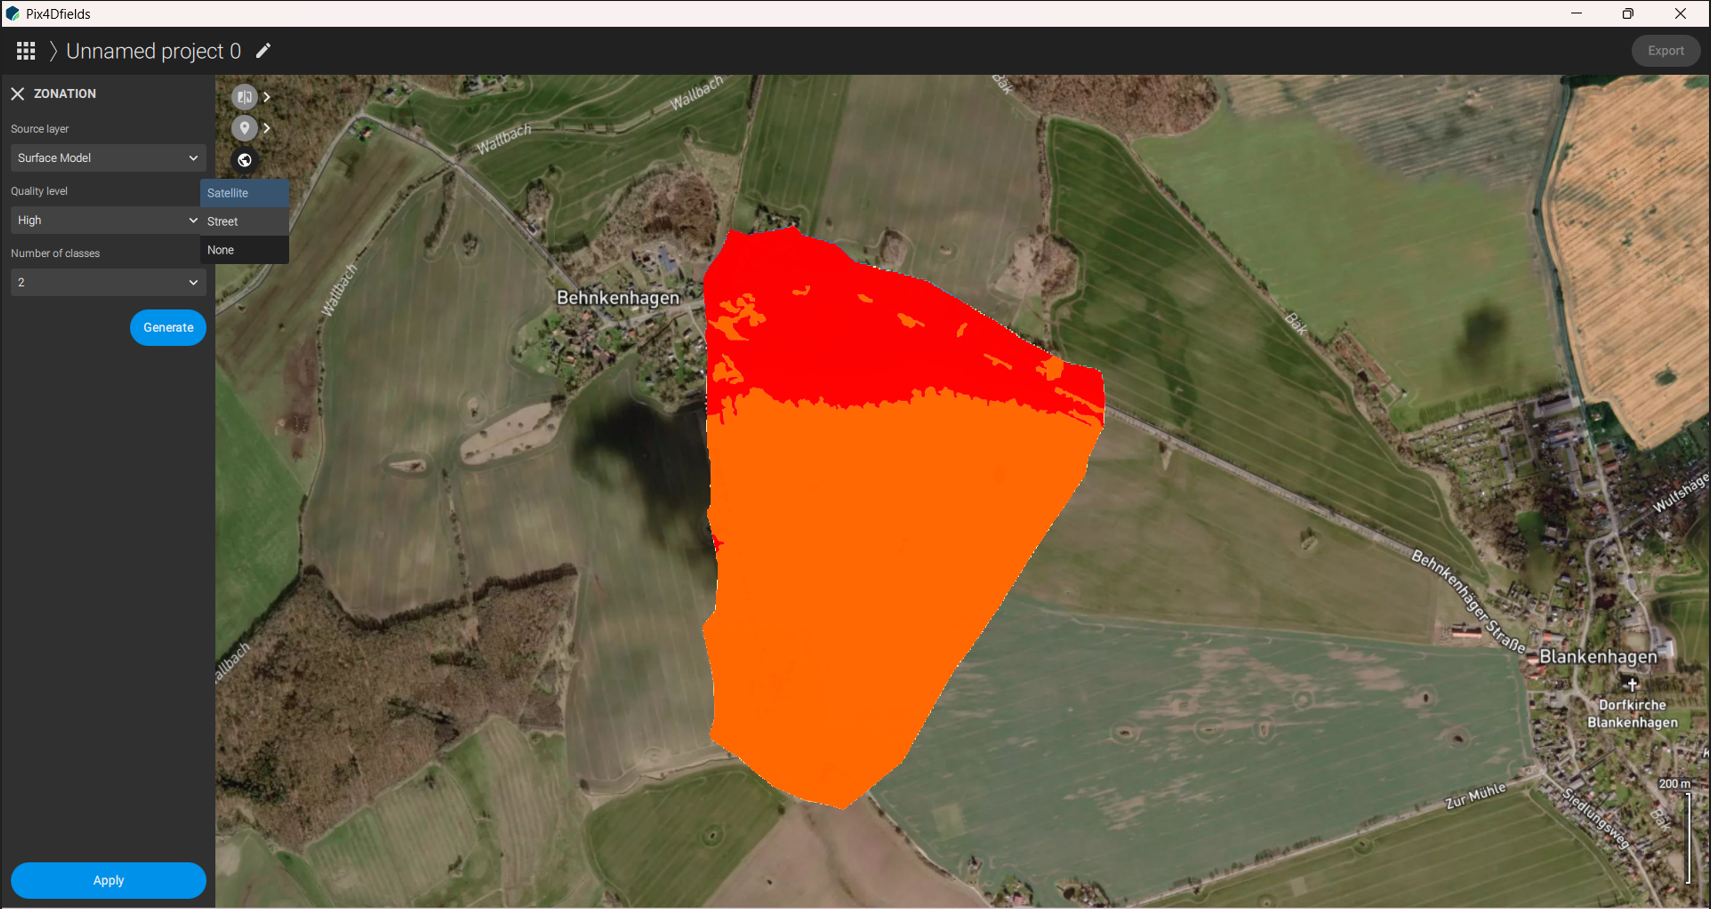
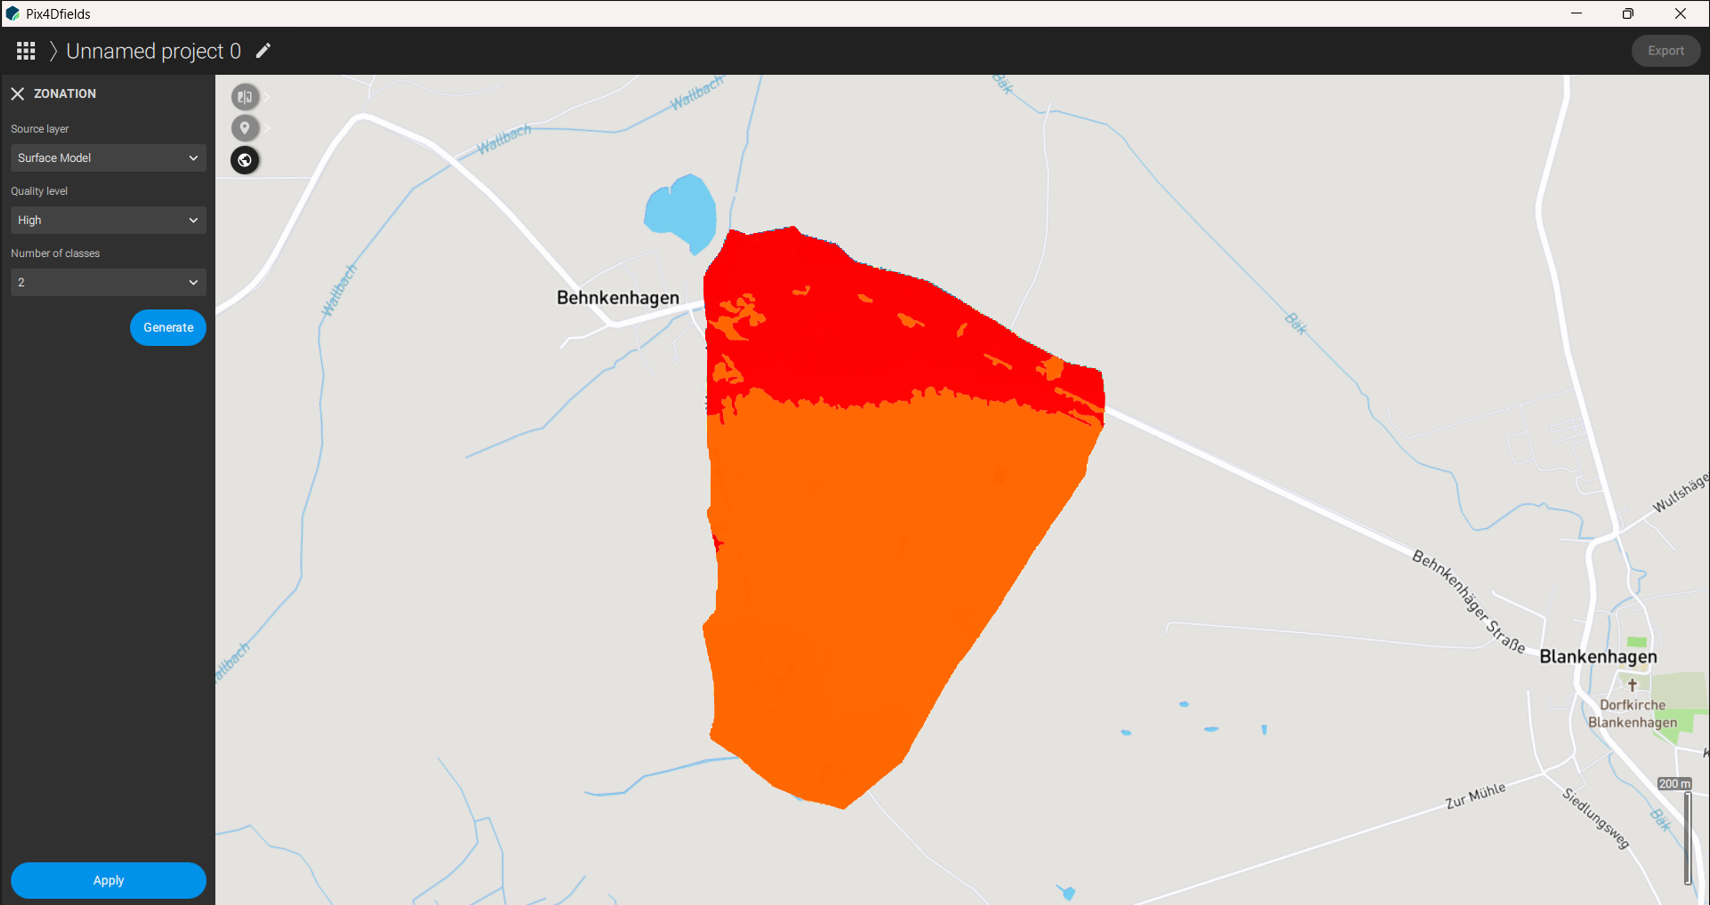
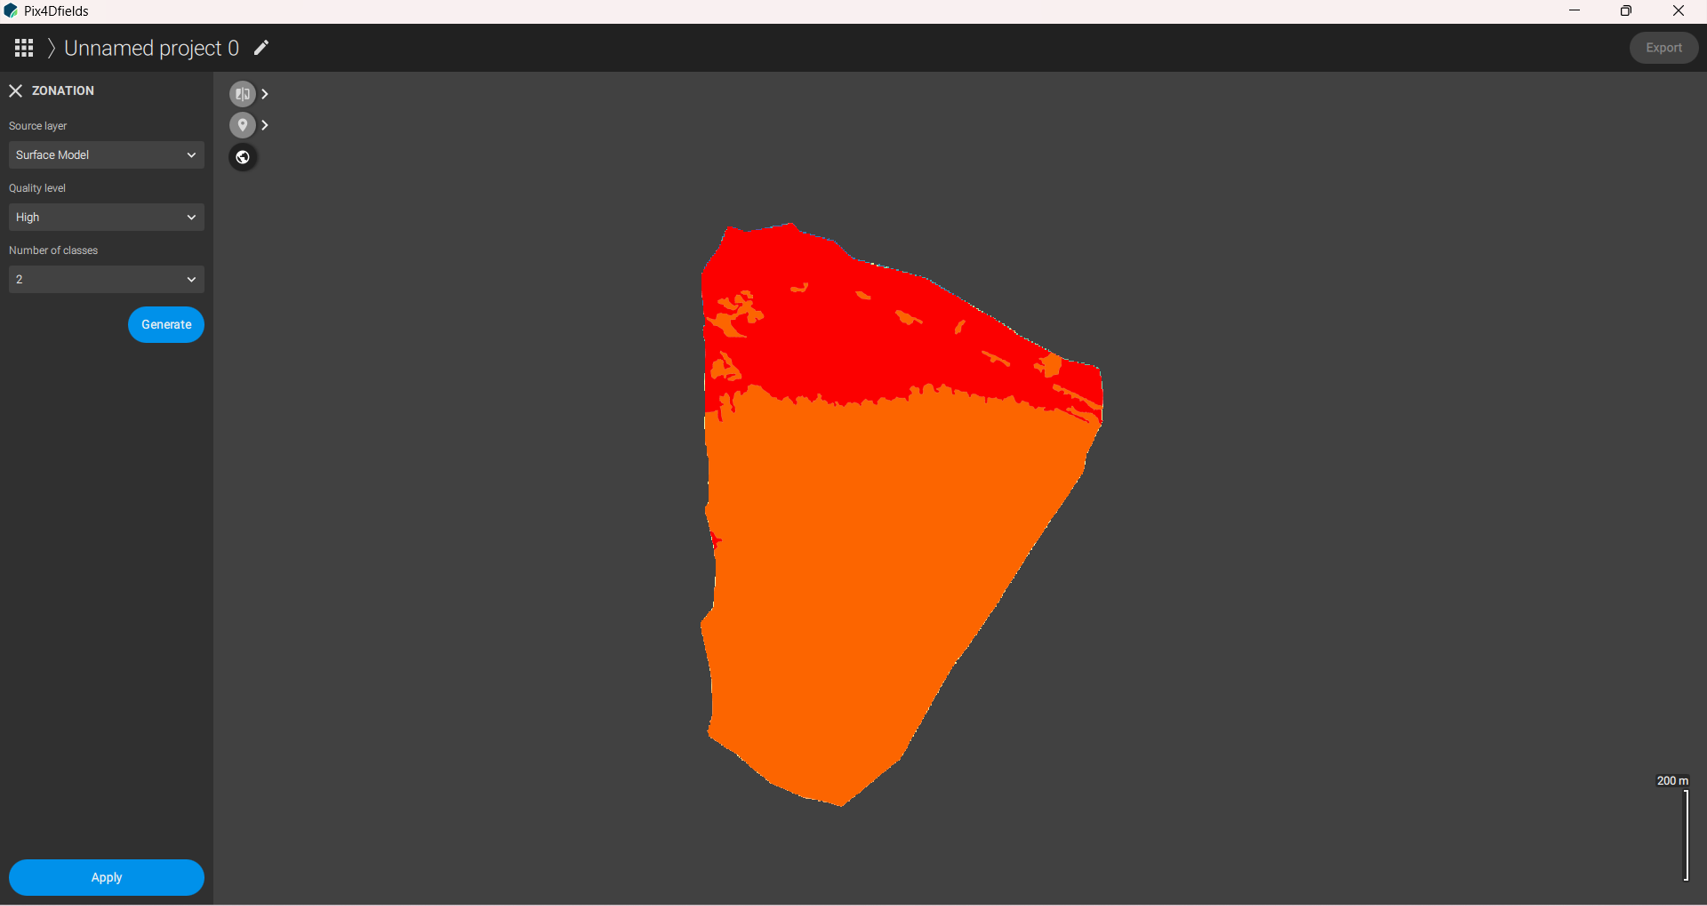
- Click the globe icon for different views:
-
Export Data
- Click Export (top right) to select output formats (GeoTIFF, SHP, PDF).
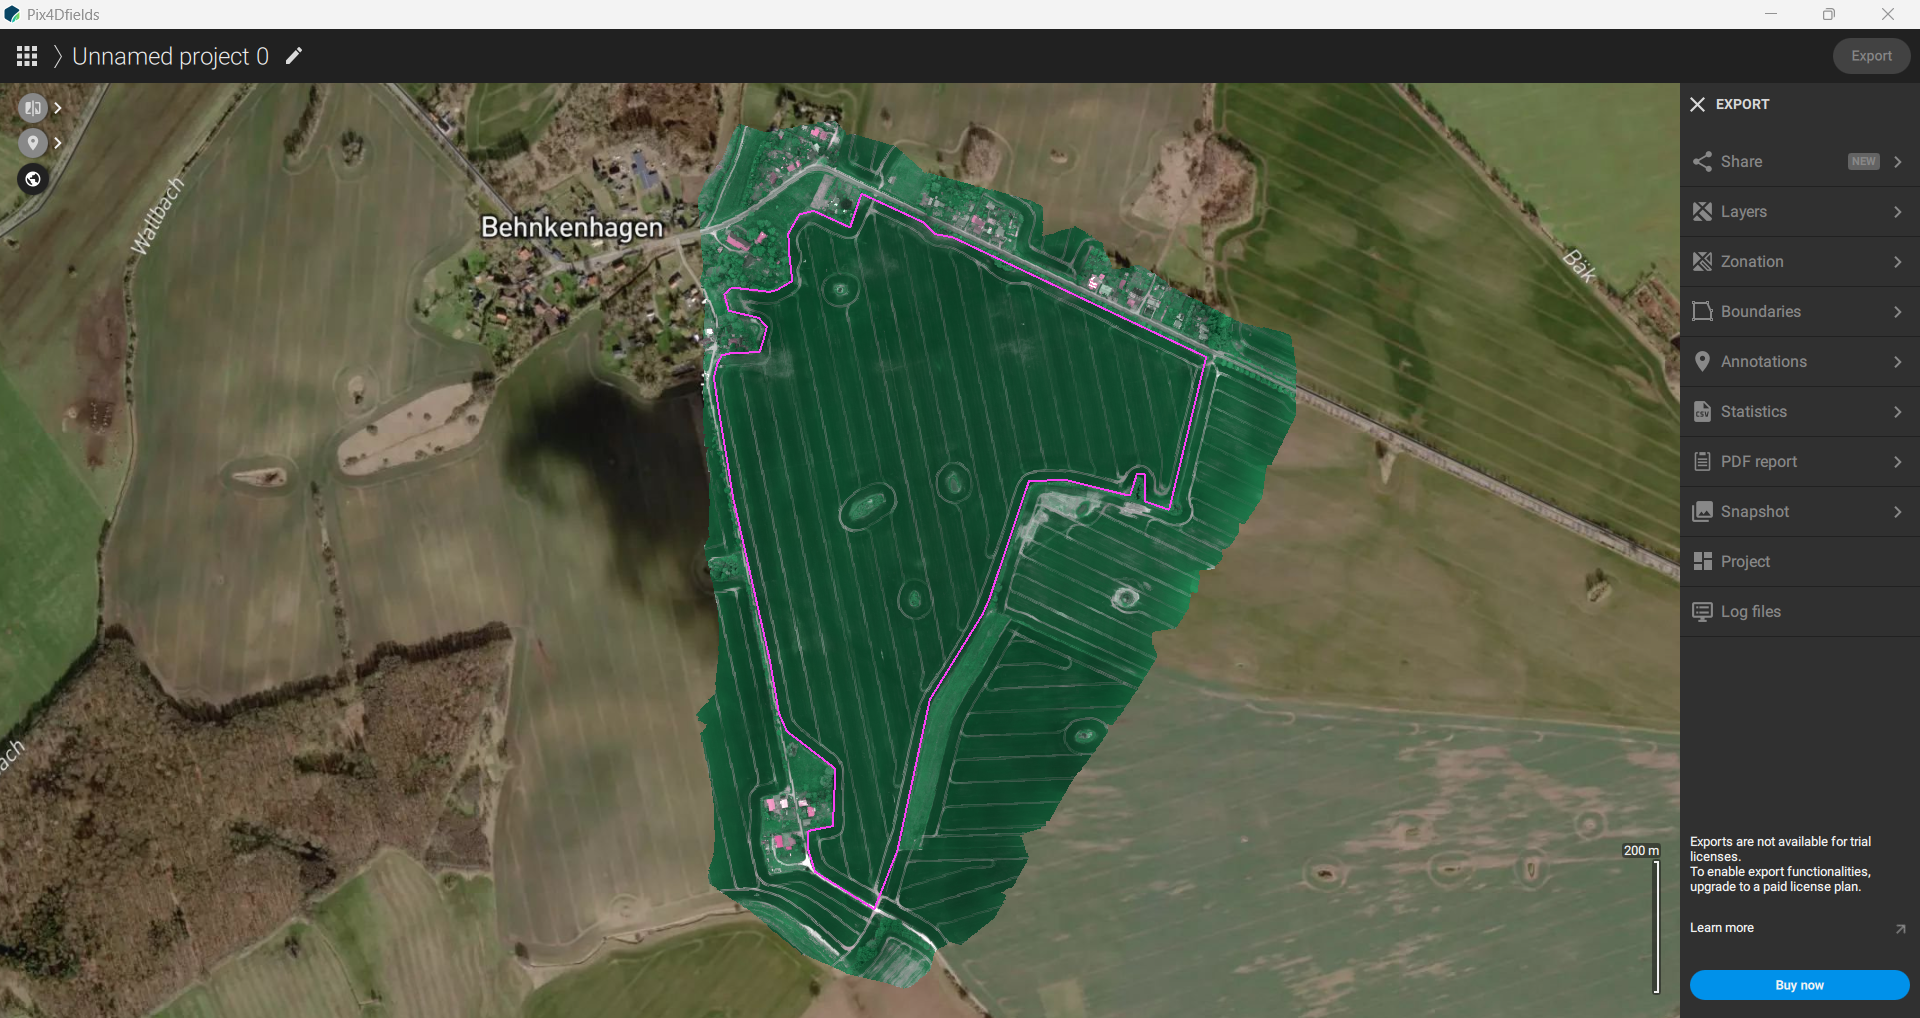
- Note: Export is disabled in the trial version.
- Click Export (top right) to select output formats (GeoTIFF, SHP, PDF).
note
- This workflow is similar to Pix4D React, with focus on field-level orthomosaics and vegetation analysis.