Configuration
Add a new user
As an administrator, you can add users one at a time from Site administration > Users > Accounts > Add a new user.
Admin user can create new user: follow the below steps to add a new user.
Step 1: Site administration > User > Add a new user.
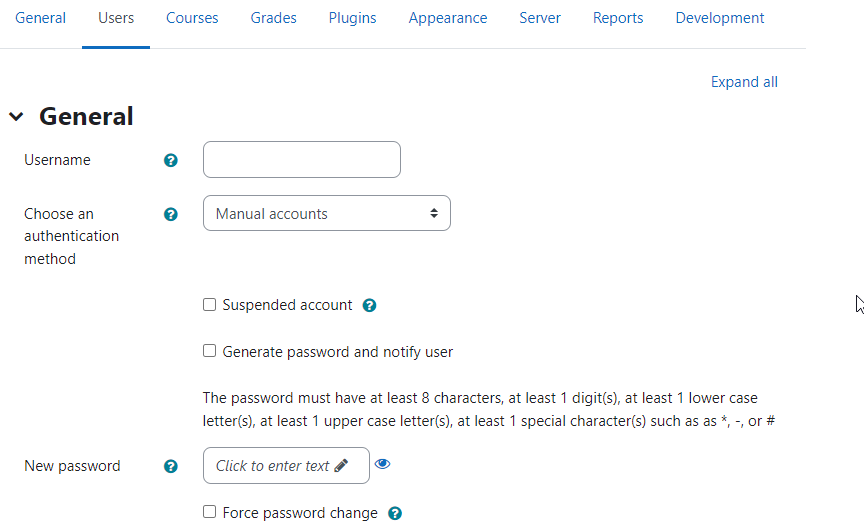
Step 2: fill all fields and click the create user.
Adding a new course
Adding a course
Users join a course; the process is called Enrollment. Normally only the administrator is allowed to add users to a site.
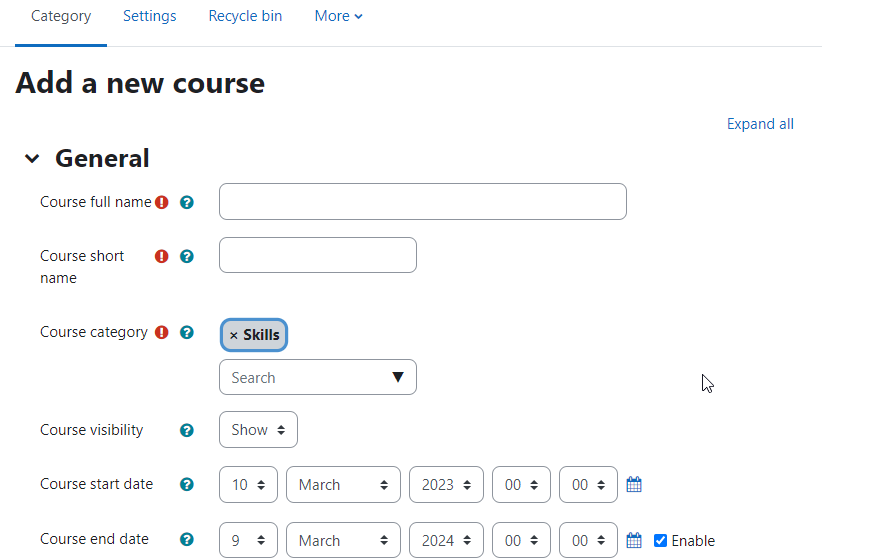
To add a new course to Moodle, you need to have either Administrator, Course Creator or Manager Rights. To add a course:
-
From the Site administration link, click Courses>Manage courses and categories.
-
Click New course in the category page on the right.
-
Click on the category where you want your course to be. For more information see Course categories
-
Click the "New course".
-
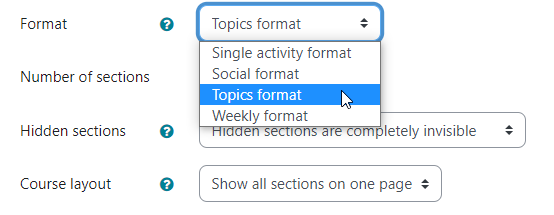
Add all details and choose course format “Topics “
-
The course settings, and then choose either to "Save and return" to go back to your course, or "Save and display" to go to the next screen.

-
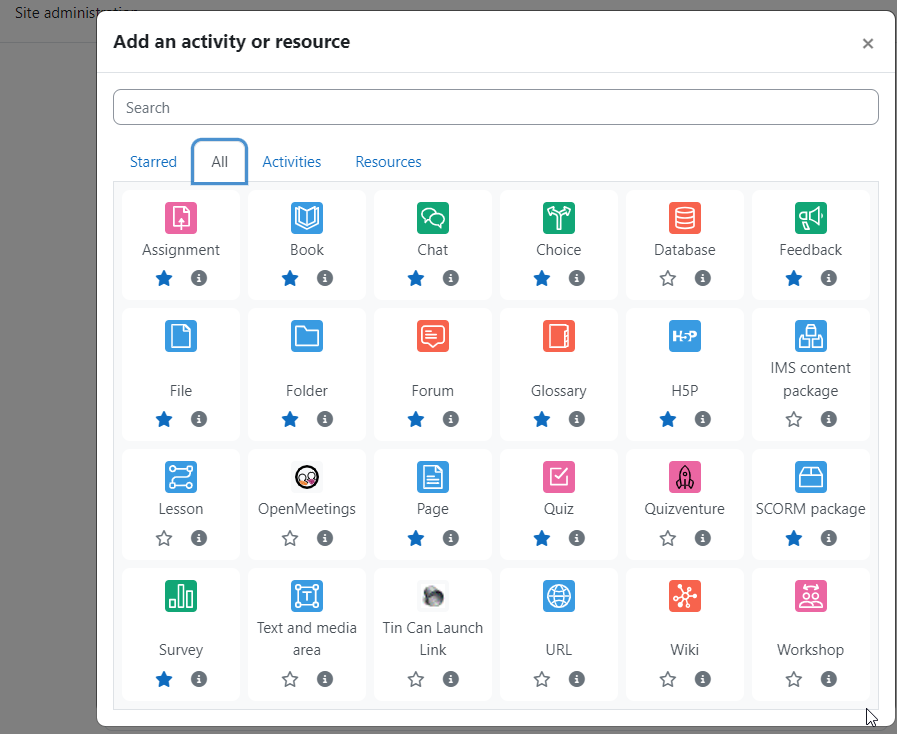
Right side find the “Edit mode “Click the edit mode.

-
Click the add an activity or resource and select the Scorm package.
-
On the next screen, choose your students/teachers to assign to the course.
Deleting a course
Administrators can always delete courses.
To delete a course (as an admin or manager):
-
From the Site administration, click Courses > Manage courses and categories.
-
Click the course's category and click the course in the screen on the right.
-
Click the Delete link.
You can delete multiple courses by:
-
Creating a new (temporary) category. You can name it "To be deleted".
-
Select and move the "About to be deleted" courses to that category ("To be deleted").
-
Delete the category ("To be deleted") and choose "Delete ALL - cannot be undone".
Course requests
The course request feature can be enabled by an administrator in Administration > Site administration > Courses > Course request.
An admin can set the default category for course requests, whether users can select a category when requesting a course, and who can receive notification of course requests (from a list of users with the capability Moodle/site:approvecourse).
A 'Request a new course' button will then appear on the 'All courses' page. The All courses page can be accessed via a link in the Courses block. Alternatively, you can create a link (in an HTML block or page resource etc.) to the request a new course page https://yourmoodlesite.org/course/request.php.
If course requests are enabled, by default all authenticated users can make course requests. See Course requester role for details of how to restrict users who can make course requests.
Automatically approving course requests
A plugin Course auto-approve allows for courses to be automatically approve, as in the Learn Moodle Basics MOOC
Adding a category
Most people organize their courses by topic.
Adding categories is very simple:
-
Go to Administration > Site administration > Courses > Create new category.
-
Complete the details required and click 'Create category.'
-
Alternatively, you can go to Administration>Site administration>Courses>Manage courses and categories and click the link 'Create new category'.
-
If you are on the category page (or you only have Manager rights at a Course Category level), click the 'Manage courses' button at the top-right of the page and then click the link 'Create new category'.
If the category is visible, the course category description will be displayed to users when they enter the category, above the list of courses.
Assigning users, a role in a course category
To assign a Manager at the Category level, see Assign Manager role at category level.
To enroll teacher or students' roles category wide, see Category enrollments.
Participants, Enrollment, Roles
Enrolling users to course
Go to the home and select the course and click the participants menu.
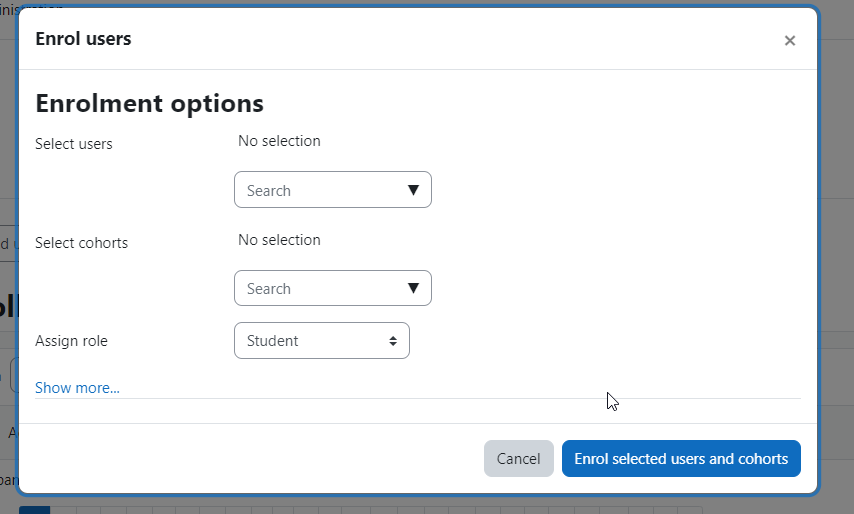
Users may be enrolled from the Enroll users' button at the top right and bottom right of the screen.
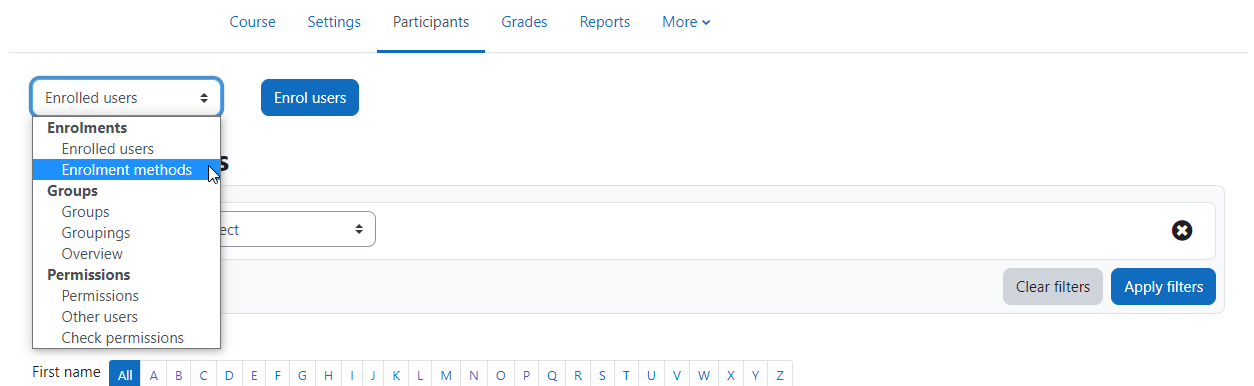
Enroll the course to click the Enrollment methods and enable the self enrollment.
It is possible to bulk select, edit and delete users who have self-enrolled, in a similar way to users who have been enrolled manually.
Enrollment methods
Depending upon which enrollment methods are enabled for the site (by an administrator in Site administration > Plugins > Enrollments > Manage enroll plugins), some or all of the following are available within a course:
Manual enrollment
-
This enables users to be enrolled manually in Course administration > Users > Enrolled users.
-
It allows the teacher of the course to manage individual or collective enrollment to their course themselves - for example: if a new student arrives to class unexpectedly with just a login to the site, they may be enrolled by the teacher into their course without any input from an administrator.
-
See Manual enrollment for full details of how this can work in your course.
Self-enrollment
-
This allows users to enroll themselves into a course, either directly or via an enrollment key ("course password") The teacher does not then have to manually add students.
-
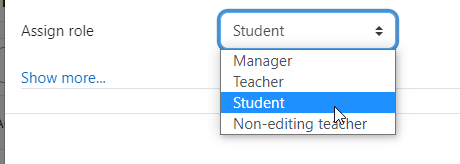
More than one instance of the self-enrollment method can be used so that when users enrol themselves, they are assigned different roles e.g., certain users can be assigned the role of student and other users can be assigned the role of non-editing teacher.
-
The self-enrollment method also allows for users to enroll themselves into groups by using a group enrollment key.
-
See Self enrollment for full details of how this can work in your course.
Roles
-
To assign an enrolled user a role, click the pencil icon in the Roles column then select the desired role and click the save icon to confirm the change.
-
To remove a role assignment, click the delete icon (a cross) next to the role name.
-
Only roles which can be assigned in the course context type are available to select. The course context type may be set by an admin by editing the role via Site administration > Users > Permissions > Define roles.
-
Only roles which a user is allowed to assign are available to select.
Hiding the list of participants
- If required, you can use the capability View participants to prevent students from viewing the list of participants.
At the course level:
-
From Course navigation, click Participants and from the dropdown, select Permissions.
-
Filter by view participants
-
For the capability 'View participants' remove the student role and confirm.
-
At site level, the 'View participants' capability can be unset for the role of student.