SAP-BTP
SAP-BTP KYMA Trail Account Creation
-
Log into the SAP website
-
Visit https://www.sap.com and click the Log On icon in the upper-right corner.
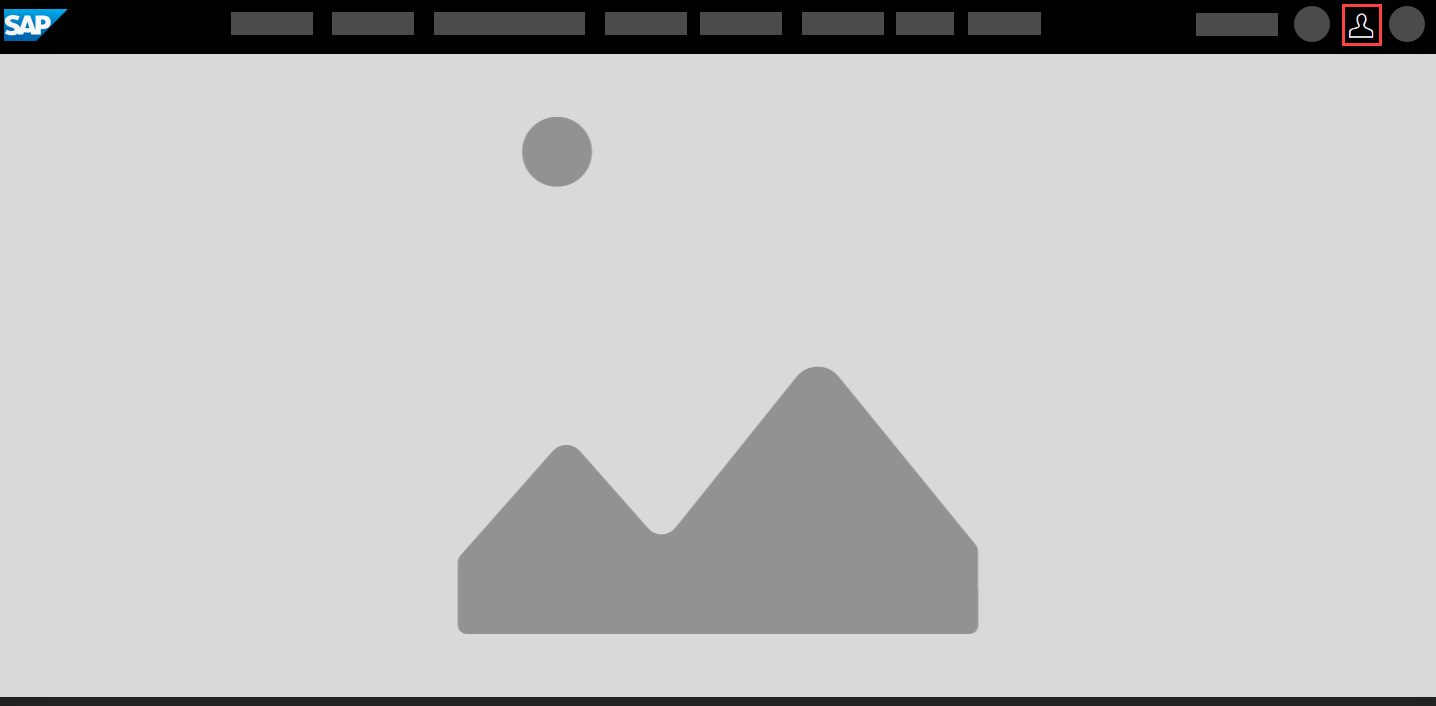
Note: If you already have an SAP account (P, S, C, D, or I number), enter your credentials or associated email with password. For new users, click Register to create an account
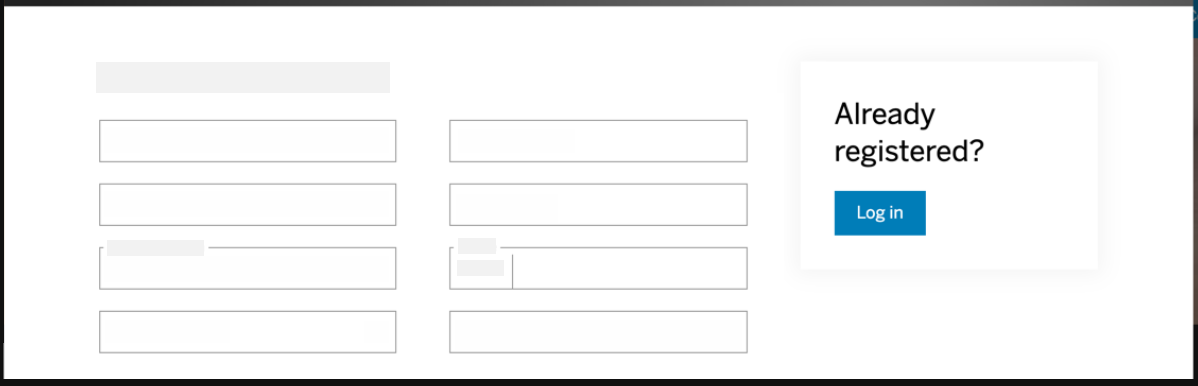
Step 1: Register New Account (Skip if existing user to )
-
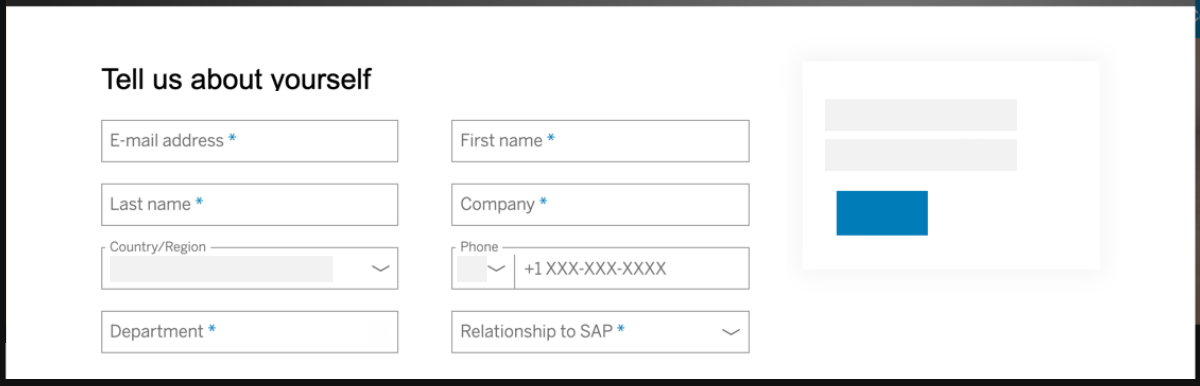
Fill in the required fields in the registration dialog on the left-hand side
-
Click Submit
- You will receive a message confirming that an activation link has been sent to your email
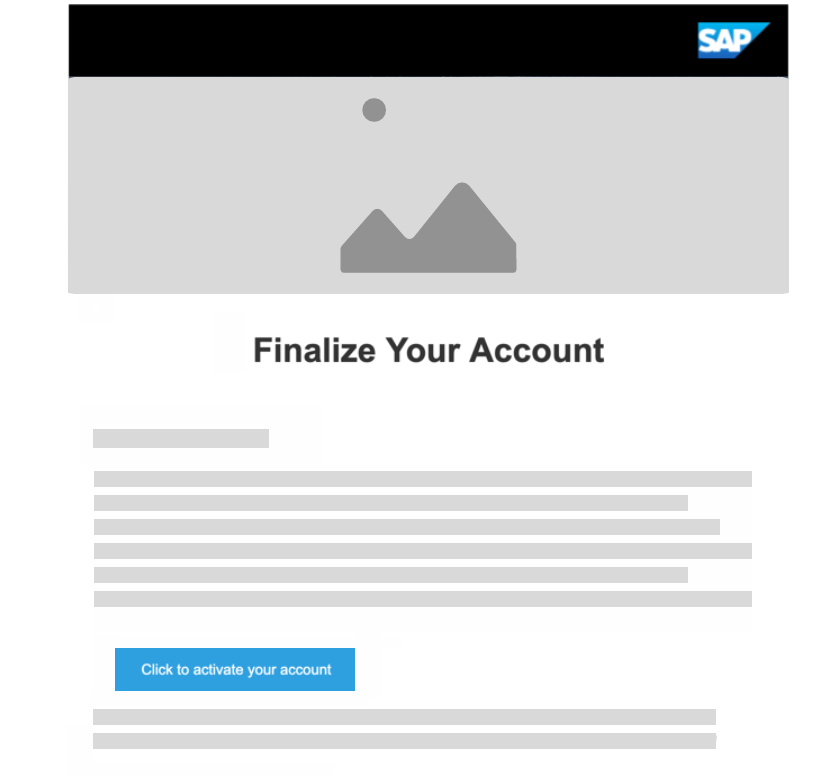
Step 2: Account Activation
-
Check your email for the activation message
-
Click Click to activate your account button
-
You will see a success message after account activation
Step 3: Access SAP BTP Trial
-
Go to the SAP BTP Trial page
-
Click Log On
-
Review and accept the terms and conditions by checking the check boxes
-
Click Accept
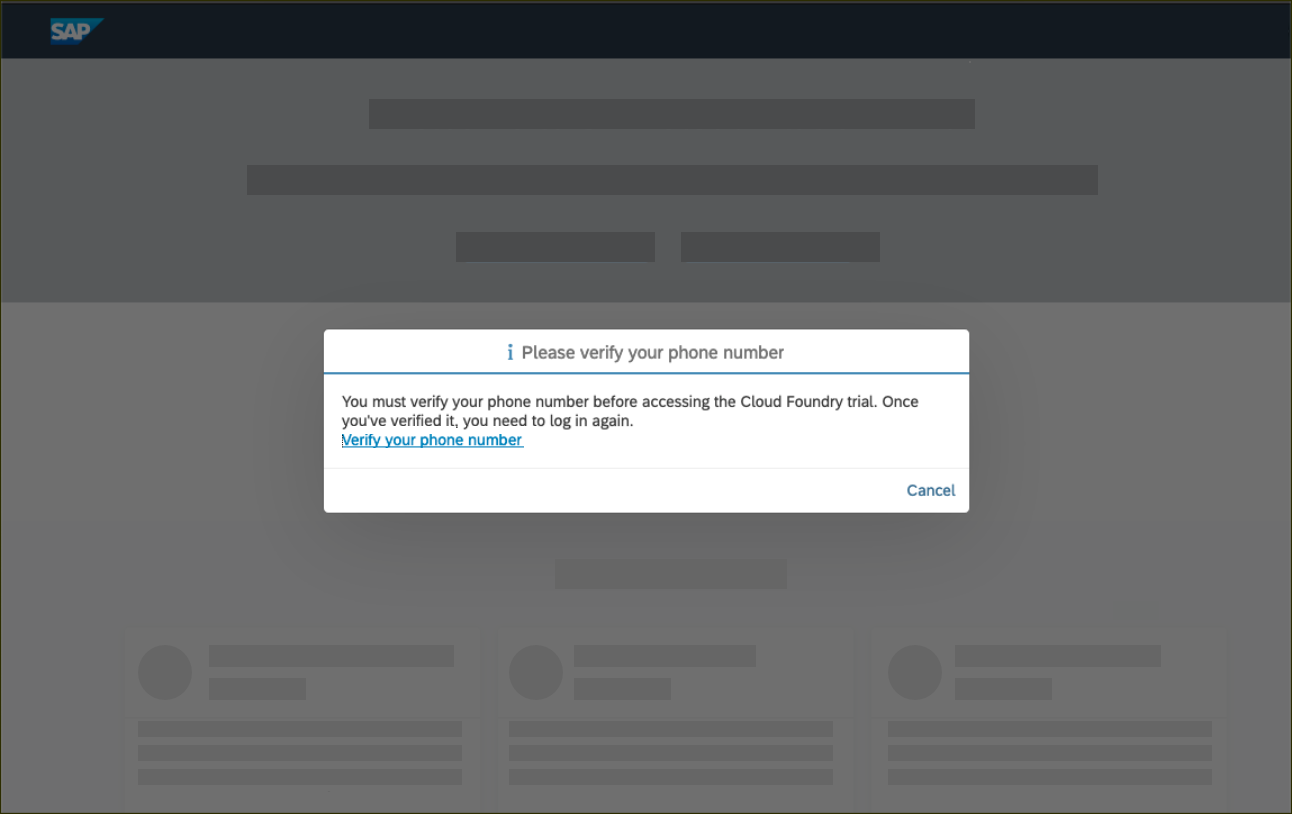
Step 4: Account Verification
-
Click Verify your phone number when prompted
-
Enter your phone number and click New Code
-
Enter the received verification code
-
Click Continue to complete verification
-
You will be automatically logged out after verification
Step 5: Access Welcome Screen
-
Click Log On to access your verified account
-
Click Go To Your Trial Account to navigate to your global account
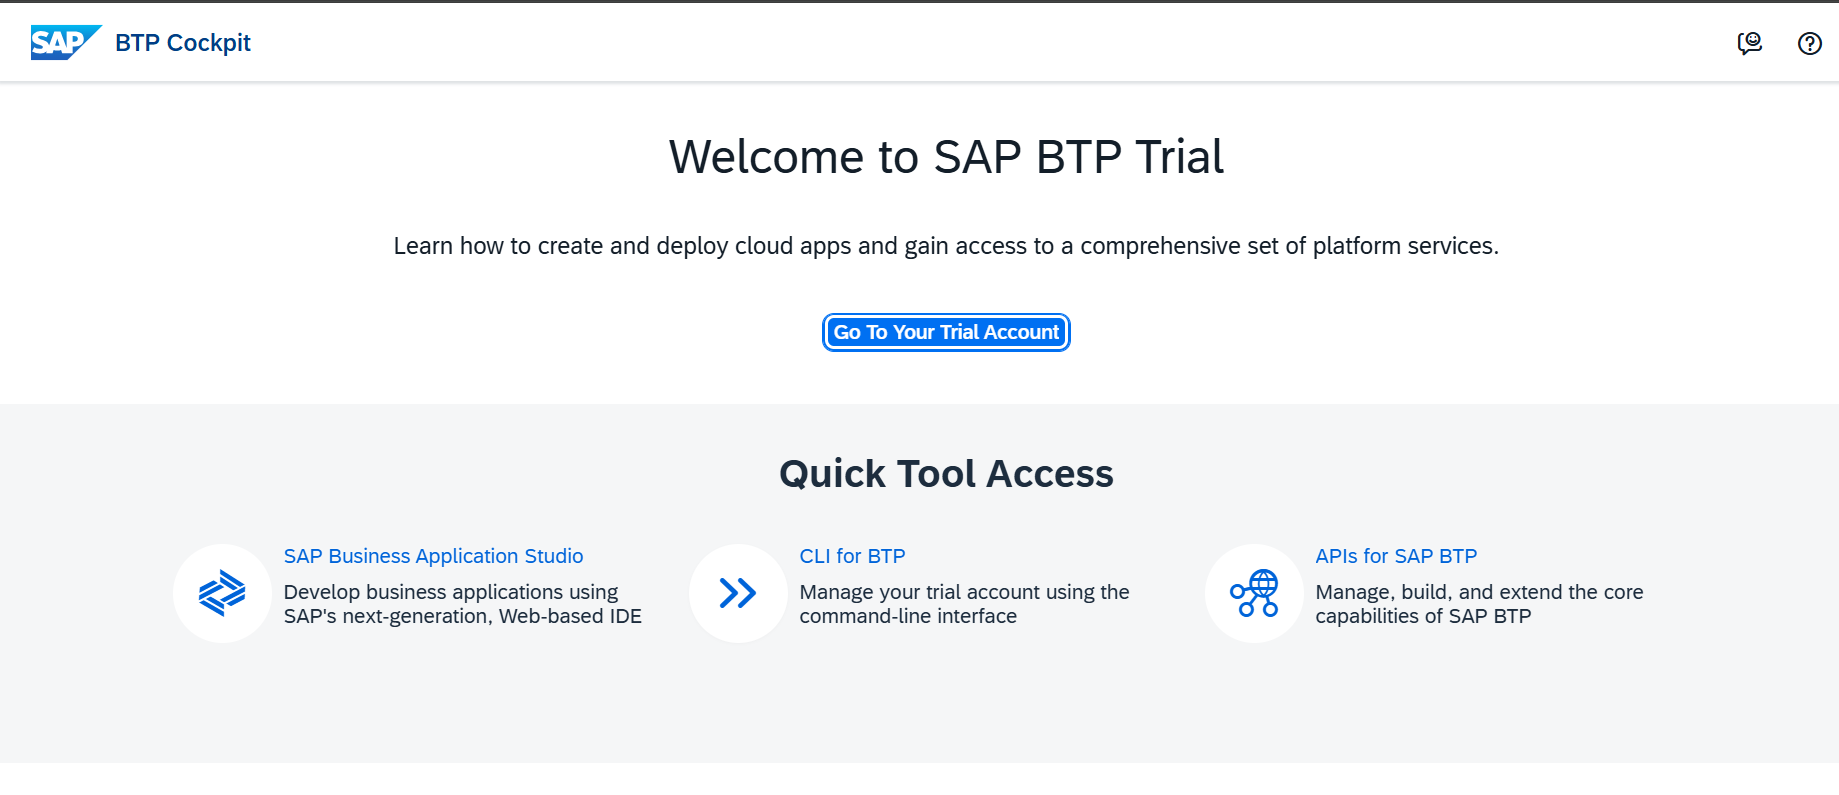
- Bookmark this link for quick future access
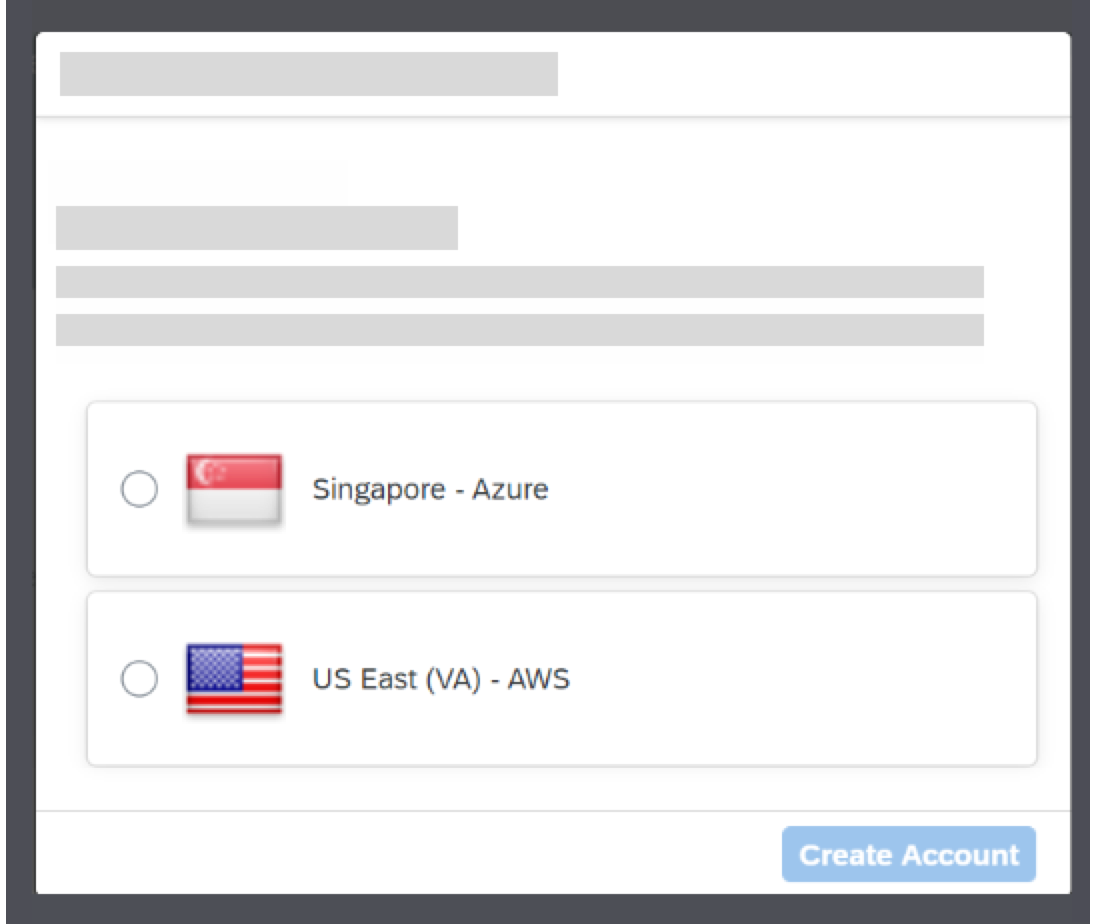
Step 6: Create Subaccount
-
Choose any geographic region from the available list
-
Click Create Account to start the provisioning process
-
You will then see a dialog box while the account is set up. When complete, click Continue to close to popup and to navigate to the new account.
-
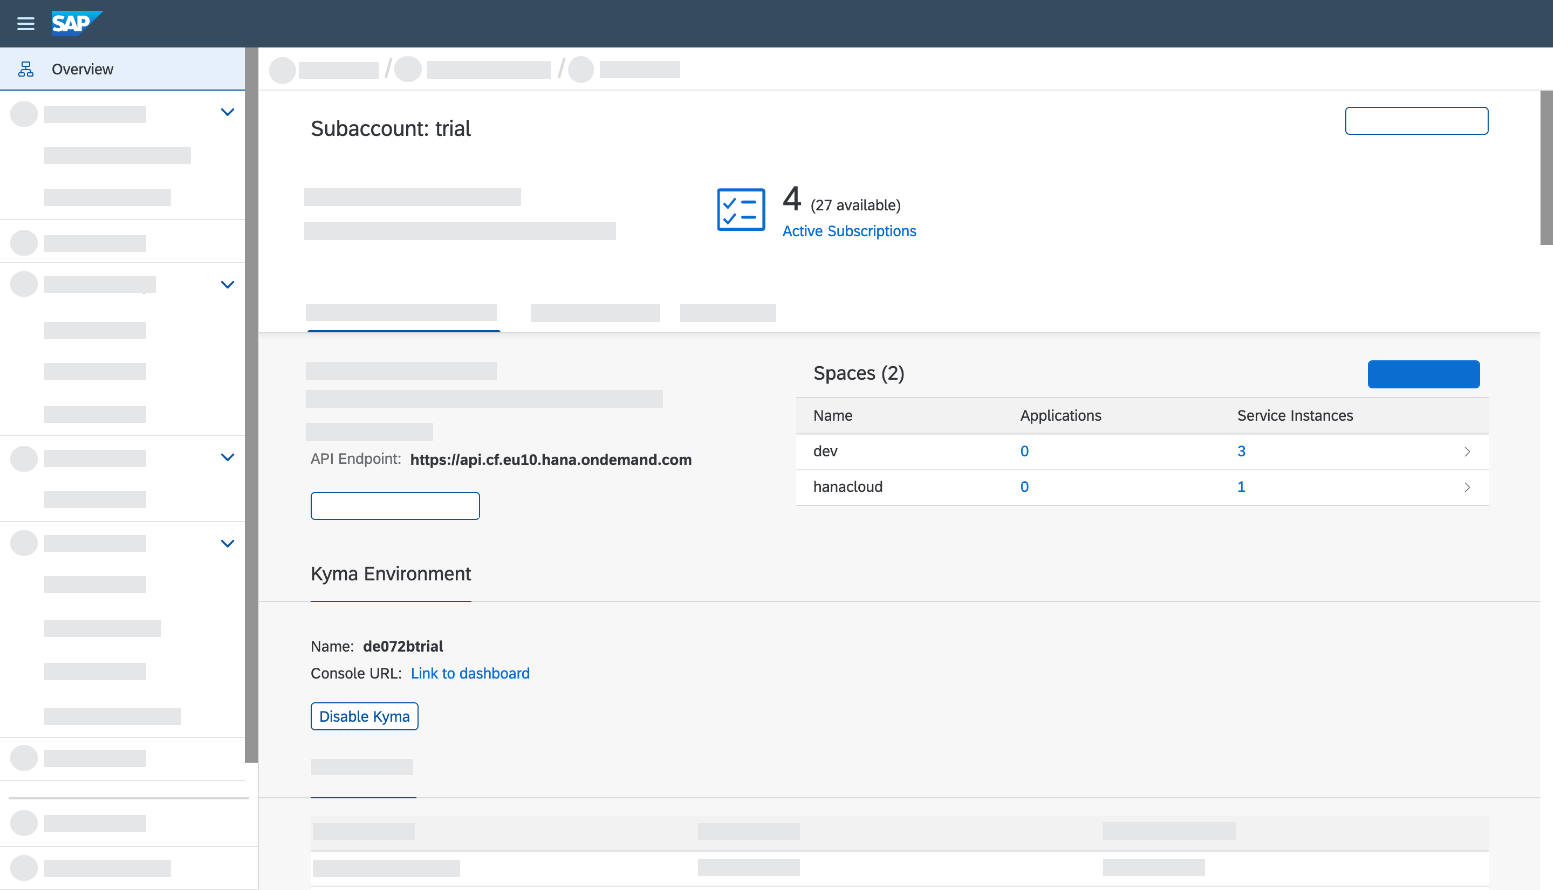
The global trial account contains one subaccount and space. Navigate to subaccount by clicking on the tile named trial (this name may vary if you created the subaccount manually).
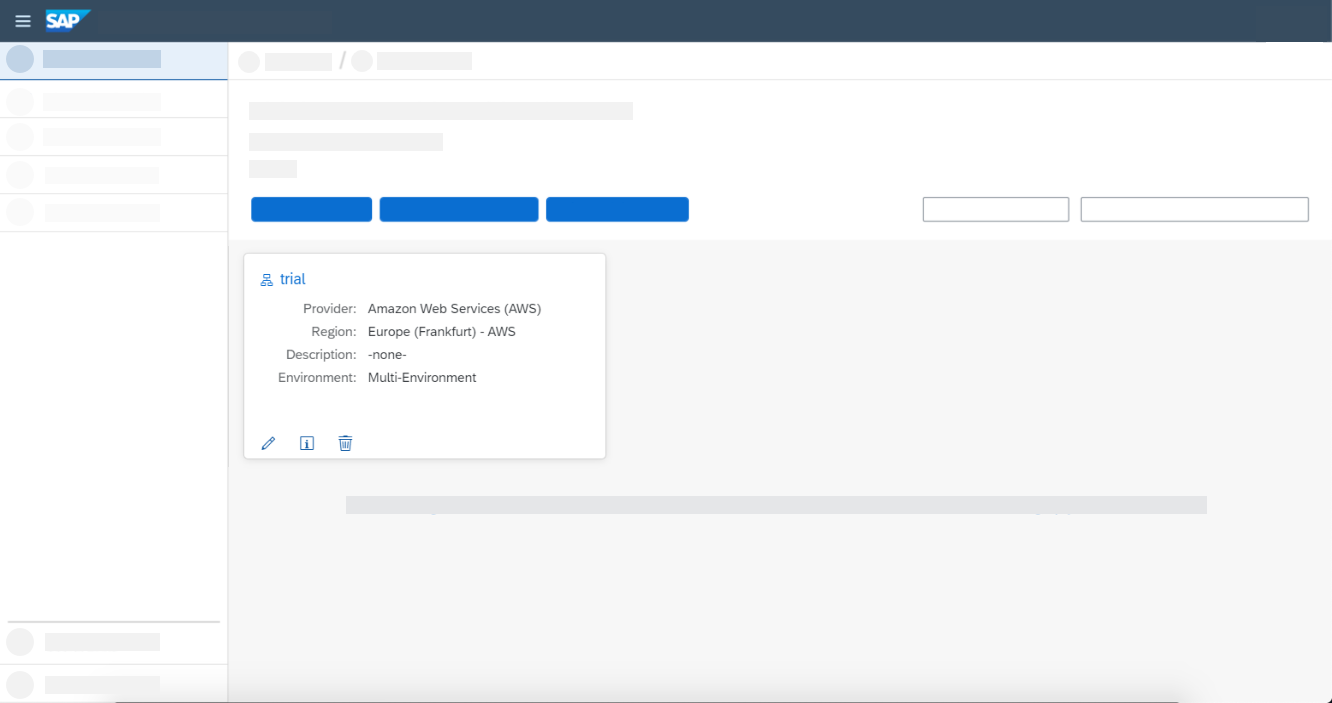
- This page will display the current state of the sub account. You can manage your subscriptions and jump into the different runtime environments. It also shows you fundamental information of the Cloud Foundry environment, such as the API endpoint and the available spaces.
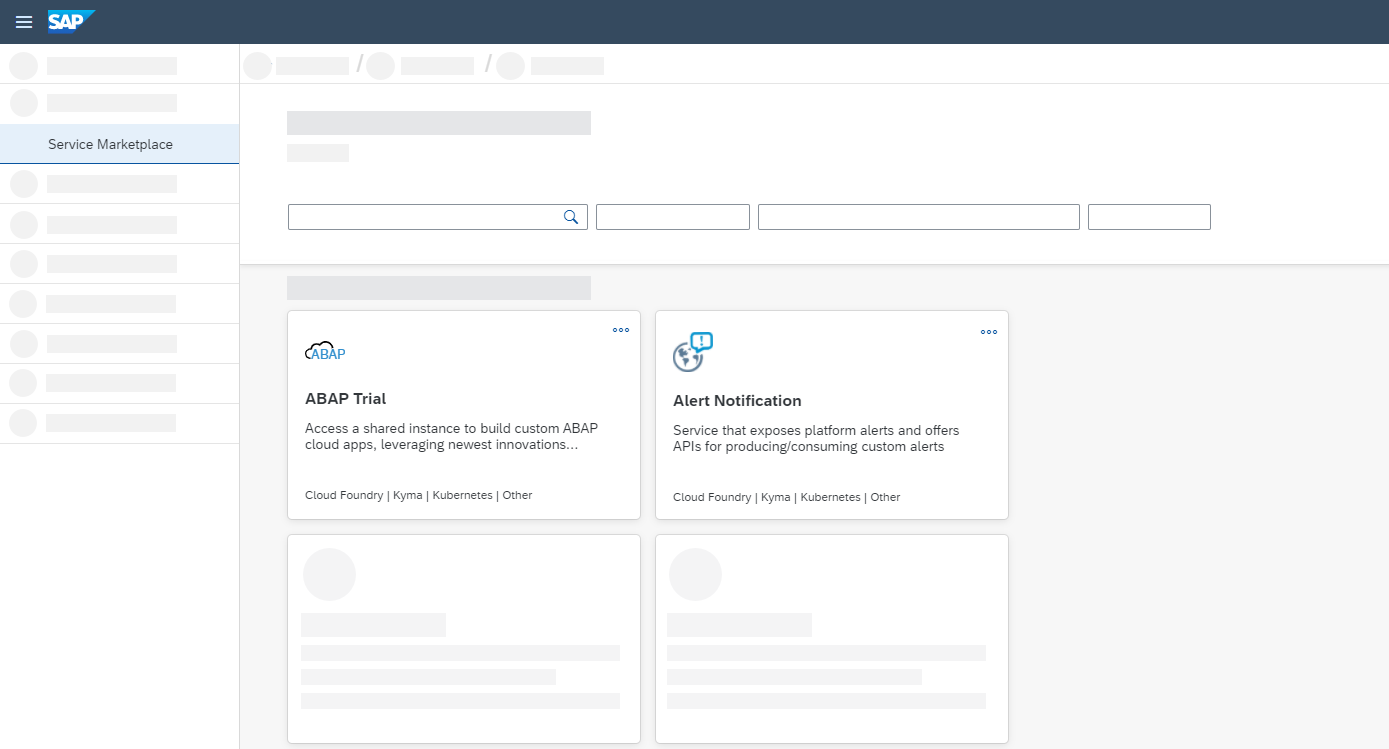
Step 8: Explore Service Marketplace
-
Open the Services menu section on the left navigation
-
Select Service Marketplace to view all available services
-
Use the filter bar to find specific services
-
From here, you can specify service plans to provision service instances.
SAP-BTP Environment Application Deployment
Prerequisites
-
Access to SAP BTP Cockpit
-
Appropriate permissions for subaccount creation and management
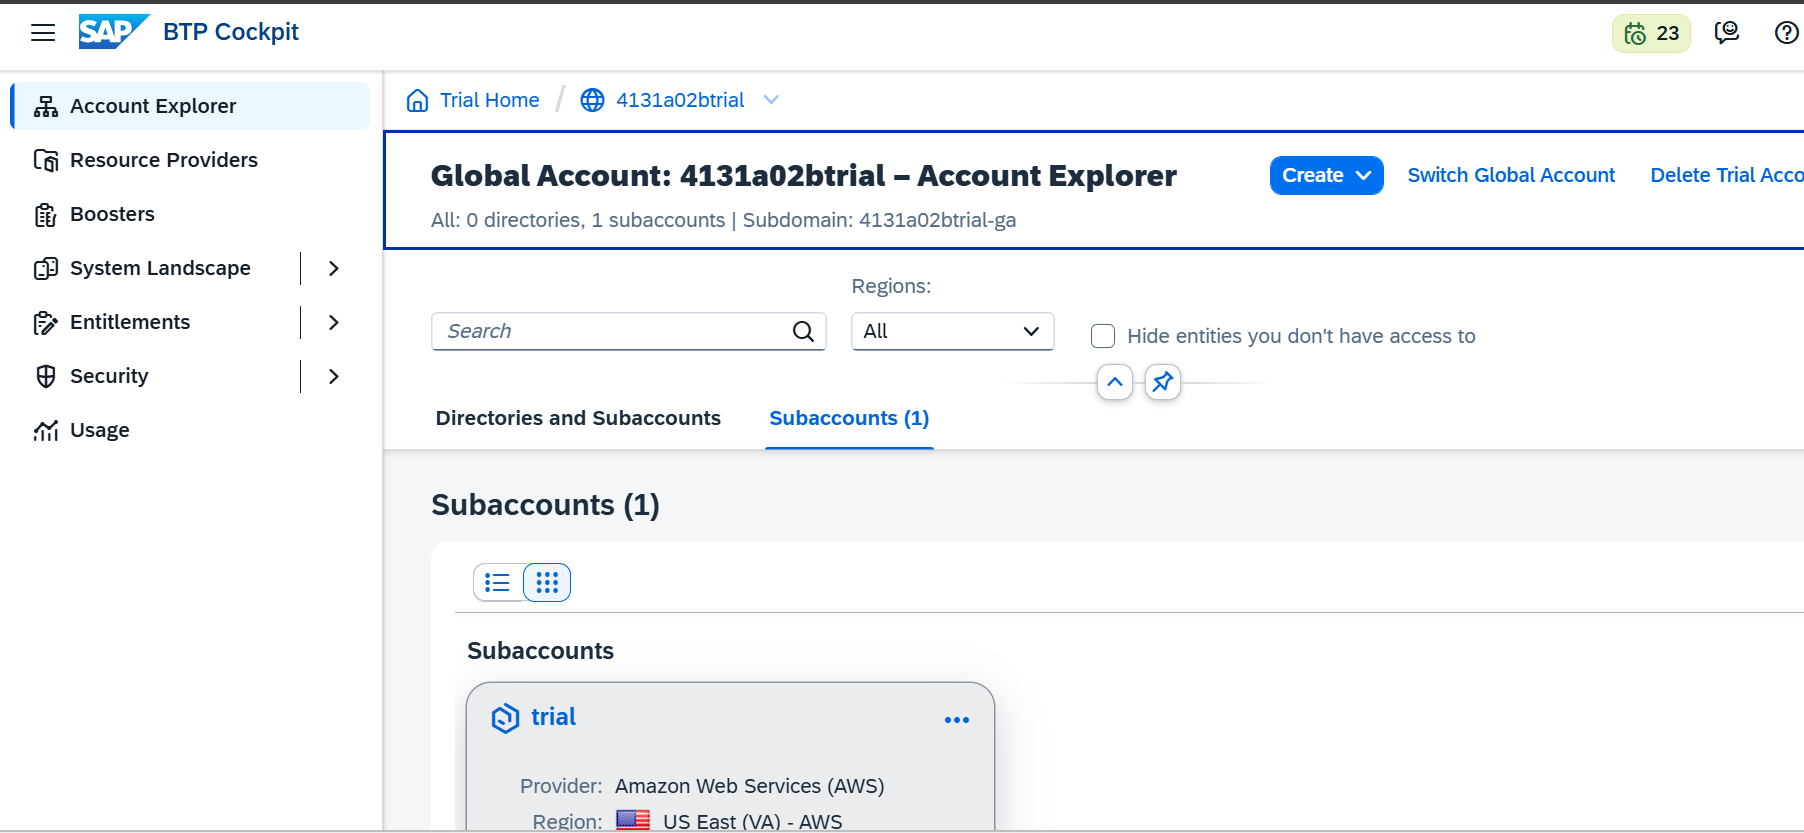
Step 1: Access SAP BTP Cockpit
-
Login to the SAP BTP cockpit using site
-
Select the Trial account and open in a new tab
-
You will be redirected to the Account Explorer page
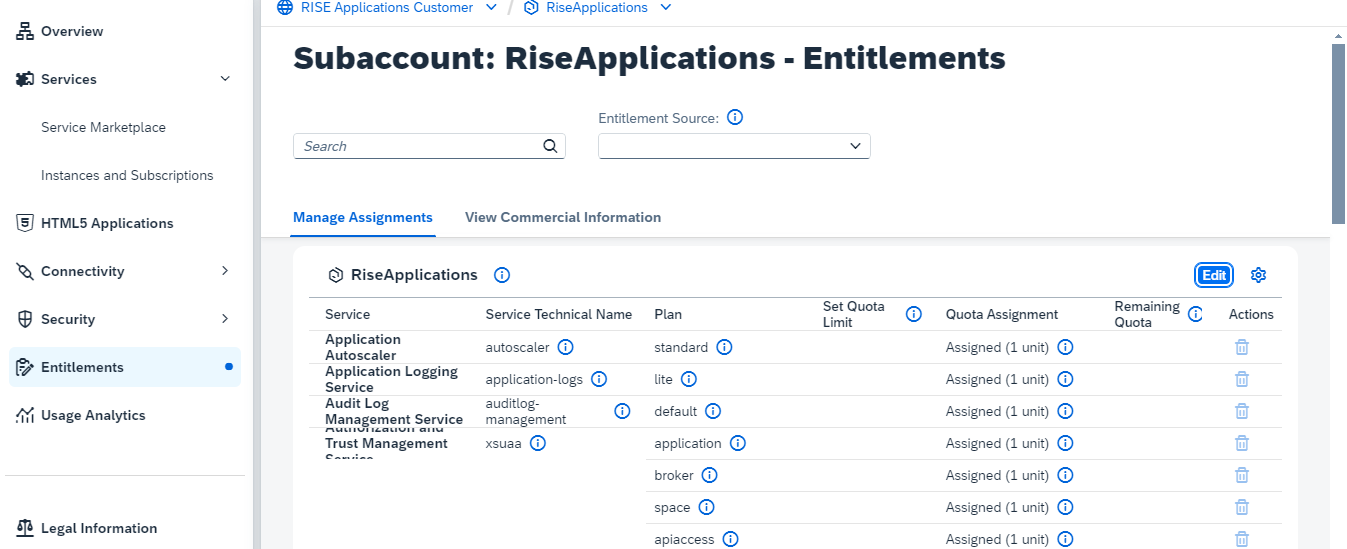
Step 2: Configure Entitlements
-
Navigate to Entitlements in the left sidebar
-
Click Edit
-
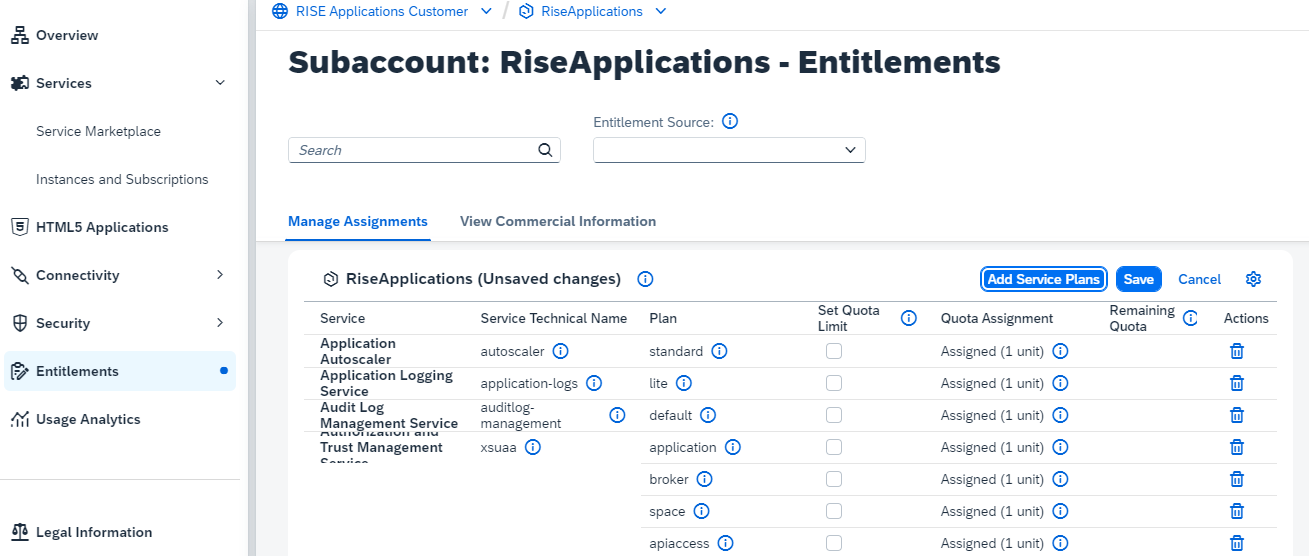
After clicking on edit we see Add service plans option click on that
-
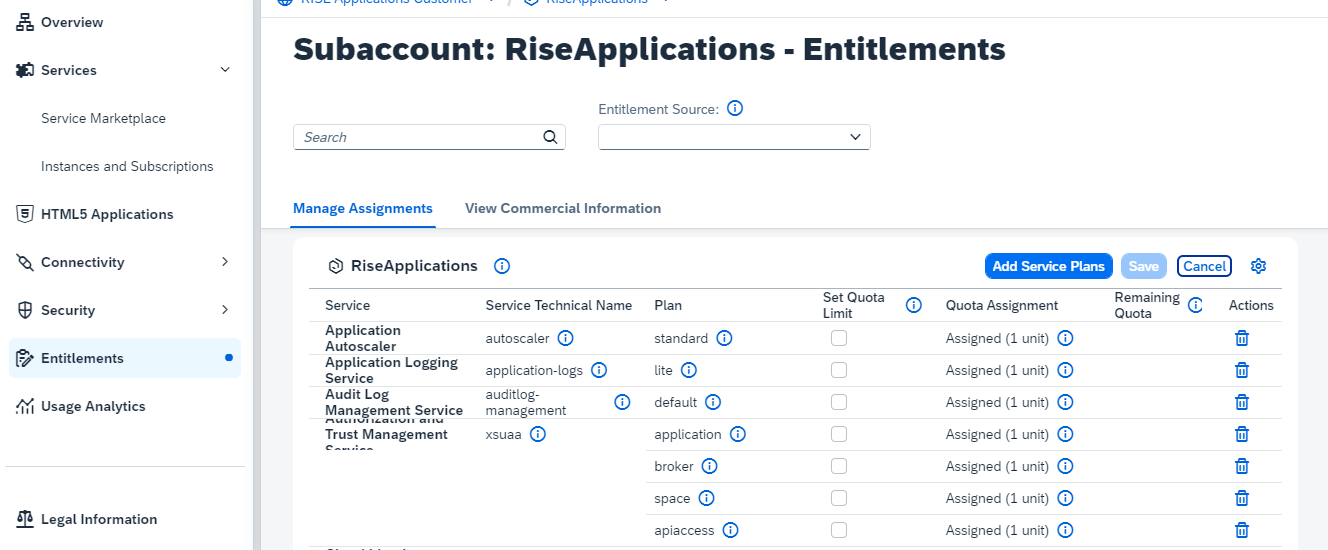
-
A pop-up would appear on the screen in that search for kyma Runtime and select that to the right we can see Trial option, select the trial option and click on Add service plans
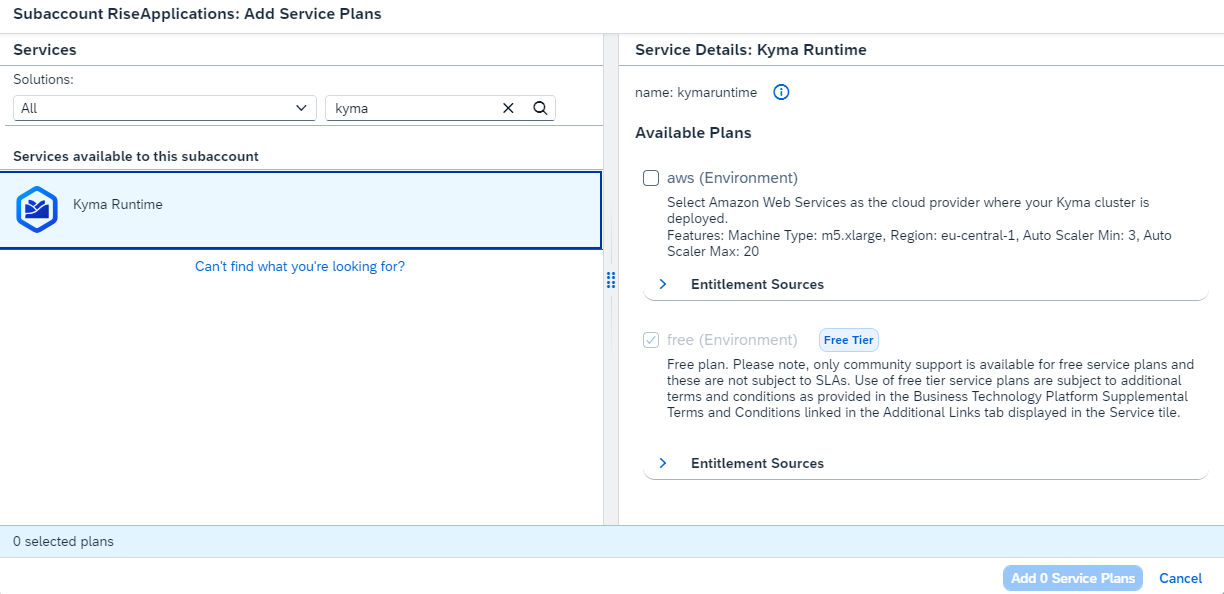
-
Click to save the Entitlements
-
Step 4: Create Kyma Runtime Instance
-
Go to Instances and Subscriptions tab
-
Click Create
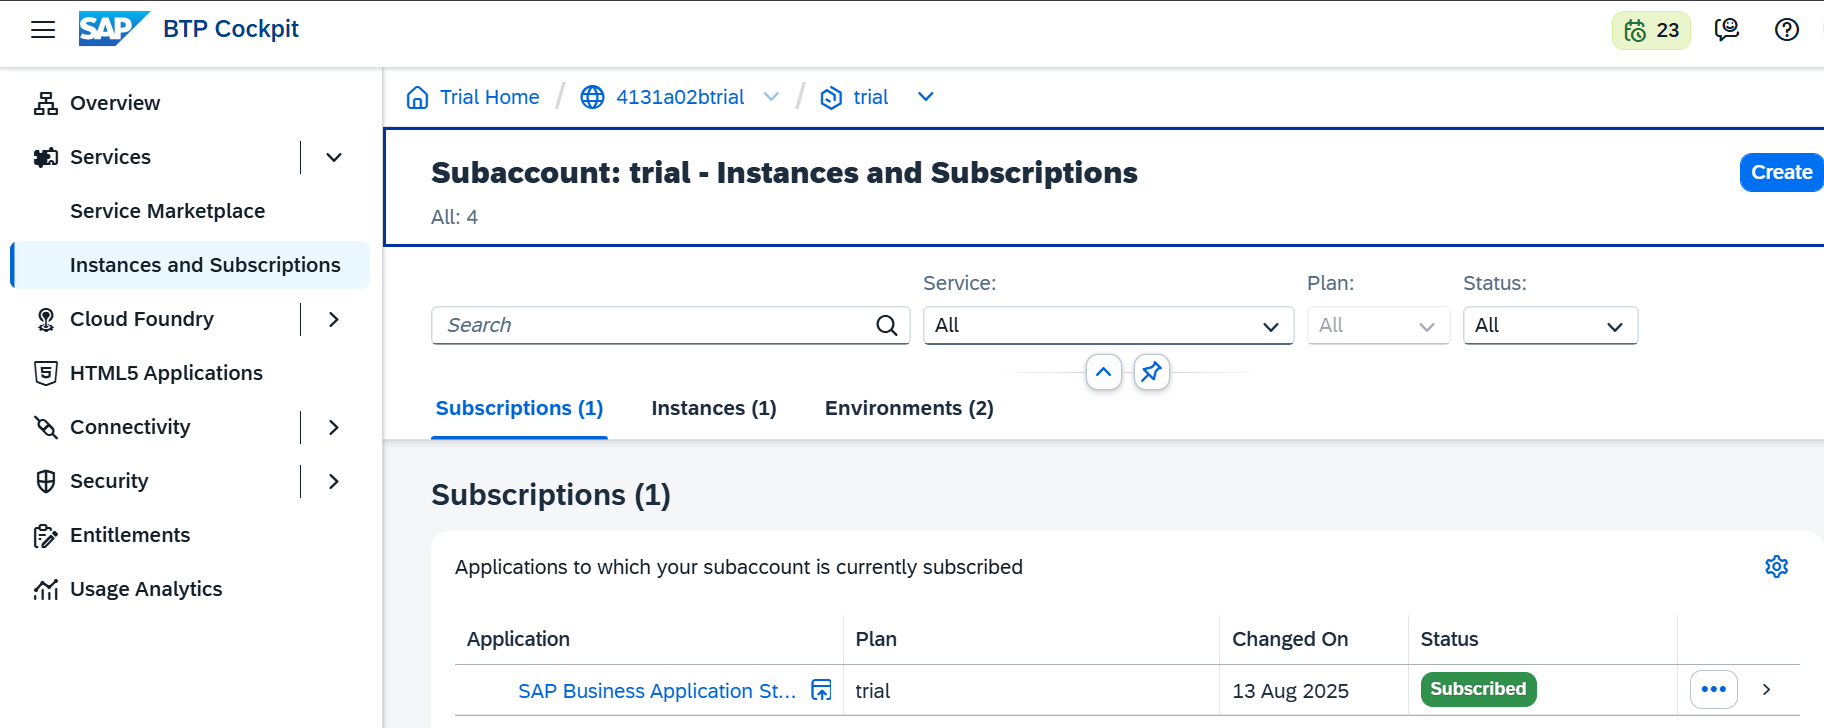
- A pop will appear in that select Kyma Runtime service and select the plan we allotted previously check the checkbox and click on create
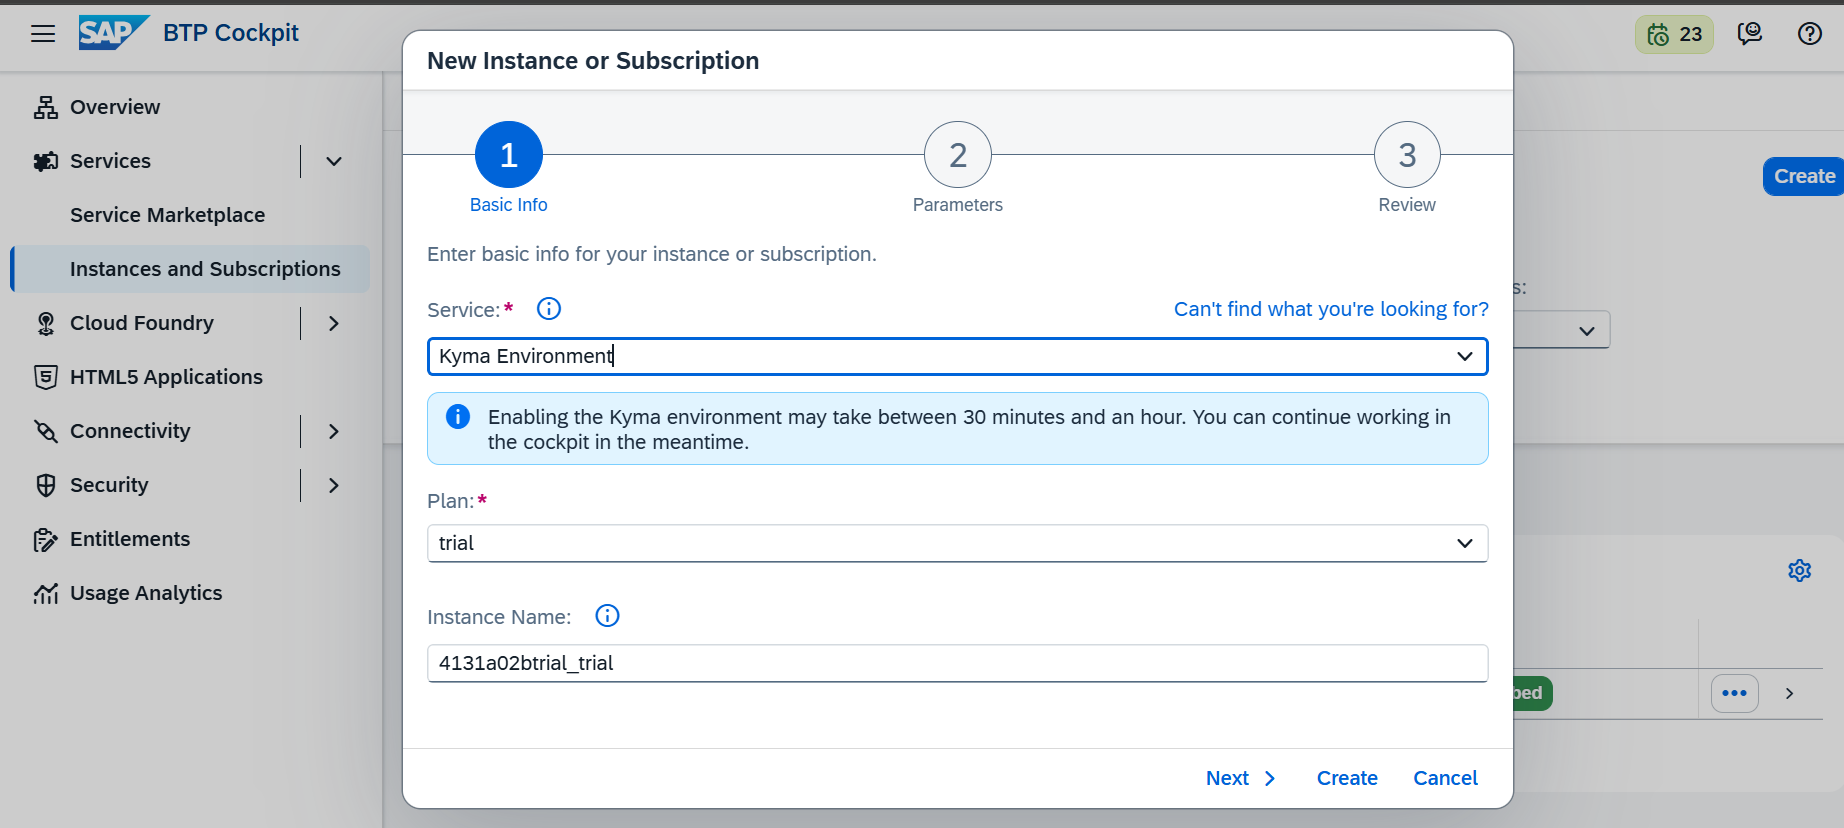
- Once we create it we can see an option to Enable Kyma in the overview tab. Click on that to enable the kyma instance.

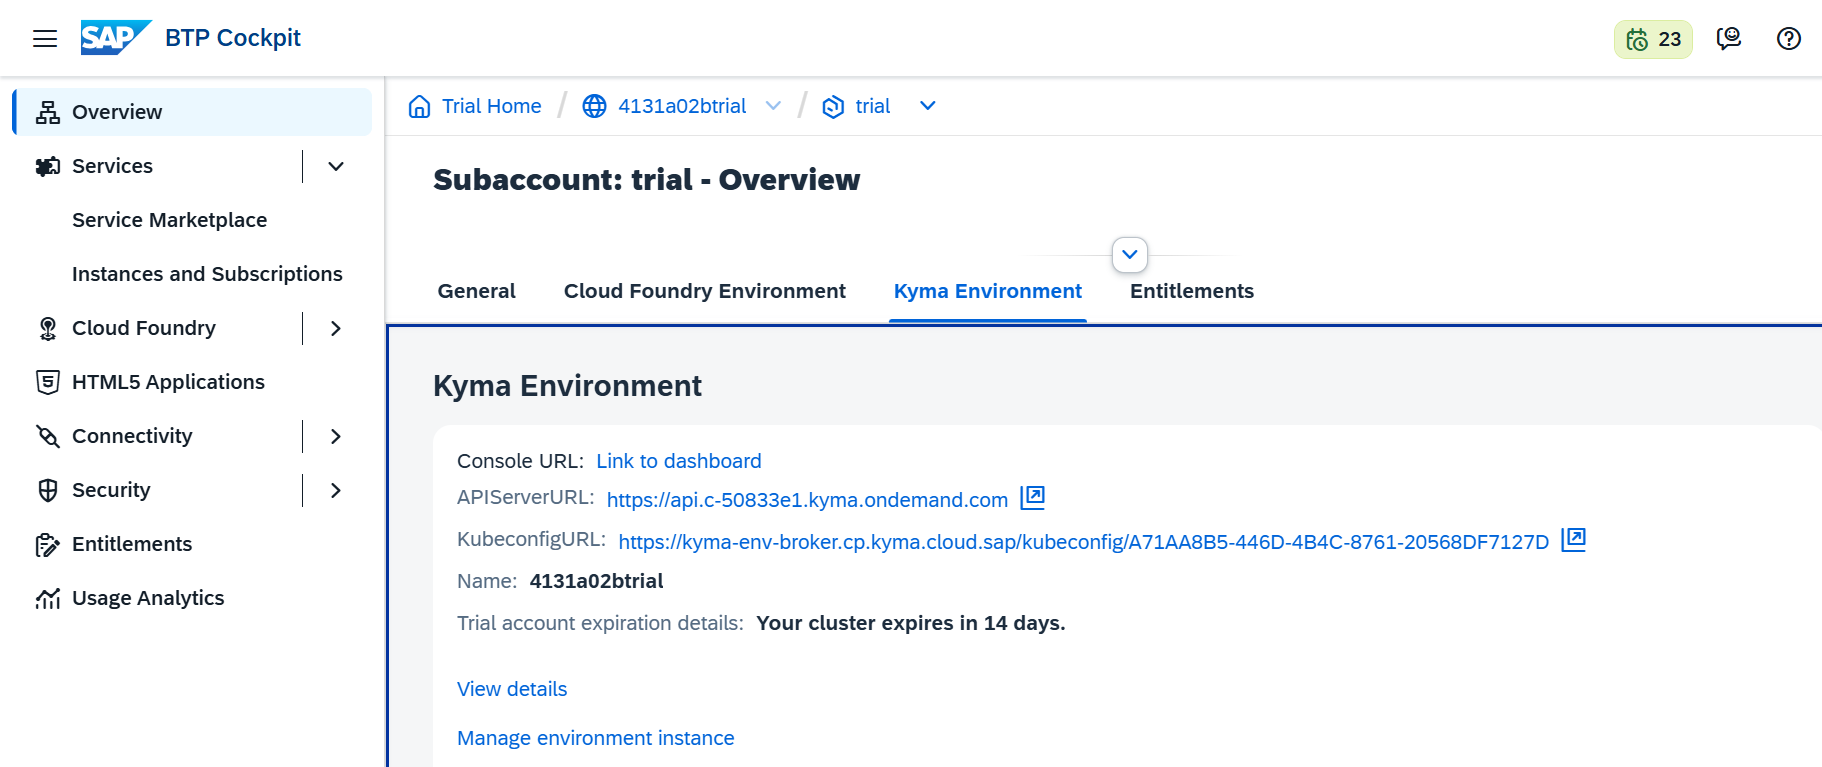
- It will take a while for kyma to be enabled. Once enabled the view will be as shown in the below.
-
Now scroll down the Kyma environment click on the console
-
URL:Link to Dashboard
-
It will redirect to new page and and ask for Access-console
-
click on Access Console
-
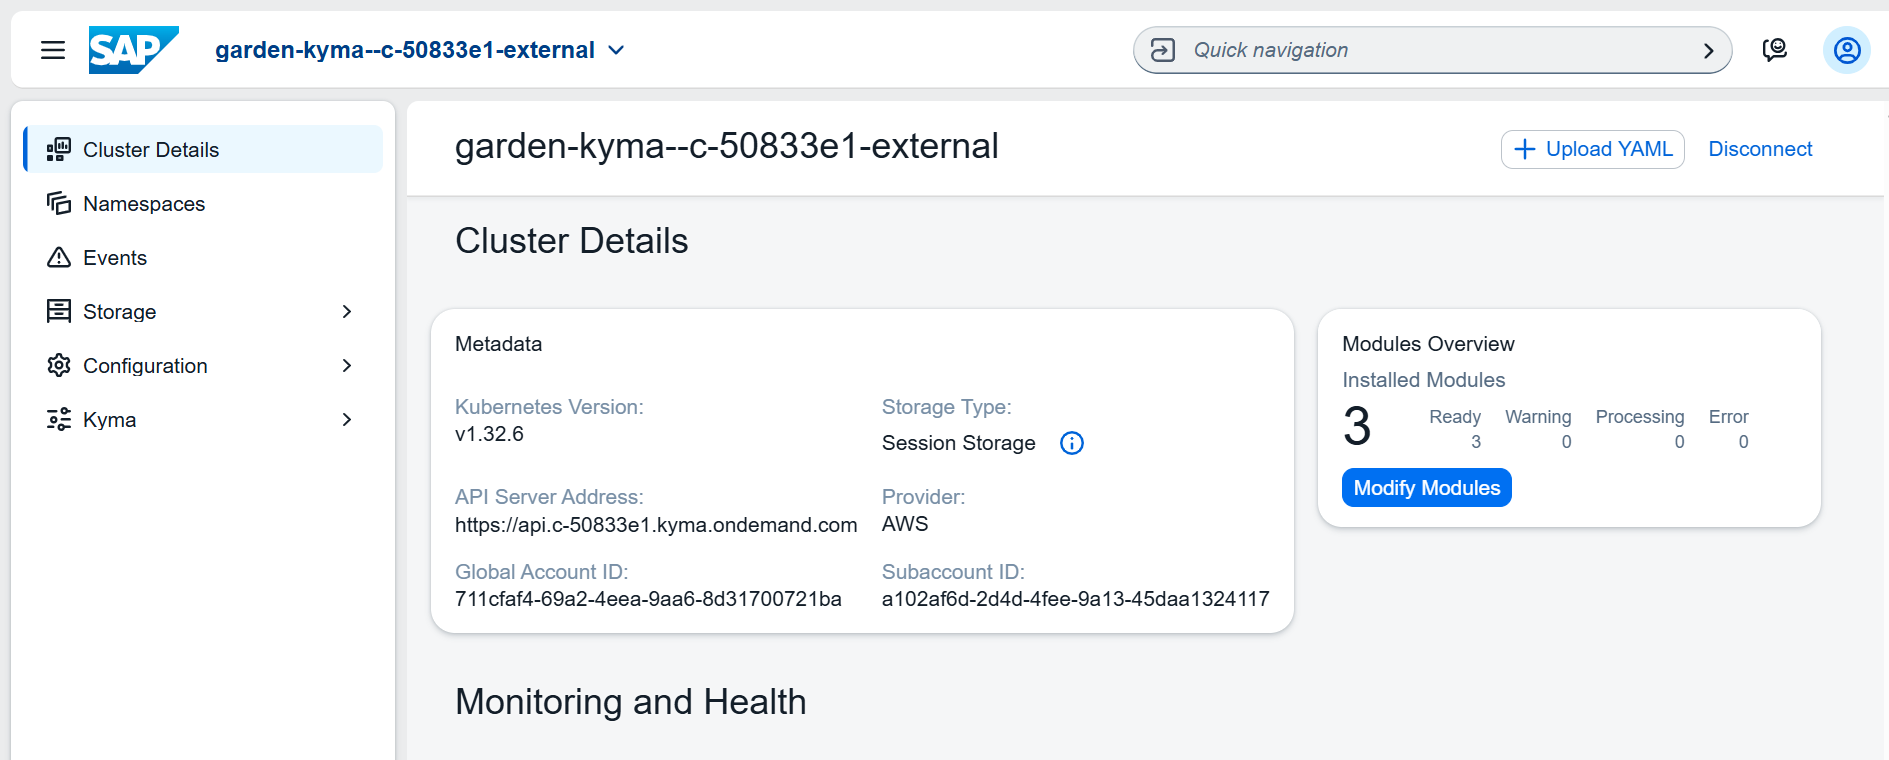
Now login to the Kyma runtime dashboard with credentials
-
Default dashboard of Kyma is shown below
-
Switch back to the previous screen.
-
We can see an option to download the kubeconfig file. Click on that link to get the config file that has ability to communicate with the KYMA cluster.

- Save the config file to connect to the KYMA cluster later.
If you need any additional information, please refer to the link below
Accessing Kyma (BTP) Environment from Ubuntu (Linux)
Prerequisites
Before starting the setup, ensure the following tools are installed:
-
kubectl
-
krew
-
oidc-login plugin
Kubectl Installation on Ubuntu
Download and Install:
\# Download the latest release

curl -LO \"https://dl.k8s.io/release/\$(curl -L -s
https://dl.k8s.io/release/stable.txt)/bin/linux/amd64/kubectl\"

\# Validate the binary (optional)

curl -LO \"https://dl.k8s.io/\$(curl -L -s
https://dl.k8s.io/release/stable.txt)/bin/linux/amd64/kubectl.sha256\"

echo \"\$(cat kubectl.sha256) kubectl\" \| sha256sum \--check

\# Expected output: kubectl: OK

\# Install kubectl

sudo install -o root -g root -m 0755 kubectl /usr/local/bin/kubectl

\# Verify installation

kubectl version \--client

\# For detailed output

kubectl version \--client \--output=yaml
Krew Installation
Note: Ensure Git is installed before proceeding. Follow the Gitinstallationguide.
Download and Install Krew:
(

set -x; cd \"\$(mktemp -d)\" && \\

OS=\"\$(uname \| tr \'\[:upper:\]\' \'\[:lower:\]\')\" && \\

ARCH=\"\$(uname -m \| sed -e \'s/x86_64/amd64/\' -e
\'s/\\(arm\\)\\(64\\)\\?.\*/\\1\\2/\' -e \'s/aarch64\$/arm64/\')\" && \\

KREW=\"krew-\${OS}\_\${ARCH}\" && \\

curl -fsSLO
\"https://github.com/kubernetes-sigs/krew/releases/latest/download/\${KREW}.tar.gz\"
&& \\

tar zxvf \"\${KREW}.tar.gz\" && \\

./\"\${KREW}\" install krew

)

#### Add Krew to PATH:

\# Add to \~/.bashrc or \~/.zshrc

export PATH=\"\${KREW_ROOT:-\$HOME/.krew}/bin:\$PATH\"

\# Reload shell

source \~/.bashrc

\# Verify installation

kubectl krew

### OIDC-Login Plugin Installation

\# Install the oidc-login plugin

kubectl krew install oidc-login

\# Verify installation

kubectl oidc-login \--help