ORACLE Deployment
- To Install Site in Oracle follow the steps to provision the necessary services in Oracle.
Ingress rules Configuration: -
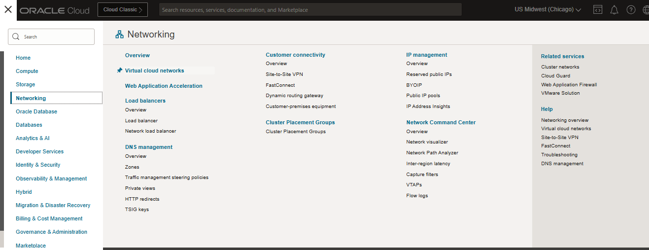
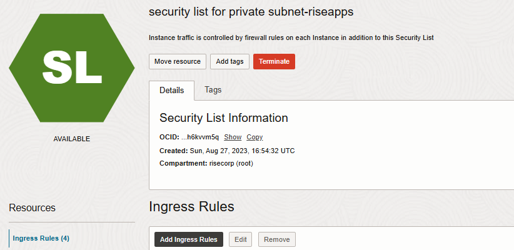
Login to the Oracle cloud console navigate to Networking and select Virtual cloud networks.
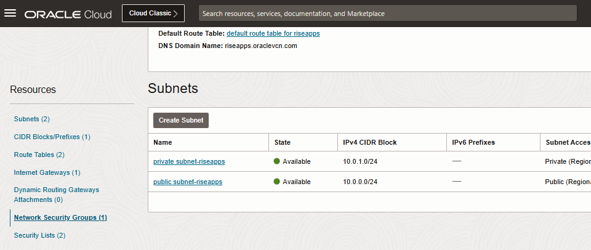
Select your VCN and click on it if you have one or else create it and scroll down and select "Network Security Groups" under Resources from Side-menu.
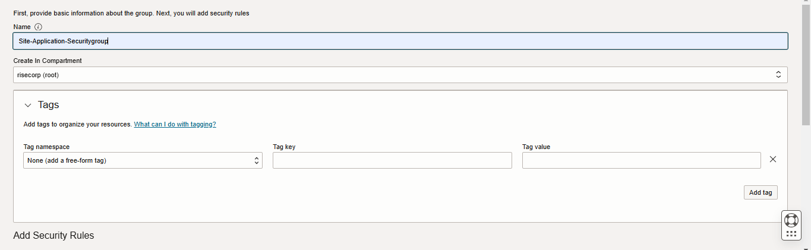
Click on Create Network Security Group > Enter the name for your security group and select the compartment.
Under the Add security Rules add the Source IP address and the port that you want to allow as given in the Image below.
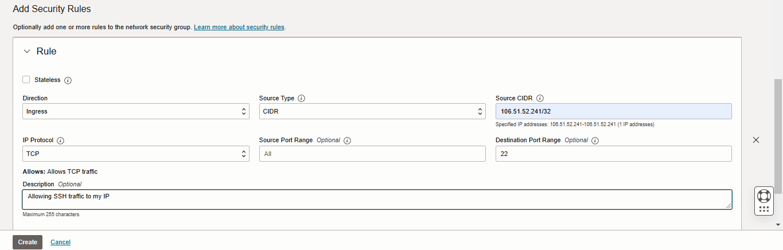
Like wise add the following Ports depending on the IP that you want to allow traffic to the server on respective ports. We recommend allowing ports 80, 443, 10000 and 22. Click on Another rule and the end of the page and add the remaining.
Instance Procurement: -
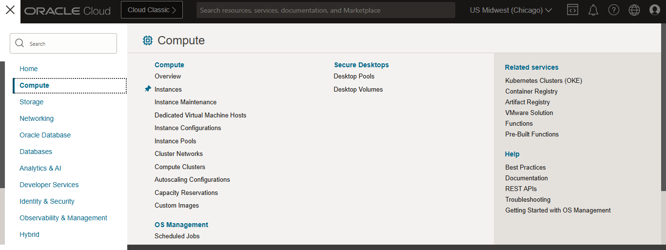
Login to the Oracle cloud console and navigate to Compute Dashboard from the Side menu and click on Instances.
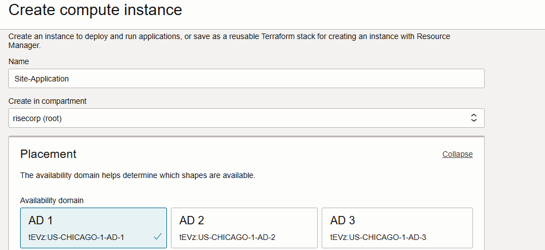
Click on Create Instance and select the compartment in which we are going to create the instance and select the Availability domain.
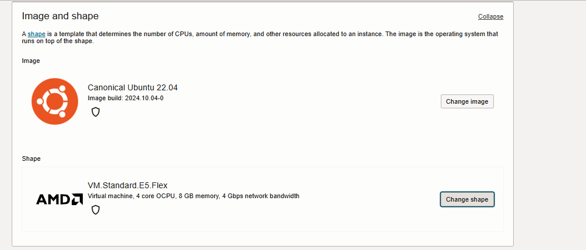
Under the Image select any from UBUNTU 20/22, RHEL 8 and from the shape select AMD processor with a minimum of 4vCPUs and 8 GB RAM.
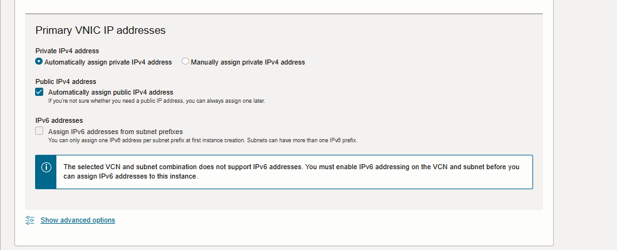
Select the existing VNIC and subnets which will define the traffic flow into the Virtual network where our Site Application instance should be deployed.
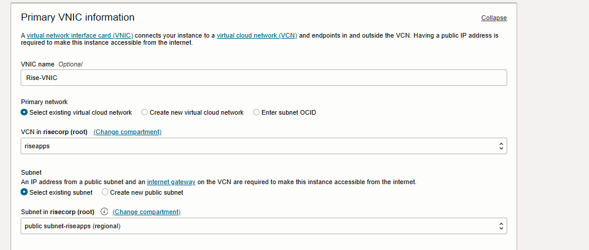
Leave the default option of assigning private IP address automatically unless you want to manage the private IP addresses.
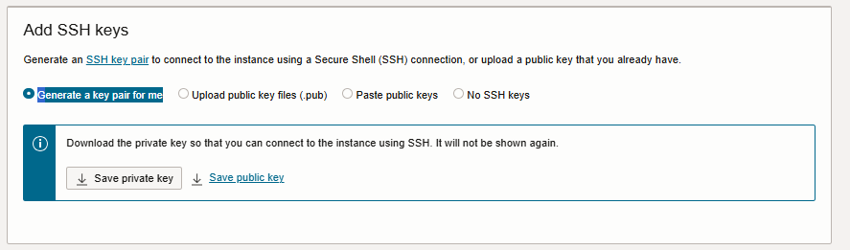
In the SSH keys tab Select "Generate a key pair for me" option and click on "Save private key" unless you want to upload your custom keys and configure the Authentication.
-
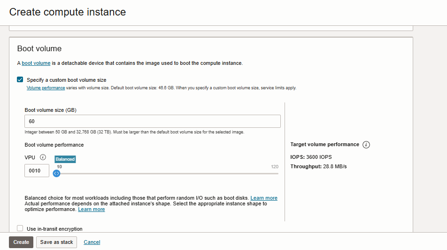
We recommend 60 GB of boot volume in your case if you need extra storage procure accordingly.
-
With rest as default options click on create.
-
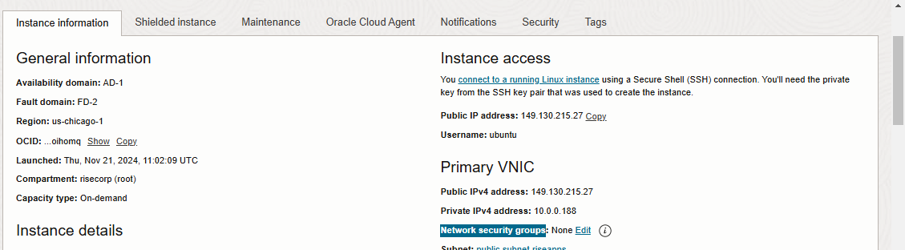
Once you have clicked on Create you will be re-directed to the Instance page where you can get the login details like public IP and username.
-
Click on Edit to the right of the "Network security groups" under the Primary VNIC from the instance info page.
-
And select the security group that you have created before creating the Compute instance and click on save changes. By doing this we are configuring security respective to the server.
-
Copy the IP and username and login to the server with the help of Private key we have saved earlier.
Launching DB Systems: -
After logging into oracle cloud console select Databases and Select any of the DB systems that provide with respect to the Databases that site application support -- MySQL, PostgreSQL, MongoDB and MsSQL.
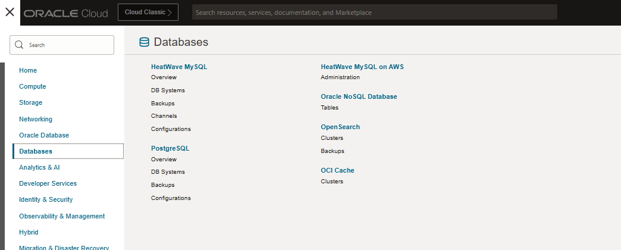
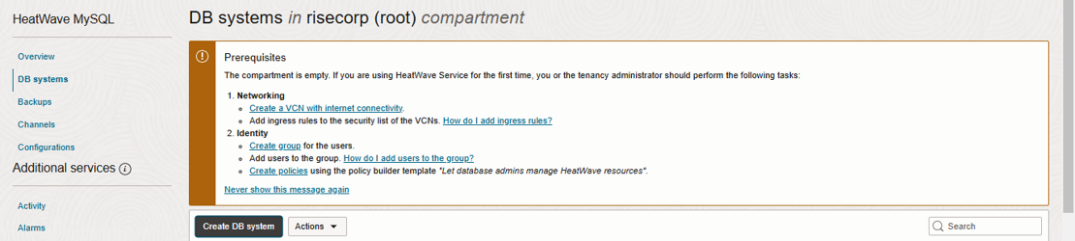
We are proceeding with MySQL in this demo by clicking on DB Systems and Click on Create DB System .
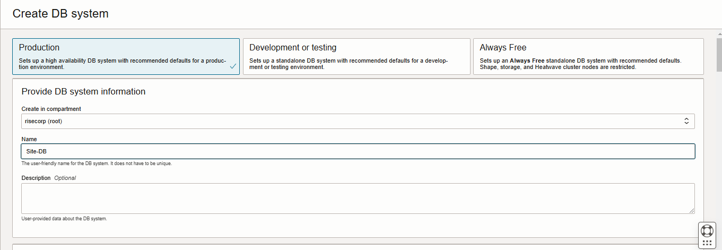
- Select Production and enter Name of your choice.
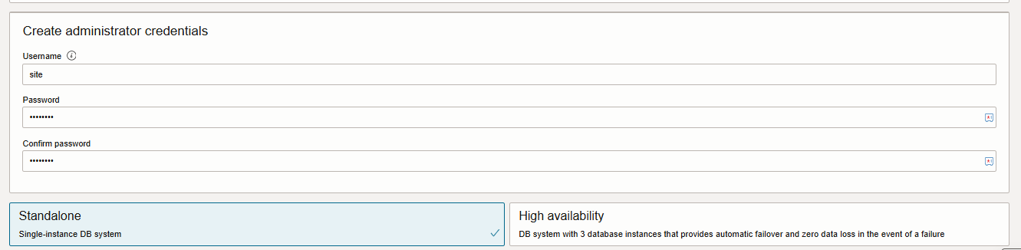
- Under Create Administrator Credentials enter the username and password for connecting to the database and select Standalone as it will be sufficient if you are interested in High availability you can opt out to the option.
-
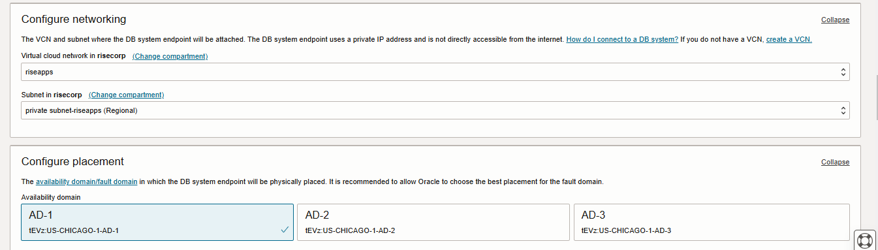
Under Configure Networking, select the same VCN and subnet in which we deployed the site application Instance.
-
Under Configure placement select the same Availability domain same as the Compute Instance.
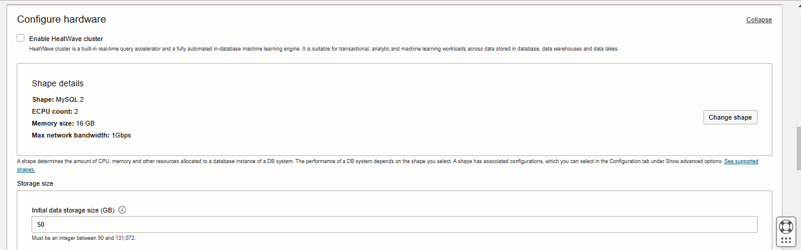
- Under Configure hardware untick Enable HeatWave cluster and proceed to select the shape details, we can continue with MySQL.2 shape as it wil fullfill our requirements for moderate usage and 50 GB of storage would be enough.
-
By leaving the rest of the configuration to default and click on Create.
-
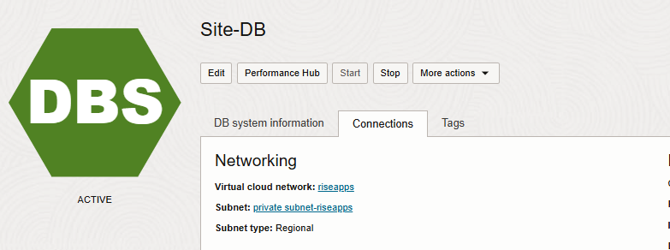
Once the creation is completed go the Connections tab in the database and click on subnet it got attached, you will be redirected to a new page.
- In that new page scroll down and click on the Security list that was attached.
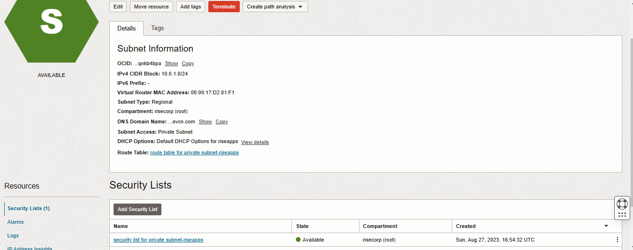
- Click on Add Ingress Rules.
- Copy the private IP of the compute Instance and add in the Source CIDR as shown in the image below and click on Add Ingress Rules.
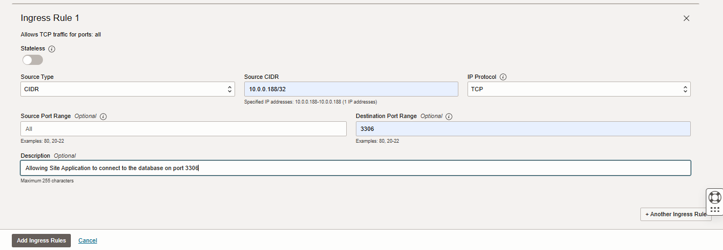
- With the above configuration we can be able to launch MySQL database and connect to the instance.