Autodesk Inventor V2023 Installation
Install Autodesk Inventor 2023 on systems meeting minimum requirements, following Autodesk's official student/individual licensing process.
System Requirements
| Component | Minimum | Recommended |
|---|---|---|
| OS | 64-bit Windows 10/11 | 64-bit Windows 10/11 |
| CPU | 2.5 GHz+ | 3.0 GHz+, 4+ cores |
| RAM | 16 GB (500 parts) | 32 GB+ |
| Disk | 40 GB (full install) | 40 GB+ |
| GPU | 1 GB VRAM, 29 GB/s, DirectX 11 | 4 GB VRAM, 106 GB/s, DirectX 11 |
| Display | 1280x1024 | 3840x2160 (4K), 100-200% scaling |
| Pointing | MS-Mouse | 3DConnexion SpaceMouse® (v10.7+) |
| Excel | Local Excel 2016+ (create/edit) | Local Excel 2016+ |
| .NET | 4.8+ | 4.8+ |
Additional Notes:
- Internet required for licensing, Autodesk Desktop App, collaboration
- Google Chrome™ or equivalent browser
- Certified graphics cards listed at Autodesk
Installation Steps
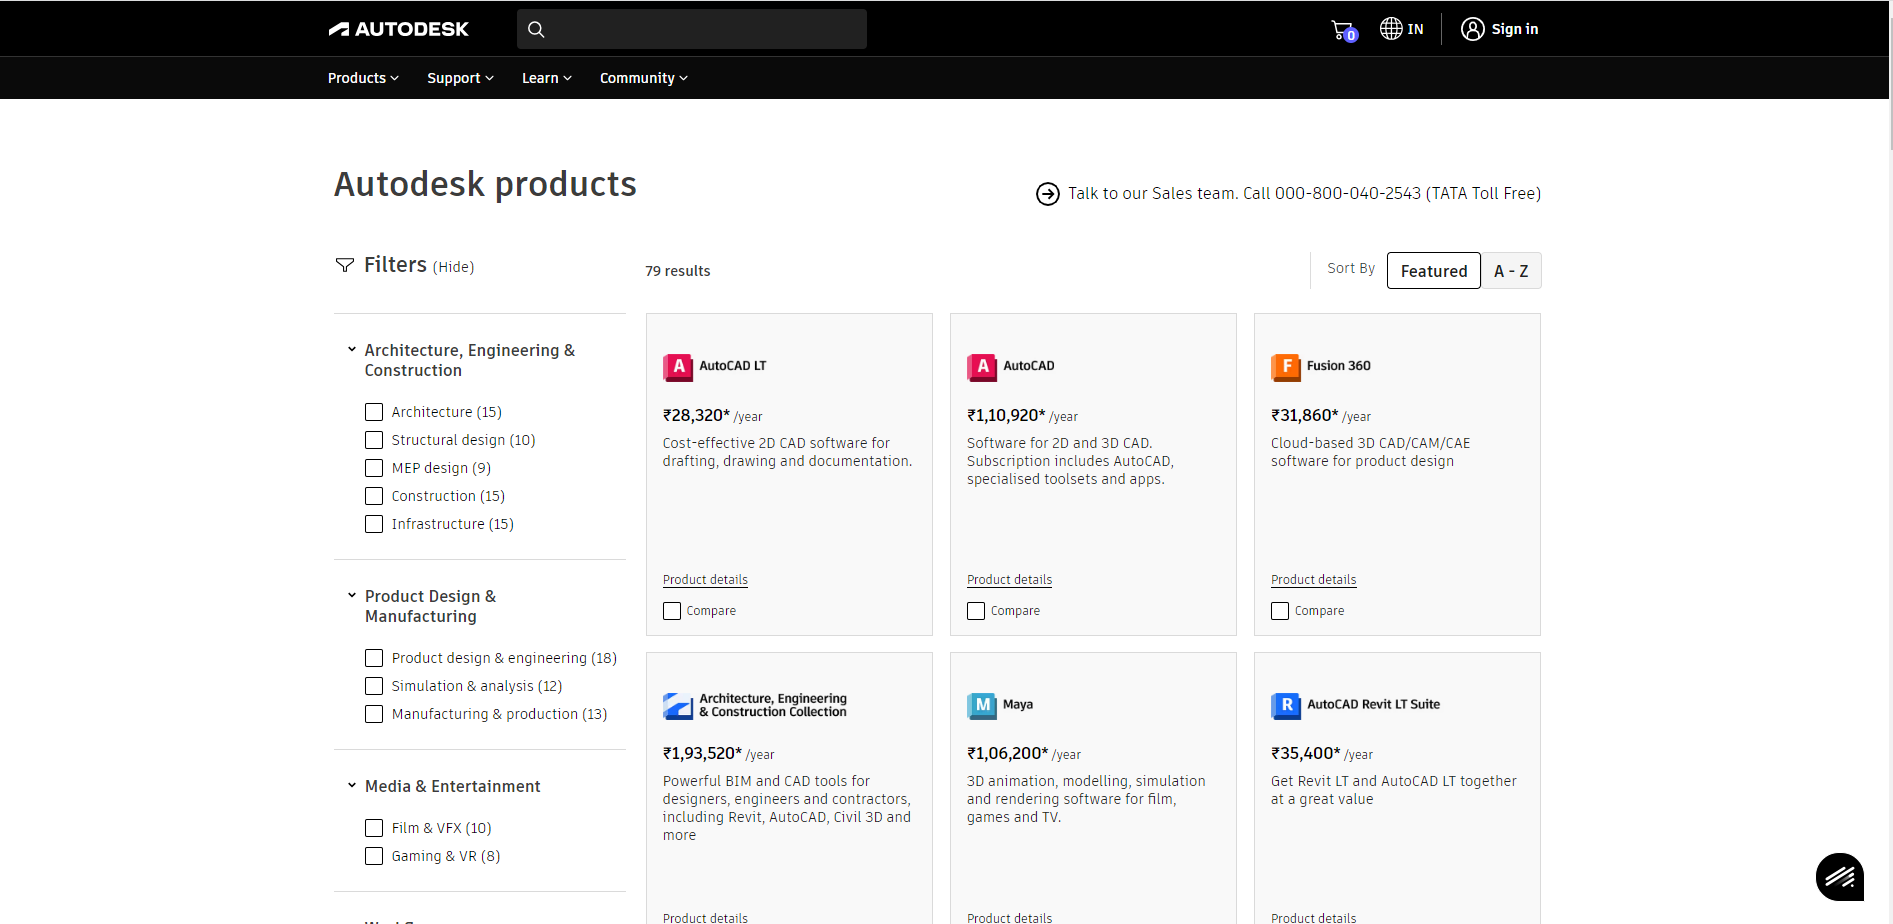
1. Create Autodesk Account
- Visit www.autodesk.com
- Create student account or sign in with existing credentials
- Enter email and complete sign-in process
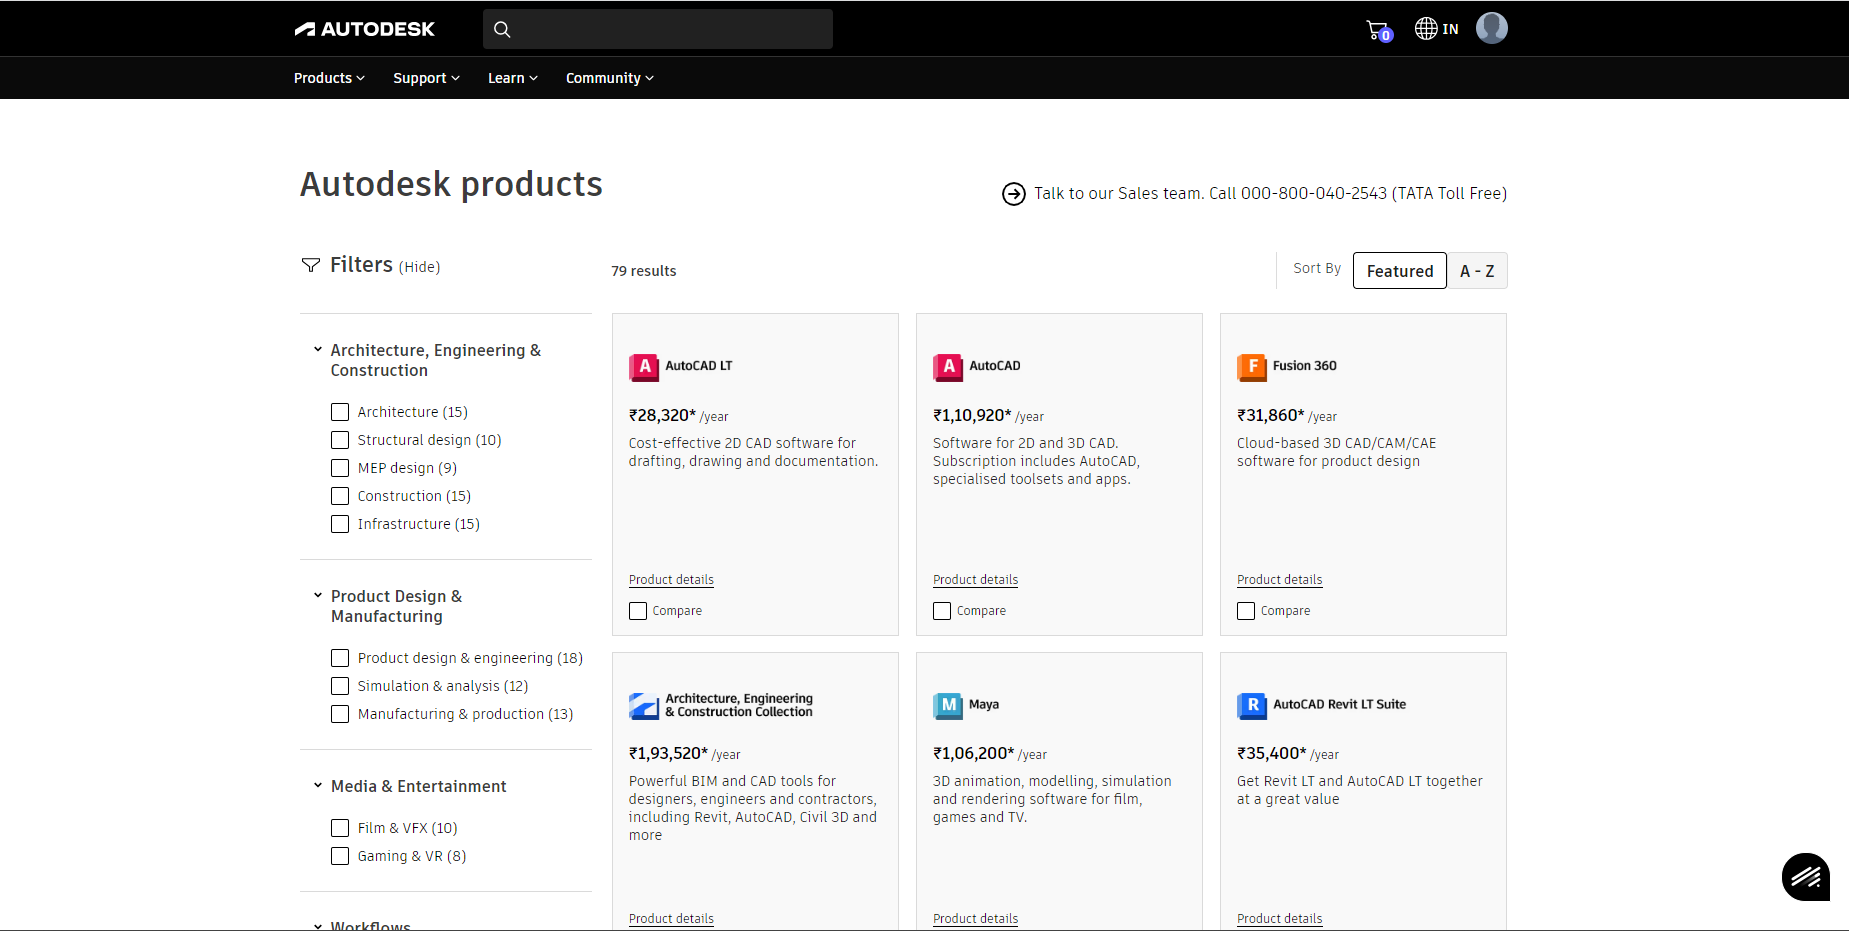
2. Download Inventor 2023
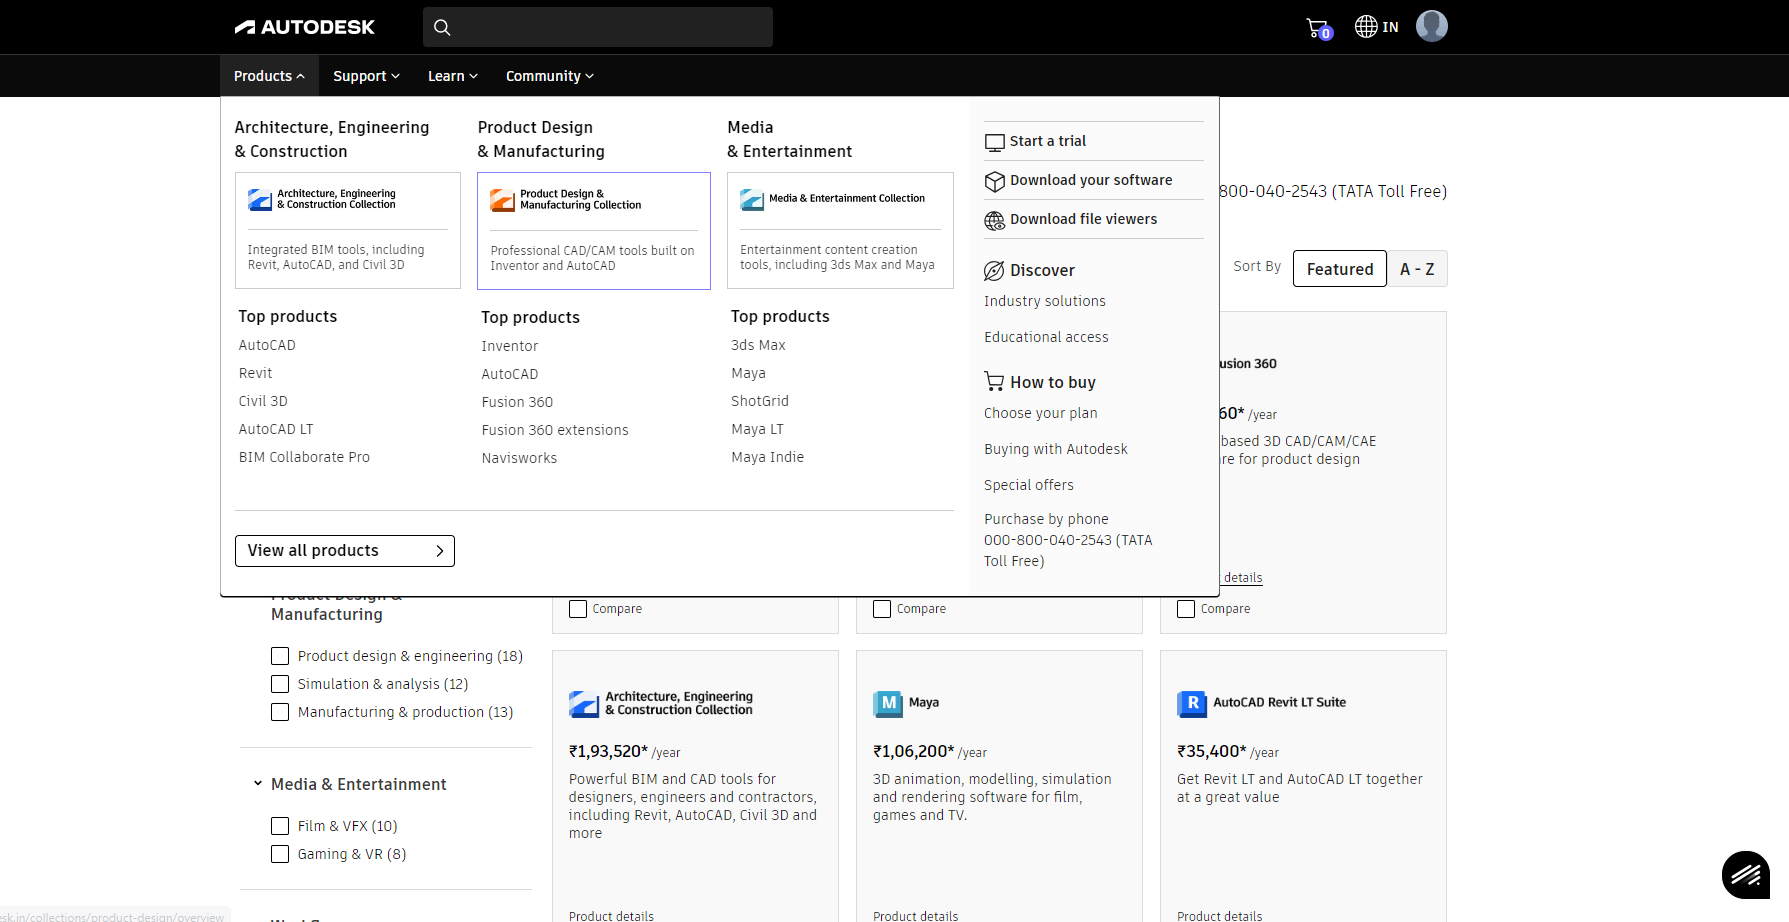
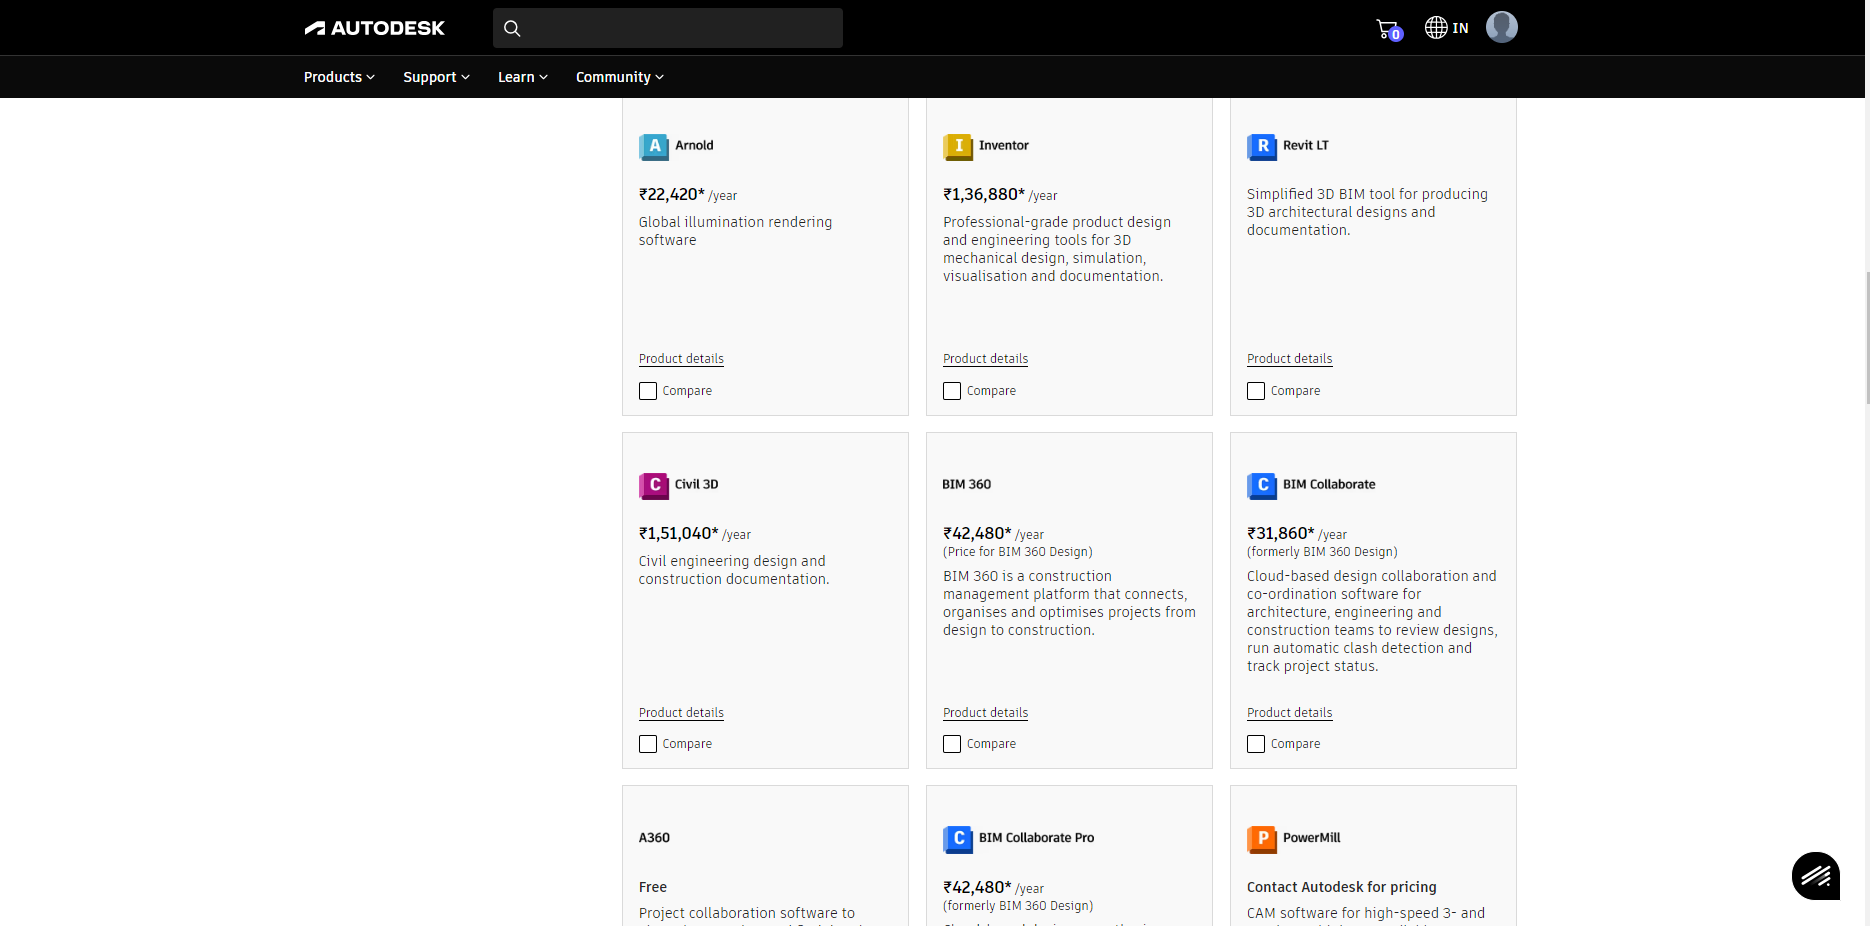
- Navigate to Products → View All Products
- Search and select Autodesk Inventor
- Click Download (multiple files may download)
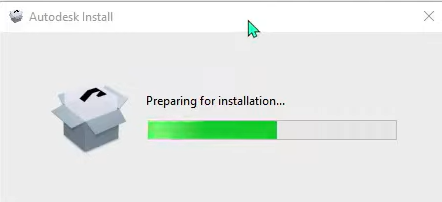
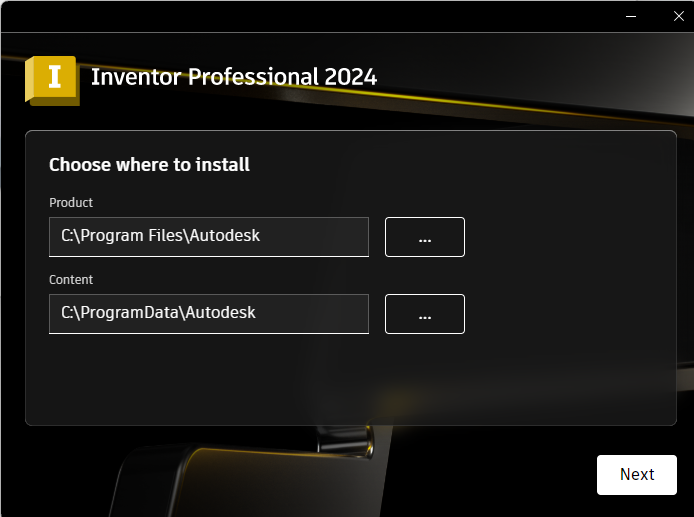
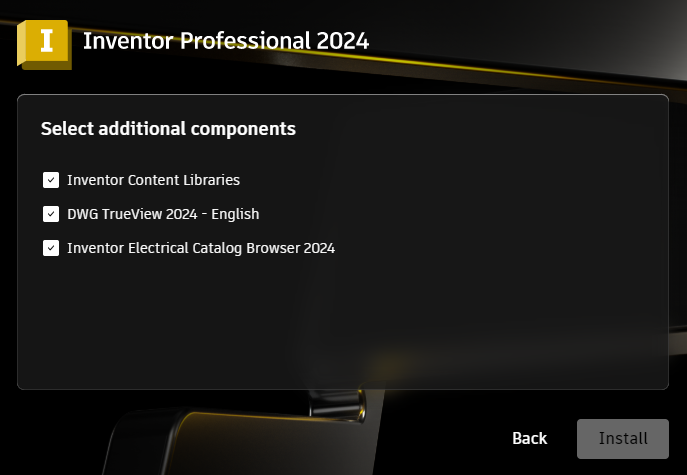
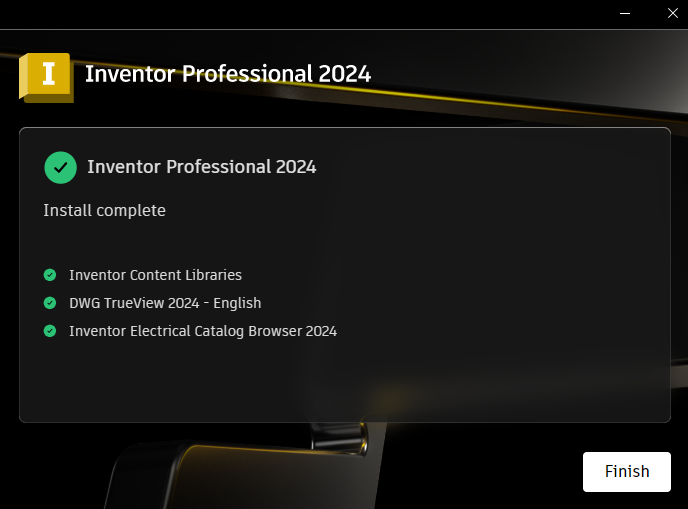
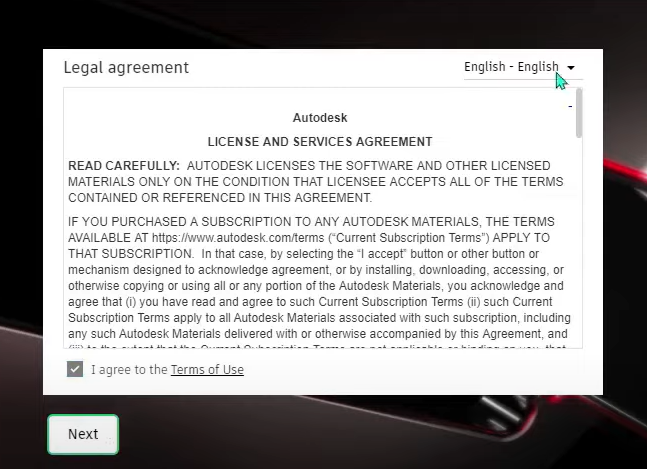
3. Run Installation
- Launch installer → Read instructions → Next
- Select installation drive/location
- Complete installation process
4. Launch Inventor
- Click Start after successful installation
- Sign in with Autodesk account
- Verify licensing activation
Installation Checklist
| Step | Status | Notes |
|---|---|---|
| System meets requirements | ☐ | Verify GPU certification |
| Autodesk account created | ☐ | Student/education license |
| All installer files downloaded | ☐ | ~40 GB total |
| 40 GB free disk space | ☐ | Select optimal drive |
| Excel 2016+ installed | ☐ | Local installation required |
| .NET 4.8+ installed | ☐ | Windows Updates enabled |
| Internet connection stable | ☐ | Required for licensing |