UnityEditor workflow-1
New XRStudio Document
-
Open Unity Hub
Launch Unity Hub.
-
Create a New Project
Click on New Project.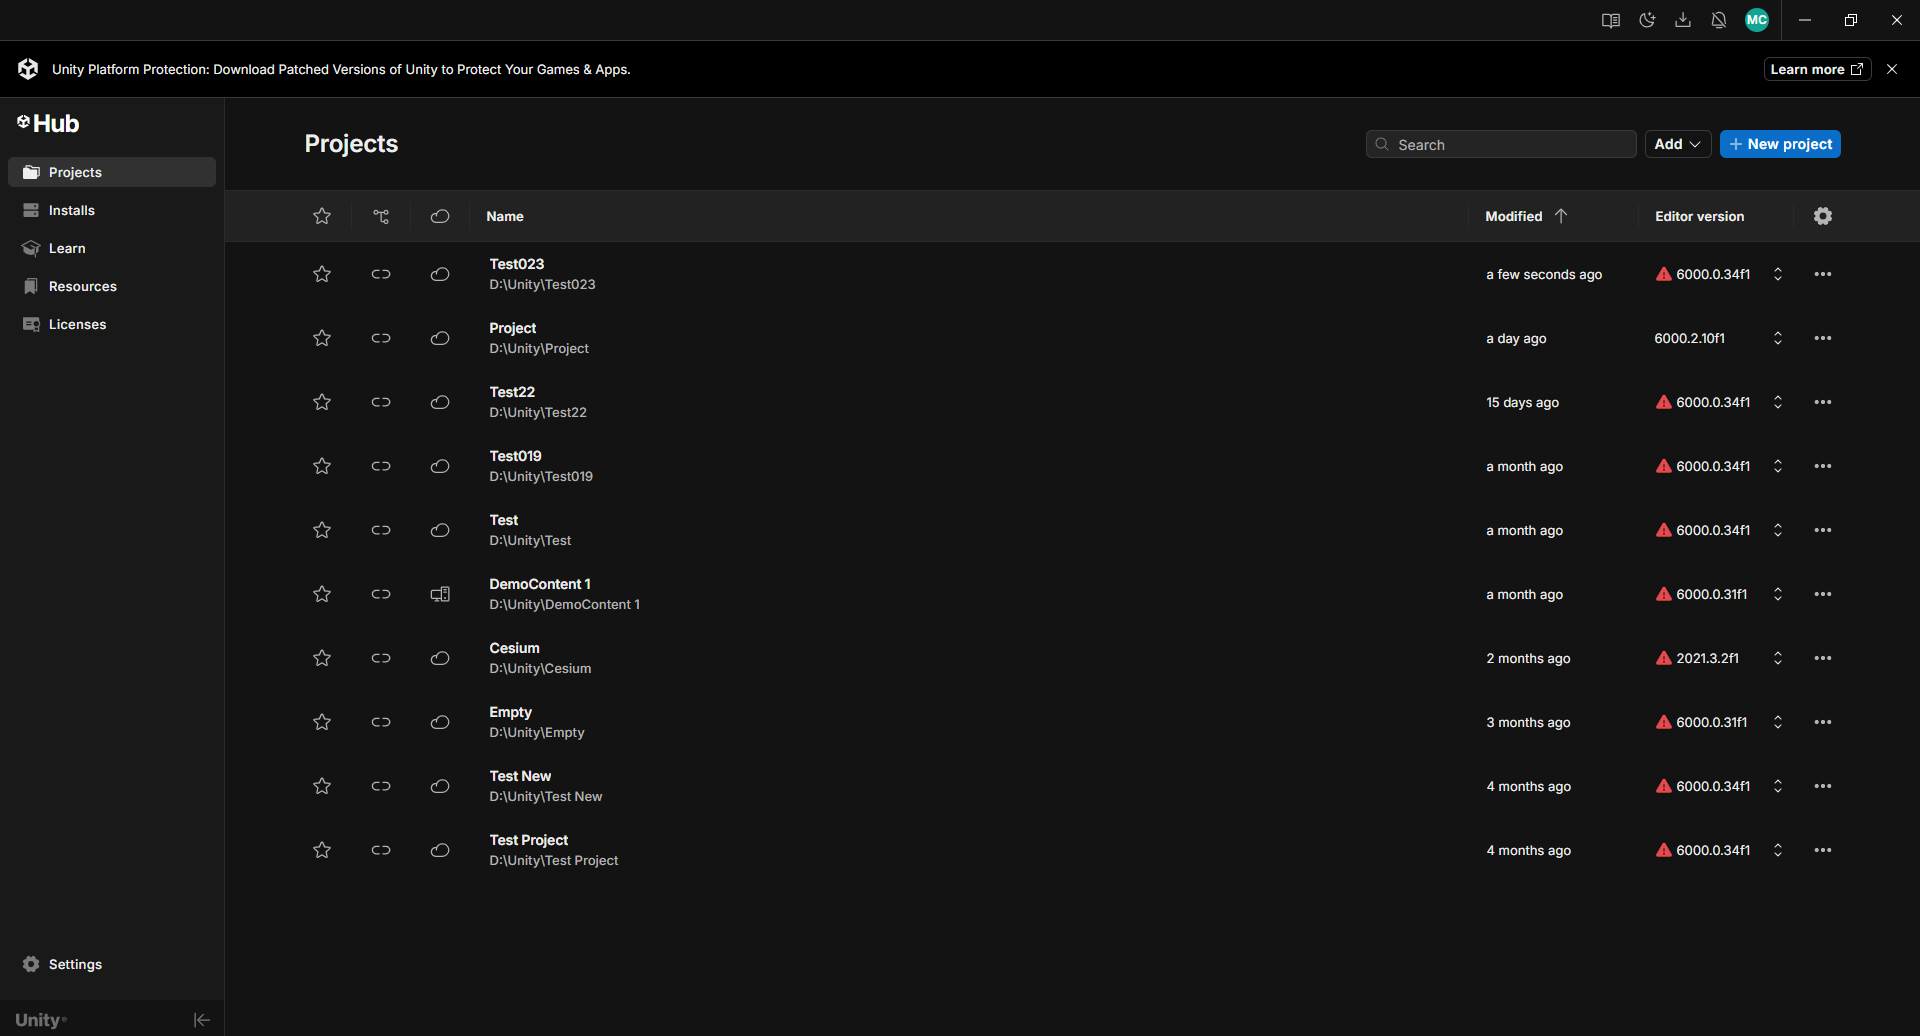
-
Select the UAB Studio Template
Choose the UAB Studio template for your new project. -
Select Version
Click on the Version dropdown and choose the desired version. -
Choose Version
Select the appropriate version for your project. -
Enter Project Name
Click on the Project Name field to name your project.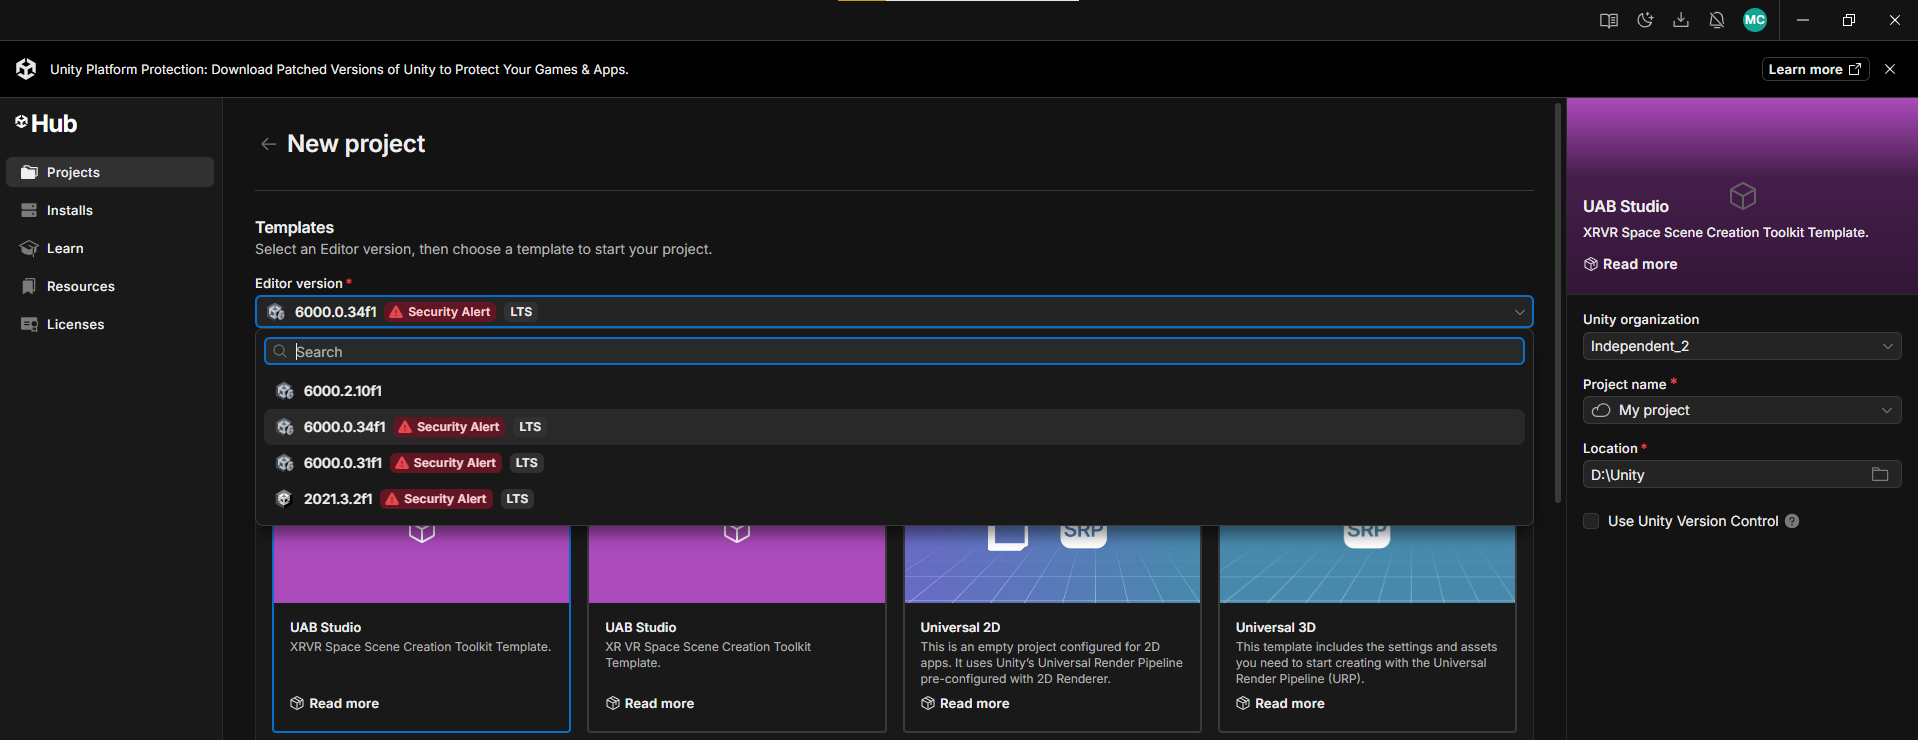
-
Enter Project Name
Type in the desired project name.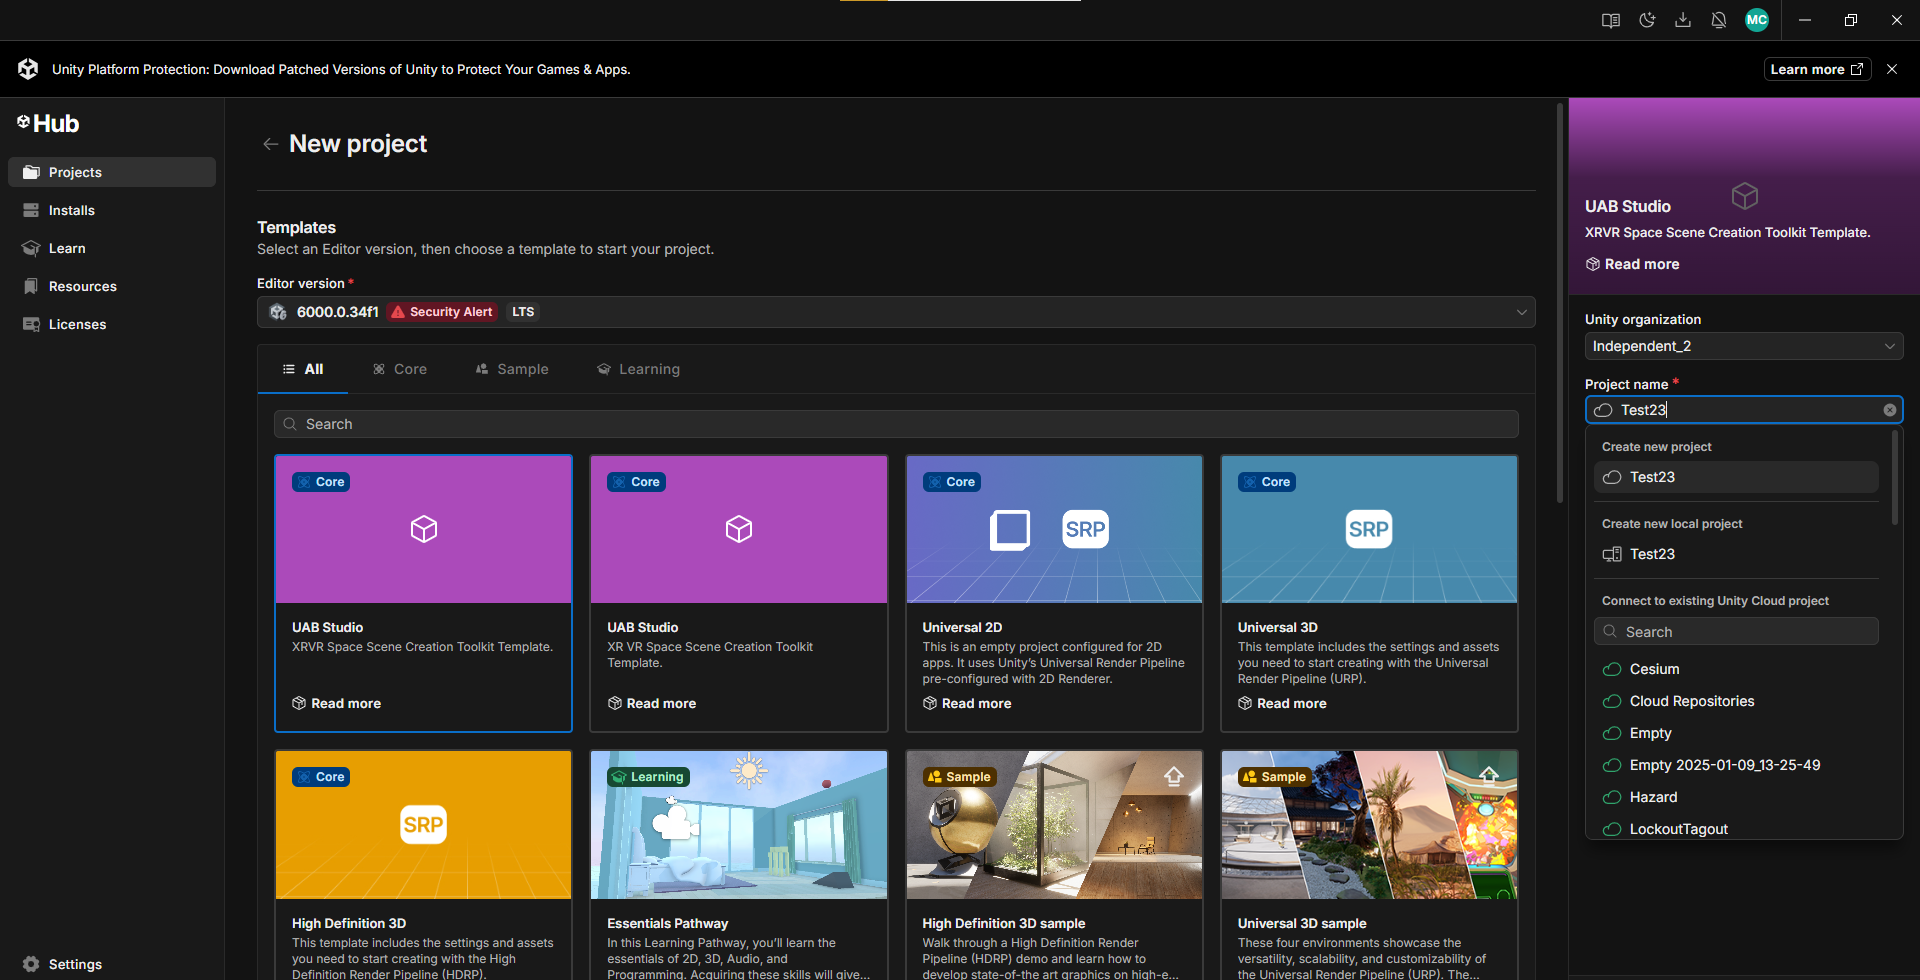
-
Disable Version Control/Cloud Management
Uncheck the boxes if you don’t need Version Control or Cloud Project Management. -
Create the Project
Click Create Project to start the creation process. -
Project Opened
Once the project is created, it will automatically open. -
Access XR Studio Menu
Click on the XR Studio menu item to start.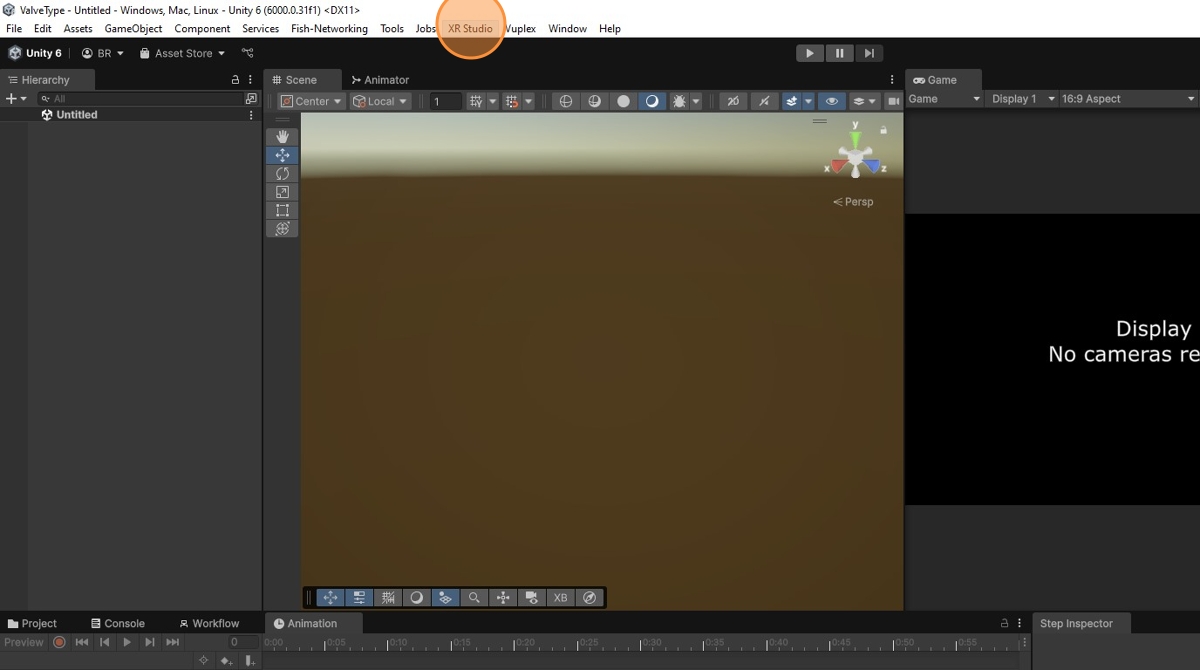
-
Create New Space Scene
Click on New Space to create a new space scene using the Scene Creation Wizard.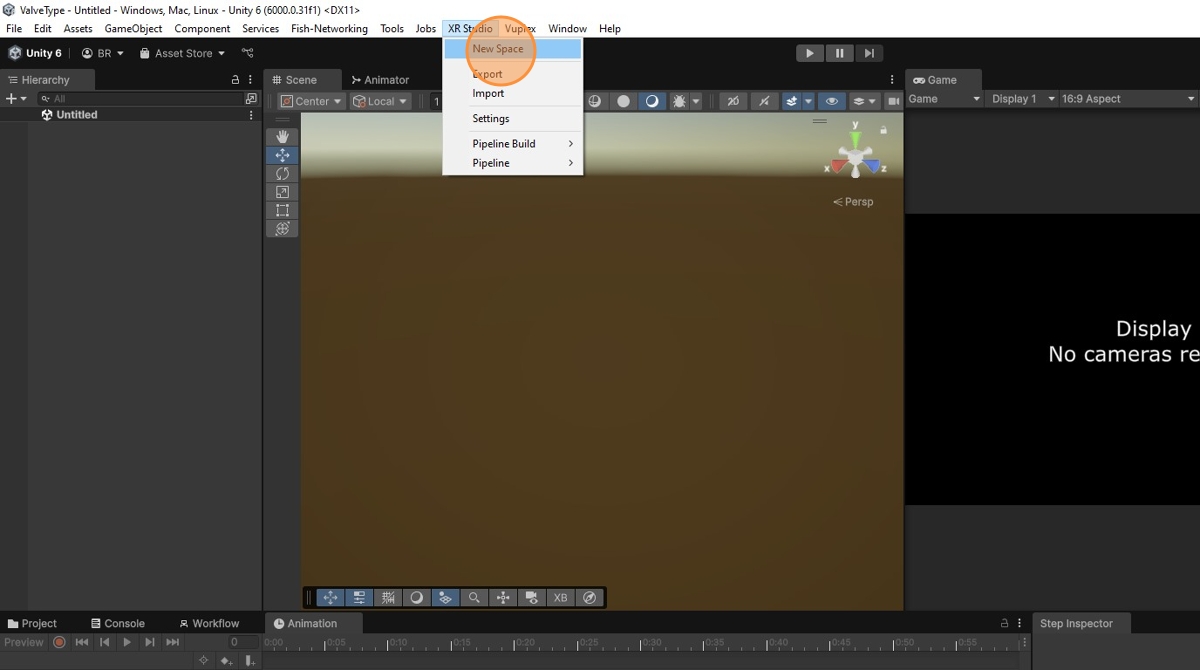
-
Click Next
Click Next to proceed with scene creation.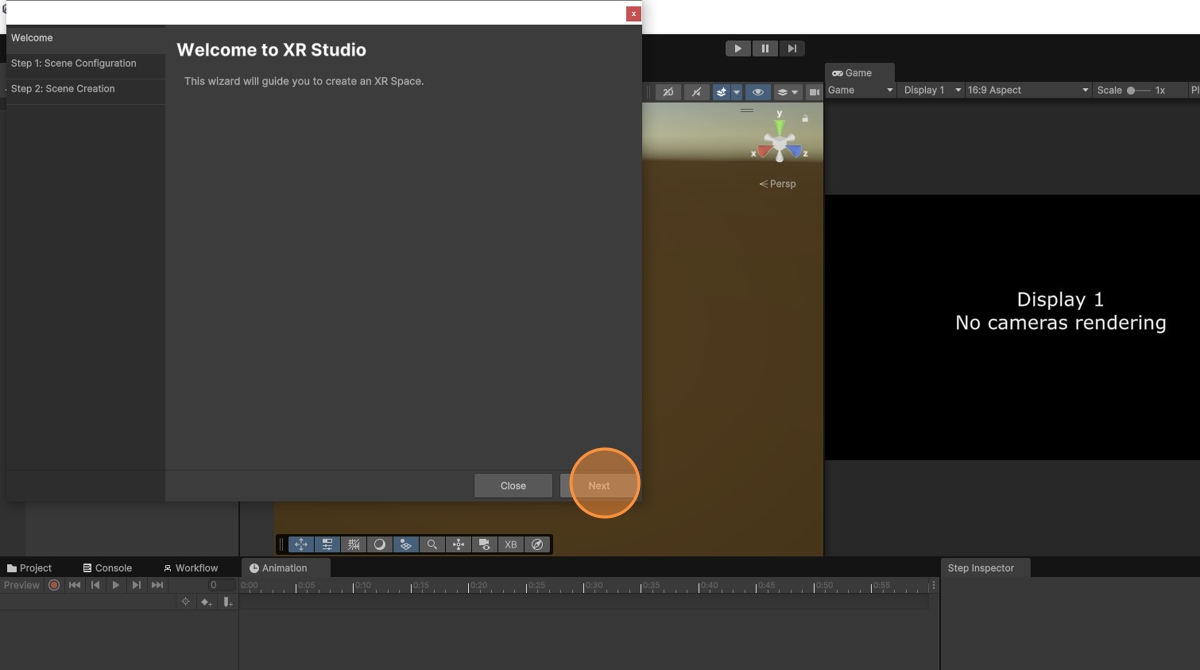
-
Select Scene Type
Click the Scene Type dropdown.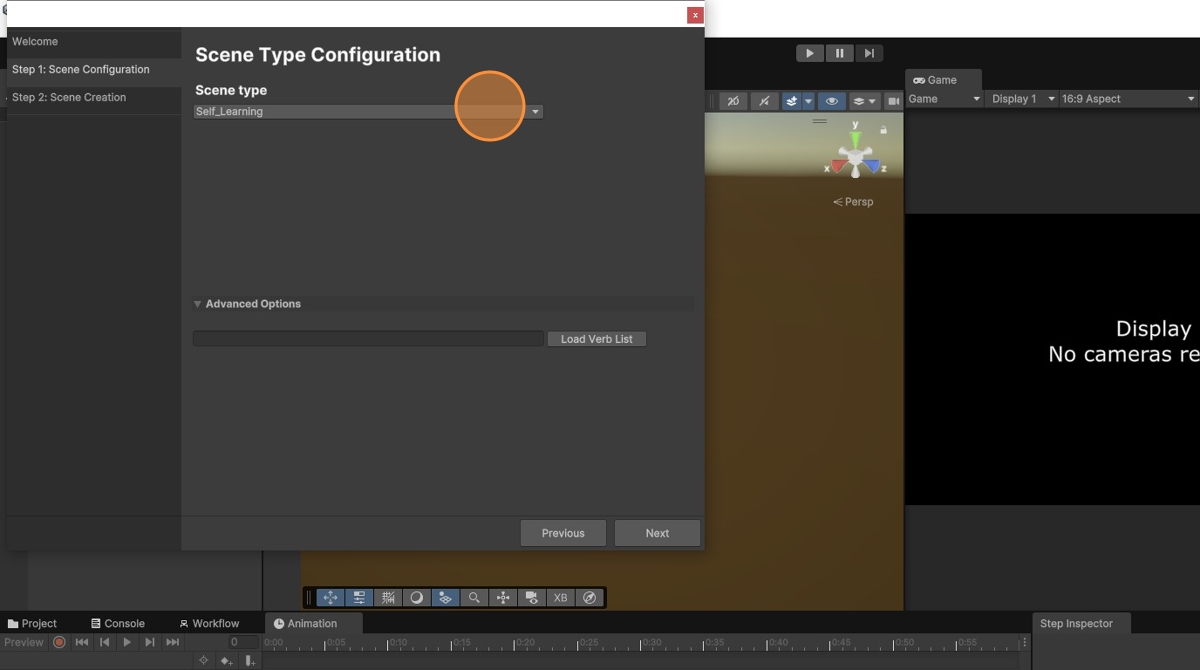
-
Choose Appropriate Scene Type
Select the scene type you wish to create.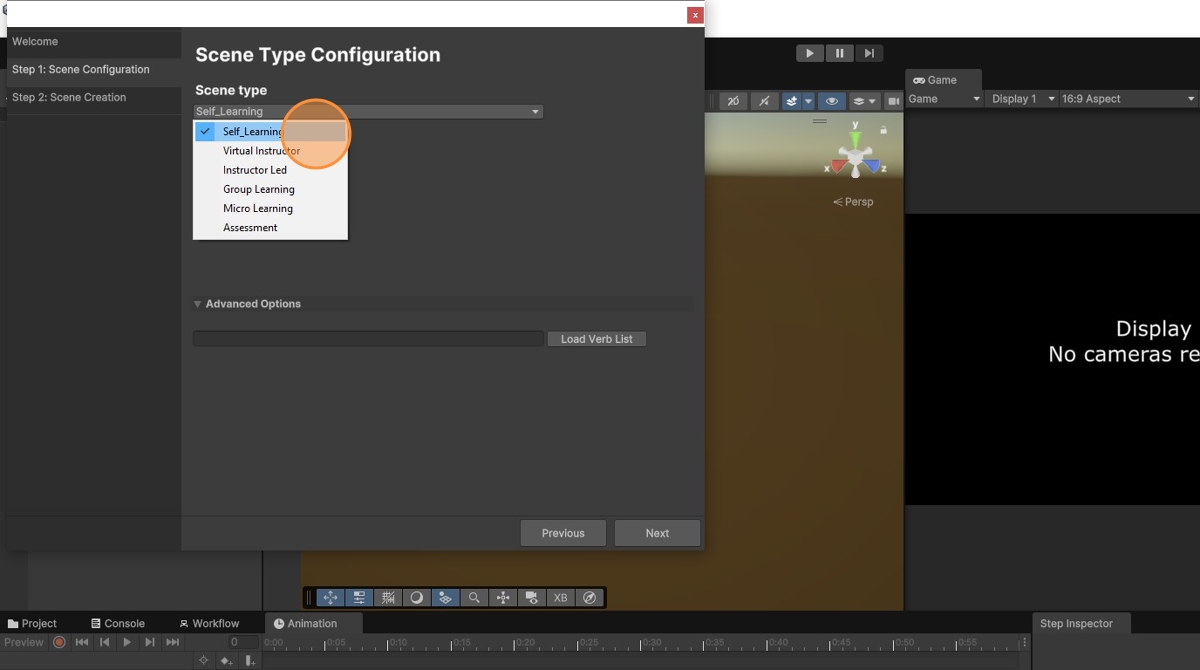
-
Click Next
Click Next to move on to the next step.
-
Enter Space Scene Name
Enter a name for your space scene.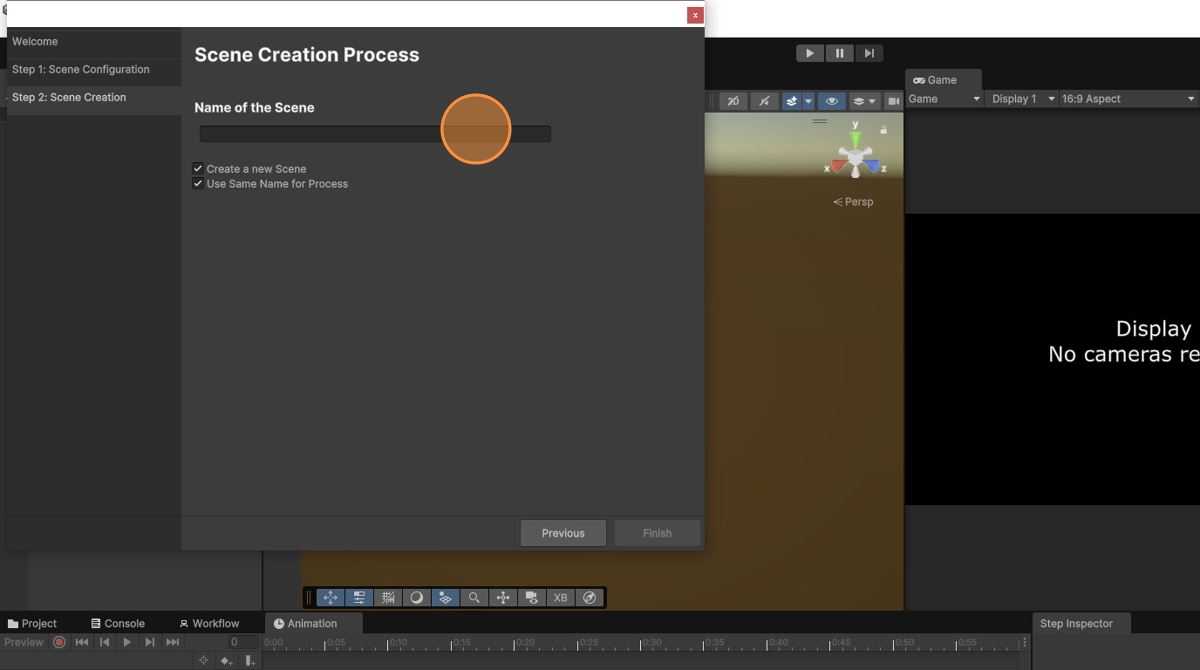
-
Finish Scene Creation
Click Finish to complete the scene creation.
-
Scene Created
The new space scene will now be created and visible.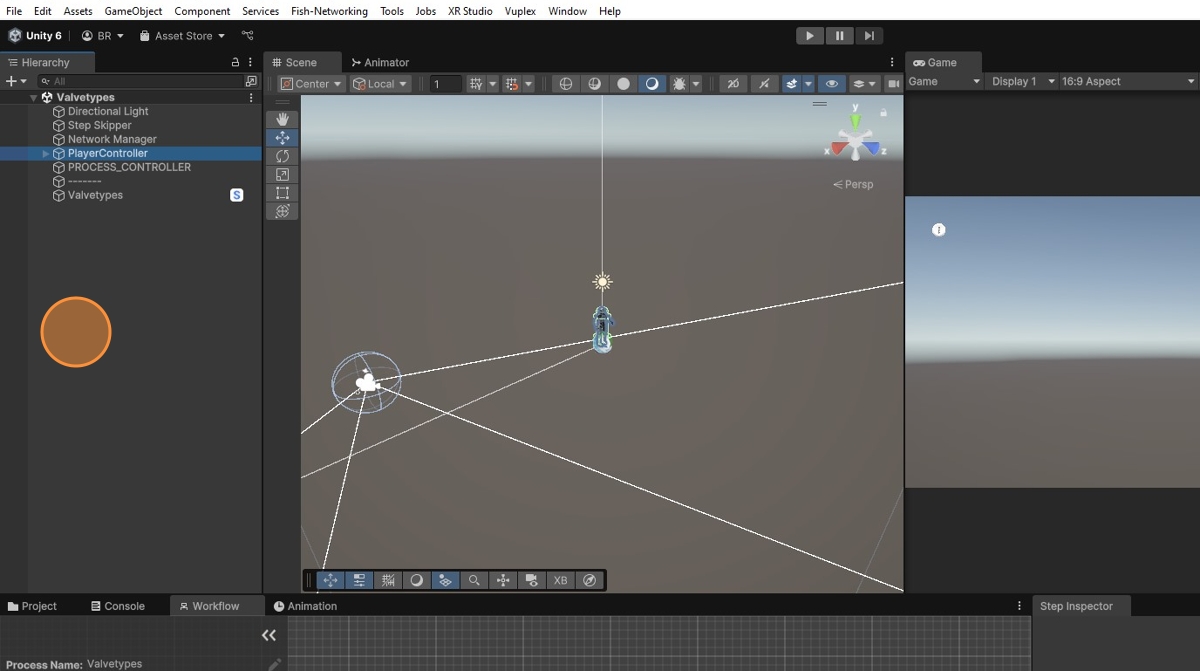
-
Select Scene in Hierarchy
Click the scene in the hierarchy window to open it.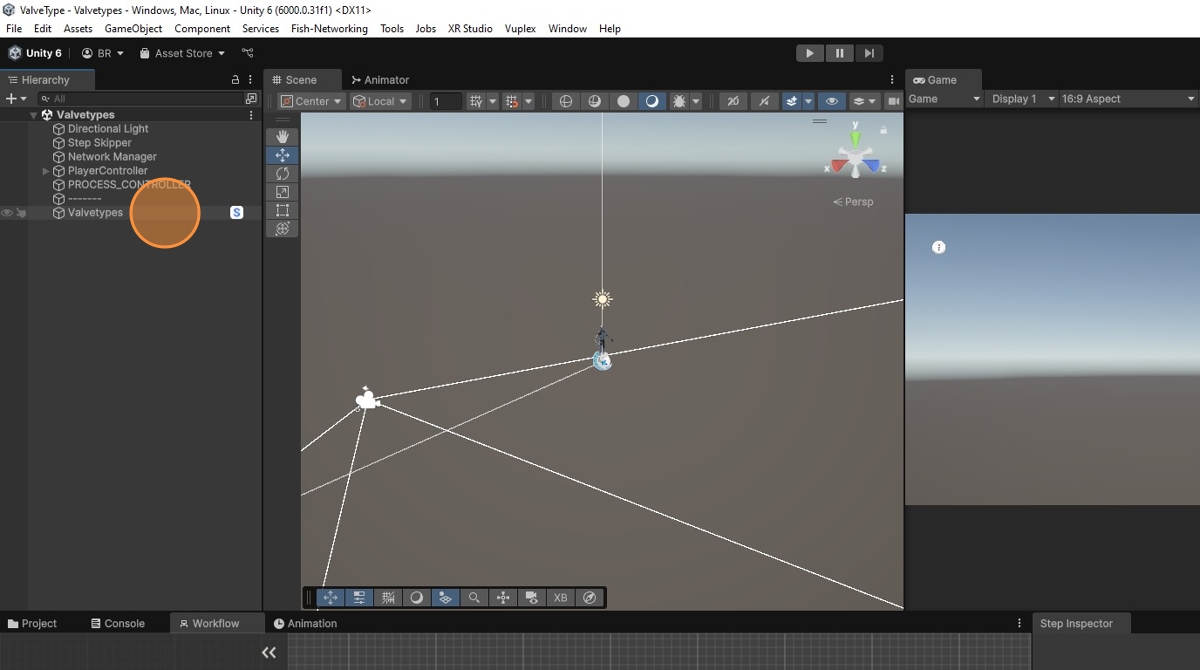
-
Open Process in Inspector
In the Inspector window, click Open Process.
-
Workflow Panel Opened
The workflow window panel will open.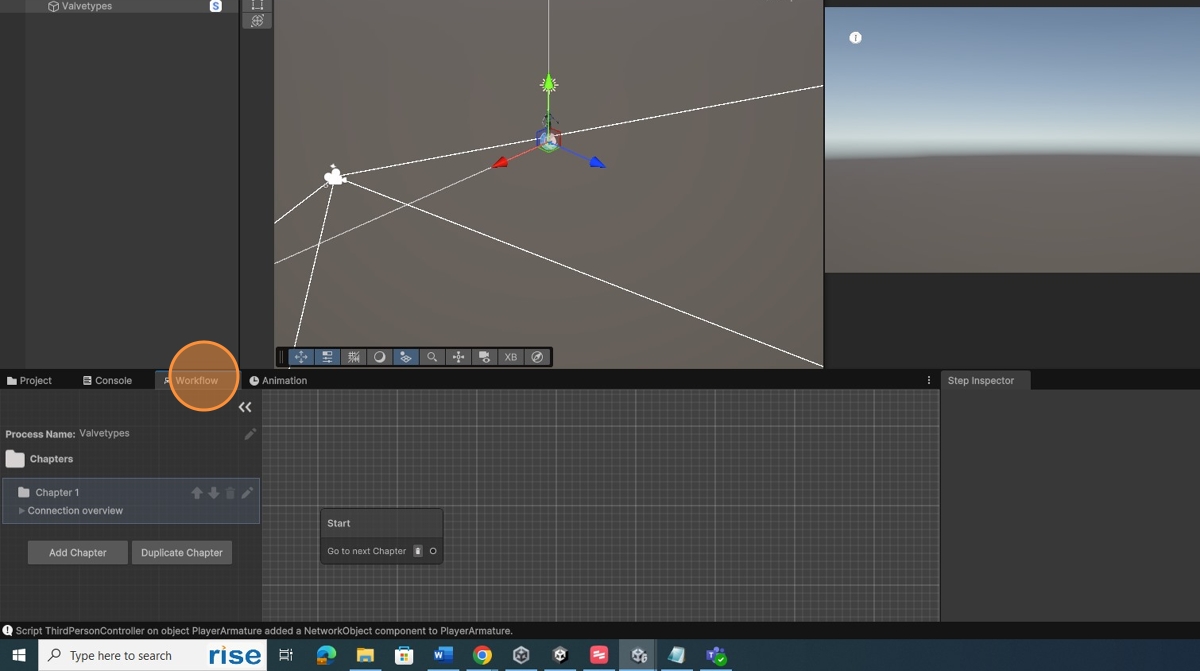
-
Project Tab
Click on the Project tab to access your project files.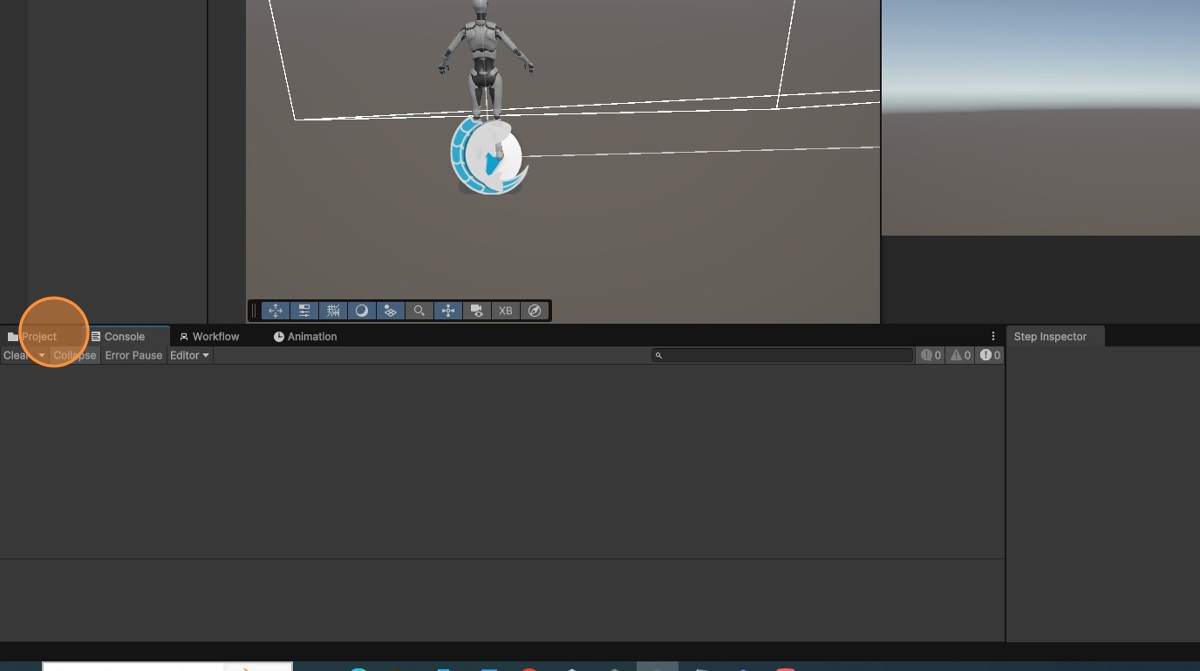
-
Right-Click in Project Area
Right-click in the empty area of the Project tab.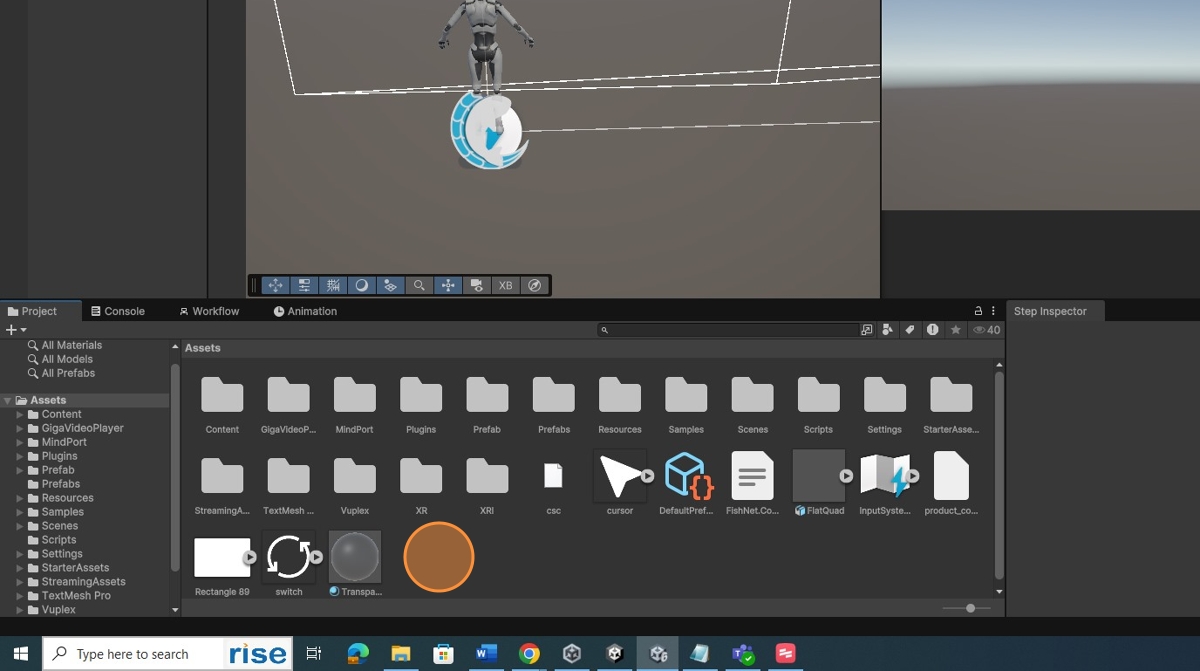
-
Create Folder
Right-click and select Create > Folder to organize your assets.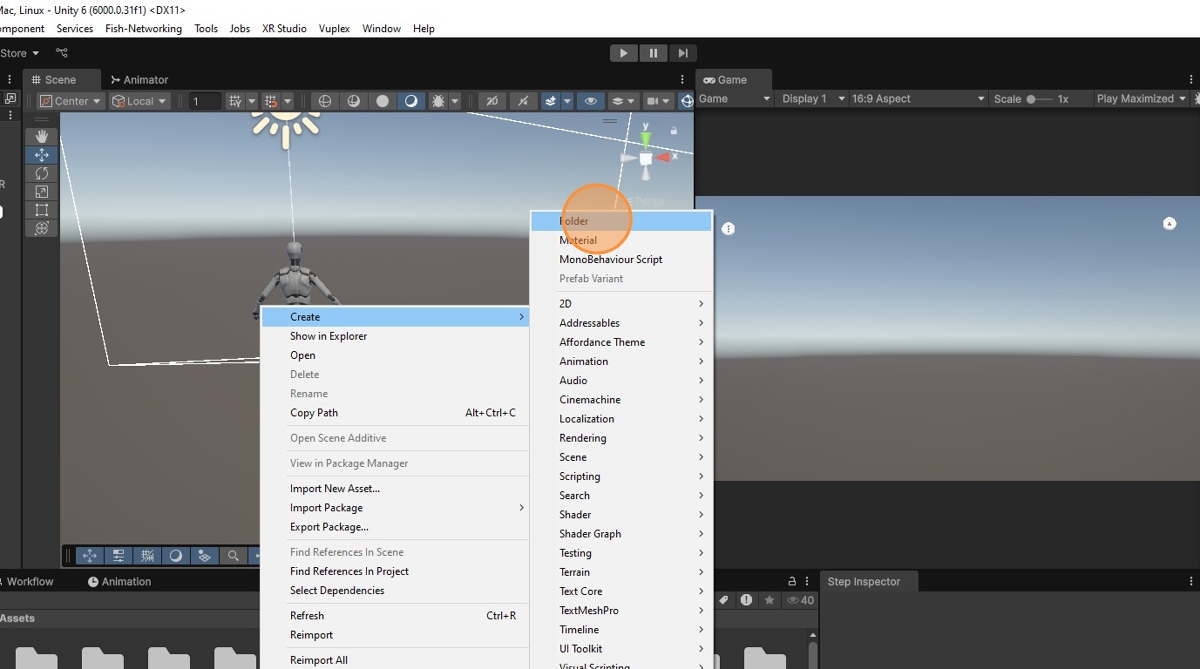
-
Organize Assets
Double-click the folder and organize your assets within it.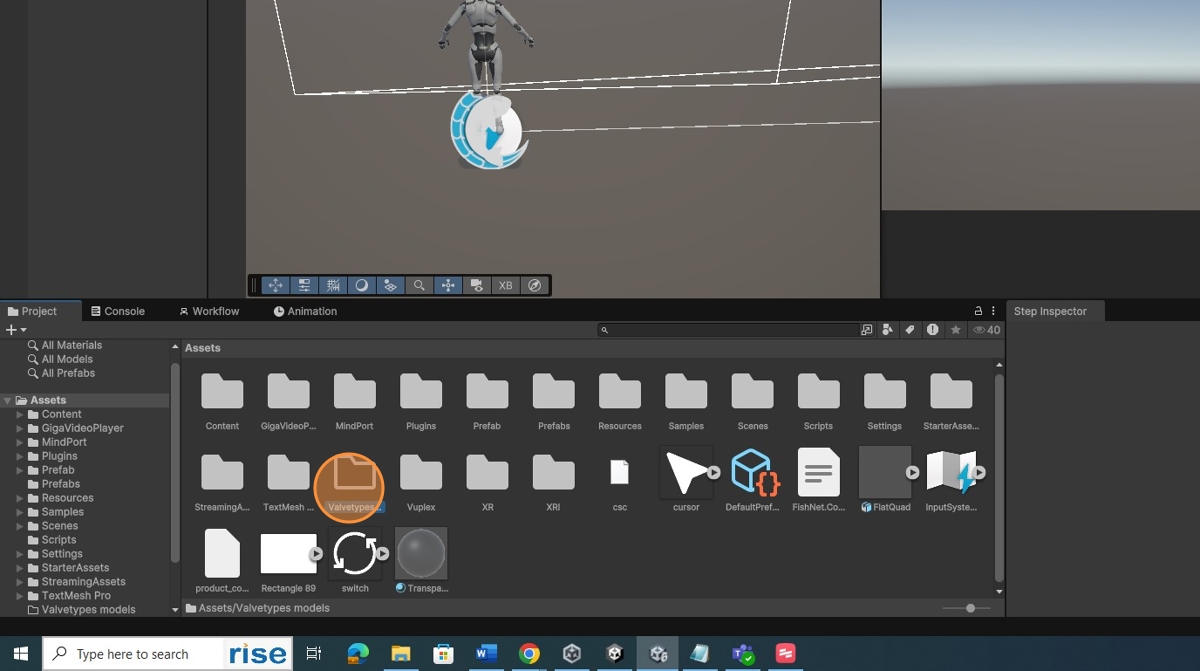
-
Import Assets
Drag and drop the assets you want to import into the Project area.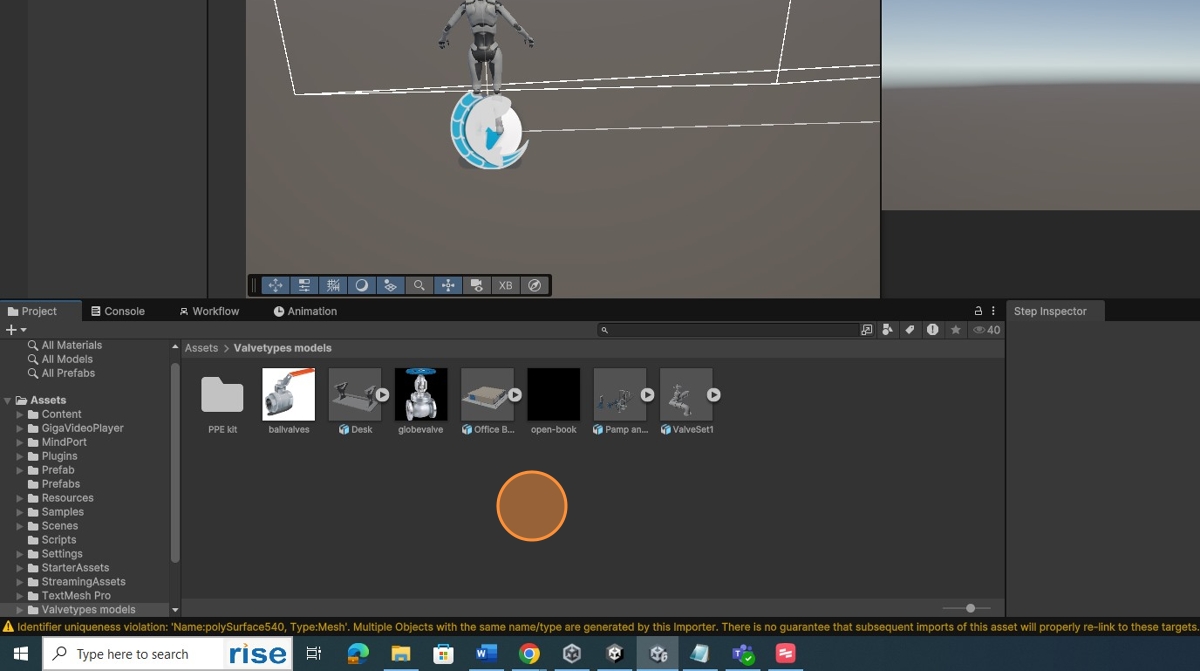
-
Right-Click Valve Scene
Right-click the Valve-type scene in the hierarchy panel.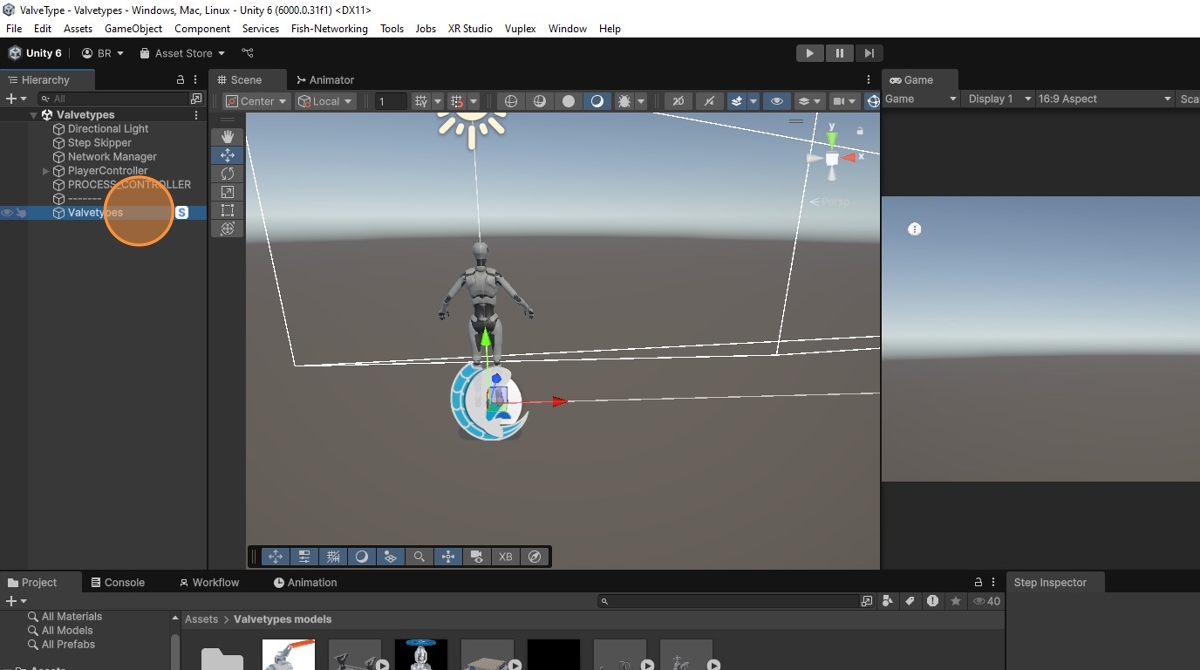
-
Create 3D Object
Click on 3D Object and select Plane.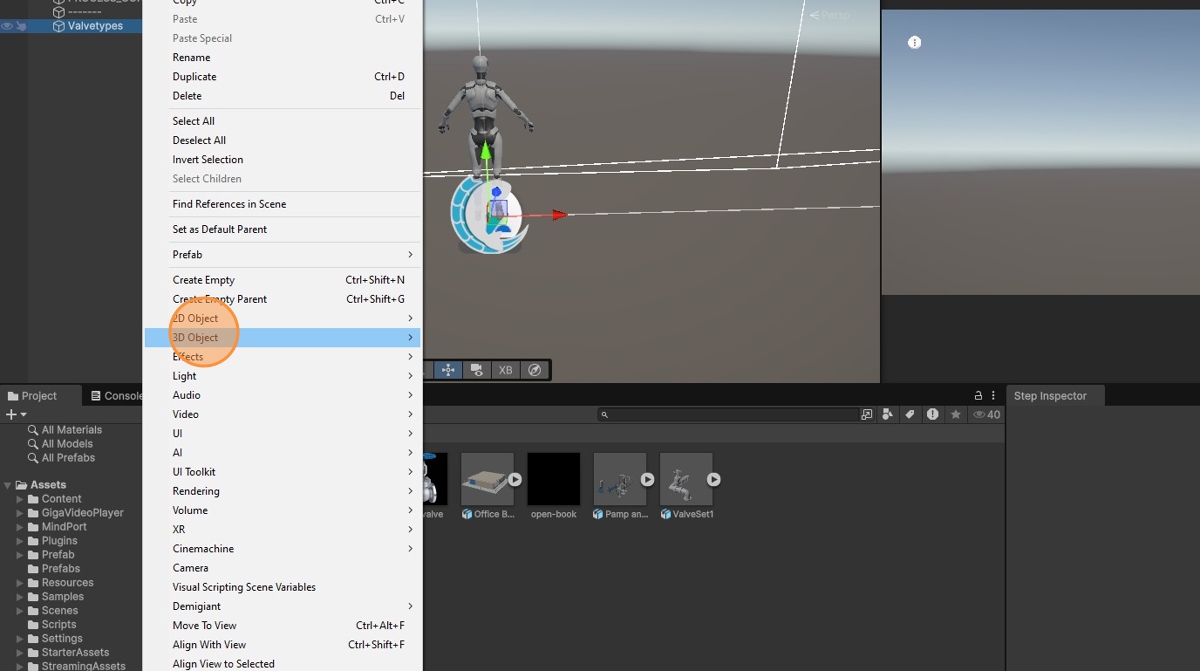
-
Plane Created in Scene
The plane is now created in the space scene.
-
Import Model into Scene
Click the model in the Project tab and drag it into the hierarchy window as a child of the space root.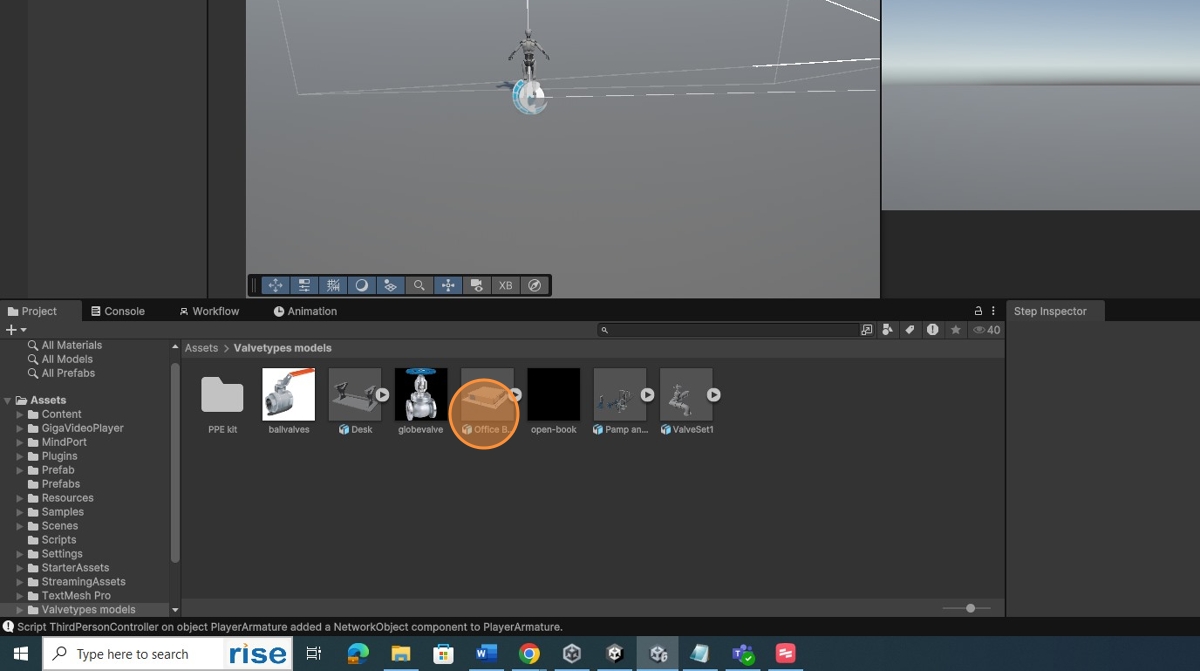
-
Model Imported into Space Scene
The model is now imported into the space scene.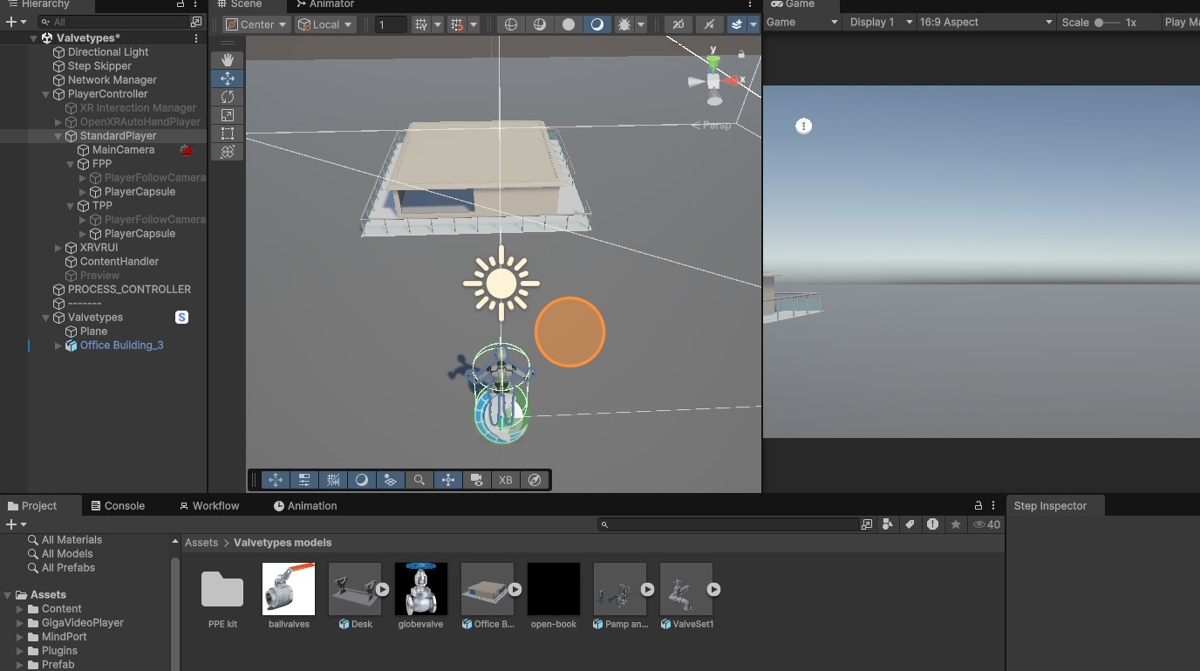
-
Open Workflow
Click the Workflow tab.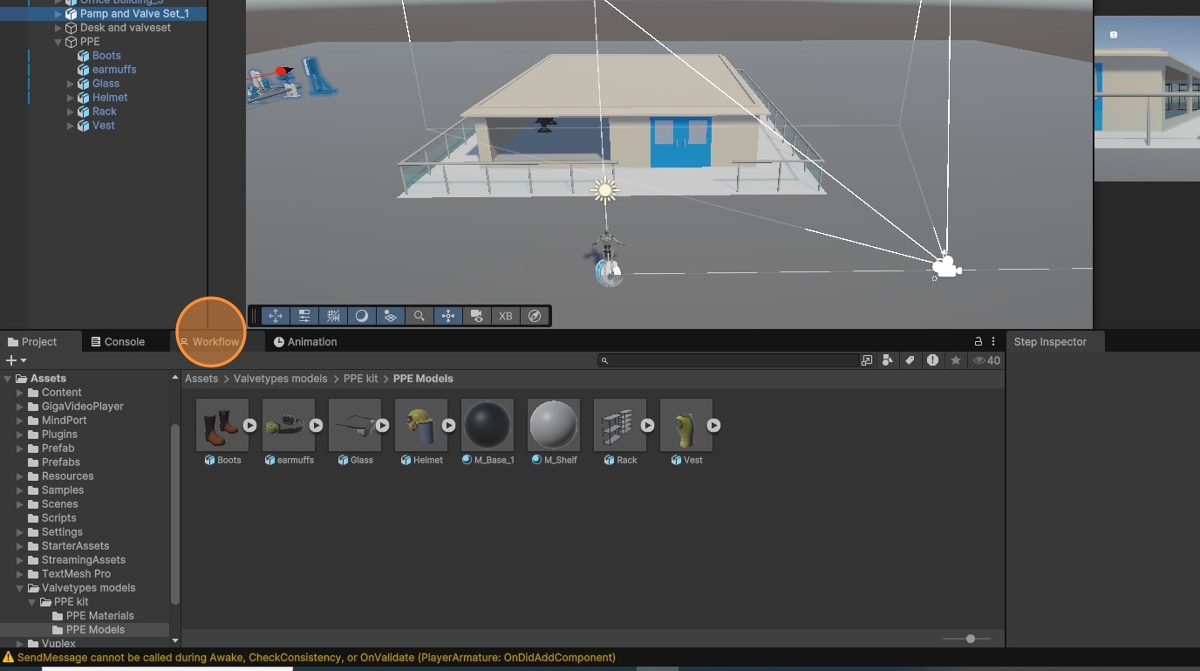
-
Right-Click to Create Step
Right-click to create a Step in the workflow.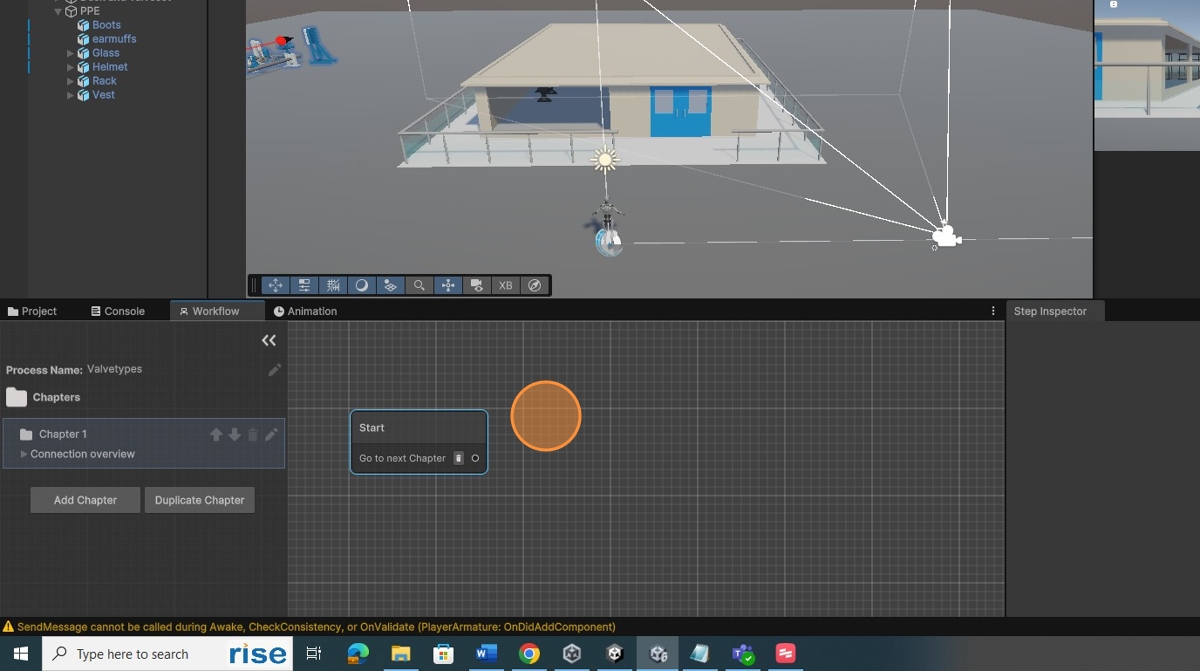
-
Create Transition Between Steps
Select New to create a transition from the Start to the Step.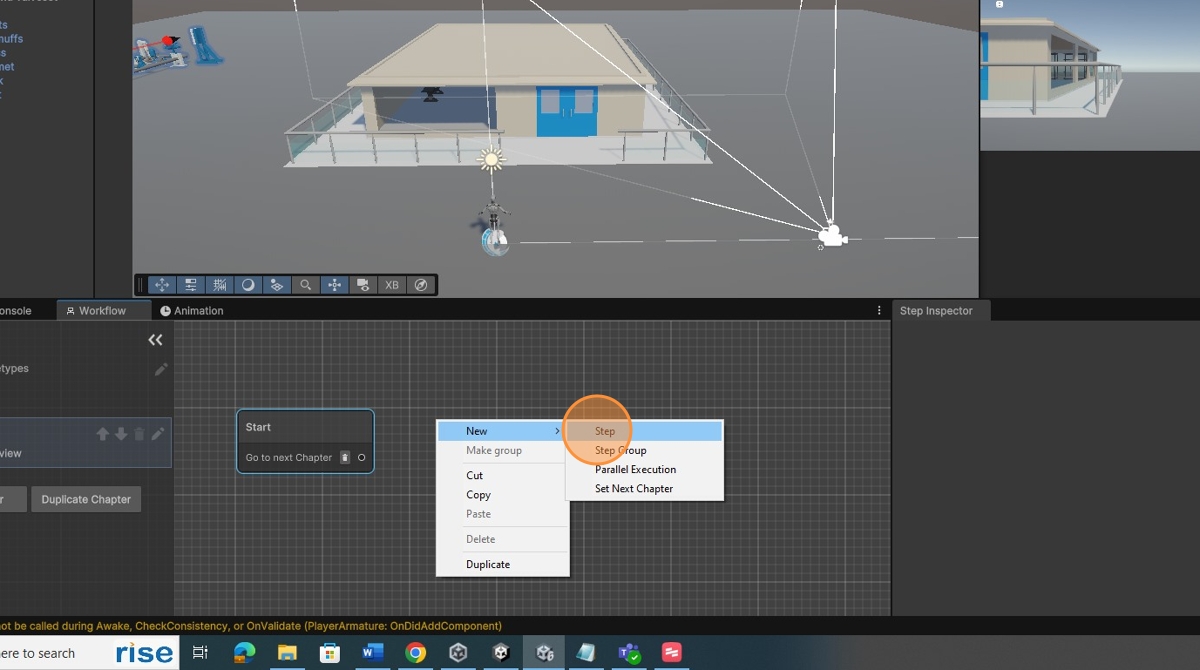
-
Modify Step Name
Click the Step and modify the name in the Step Inspector.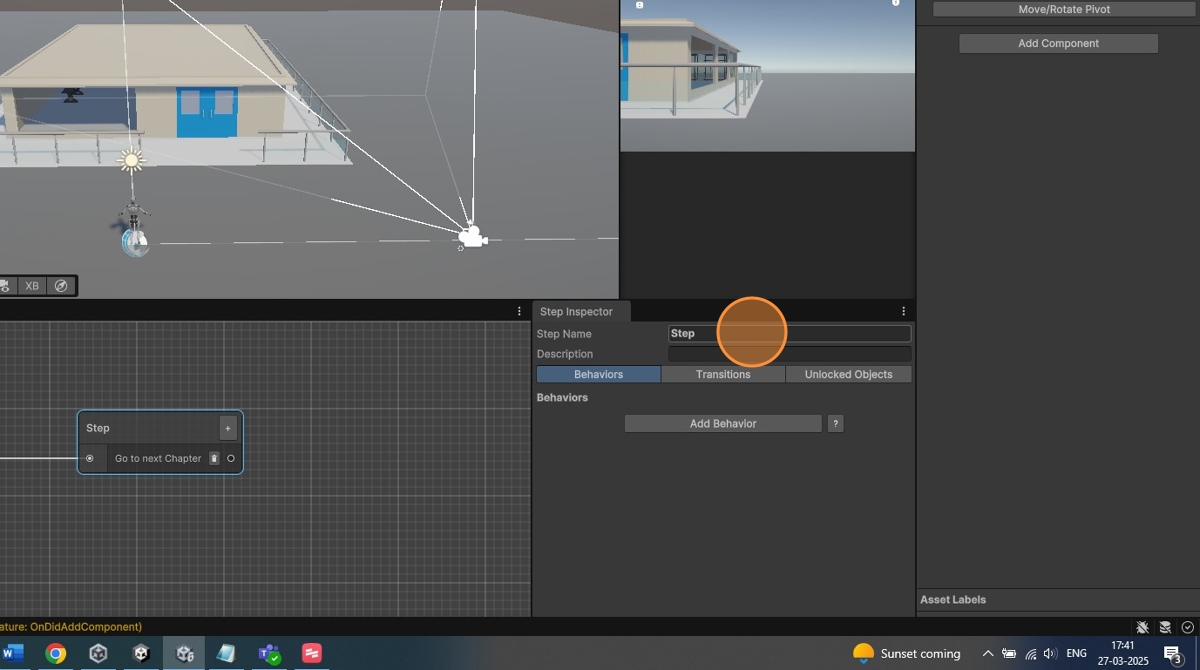
-
Search Board Provider
In the Project tab, search for Board Provider.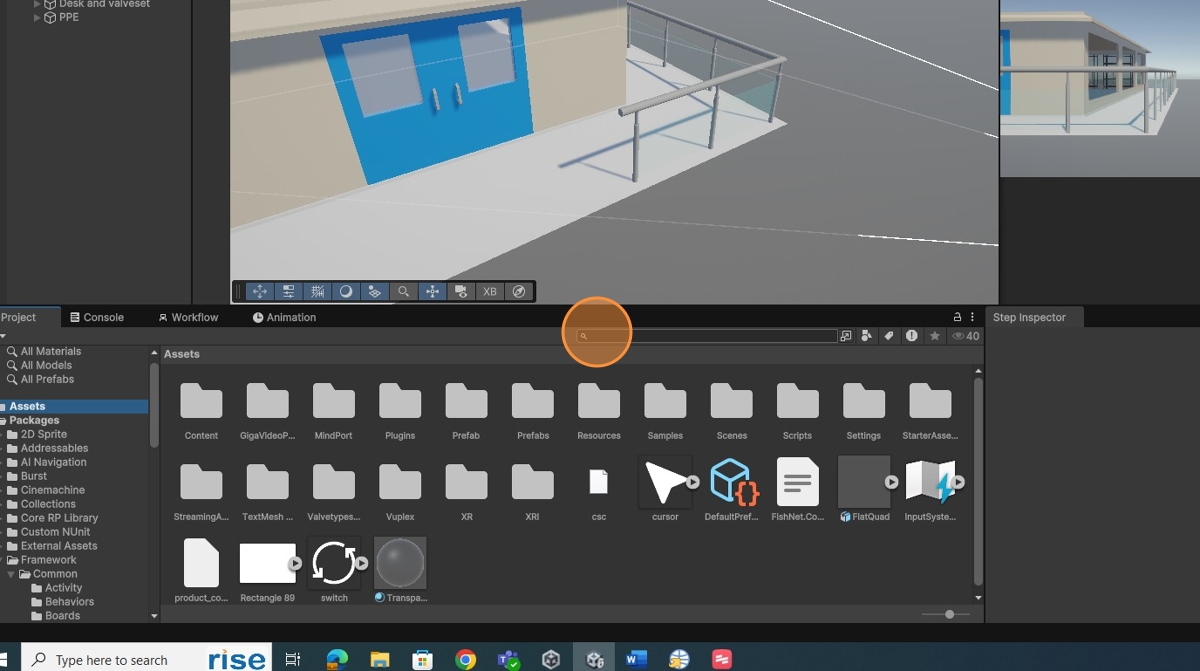
-
Add Board to Hierarchy
Drag and drop the board into the hierarchy window.
-
Search Message Board
Search for Message Board in the Project tab.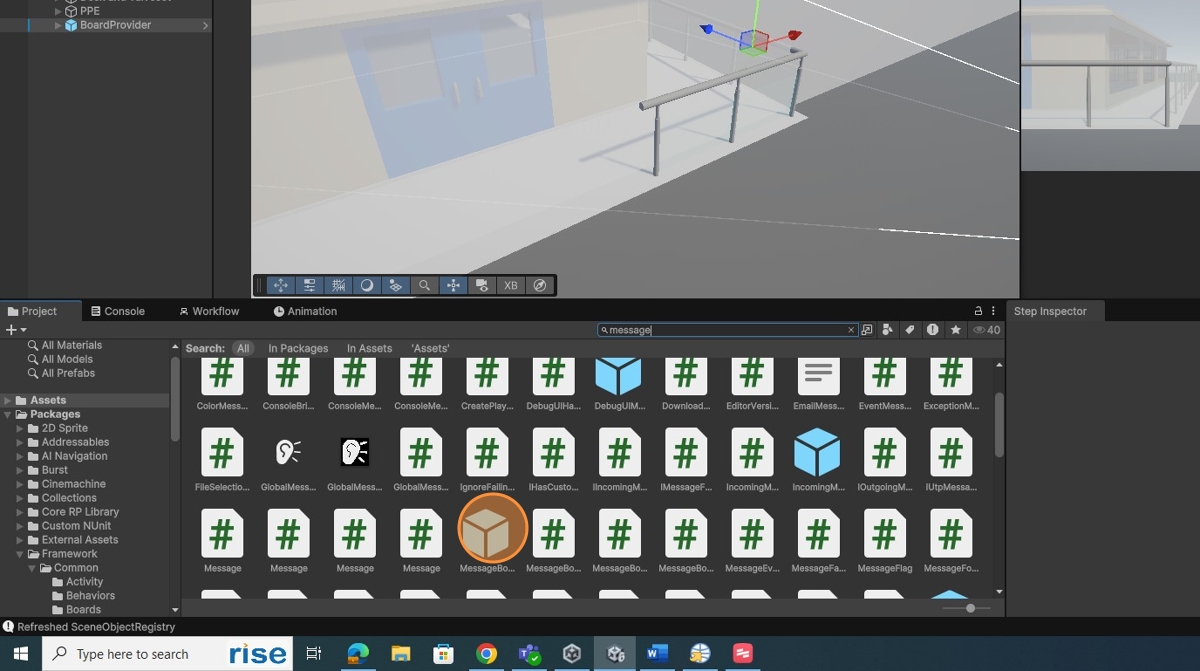
-
Add Message Board to Hierarchy
Drag and drop the message board into the hierarchy window.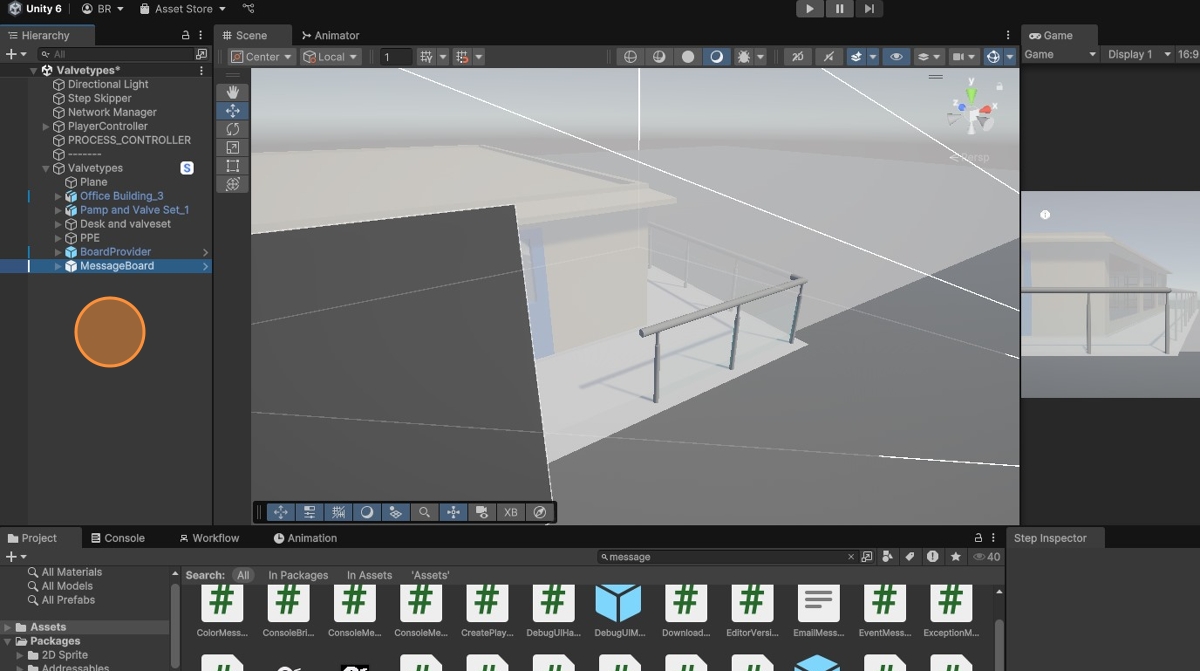
-
Select Boards in Hierarchy
Select both boards in the hierarchy window.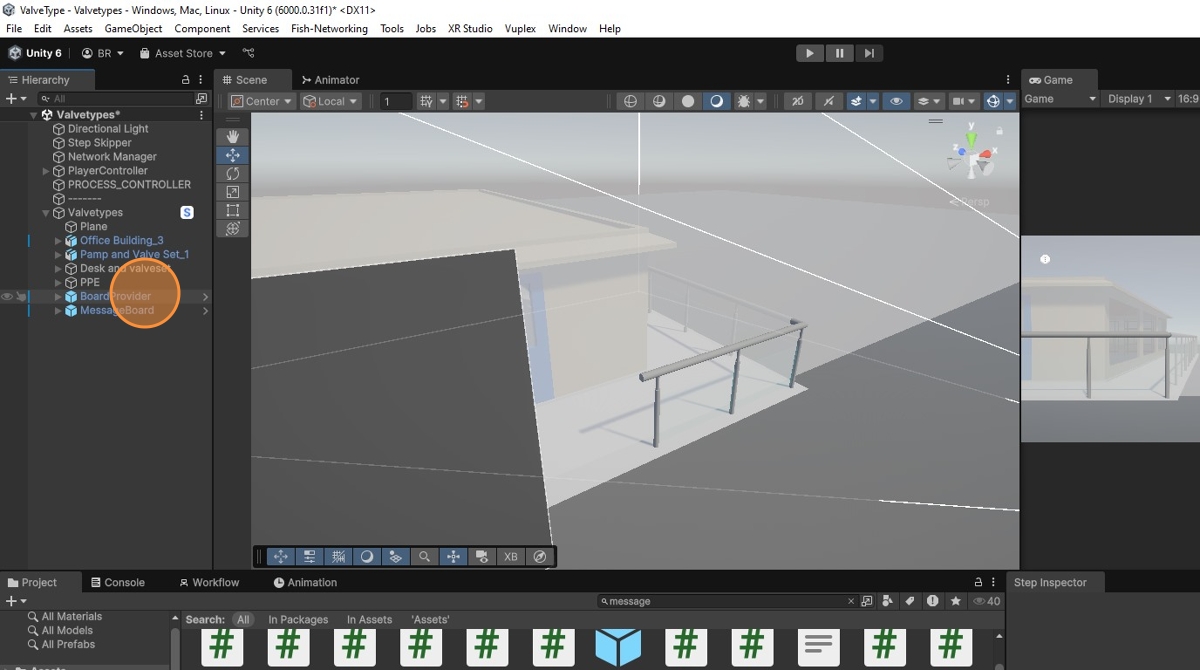
-
Adjust Board Scale
Reduce the scale size of the boards as needed.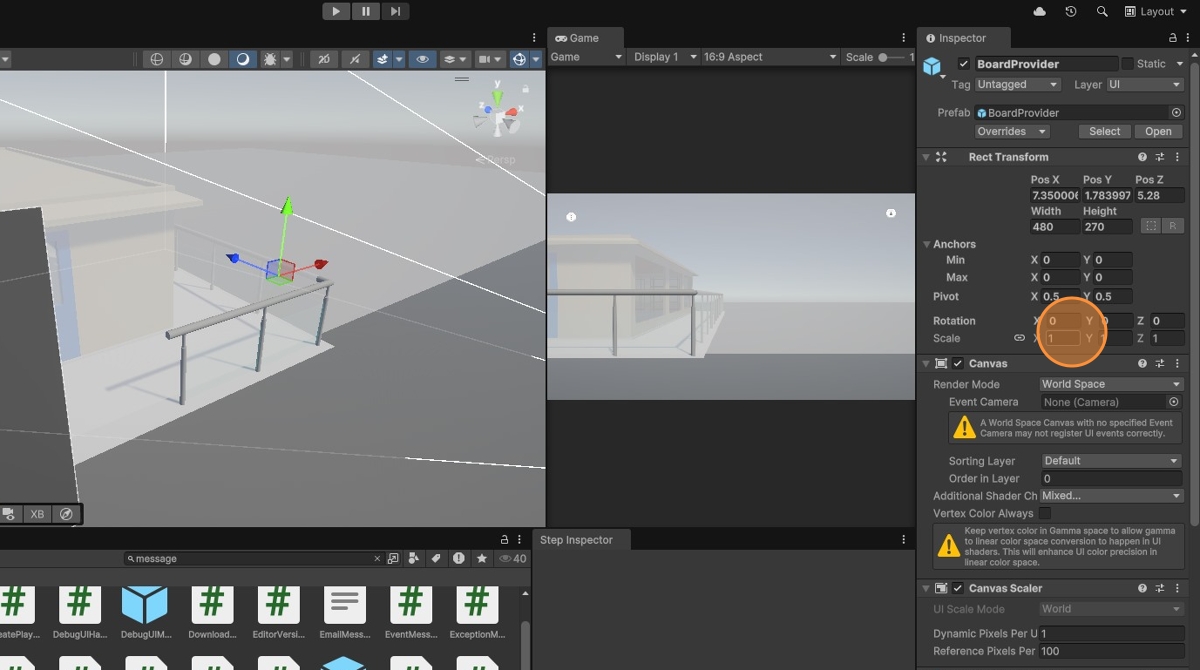
-
Boards in Same Position
The boards will now appear in the same position.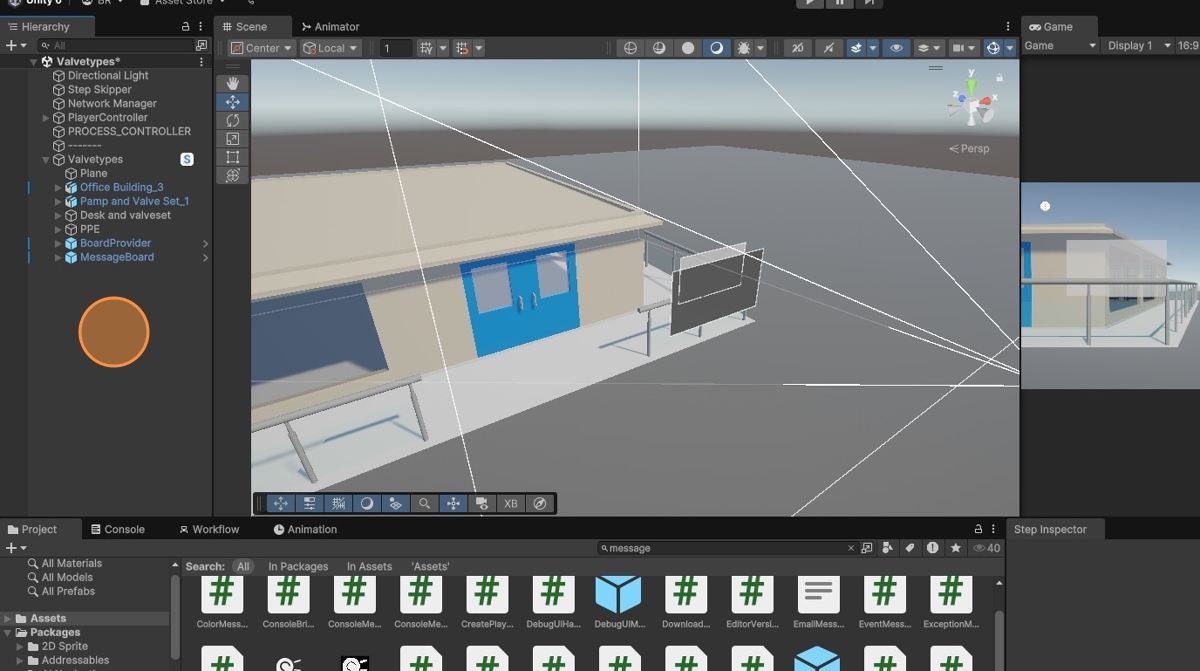
-
Create Additional Steps
Click on Workflow to create more steps.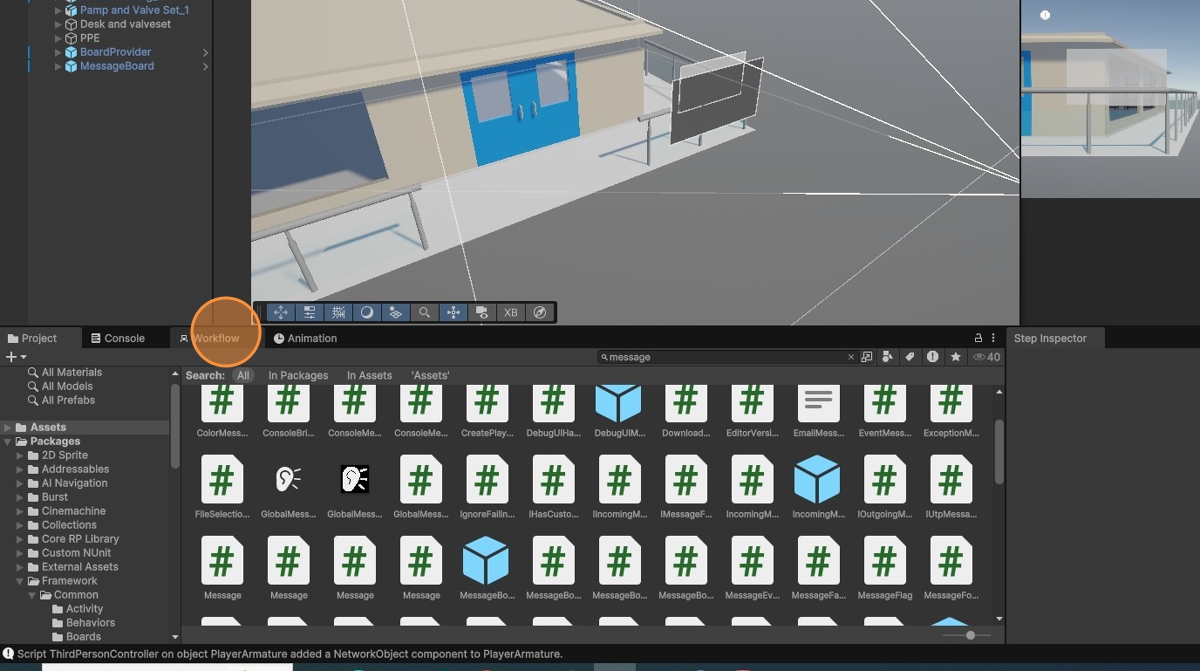
-
Right-Click to Create Step
Right-click to create a new step.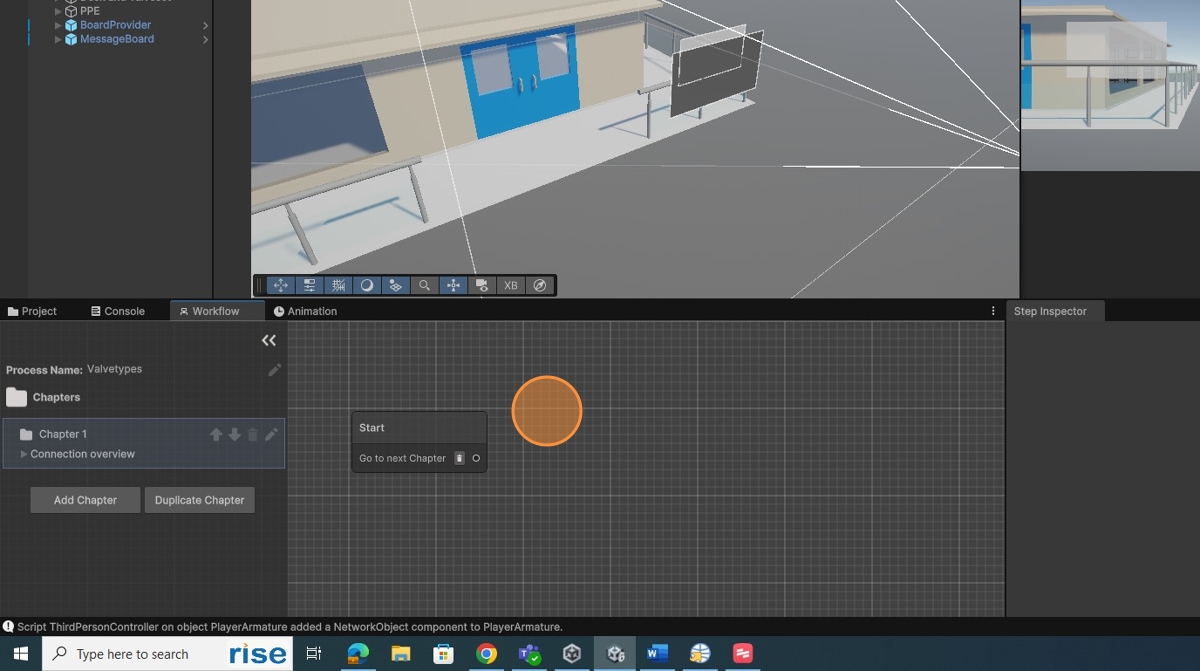
-
Select New Step
Click New and select Step.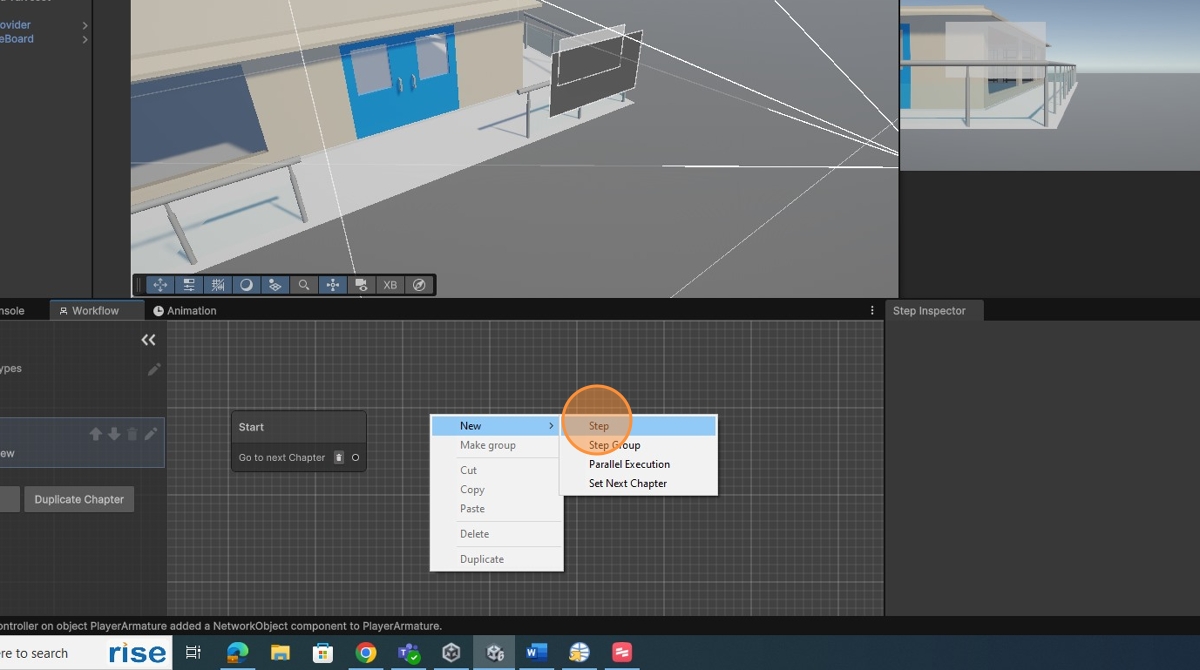
-
Create Transition Between Steps
Create a transition between the two steps.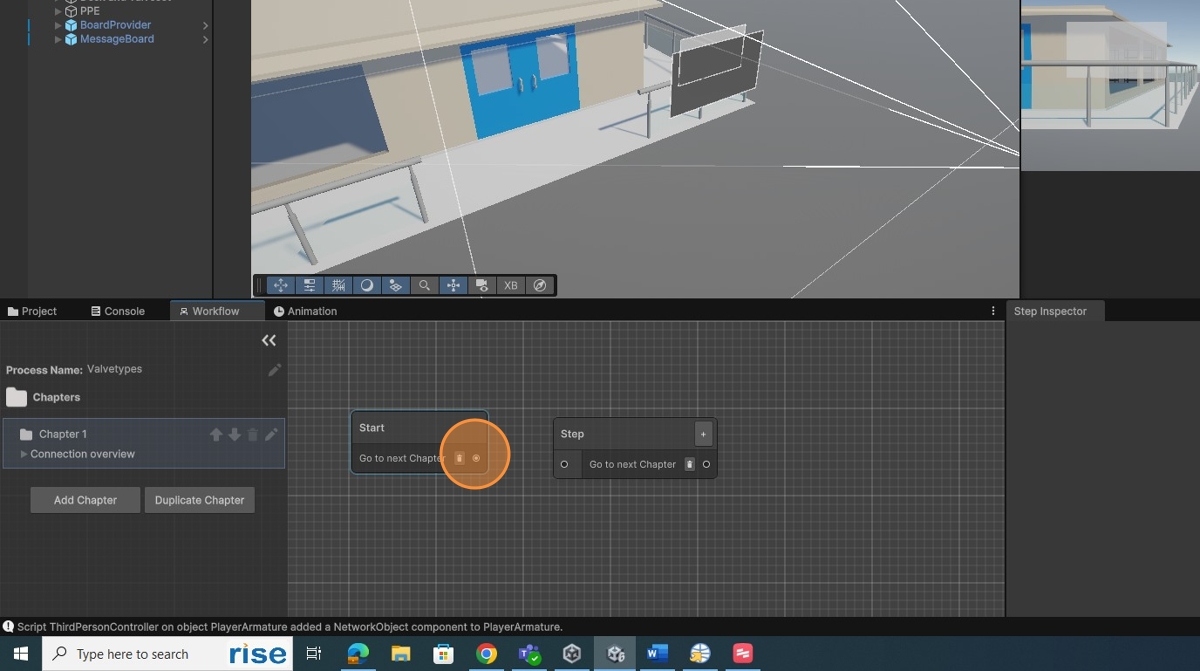
-
Modify Step Name in Inspector
Click on the Step and modify the name in the Step Inspector.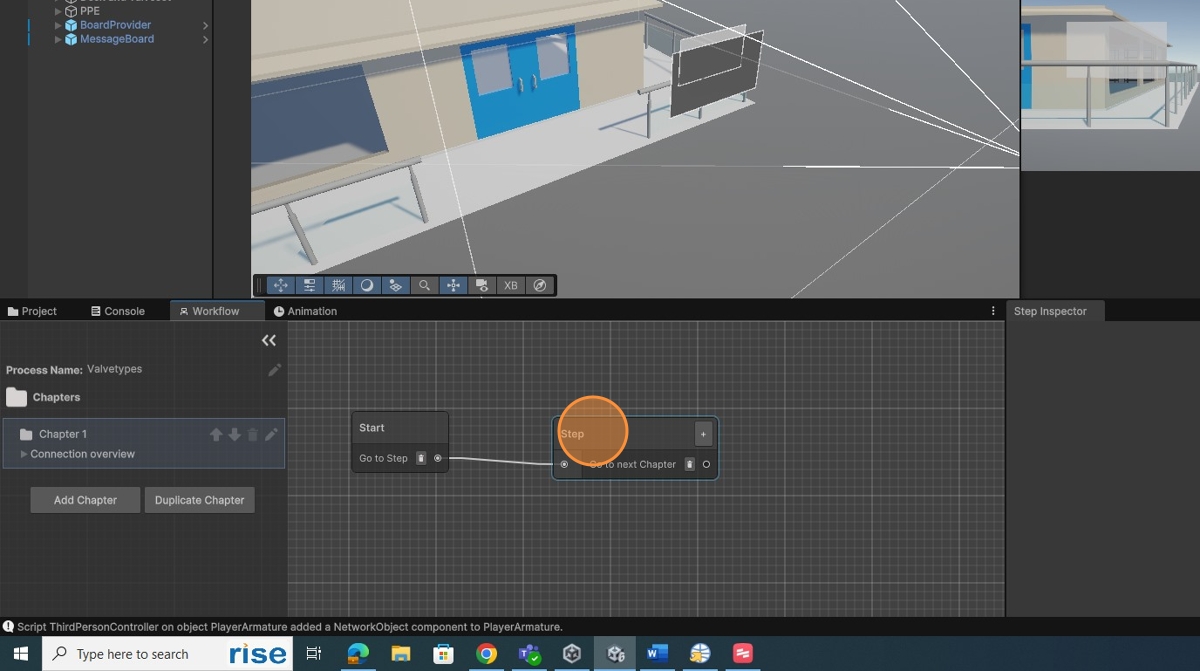
-
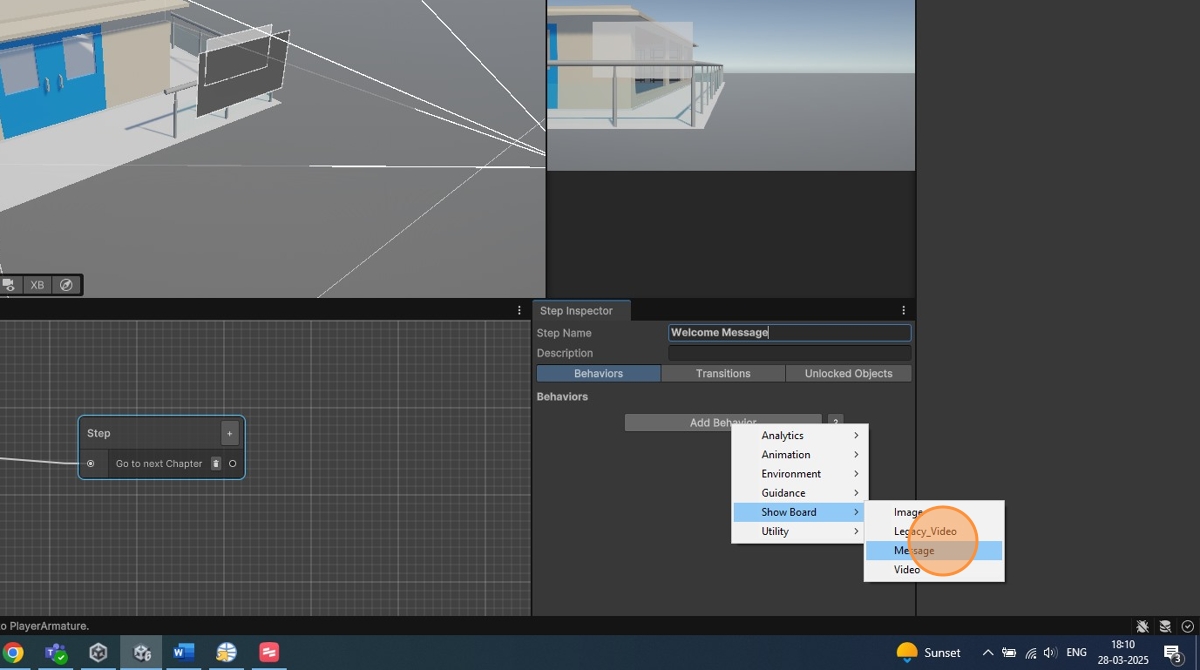
Add Behavior
In the Step Inspector, click Behaviors and then click Add Behavior.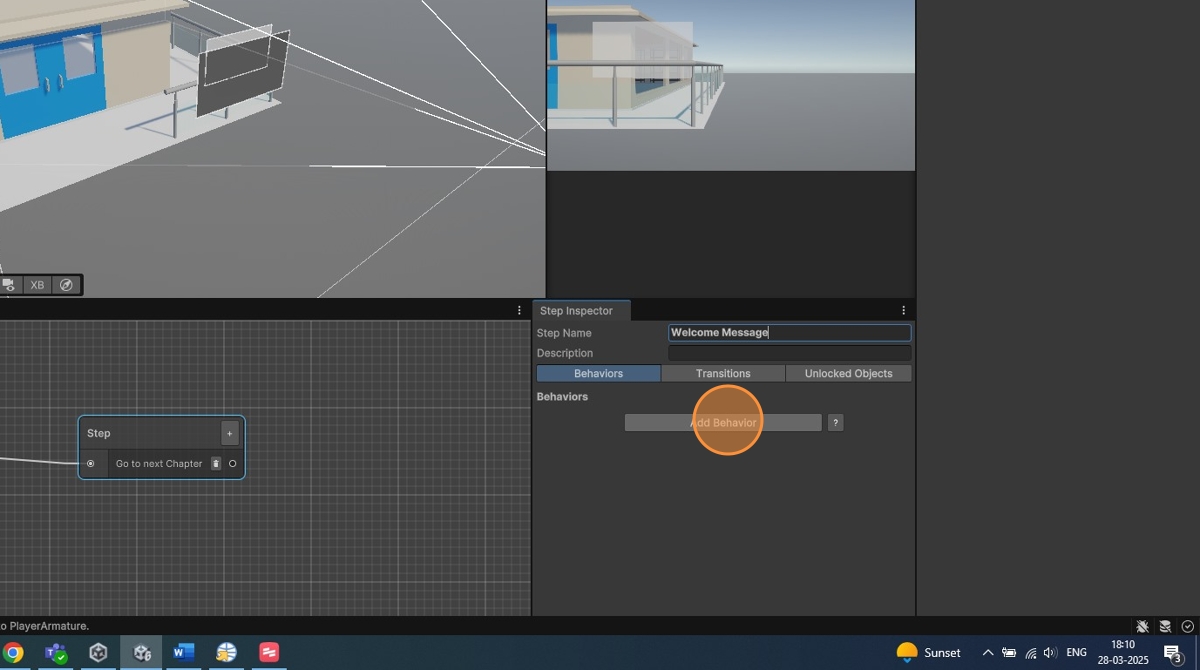
-
Show Board Behavior
Click Show Board and select the Message.