Installation
1. Download and Install Autodesk AutoCAD
This section explains the system requirements for AutoCAD and provides step-by-step instructions to download and install the software using an Autodesk student account.
2. System Requirements (Windows)
System requirements for AutoCAD including Specialized Toolsets (Windows).
-
Operating system
- 64‑bit Microsoft Windows 11 or Windows 10 version 1809 or above.
- See Autodesk’s Product Support Lifecycle for current support information.
-
Processor
- Basic: 2.5–2.9 GHz processor (base).
- Recommended: 3+ GHz processor (base), 4+ GHz turbo.
- ARM processors are not supported.
-
Memory (RAM)
- Basic: 8 GB.
- Recommended: 16 GB.
-
Display and resolution
- Conventional displays: 1920 × 1080 with True Color.
- High‑resolution & 4K displays: up to 3840 × 2160 with a capable graphics card.
-
Graphics card
- Basic: 1 GB GPU with 29 GB/s bandwidth and DirectX 11 compliant.
- Recommended: 4 GB GPU with 106 GB/s bandwidth and DirectX 12 compliant.
- DirectX 12 with Feature Level 12_0 is required for Shaded (Fast) and Shaded with edges (Fast) visual styles.
-
Disk space
- 10.0 GB free space (SSD strongly recommended).
-
Network
- For network licensing, see:
Autodesk Network License Manager for Windows.
- For network licensing, see:
-
Input device
- MS‑Mouse compliant pointing device (or equivalent).
-
.NET Framework
- Microsoft .NET Framework version 4.8 or later.
3. Application Installation
3.1 Access Autodesk website
- Open a web browser and go to the Autodesk Education / Products page.
Example: https://www.autodesk.com/education/edu-software/overview.

- Create an Autodesk student account (if you do not already have one).
- After successfully creating the account, click Sign in.
3.2 Sign in to Autodesk
- Click the SIGN IN option on the Autodesk page.
- Enter your email ID and click Next.

- Enter your password.
- Click SIGN IN to complete login.

3.3 Select AutoCAD product
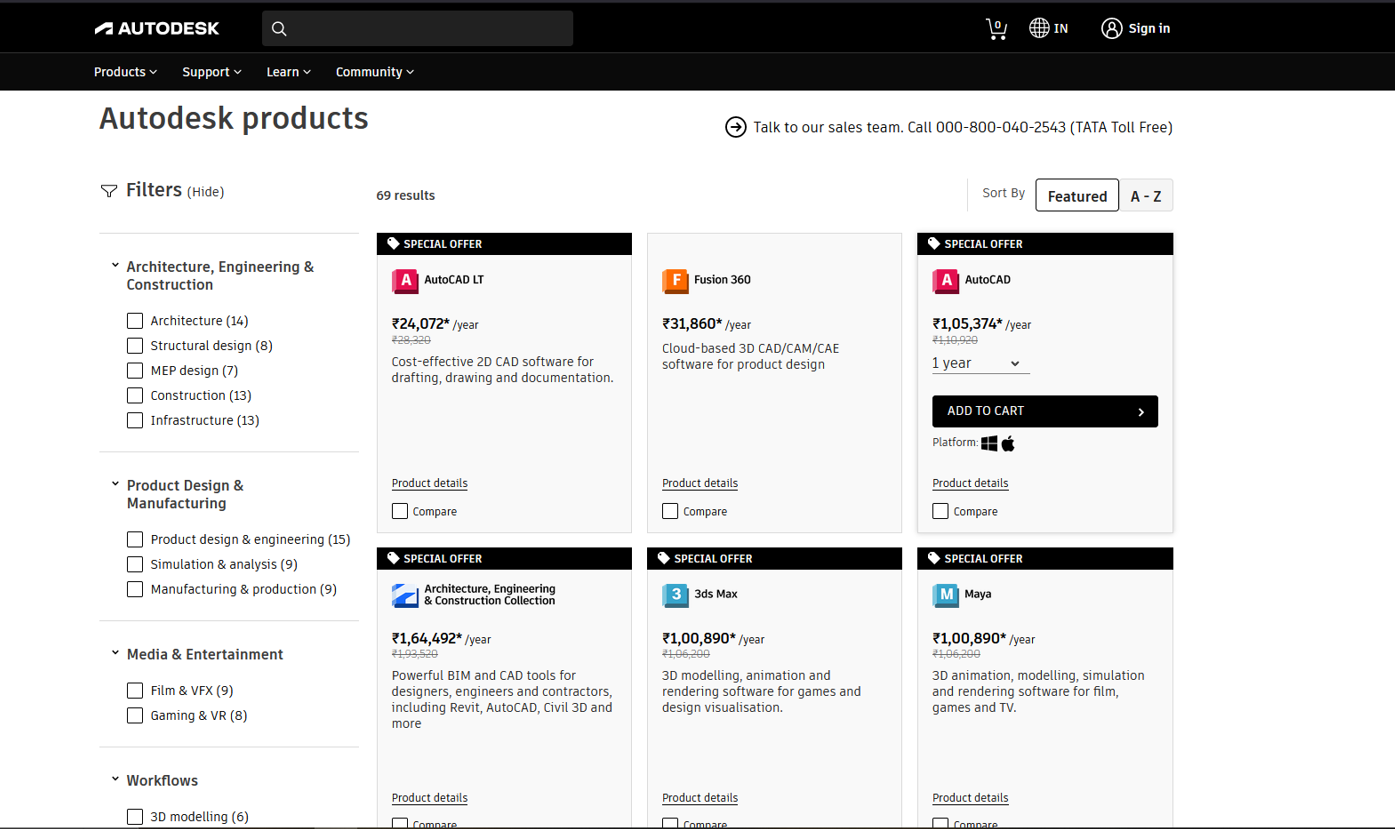
- After sign‑in, open the View all products page or similar products list.

- Scroll down to locate Autodesk AutoCAD.
- Click on Autodesk AutoCAD to open the product details.
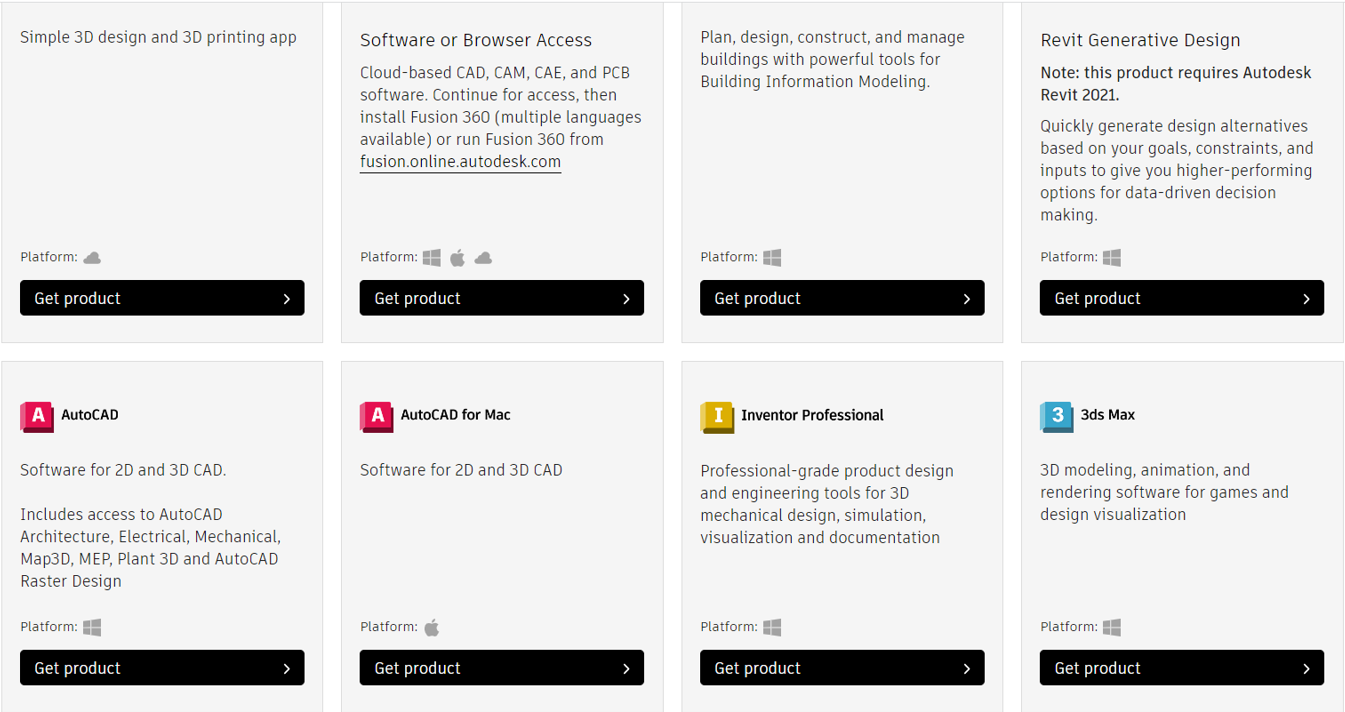
- Complete any billing/eligibility steps if prompted (for student license this is usually free after verification).
- Once the process is complete, click the option to Download or Install AutoCAD .

3.4 Run the installer
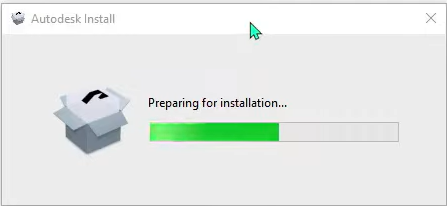
- After the installer is downloaded, run the setup file.
- The installer prepares files and shows a Preparing for installation screen.

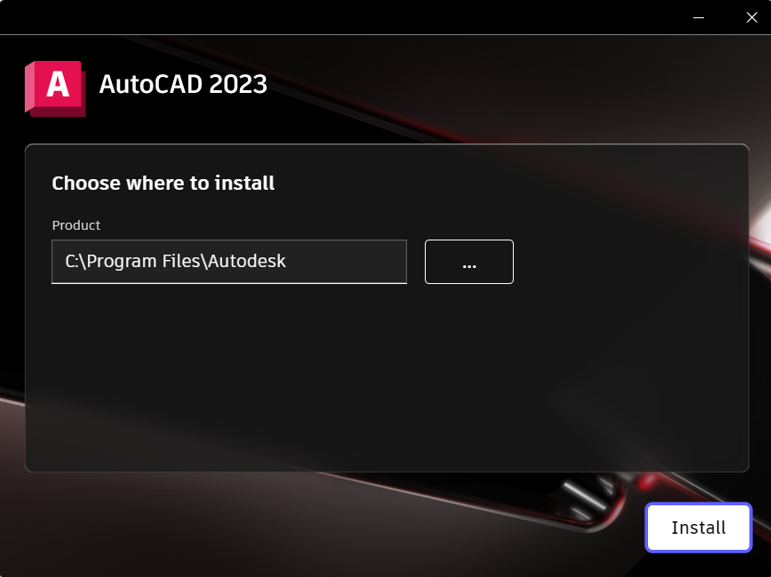
3.5 Accept license and choose path
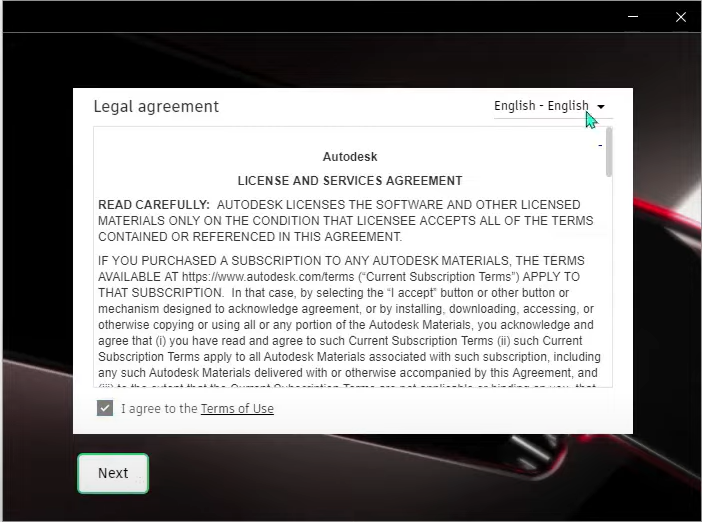
- When the Autodesk License and Services Agreement is displayed, read the terms.
- Select I agree (or equivalent), then click Next.
- Choose the installation drive and folder (default is usually
C:\Program Files\Autodesk\AutoCAD). - After confirming the path, click Install.
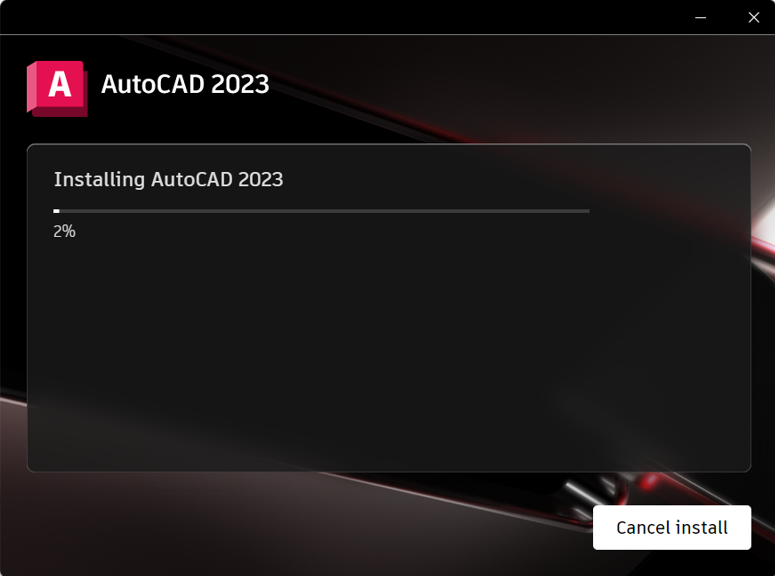
3.6 Complete installation and launch AutoCAD
- Wait while **Autodesk AutoCAD ** installs; this can take several minutes depending on system speed.
- When installation completes, click Start or Finish to launch AutoCAD .
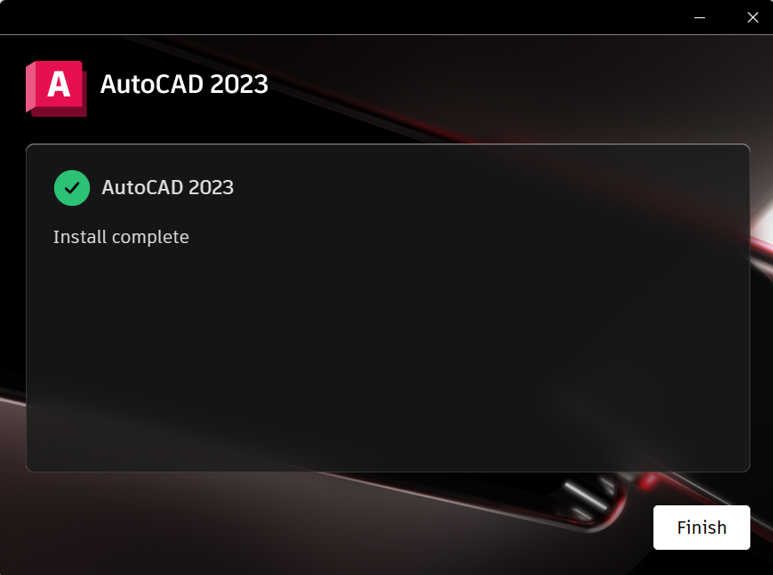
- On first launch, sign in with your Autodesk ID if prompted to activate your student license.