Pixyzstudio workflow-1
Conversion of CAD File to Mesh and Mesh Reduction
-
Open Pixyz Studio
- Launch Pixyz Studio.

-
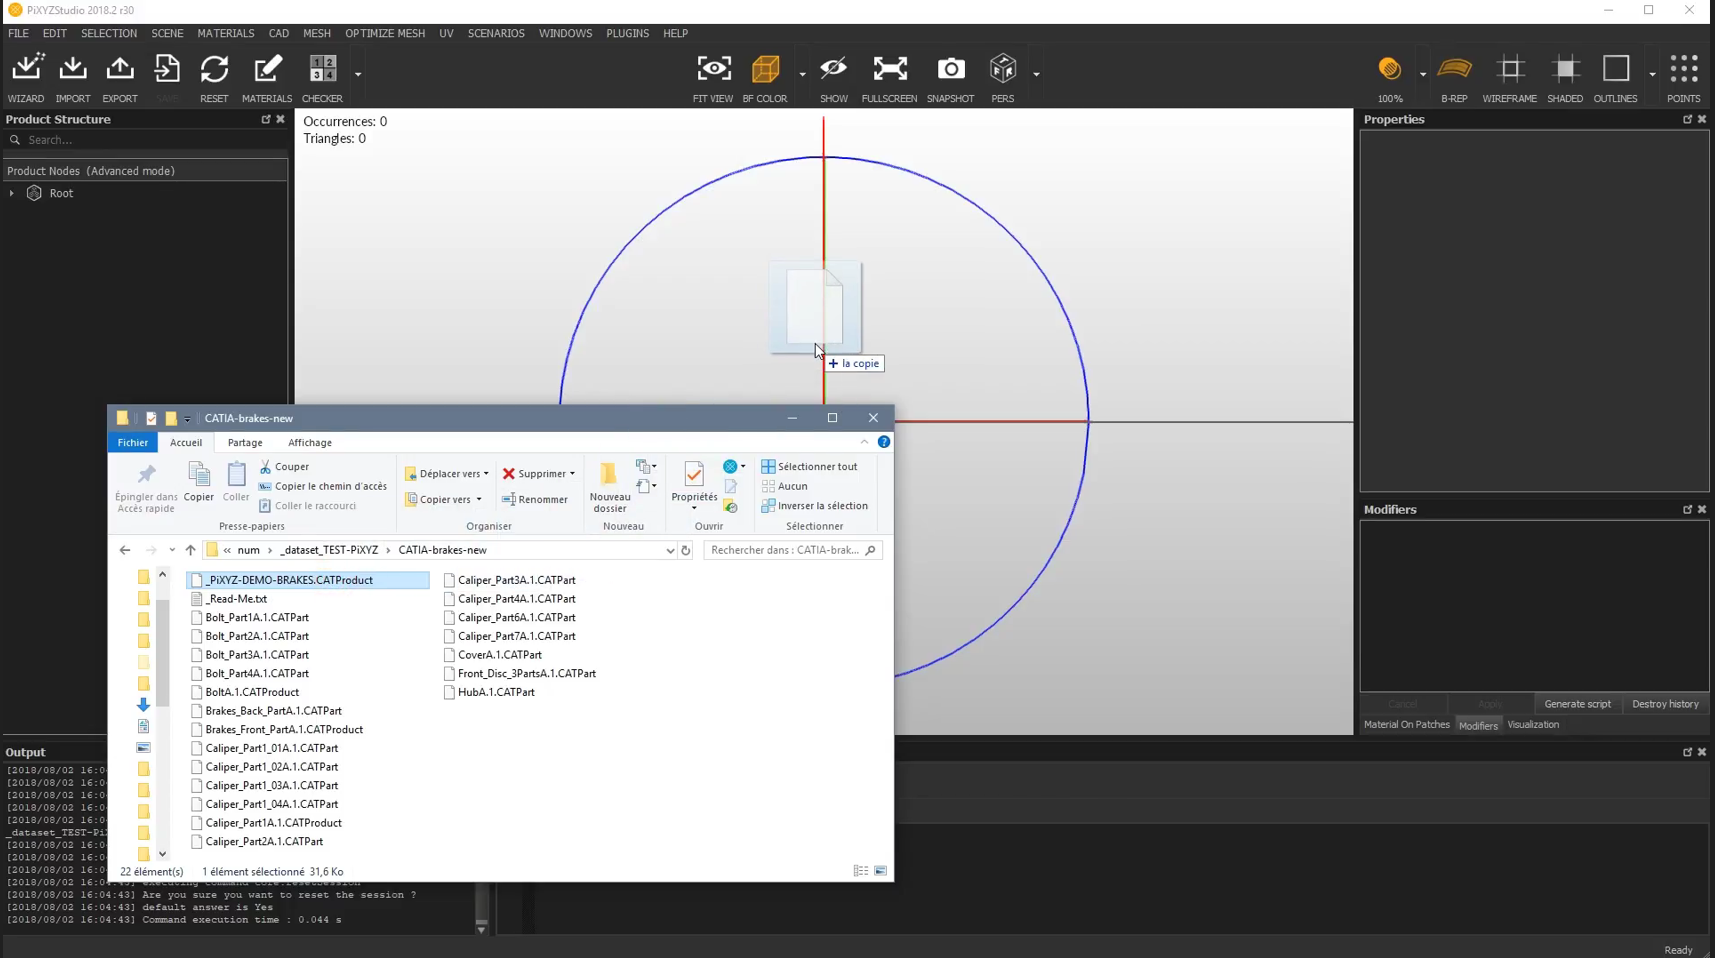
Import the CAD File
- Select Import from the top-left menu.
- The file will automatically be selected and opened, or you can drag and drop the file for easy import.
-
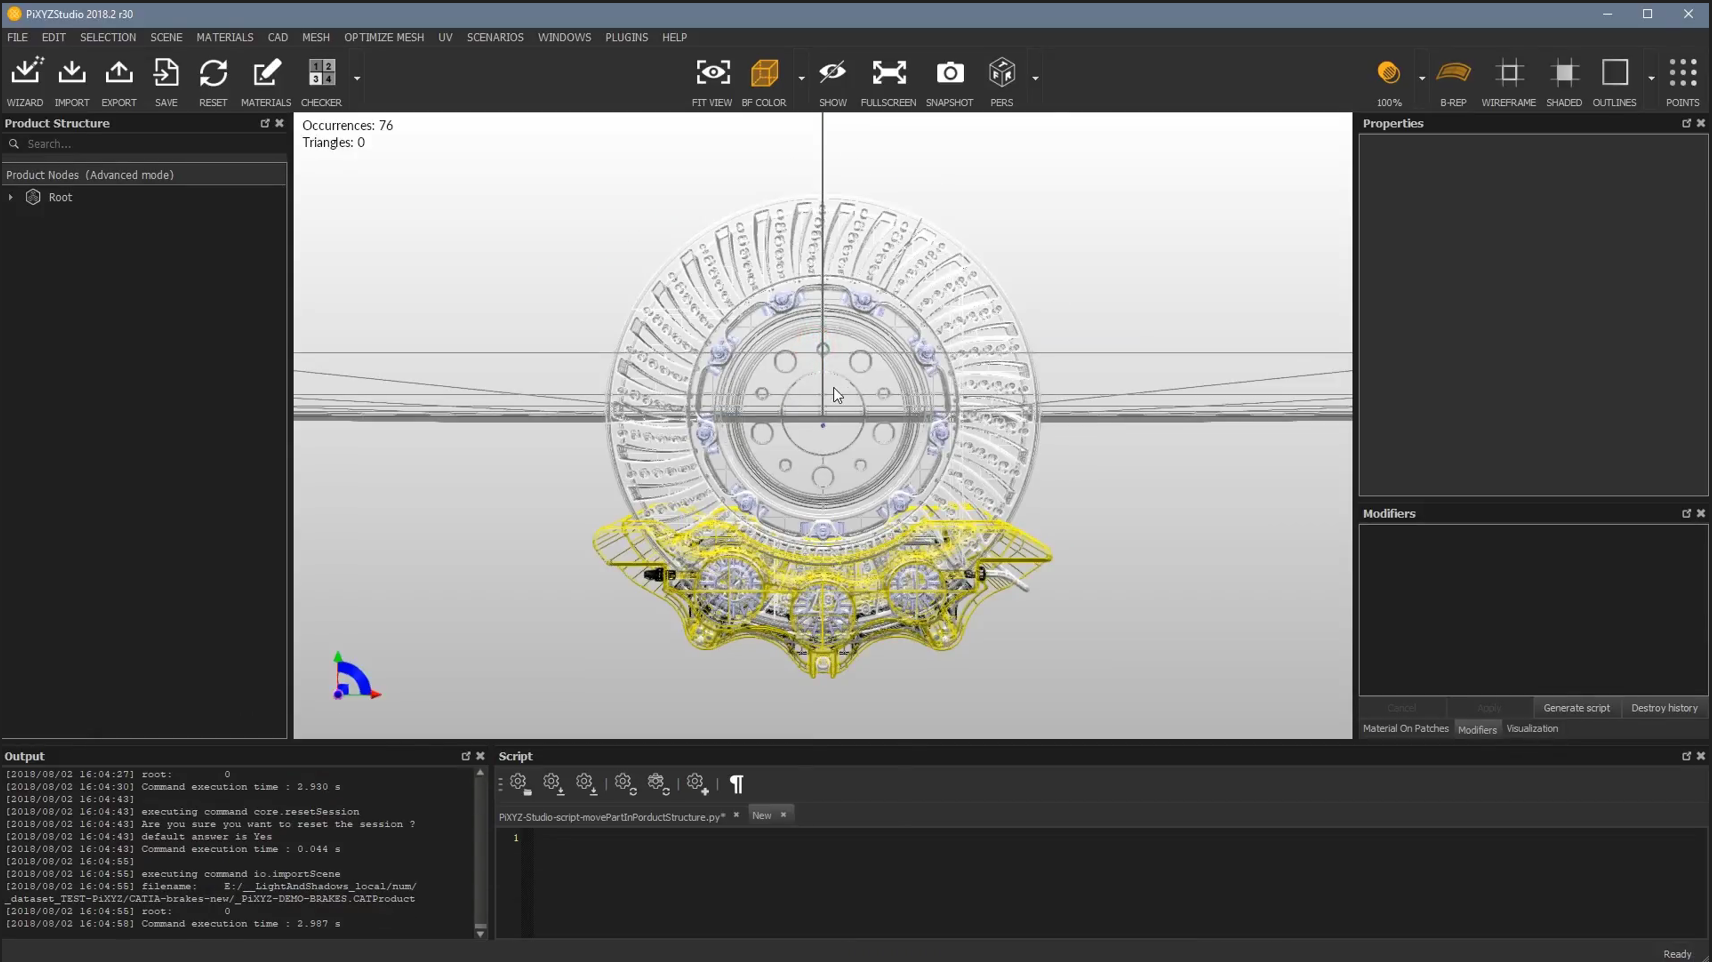
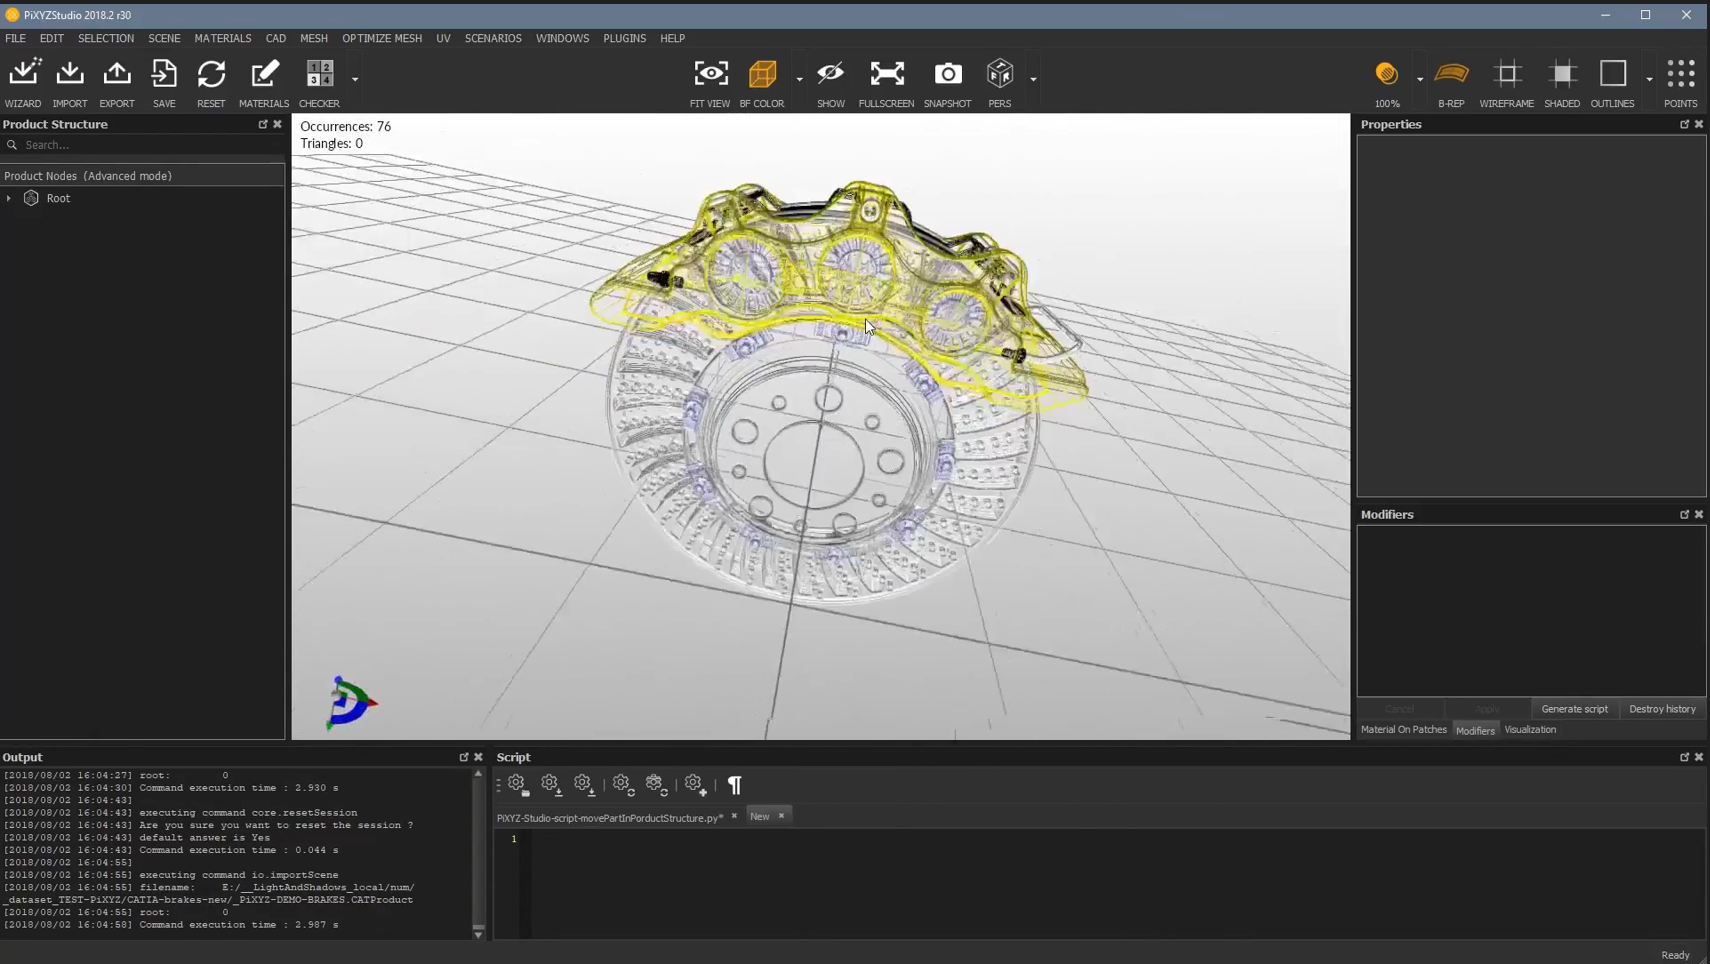
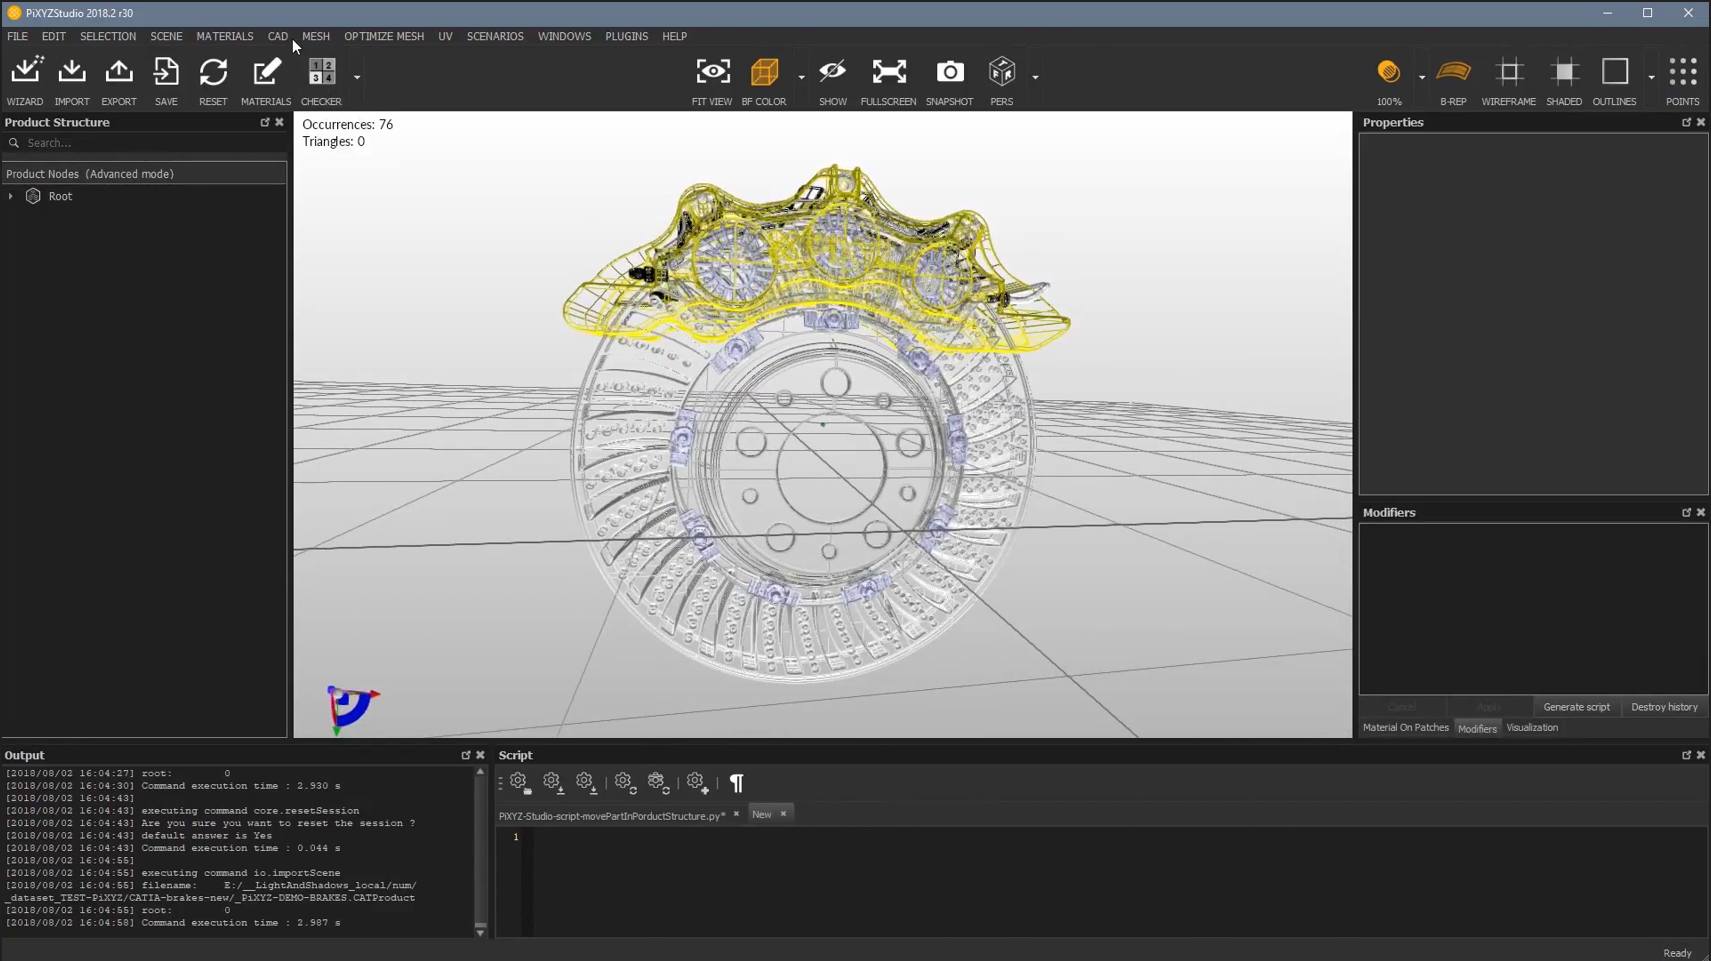
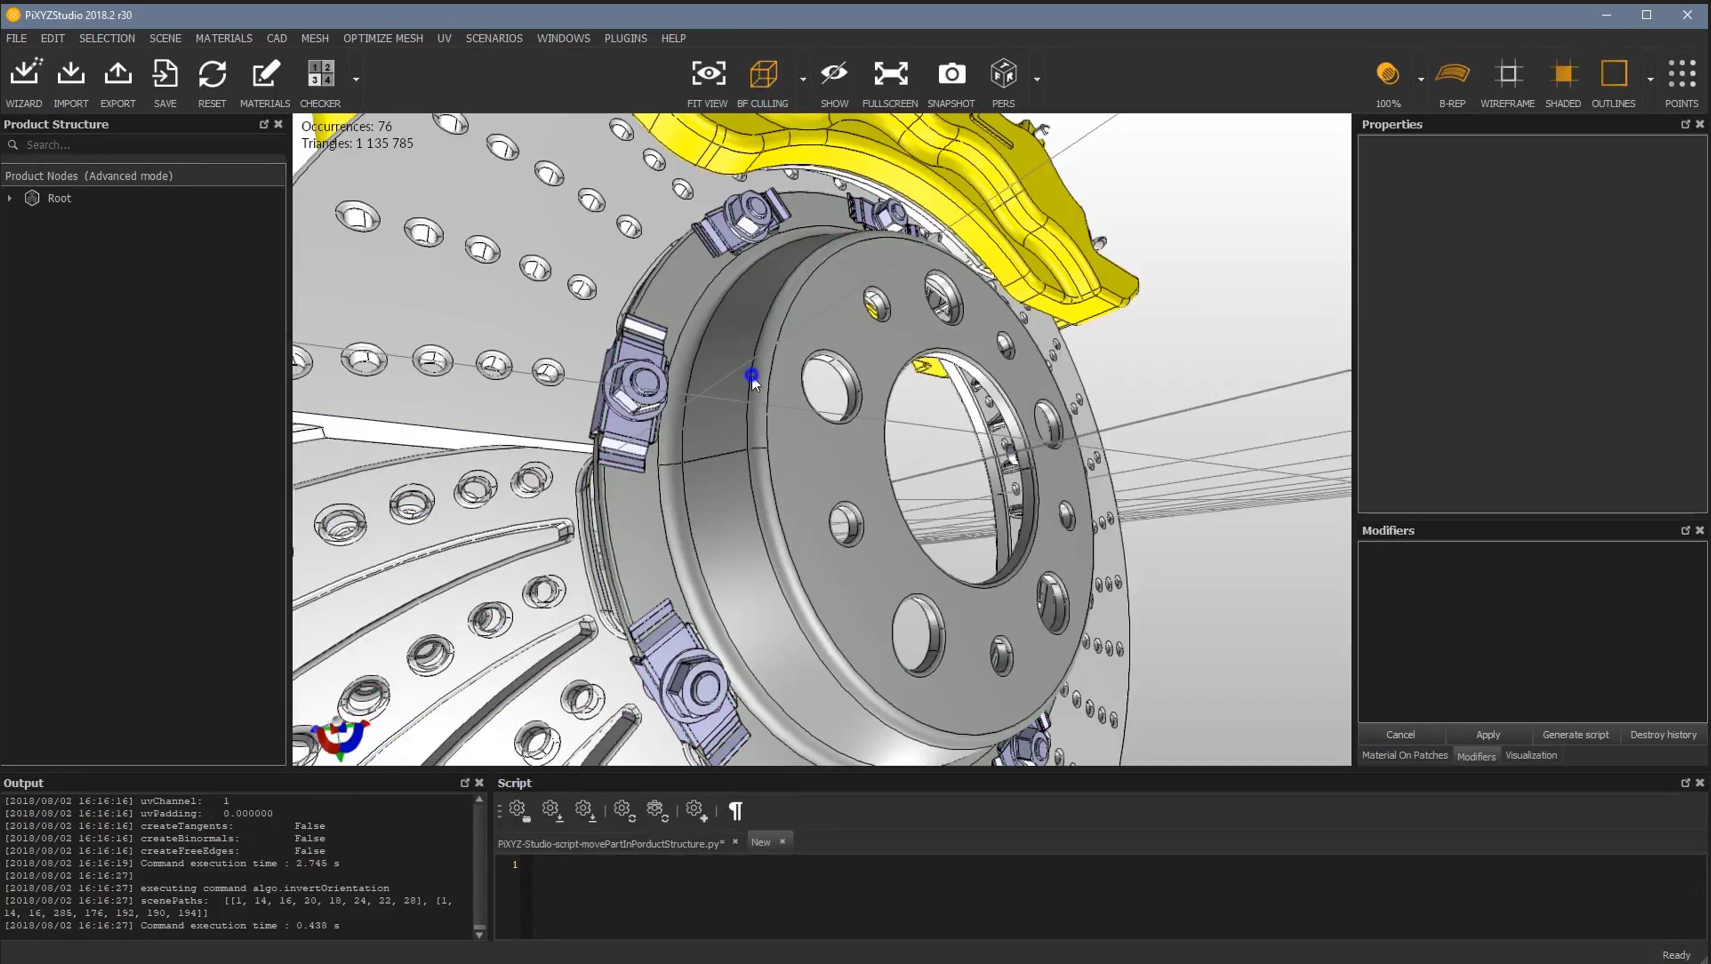
Adjust View
- The file will open as shown below. You can adjust the view using the mouse.
-
Check Output and Options
- On the bottom-left, there is the Output section, and on the top-right, you will find additional options.
-
B-REP is the representation of the figure. Various options will appear on the side, based on the selected features.
-
On the top-left, additional application-related options are available.
-
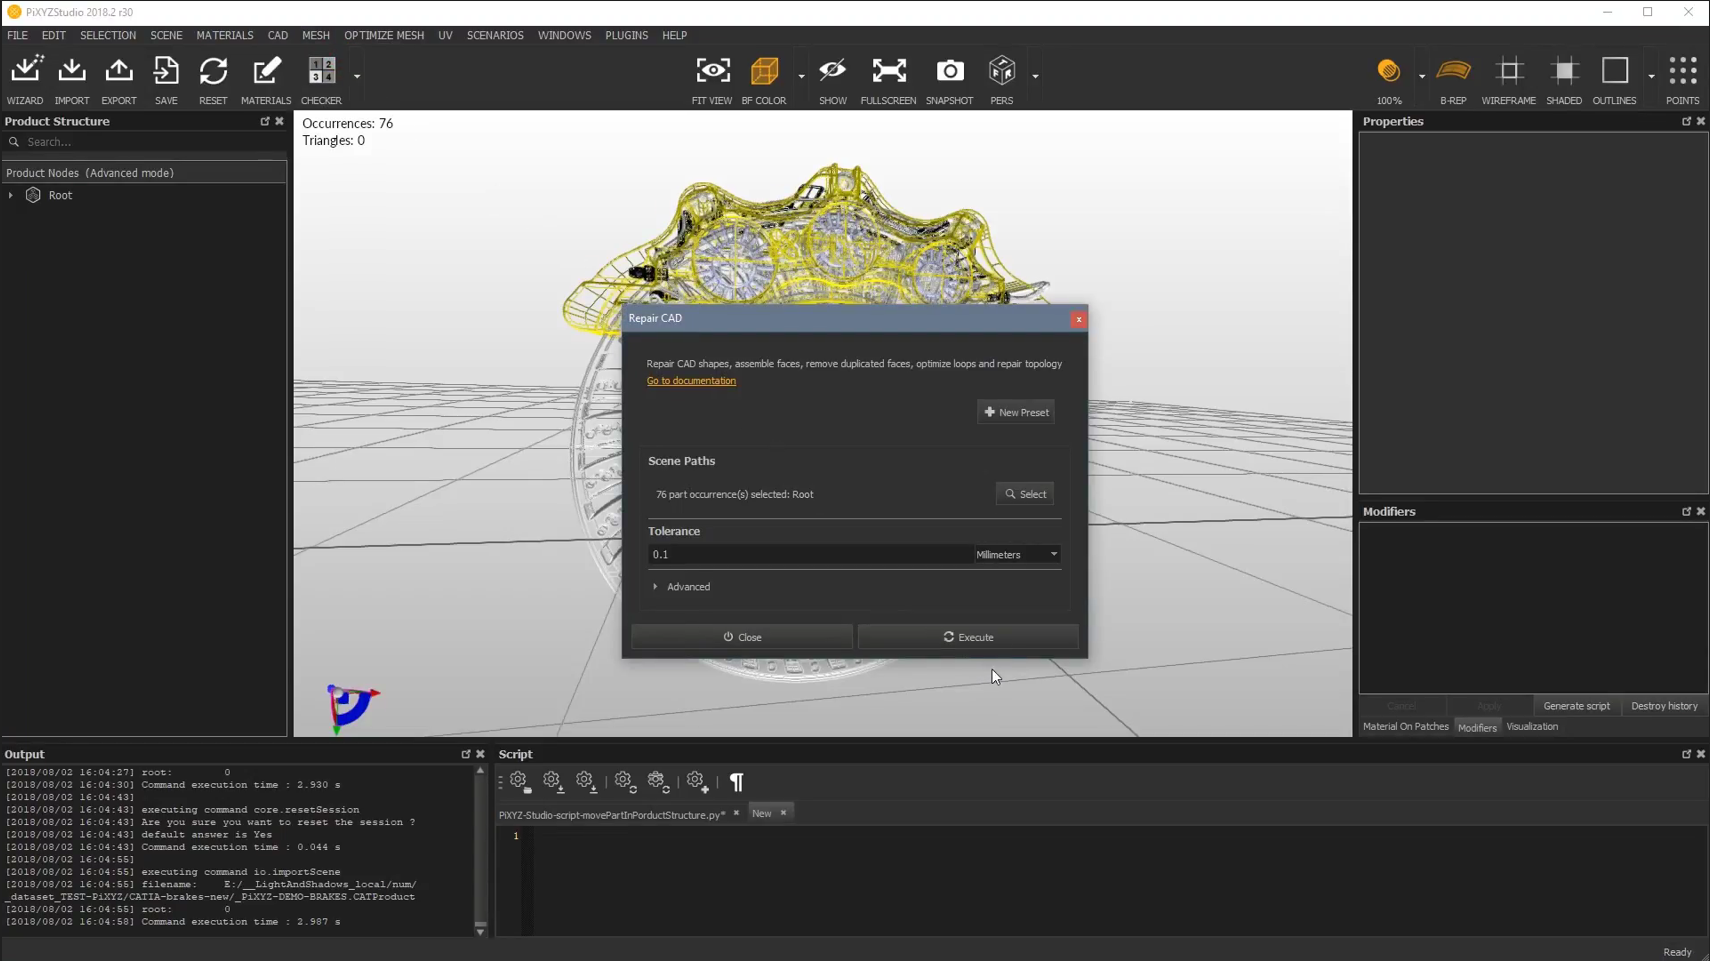
Repair the CAD File
- Navigate to the CAD menu and select Repair CAD.
- Do not change the tolerance settings, then click Execute. The results will appear in the Output window on the bottom-left.
-
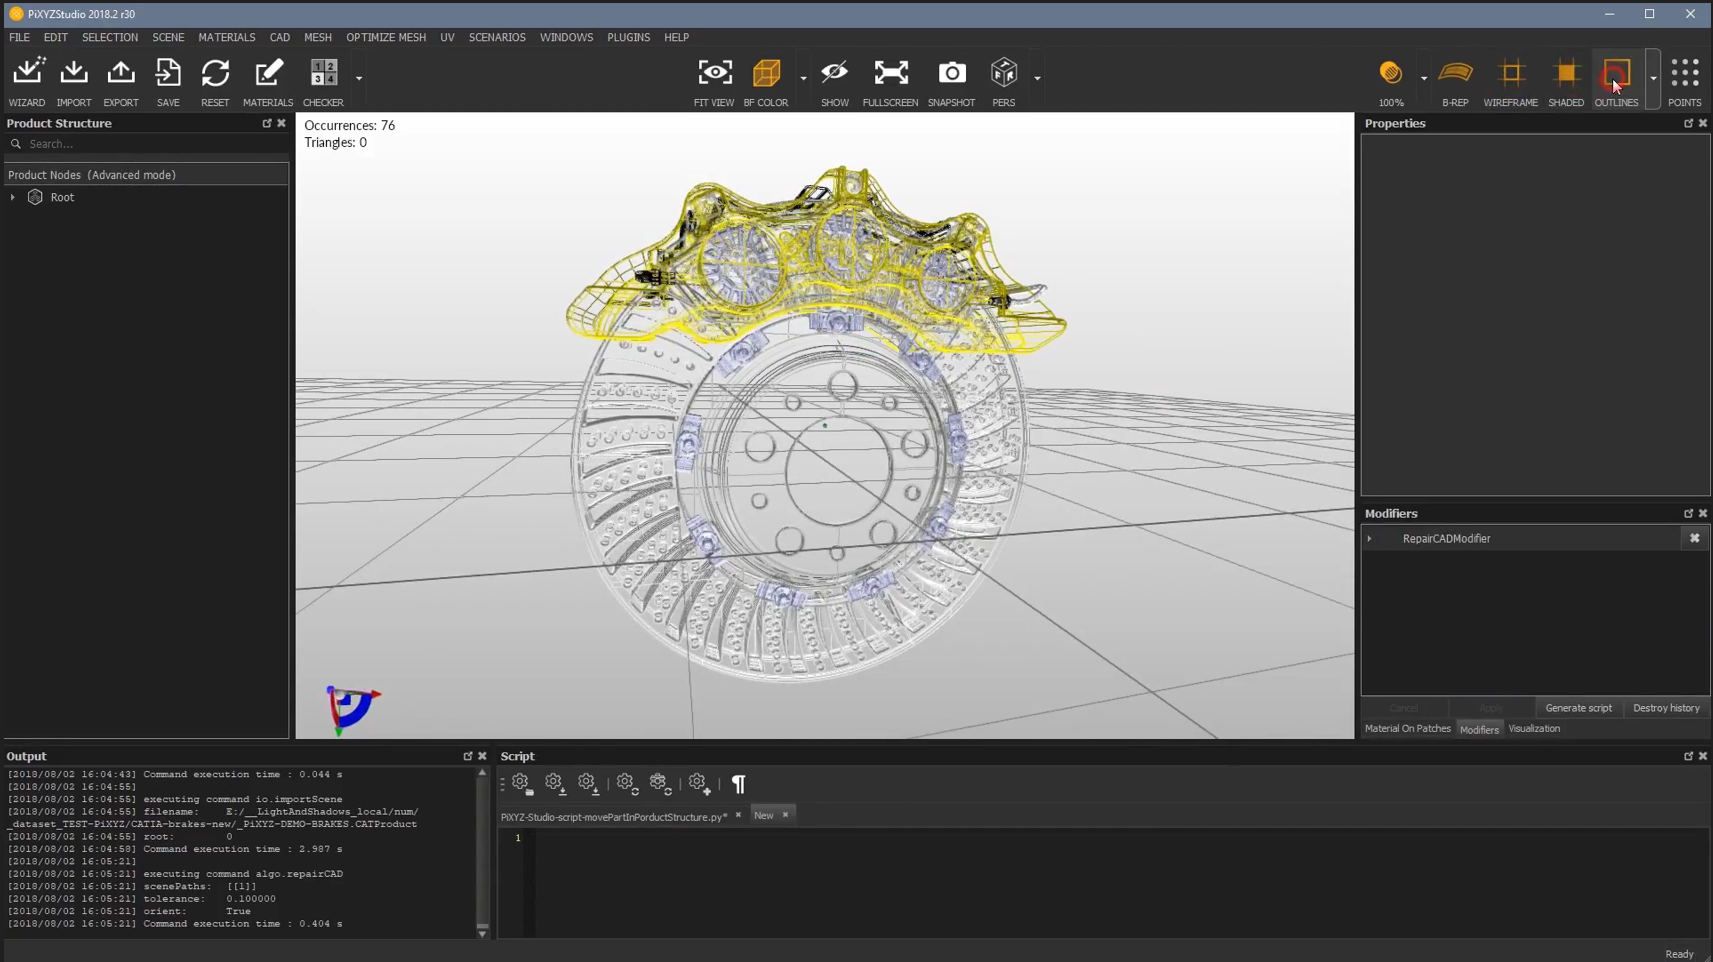
Review Modifications
- After execution, the Modifiers window on the right will show the modifications made to the CAD file.

-
Enable Wireframe, Shaded, and Outlines
- Ensure Wireframe, Shaded, and Outlines options are turned on for proper visualization.
-
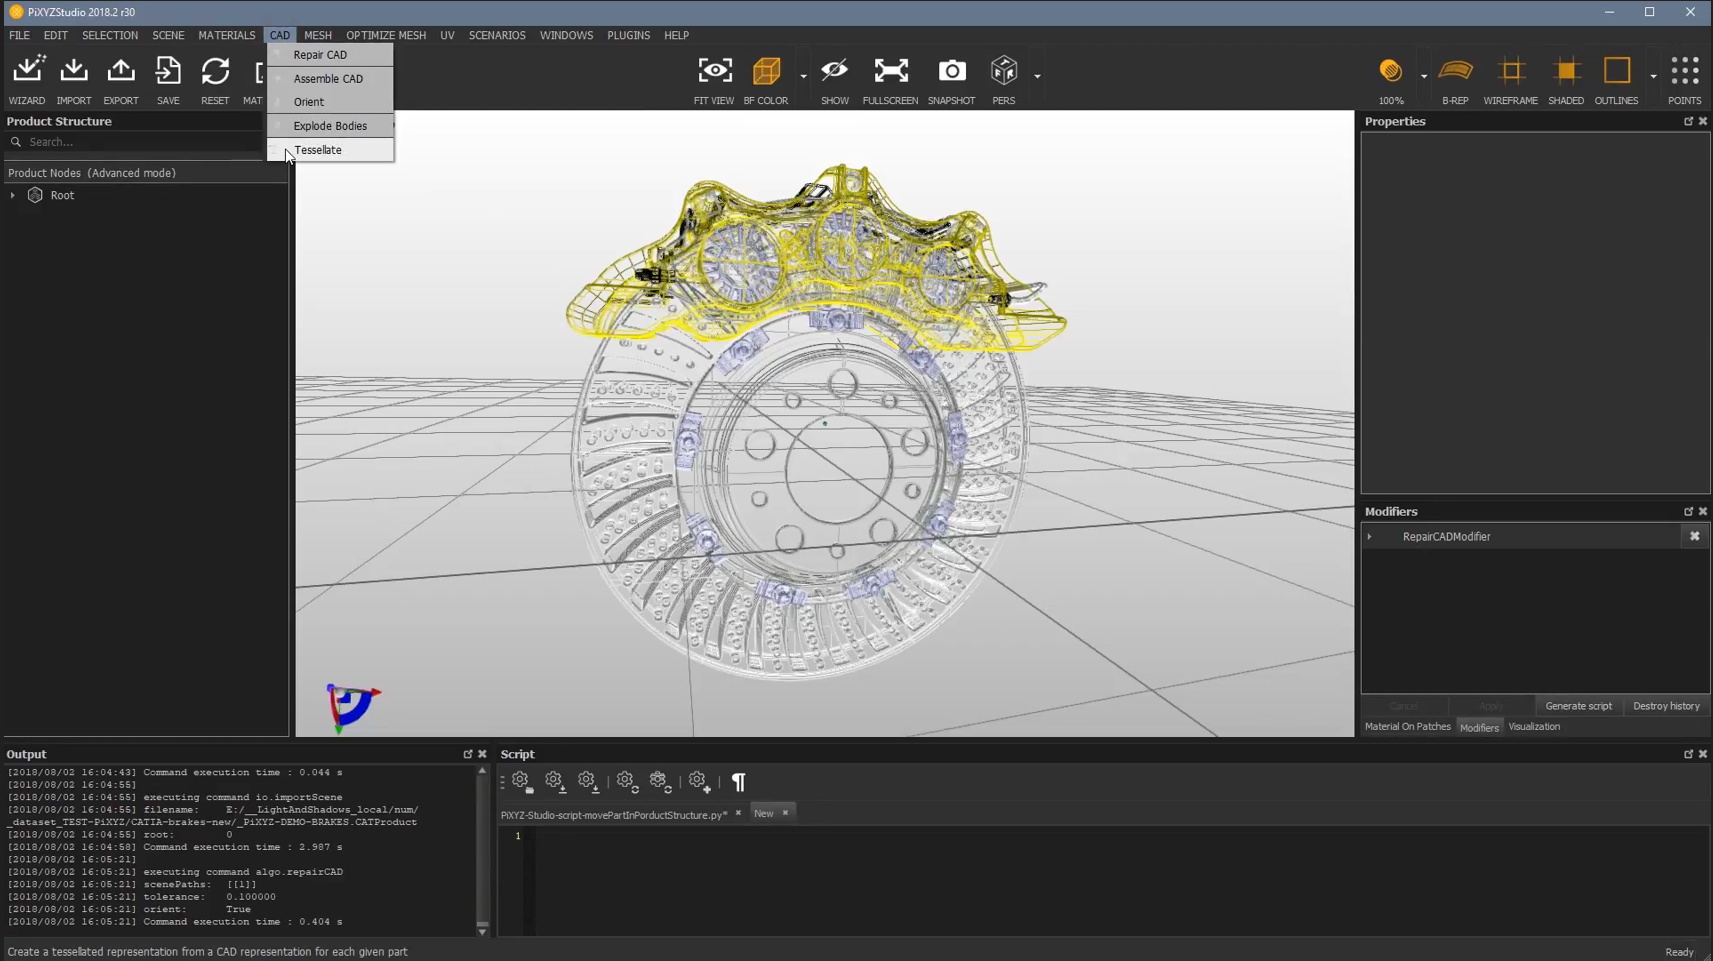
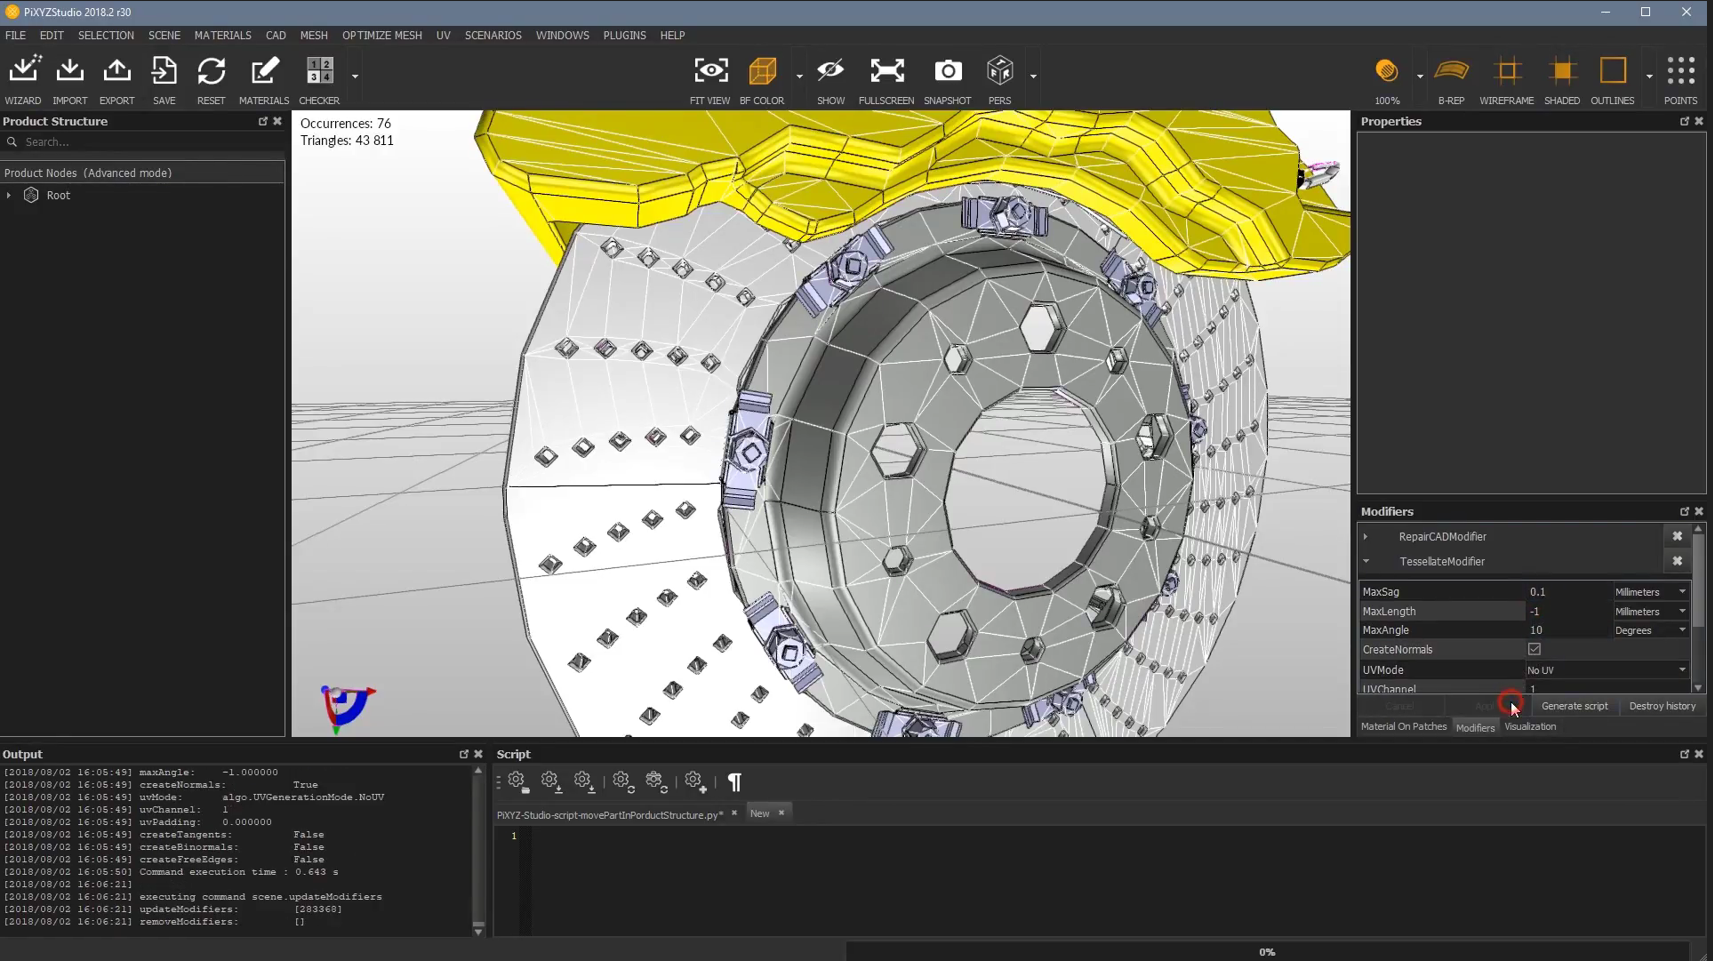
Tessellate the Model
- In the CAD menu, select Tessellate.
- A pop-up window will appear where you can adjust Resolution settings.
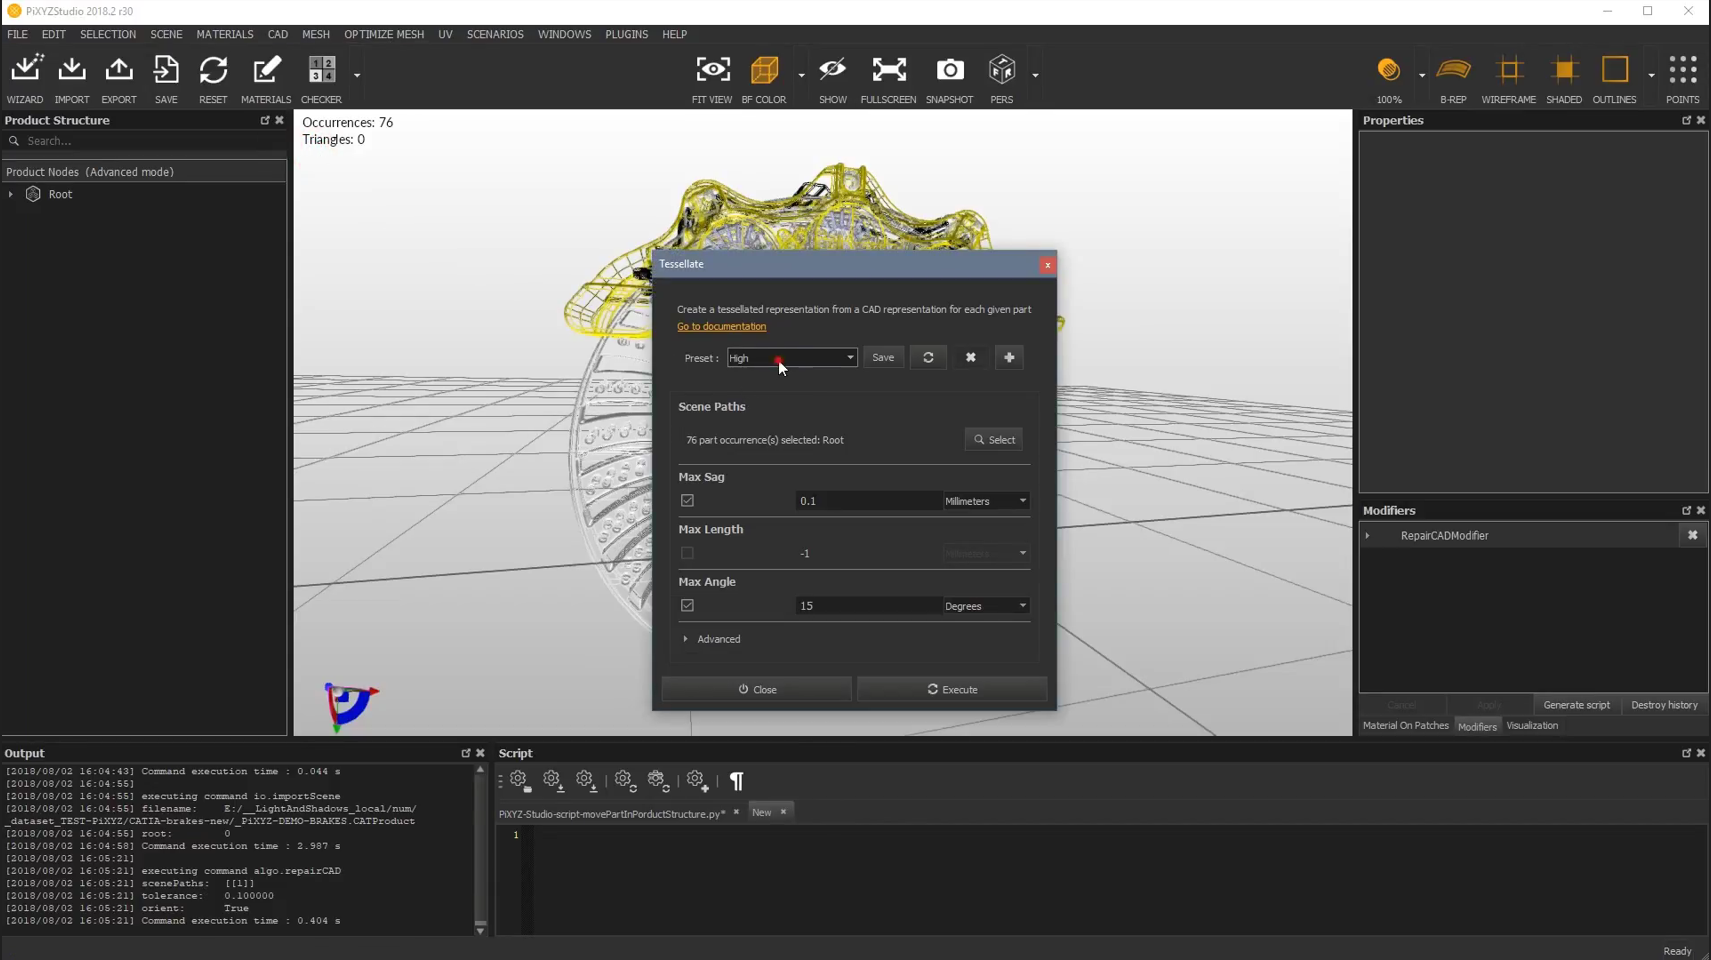
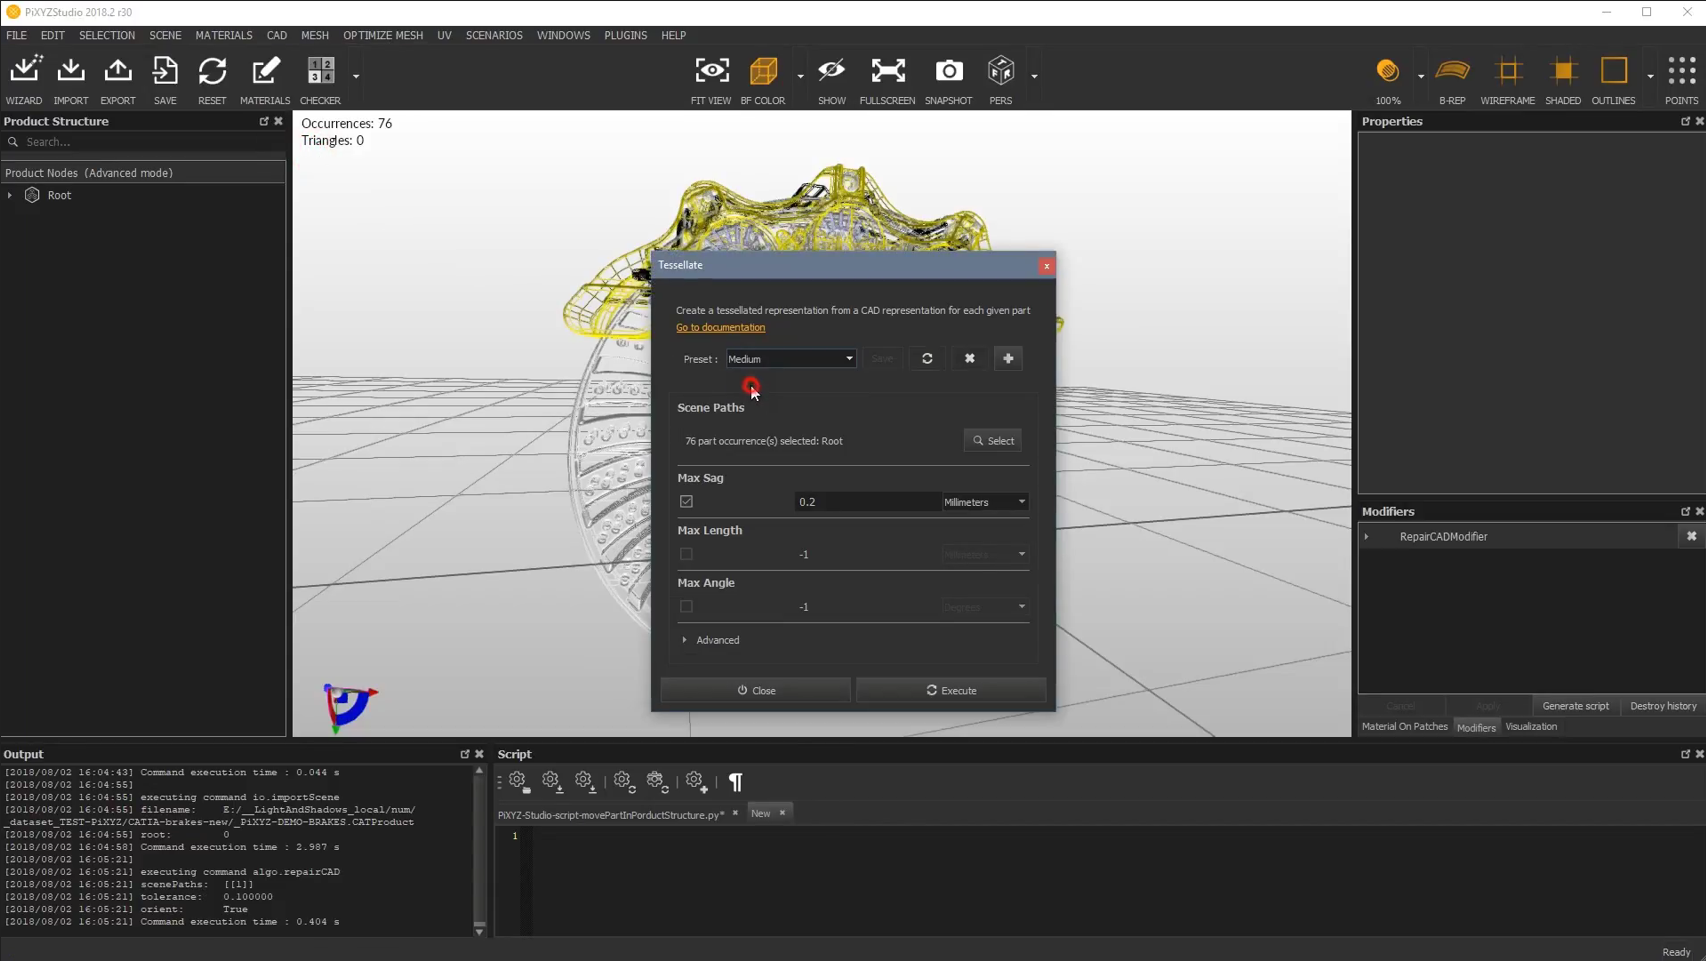

- The Max Sag will automatically adjust based on the selected resolution.
-
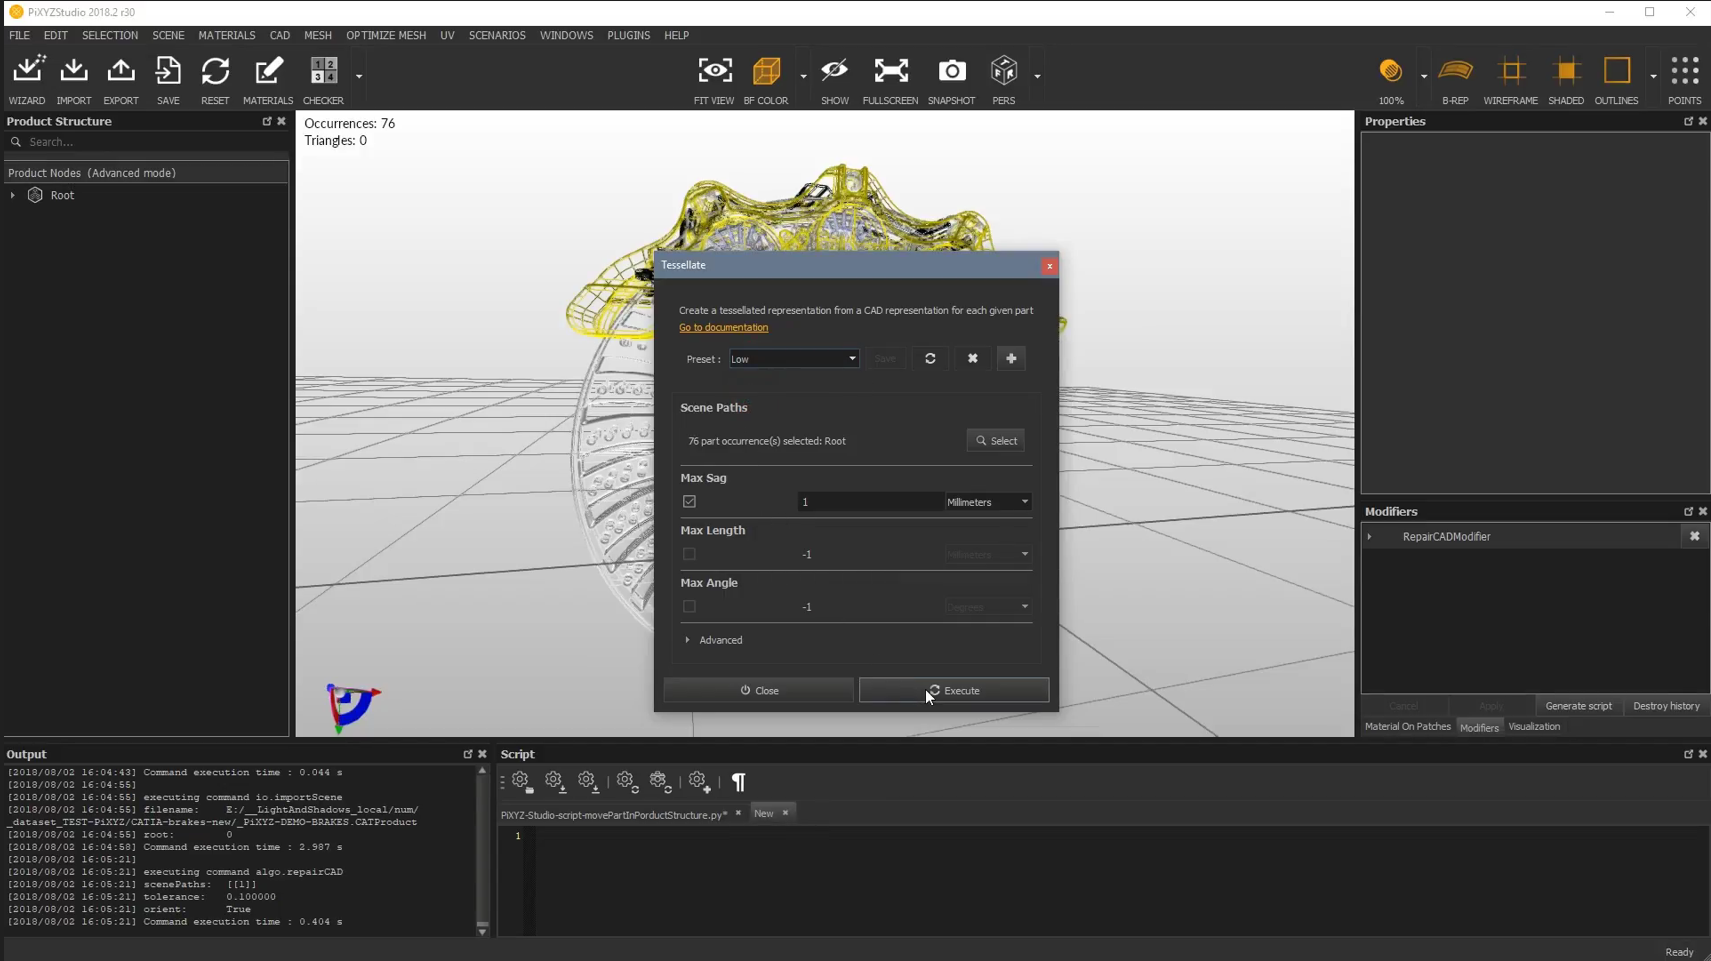
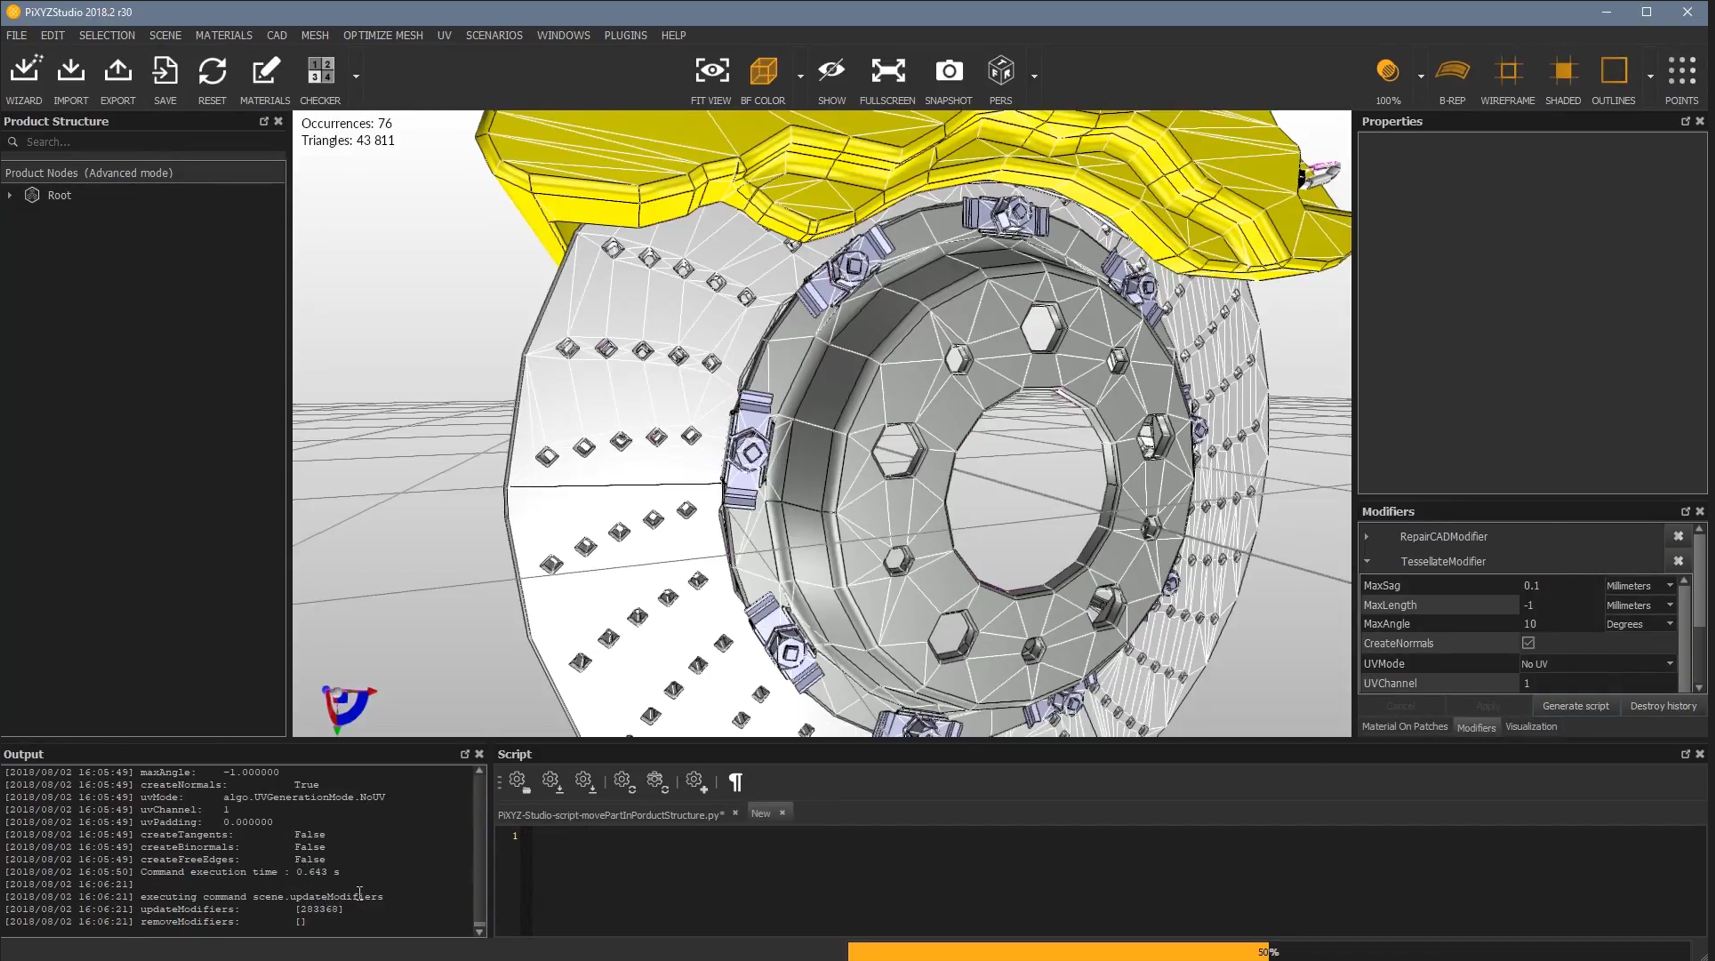
Execute Tessellation
-
After adjusting the settings, click Execute. The modifications will appear in the Modifiers window.
-
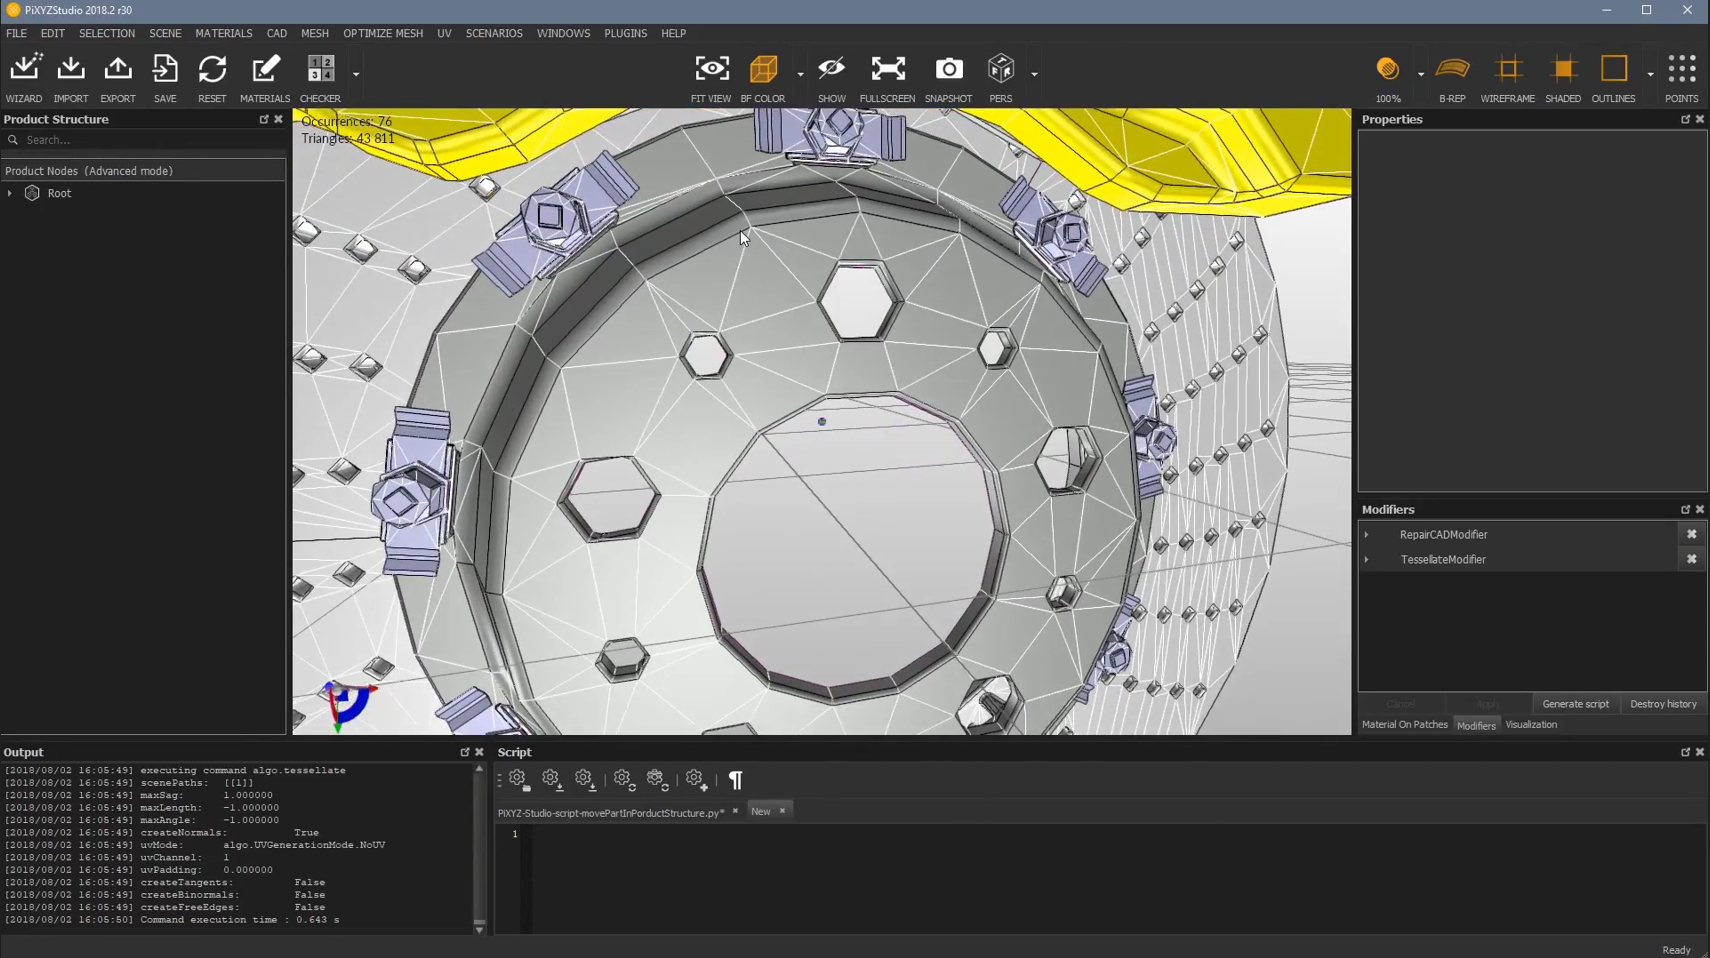
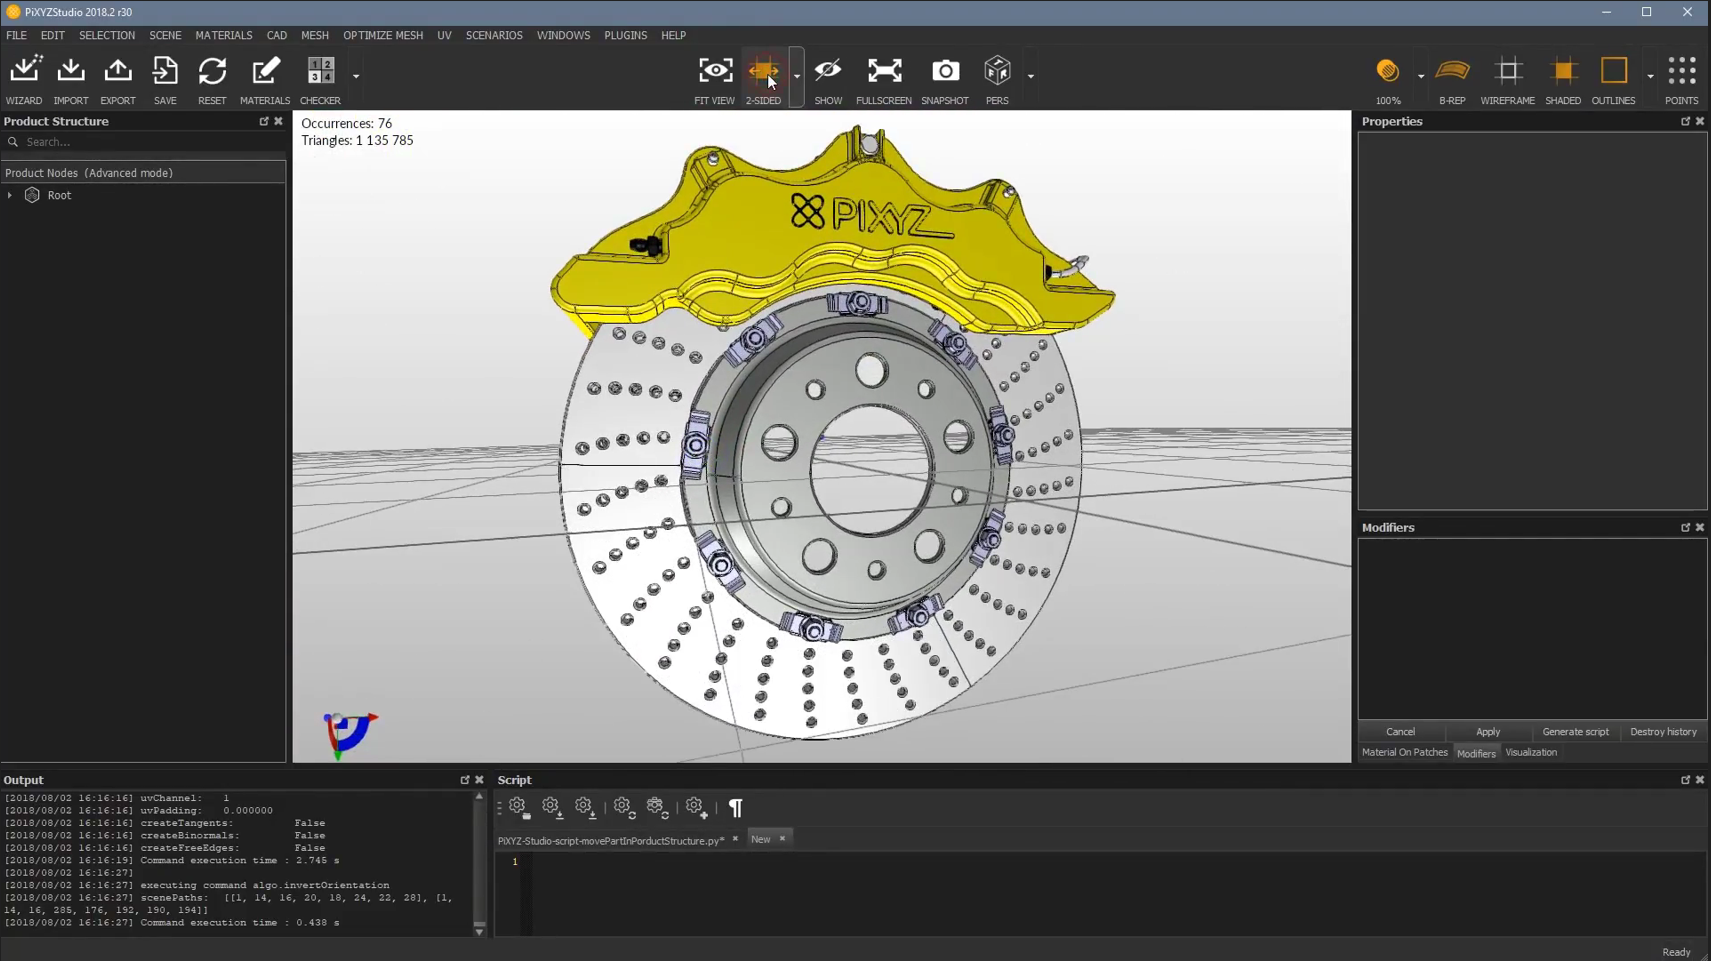
Zoom in to see the changes, as shown below.
-
-
Toggle Wireframe
- Turn off Wireframe to see the model without the triangles.
- When toggled back on, the triangles will reappear.
-
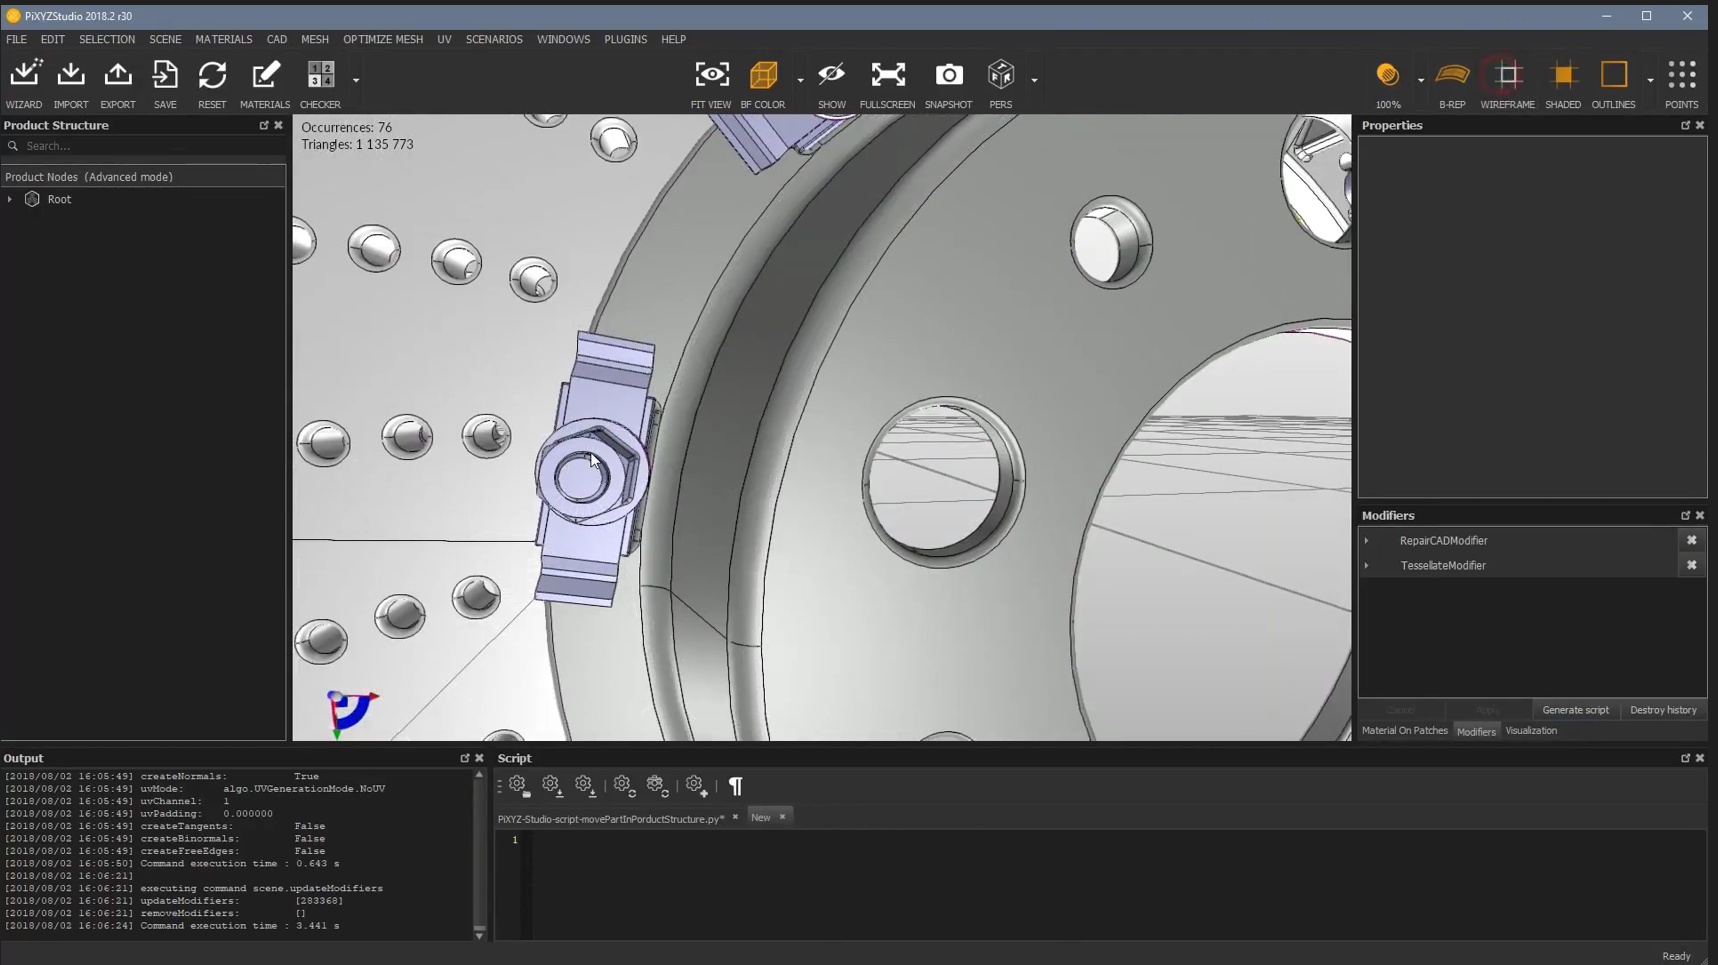
Monitor Triangle Count
- The number of triangles and their occurrences will be displayed on the top-left of the screen.
-
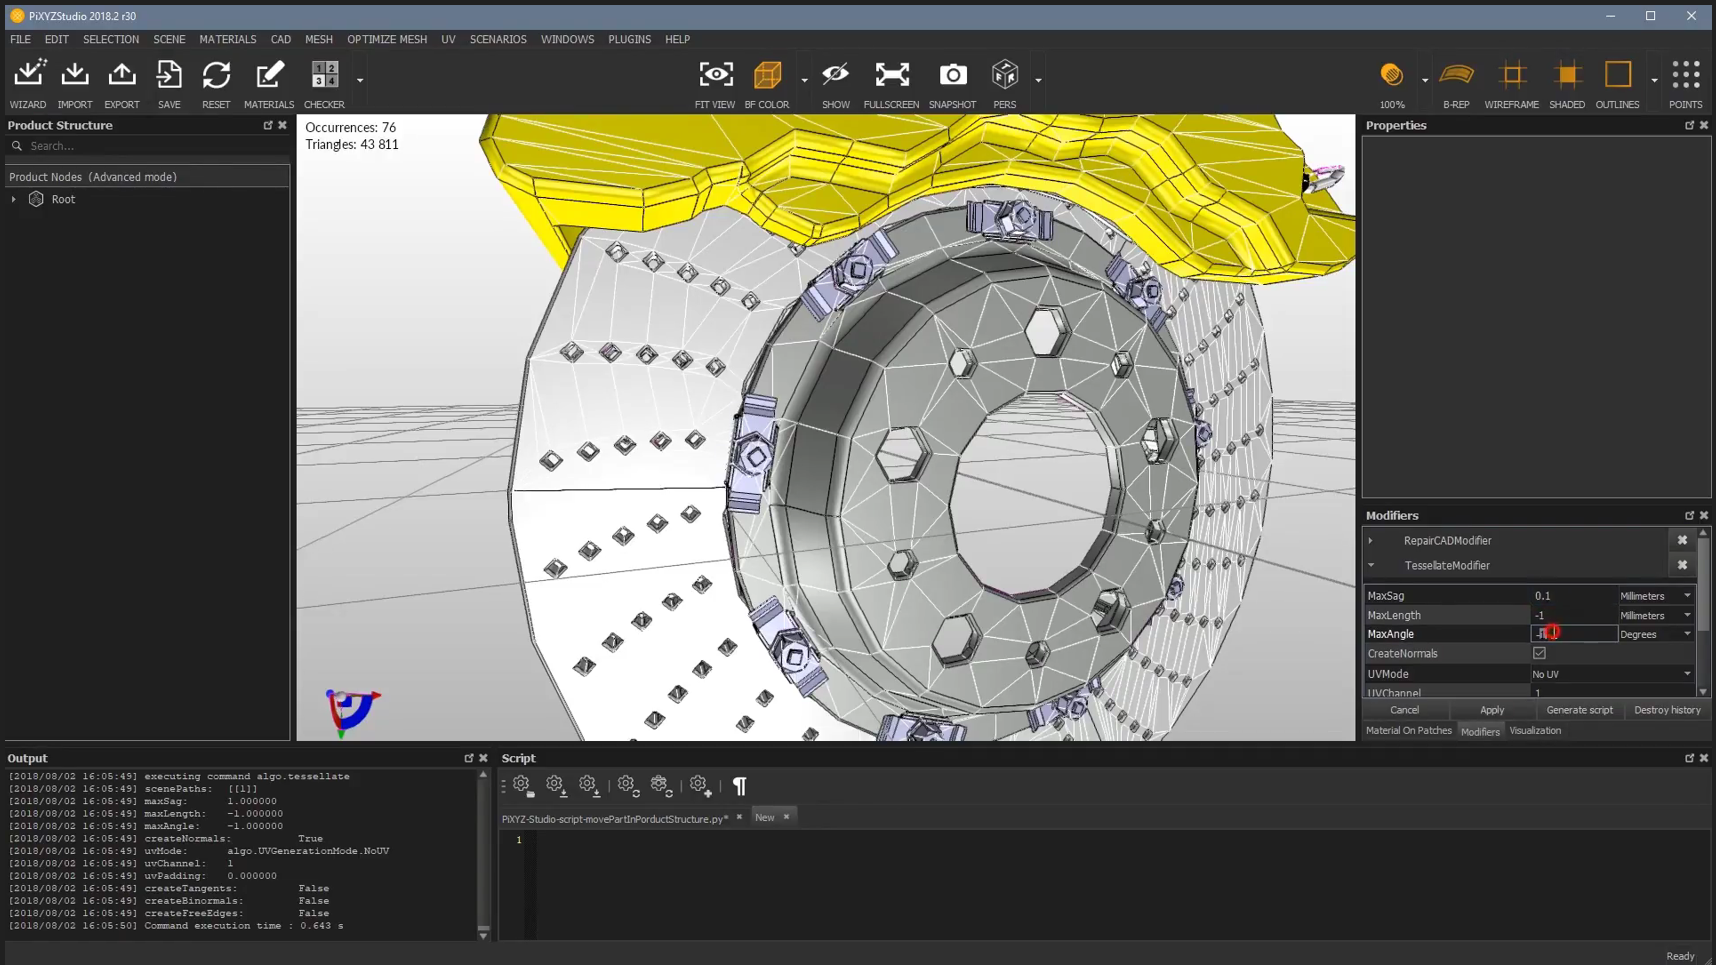
Adjust Tessellation Modifier
- In the Modifier window, select the Tessellate Modifier. Change the Max Sag and Max Angle values.

-
Apply Changes
-
Click Apply to execute the changes. The Wireframe will automatically turn on.
-
You will notice an increase in the number of triangles.
-
-
Revert Wireframe
- Turn off Wireframe, and the triangle count will remain the same.
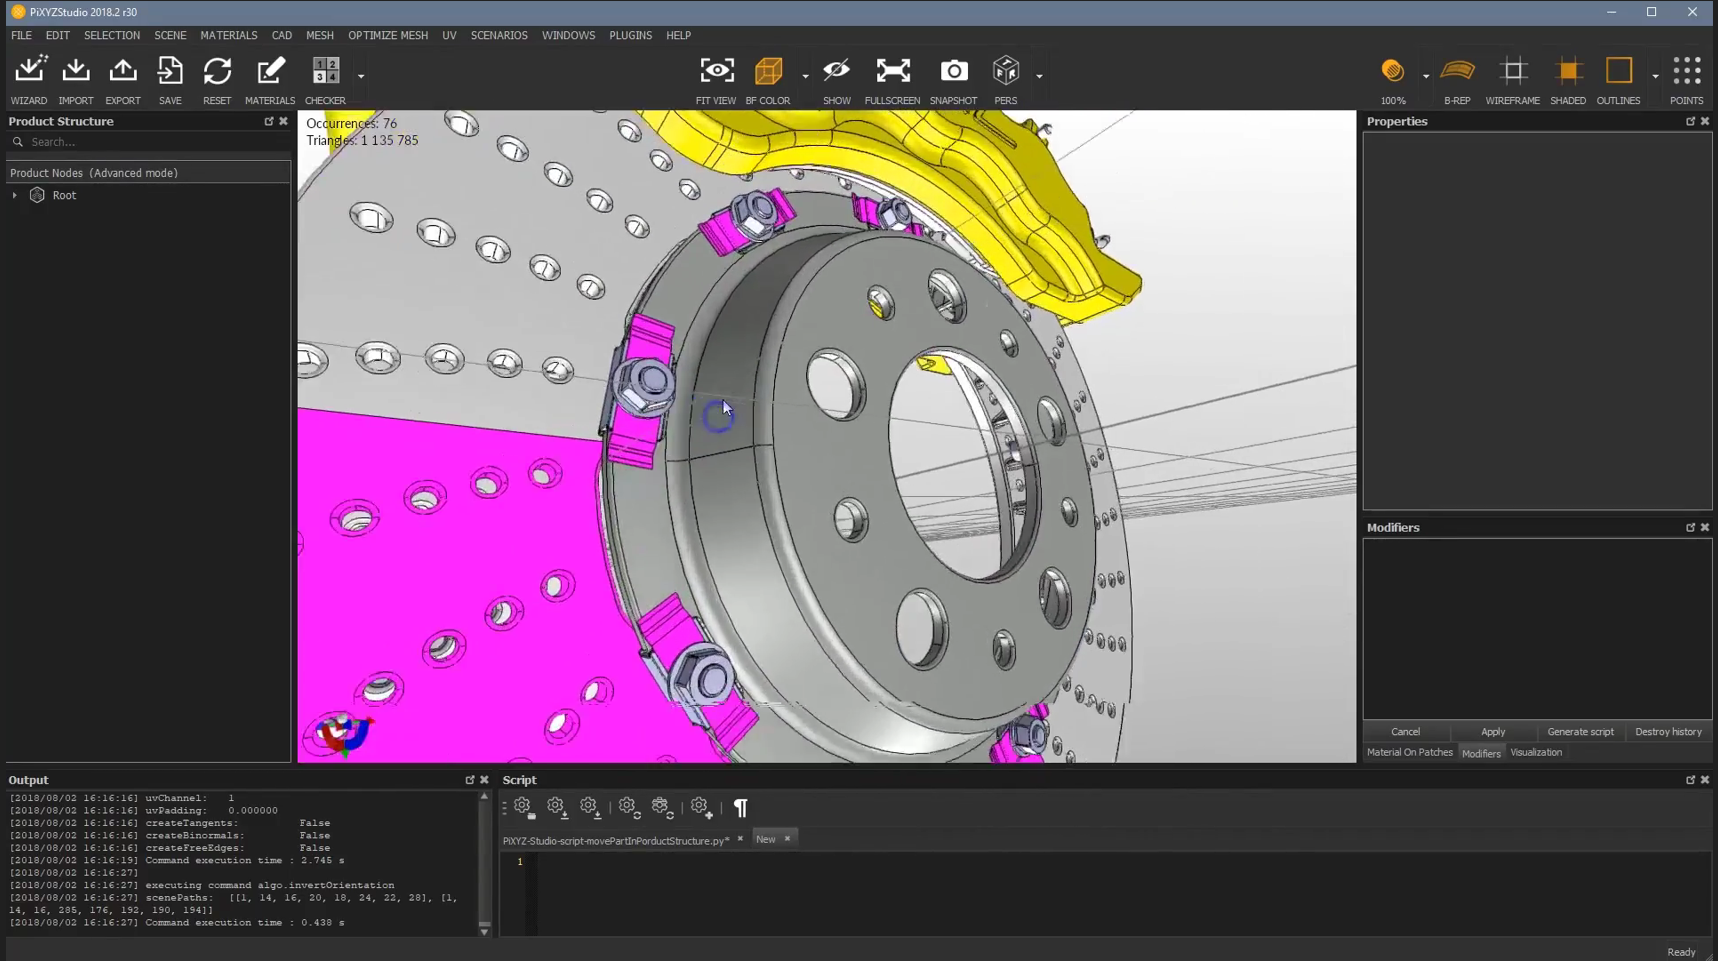
Reducing the Mesh
-
Color and Culling Options
- In the center-top, options related to the file are available, such as BF Color to assign color to the object.
- BF Culling is also an option to refine the mesh.
- These should be adjusted when Wireframe is turned off.
-
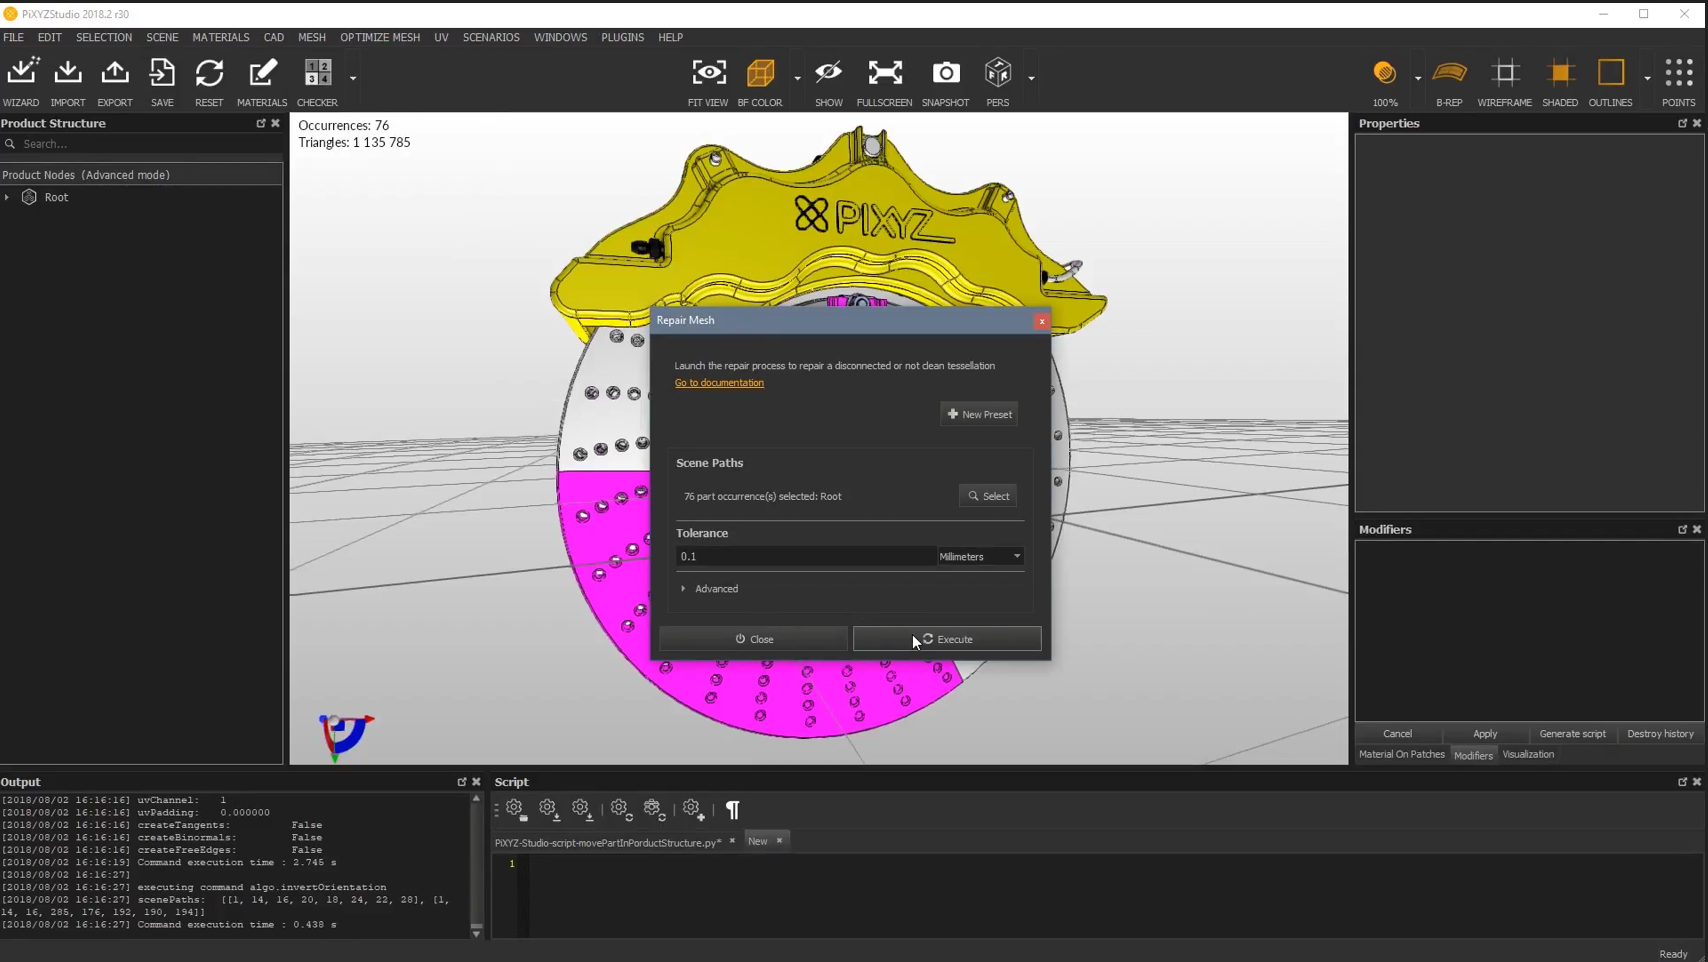
Repair the Mesh
-
Go to Mesh in the menu and select Repair Mesh. A pop-up window will appear; do not change the tolerance settings.
-
Click Execute, and the results will automatically appear in the Modifiers window.
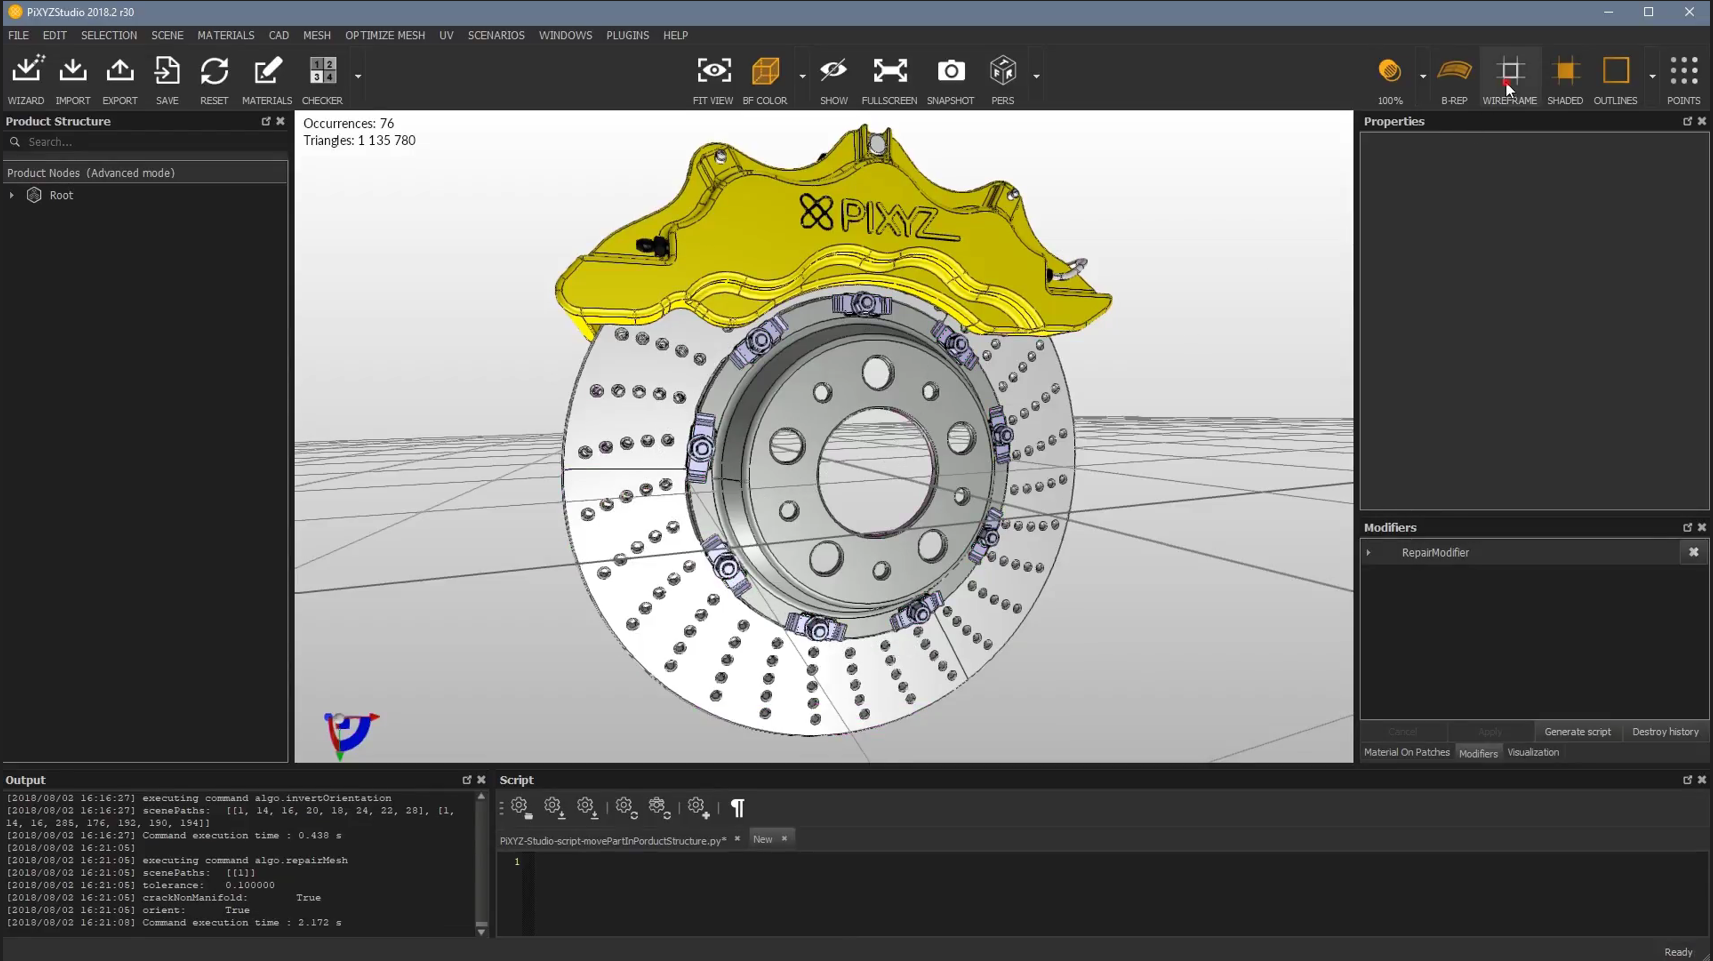
-
-
Optimize the Mesh
- Go to Optimize Mesh, select Remove Holes, and click Execute.
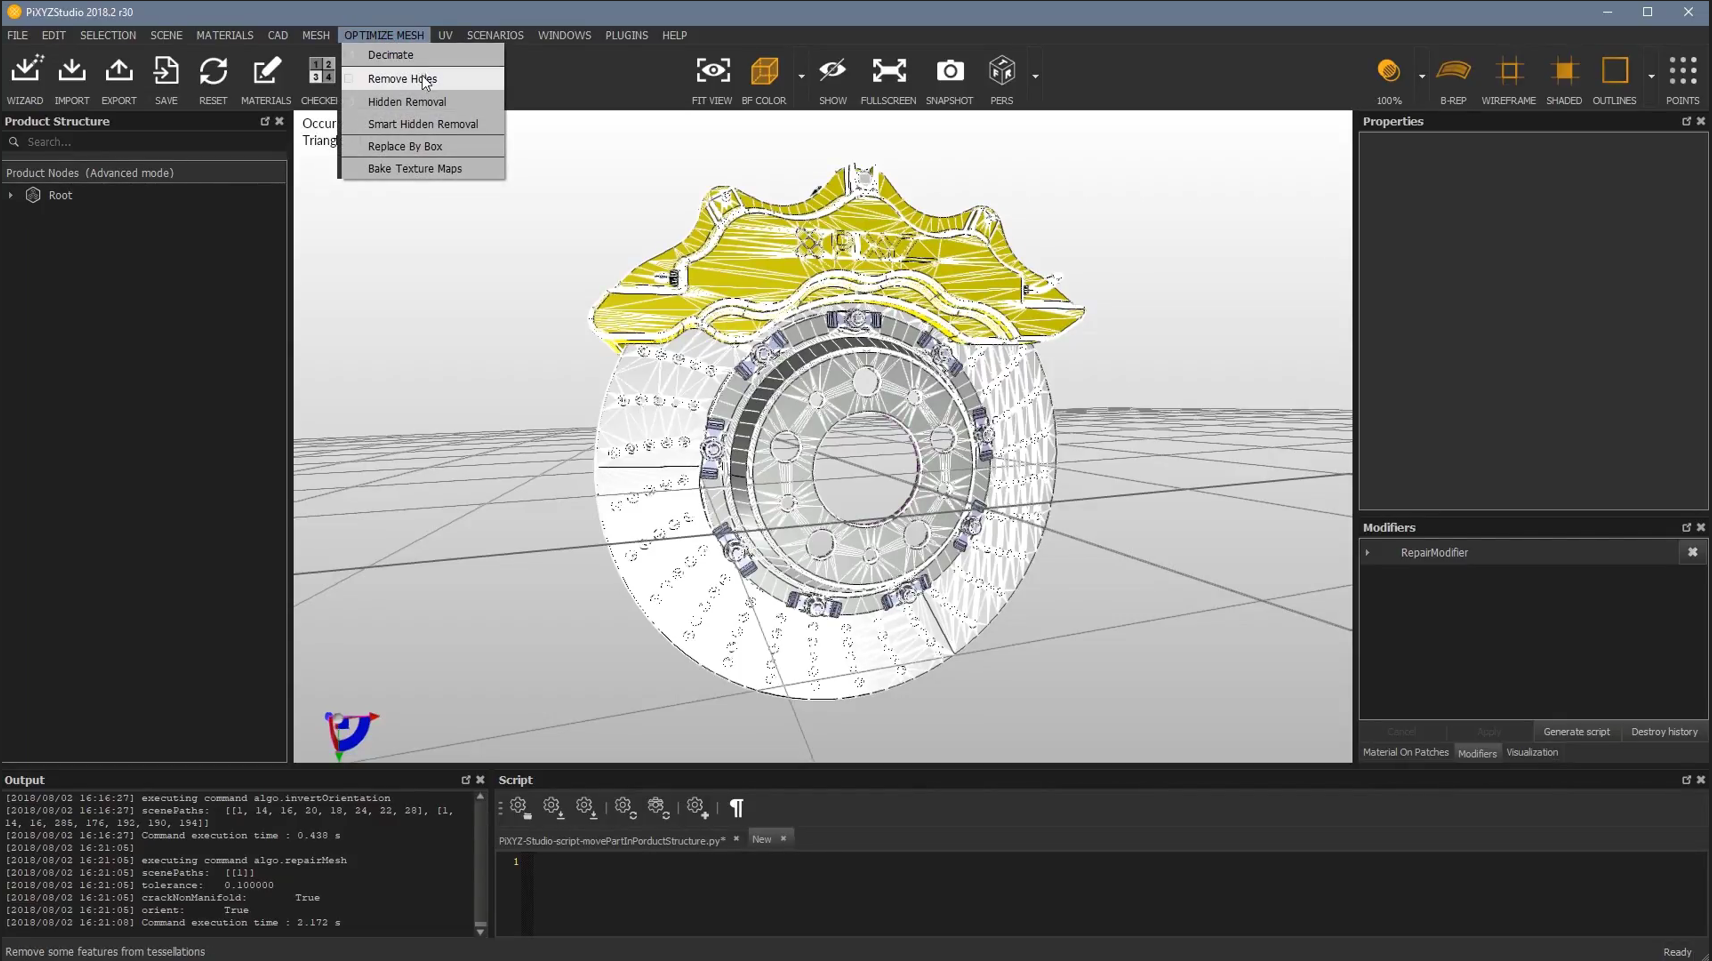
- A pop-up window will appear. Adjust the Max Diameter and click Execute.
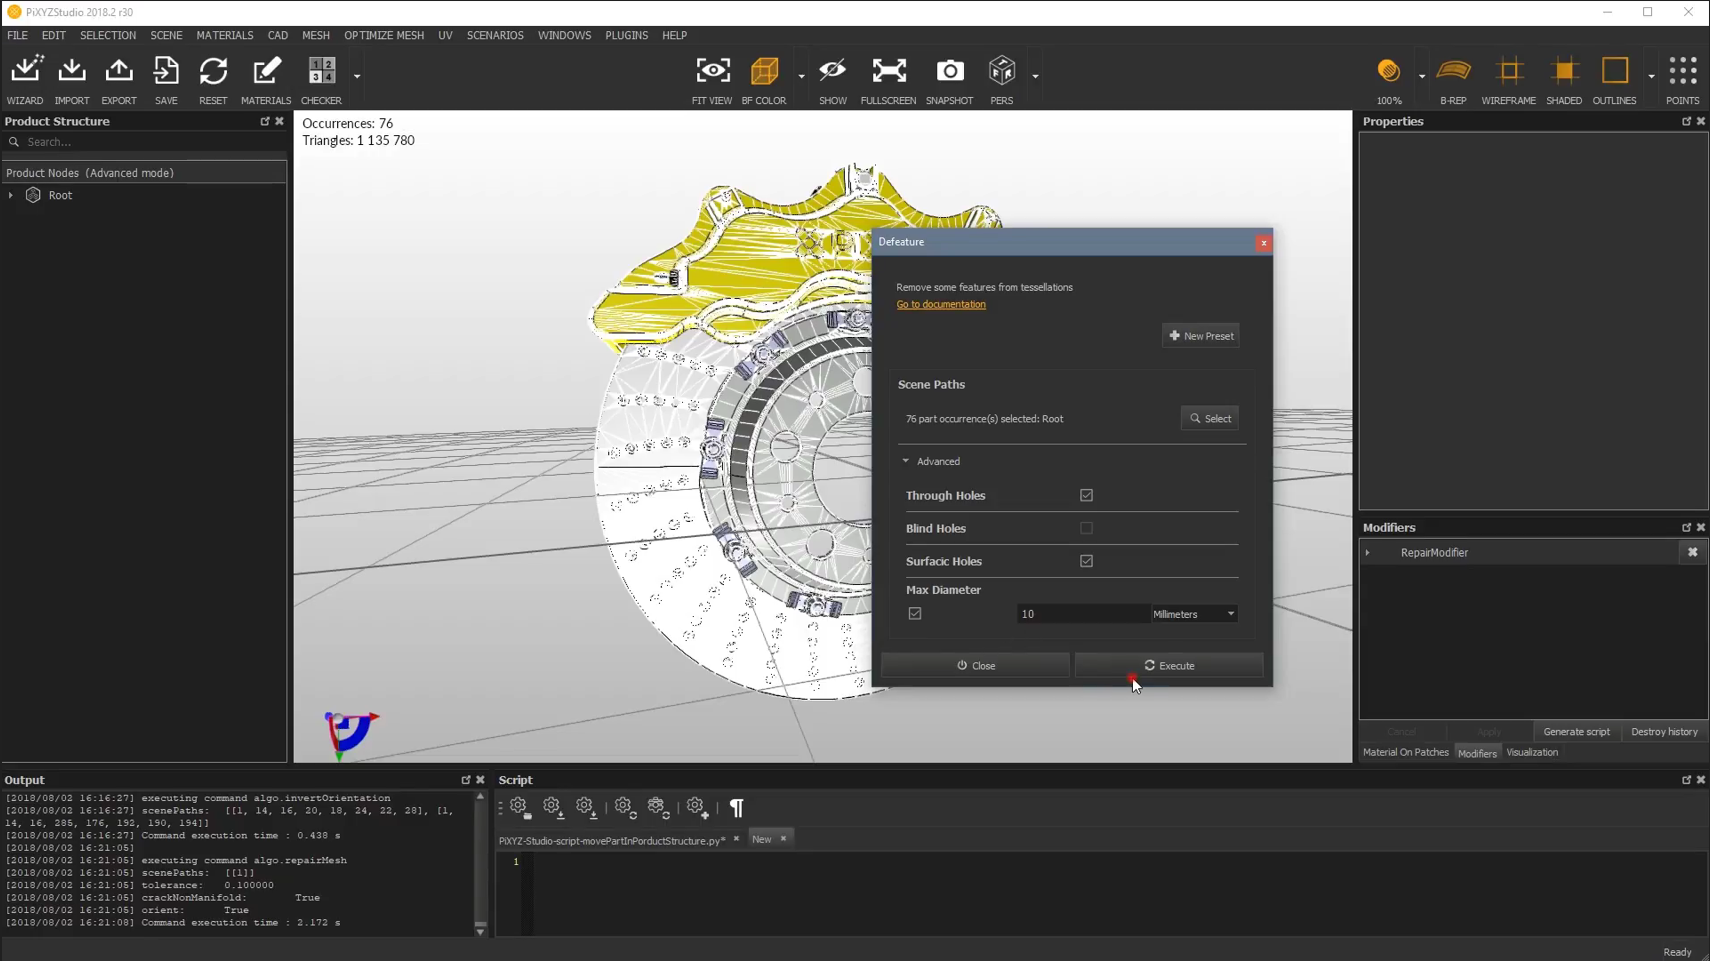
- The result will appear as shown below:
-
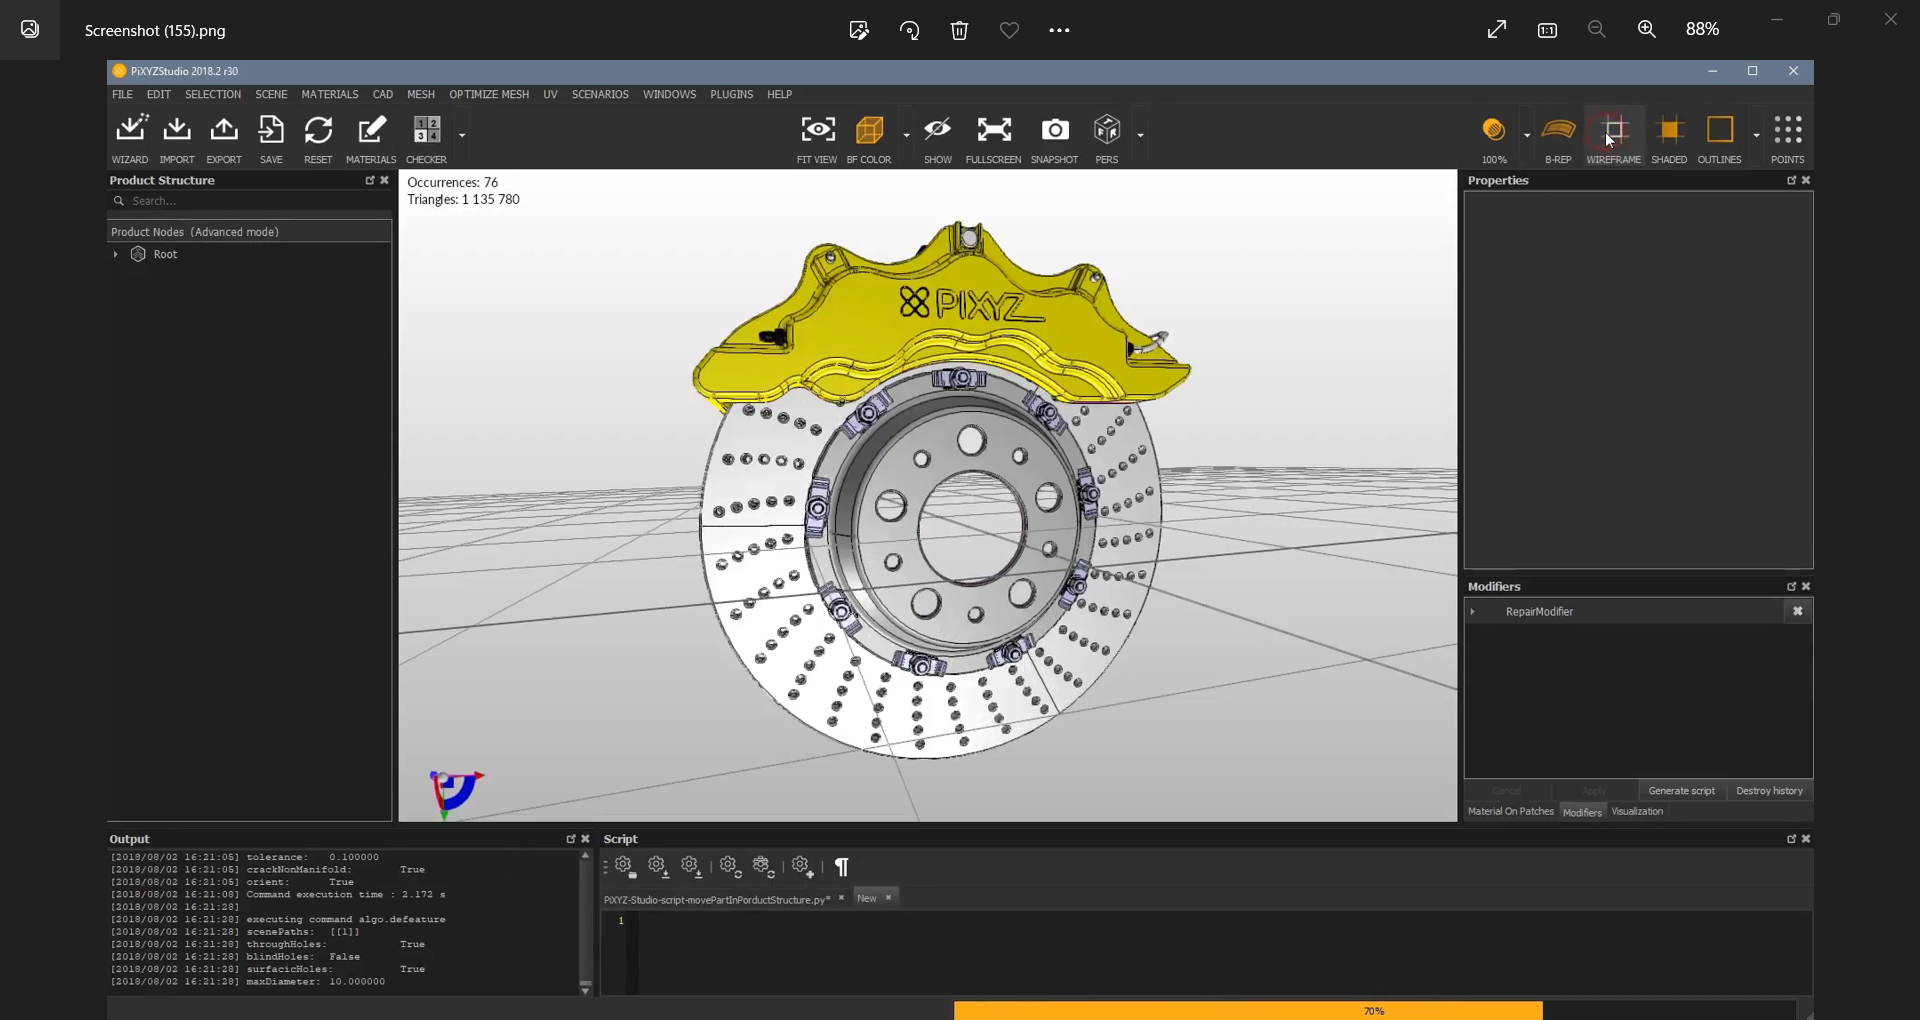
Verify Mesh Reduction
- Turn off Wireframe to confirm that the holes have been removed.

-
Decimate the Mesh
- Go to Optimize Mesh, and select Decimate.
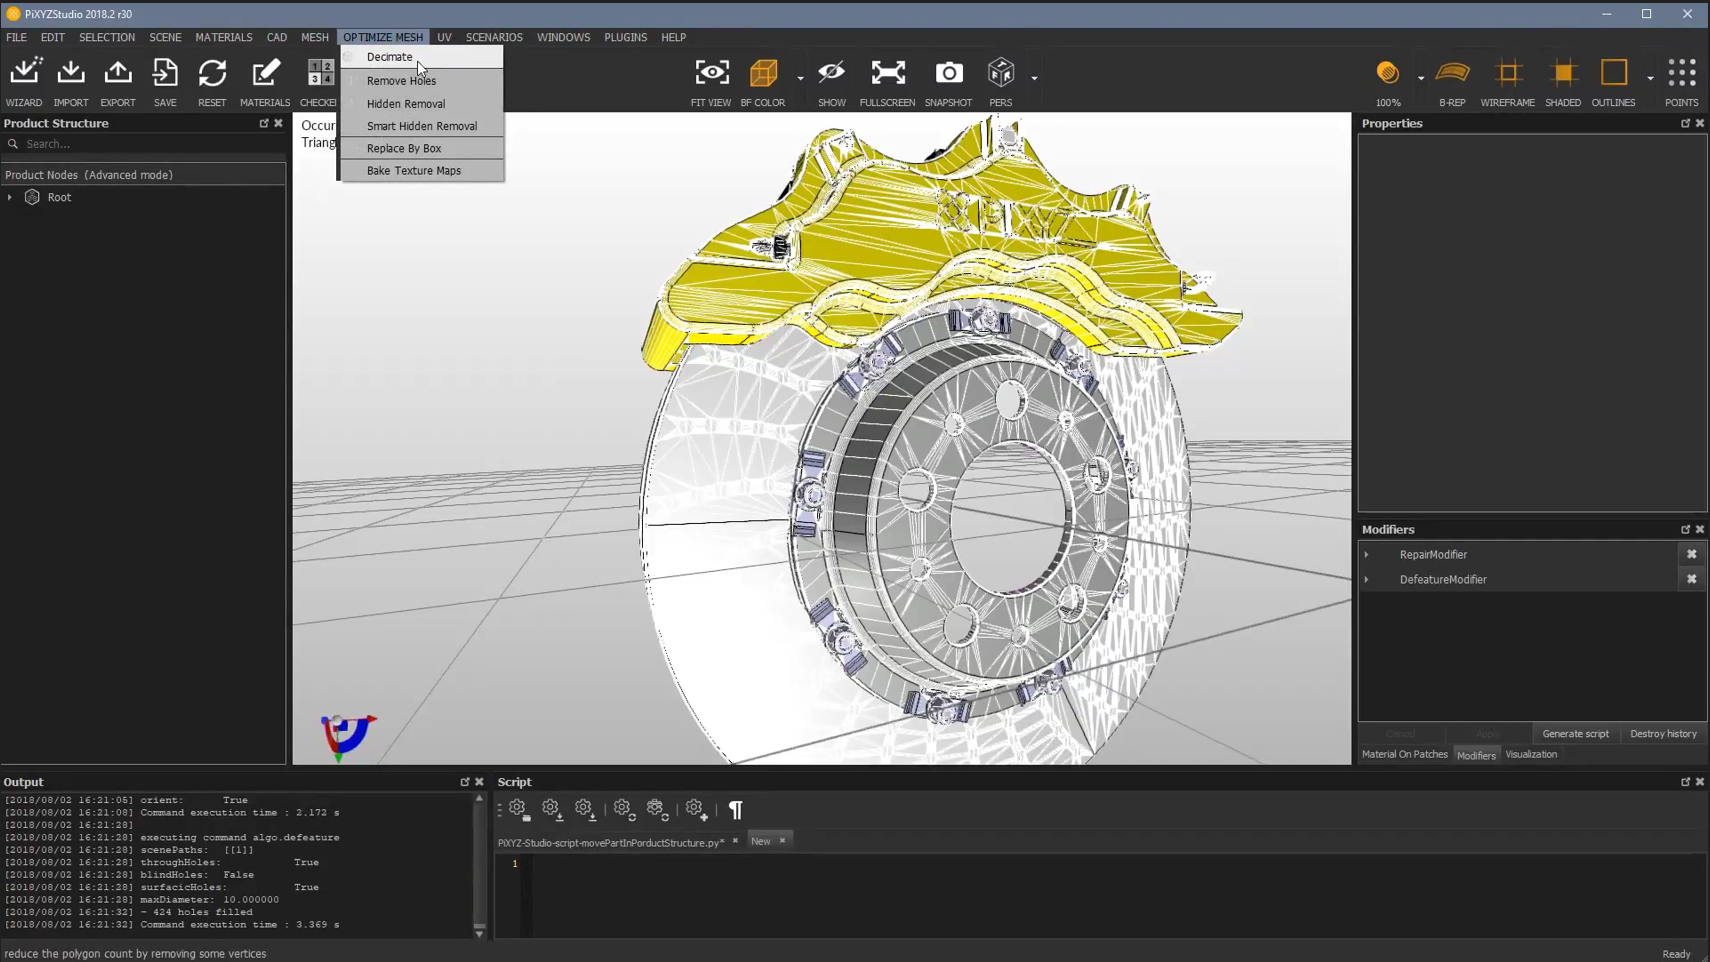
- Adjust the Present option to low, medium, or high, which will modify the Surfacic Tolerance accordingly.
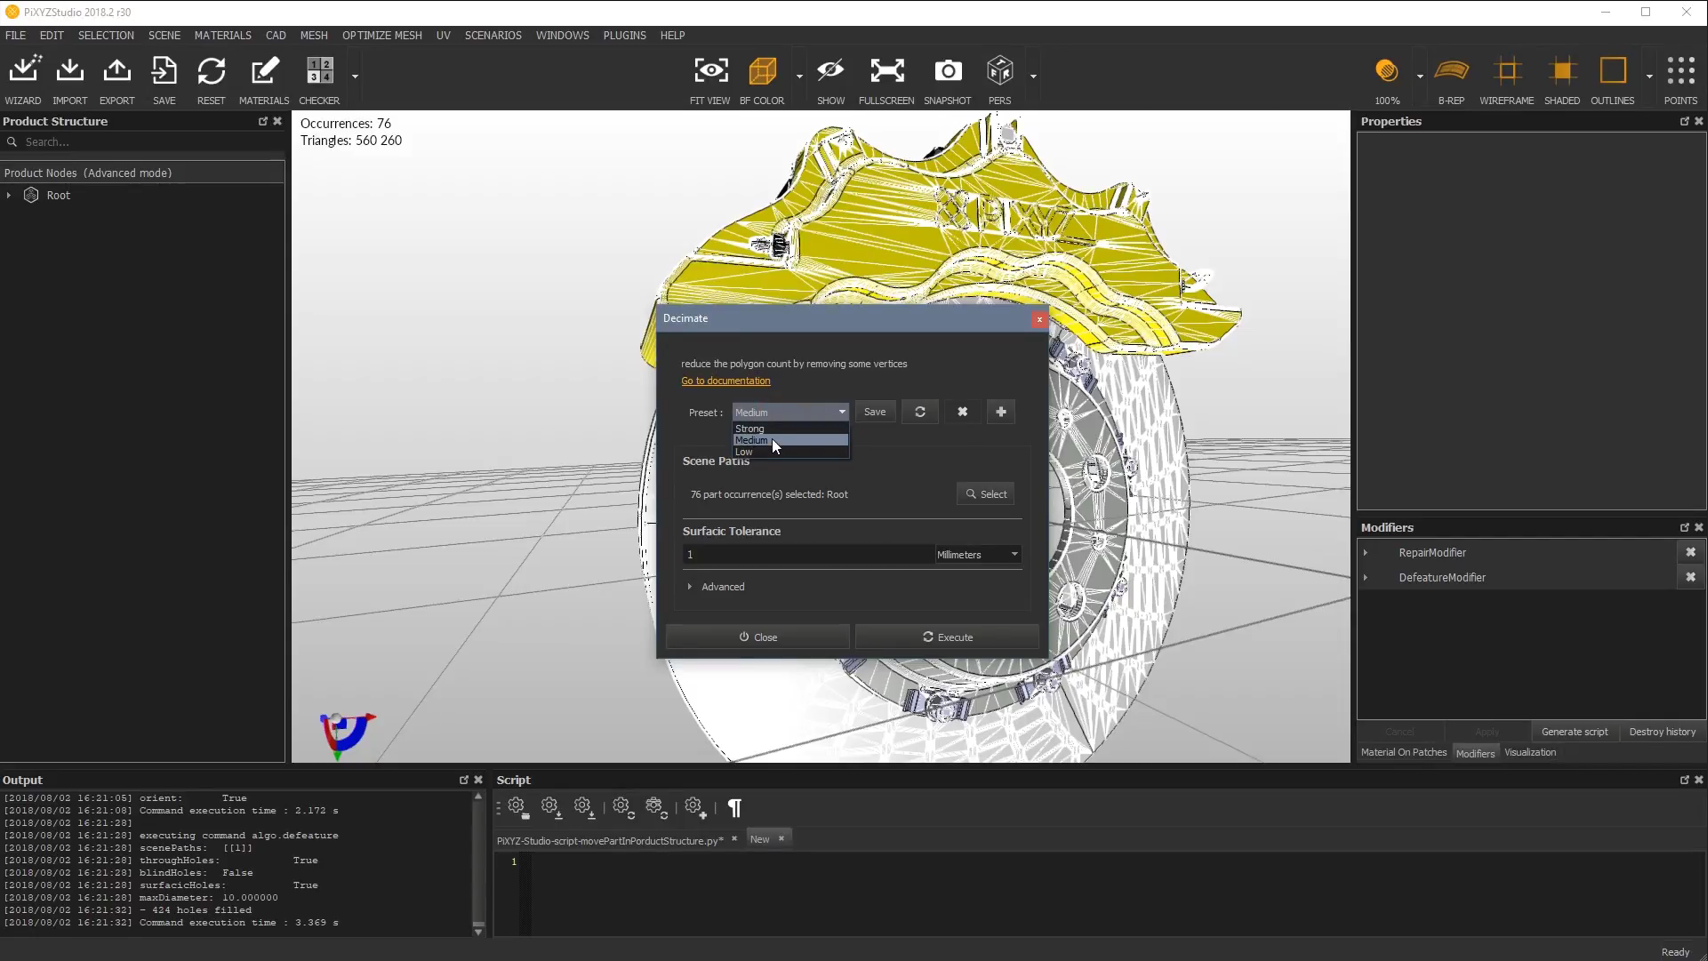
- Click Execute to apply the decimation.
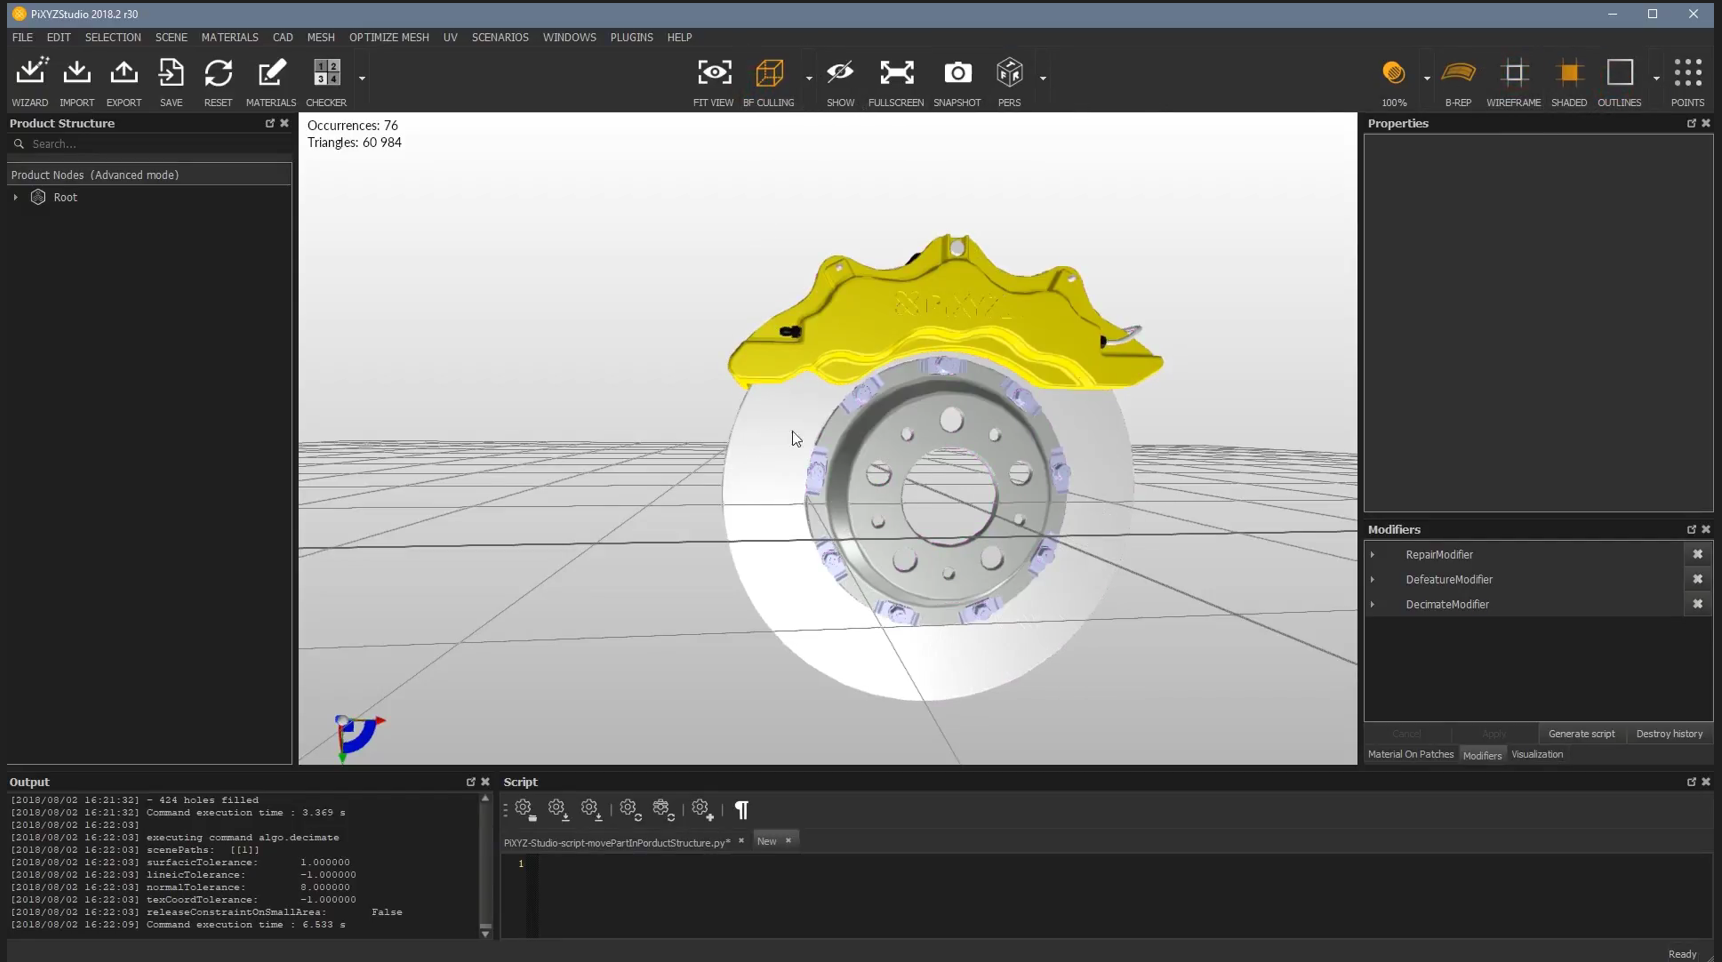
- The result will show a reduction in both the number of holes and triangles.
This version of the content is now ready to be updated in your markdown file. Let me know if any further changes are needed!