XR VR Space Flow
Login to the site
-
Login to the site
-
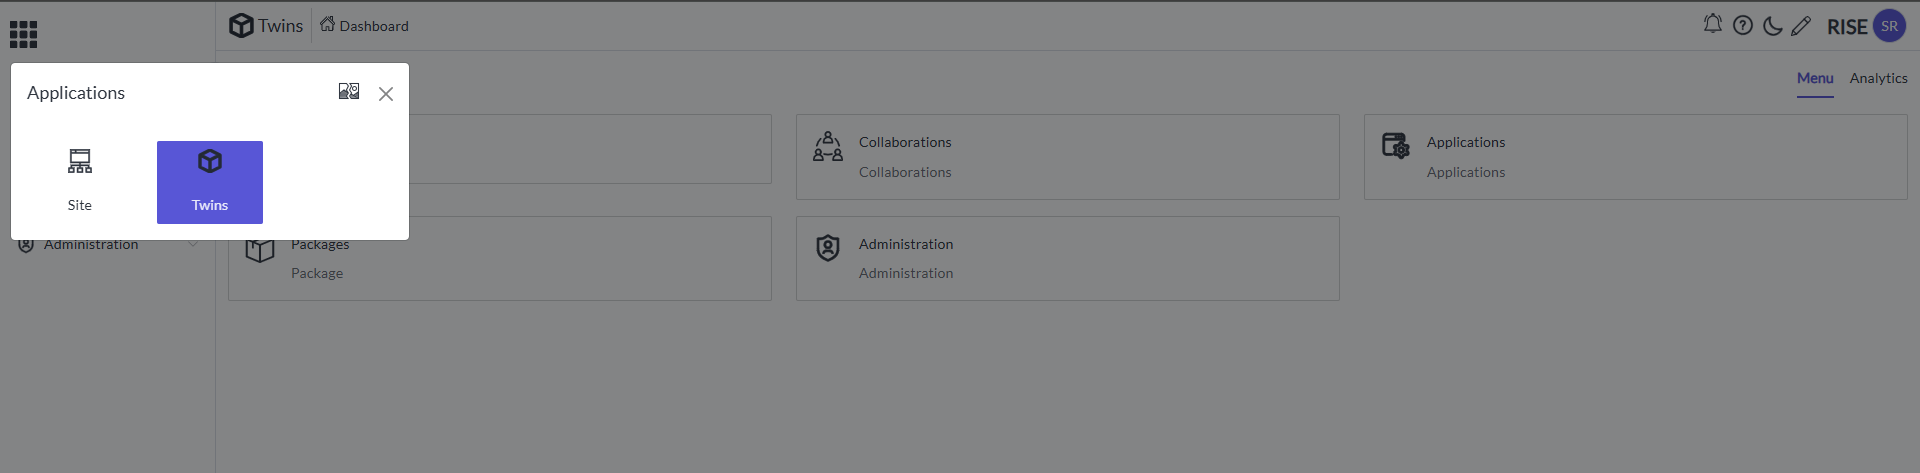
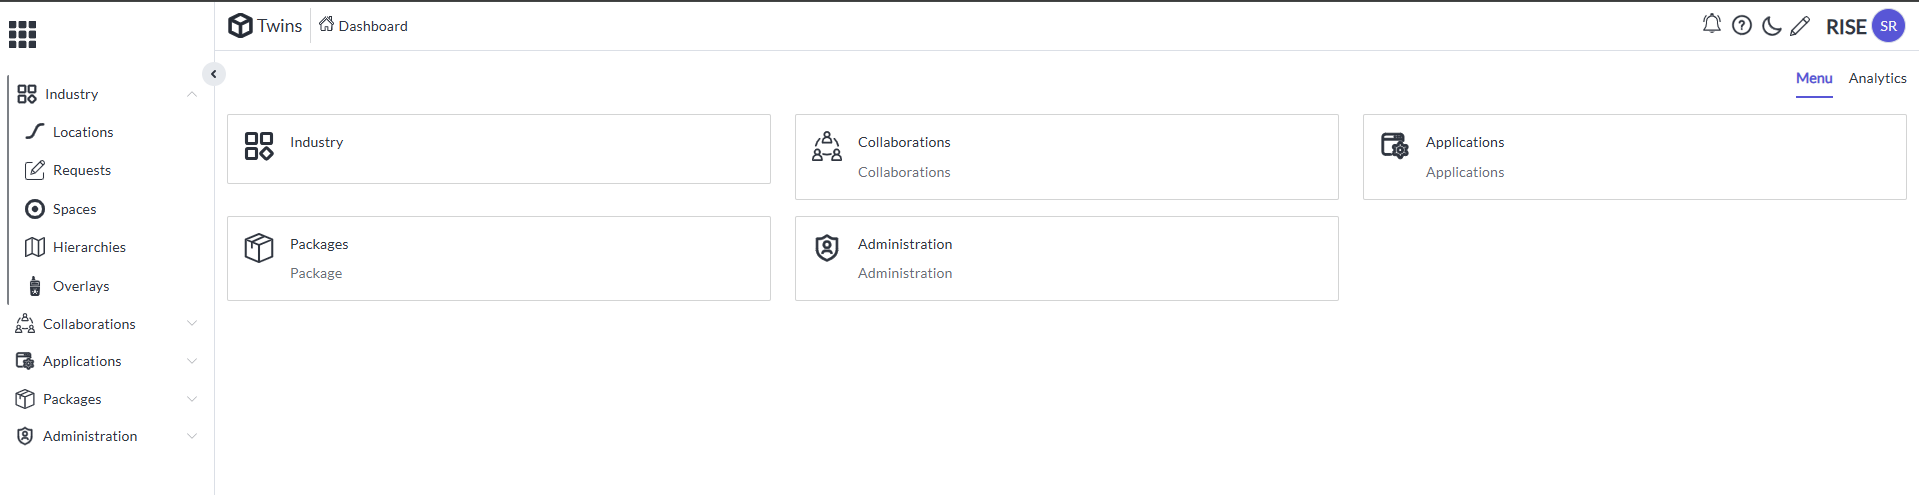
Open Applications menu
-
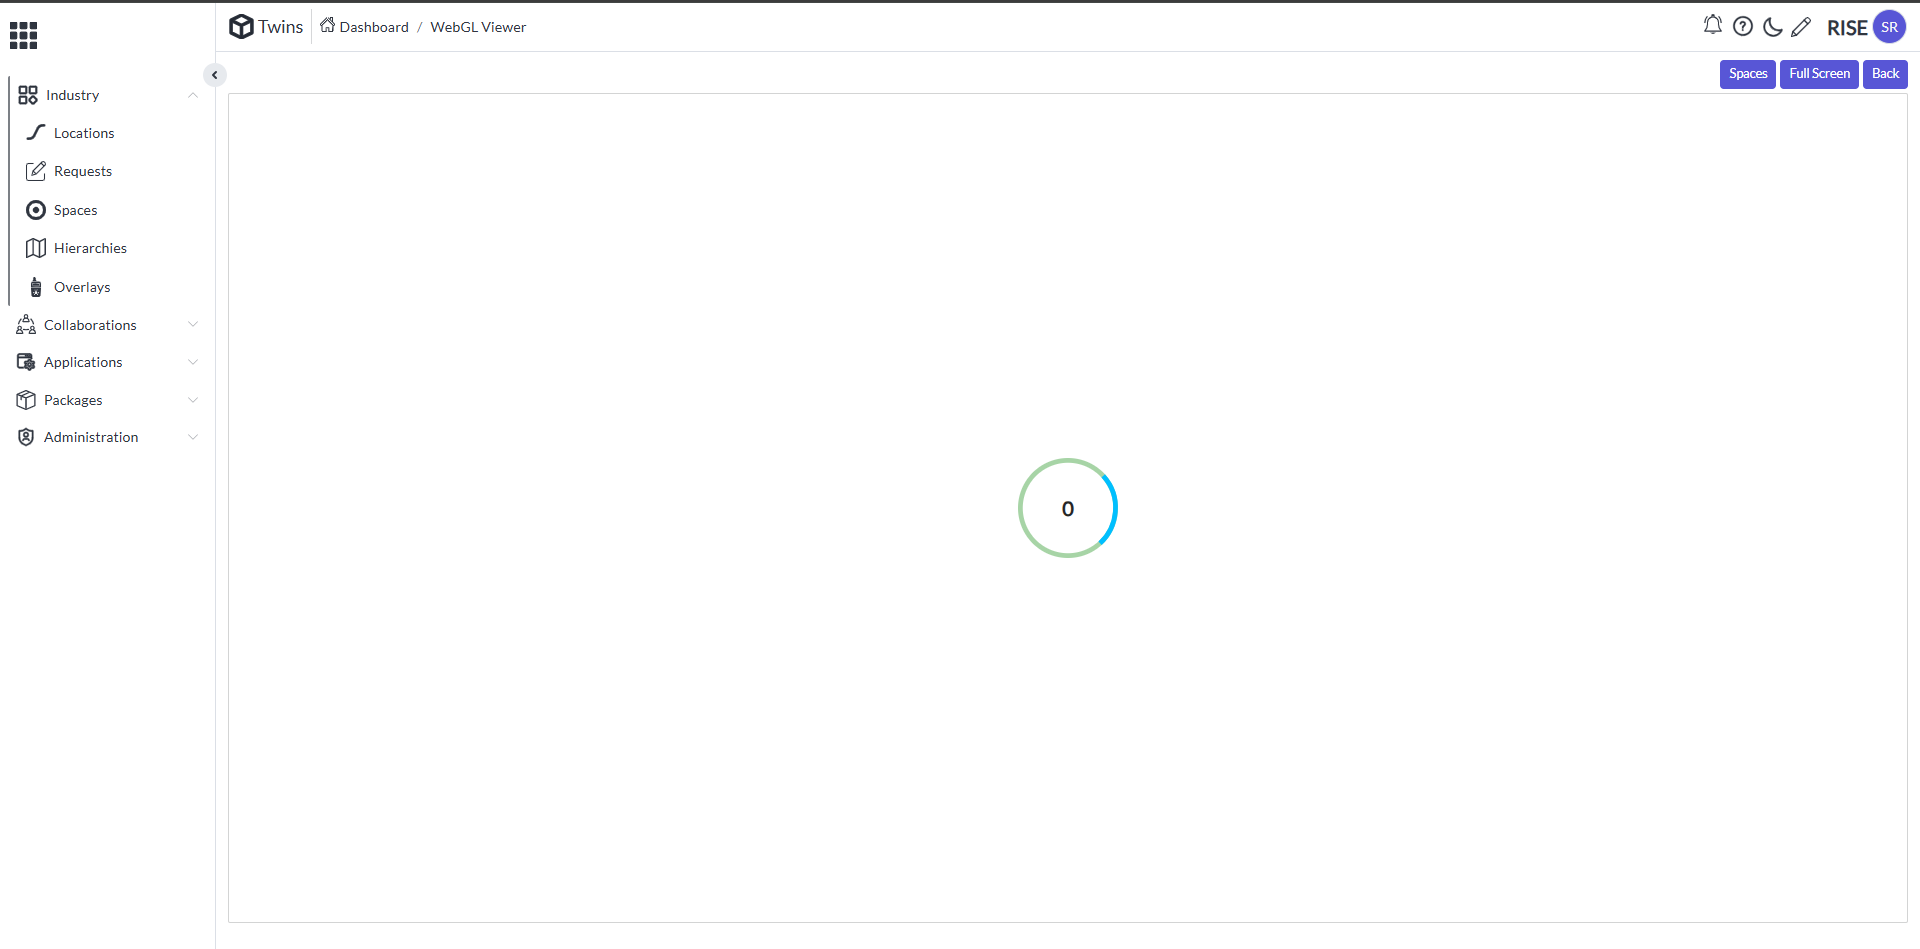
Select on Twins so It will appear like this
Creation of Content package
-
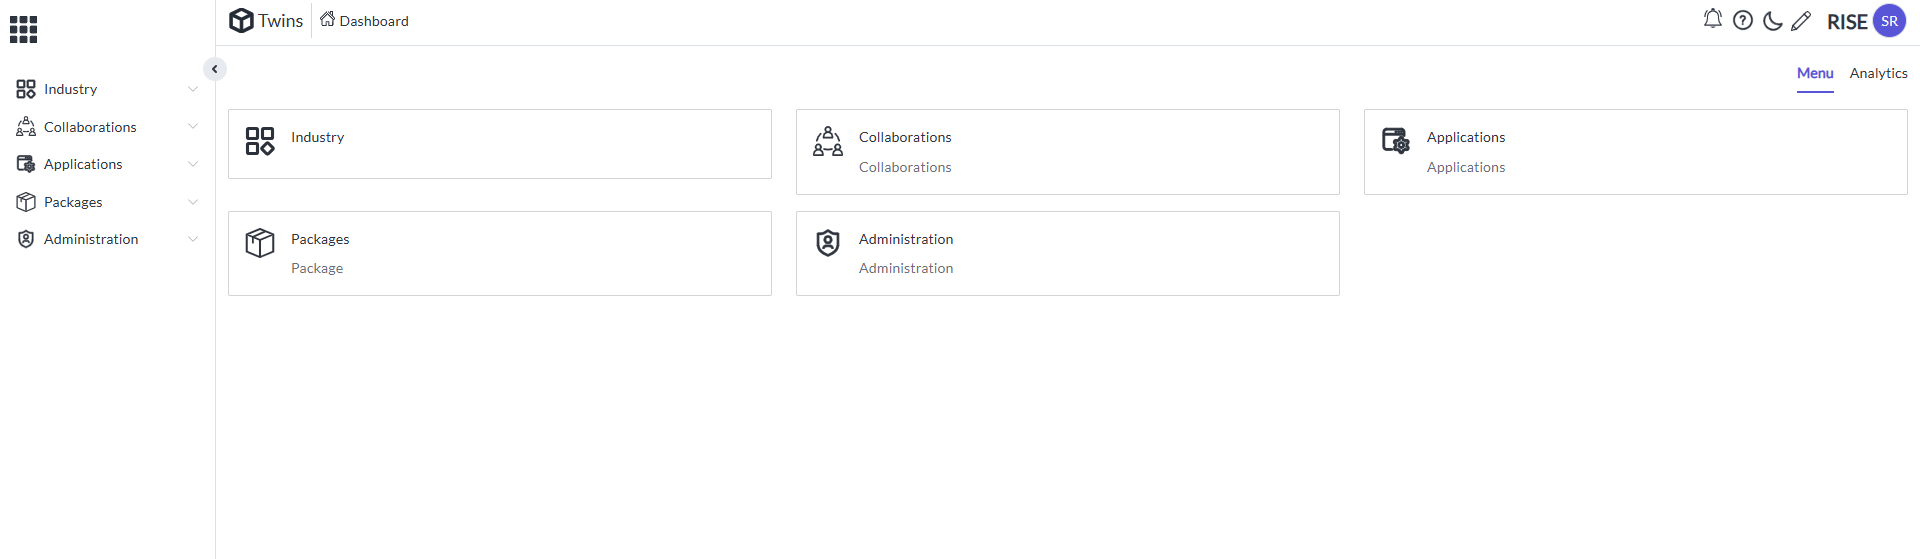
Select Twins in the application menu
-
It will Appear like this
-
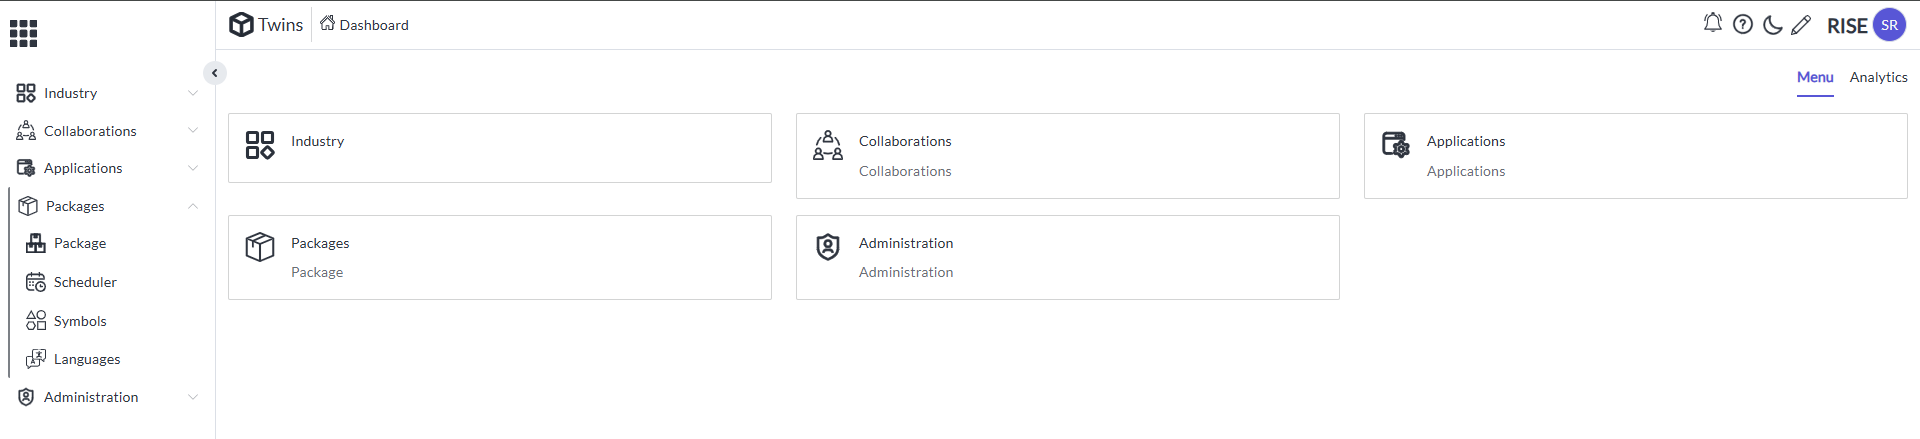
Open the Packages drop down in the side menu bar
-
There select Packages in the sub menu of the Packages drop down. It will appear like this
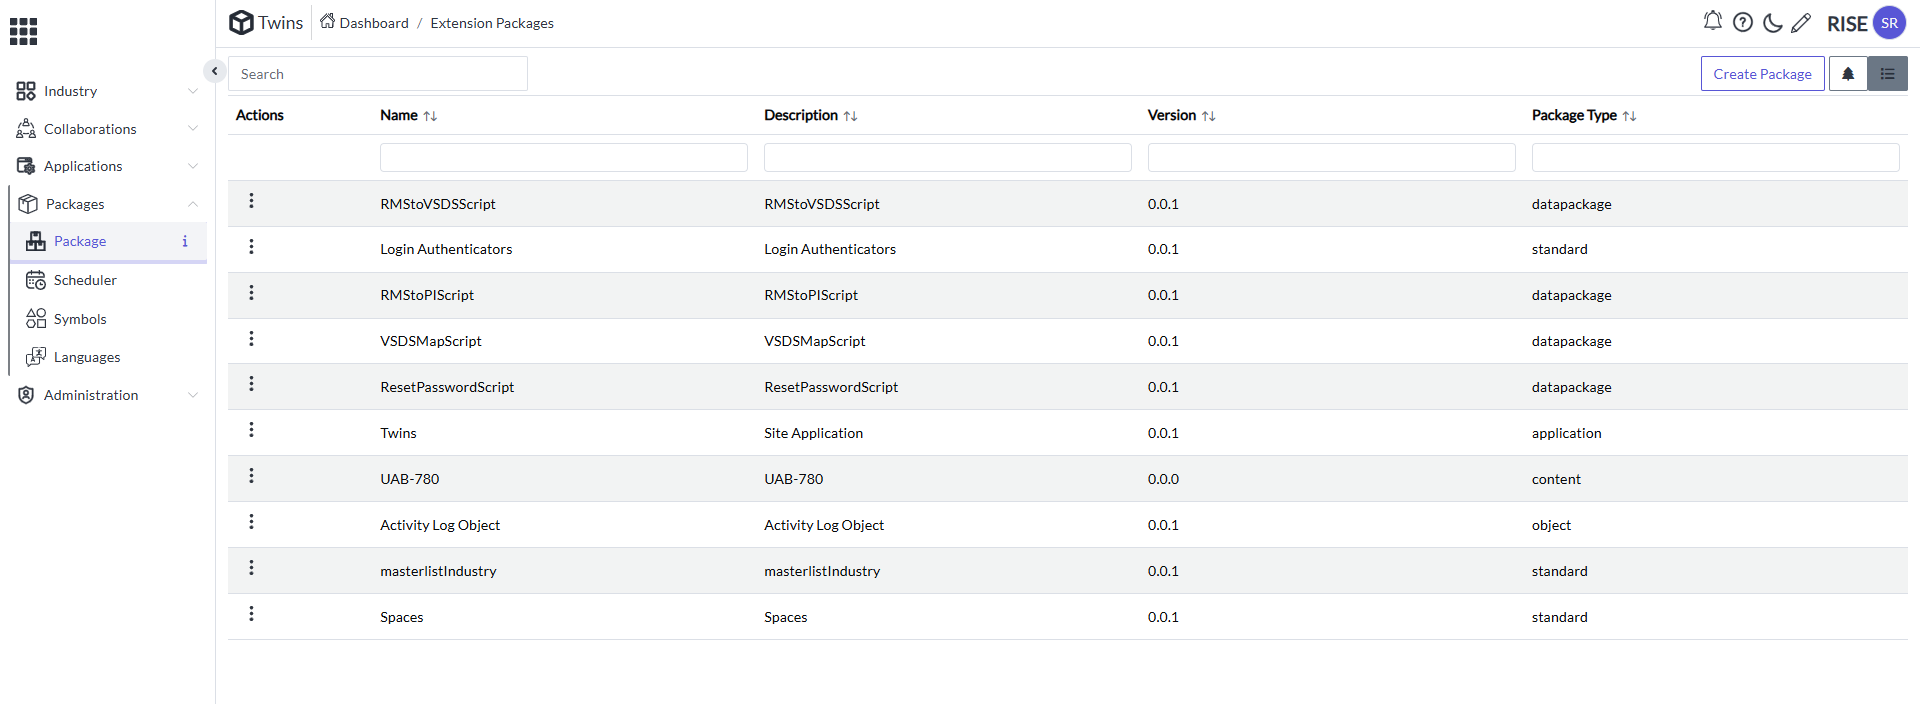
-
Now change it into the Tree chart flow So it will appear like this
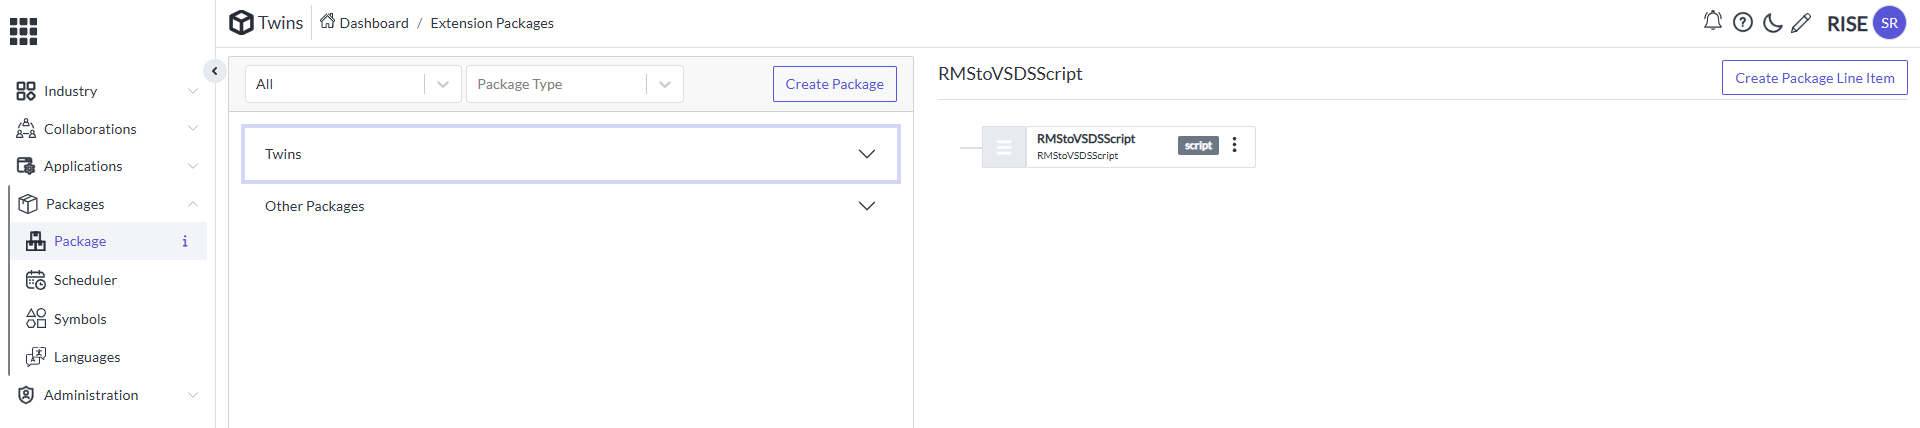
-
Now select on the Create package it will Appear like this
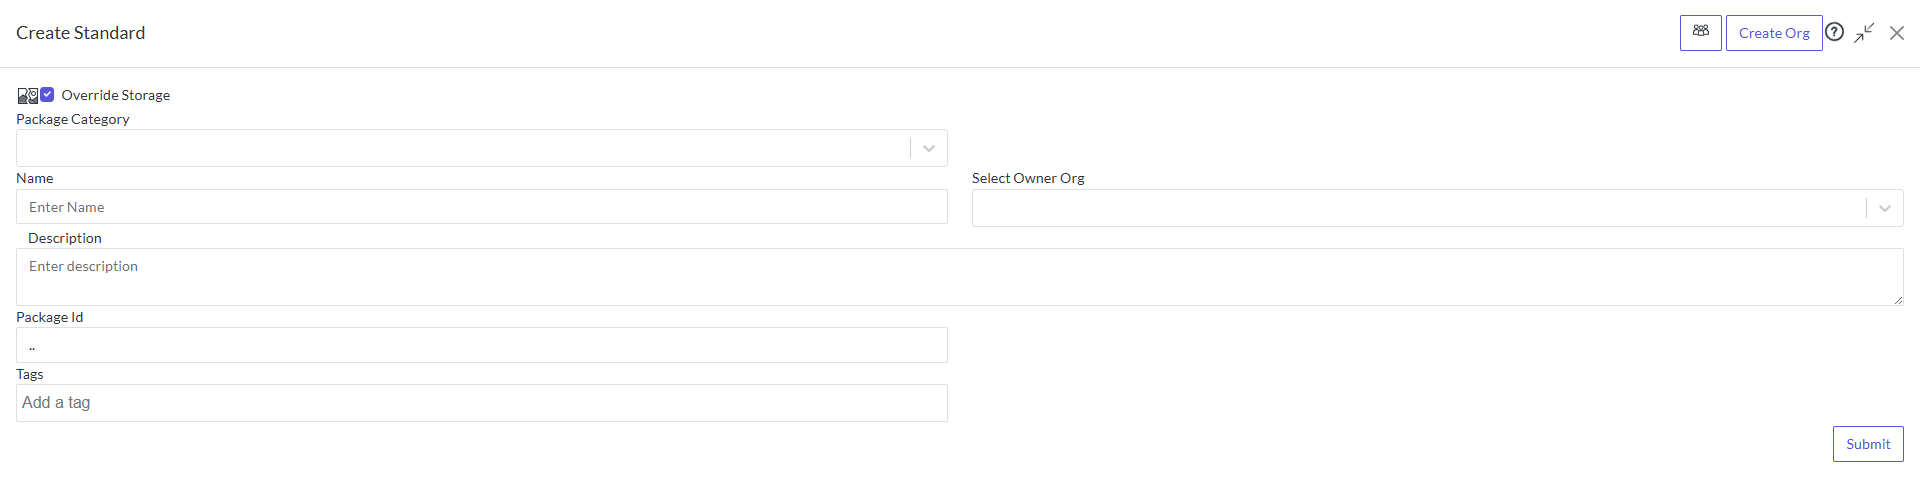
-
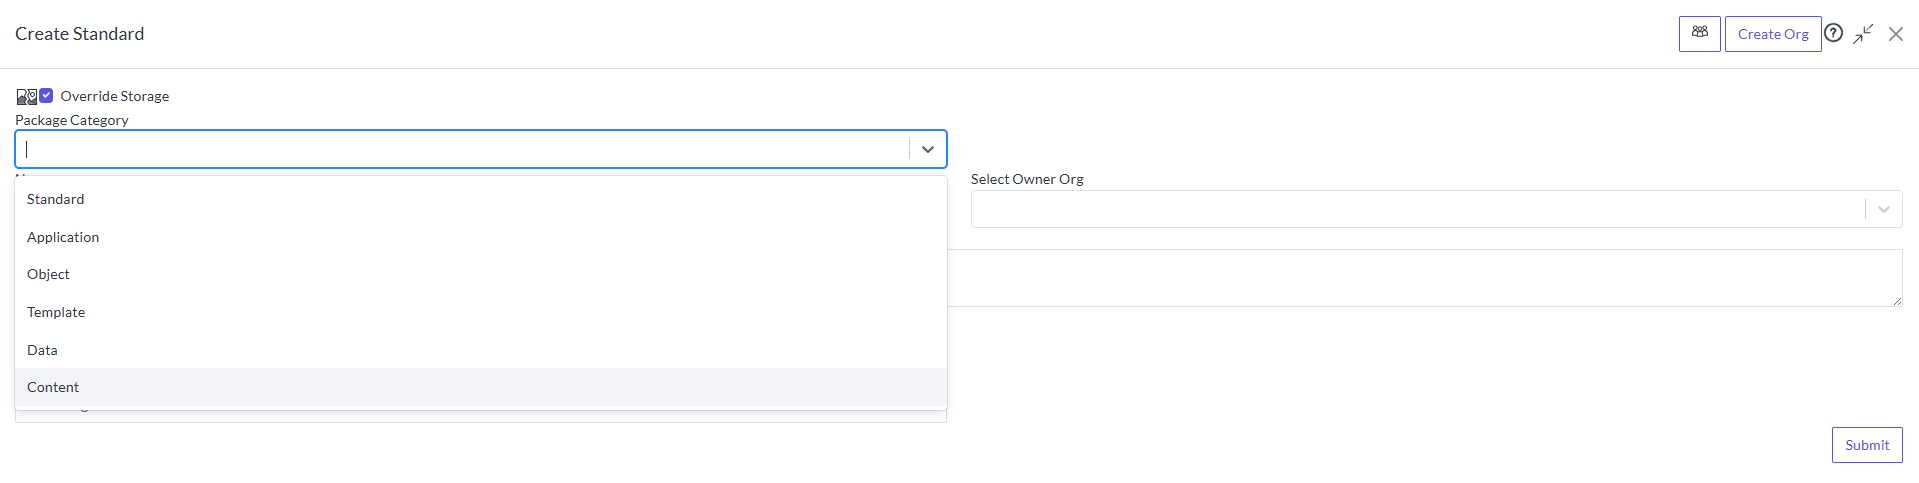
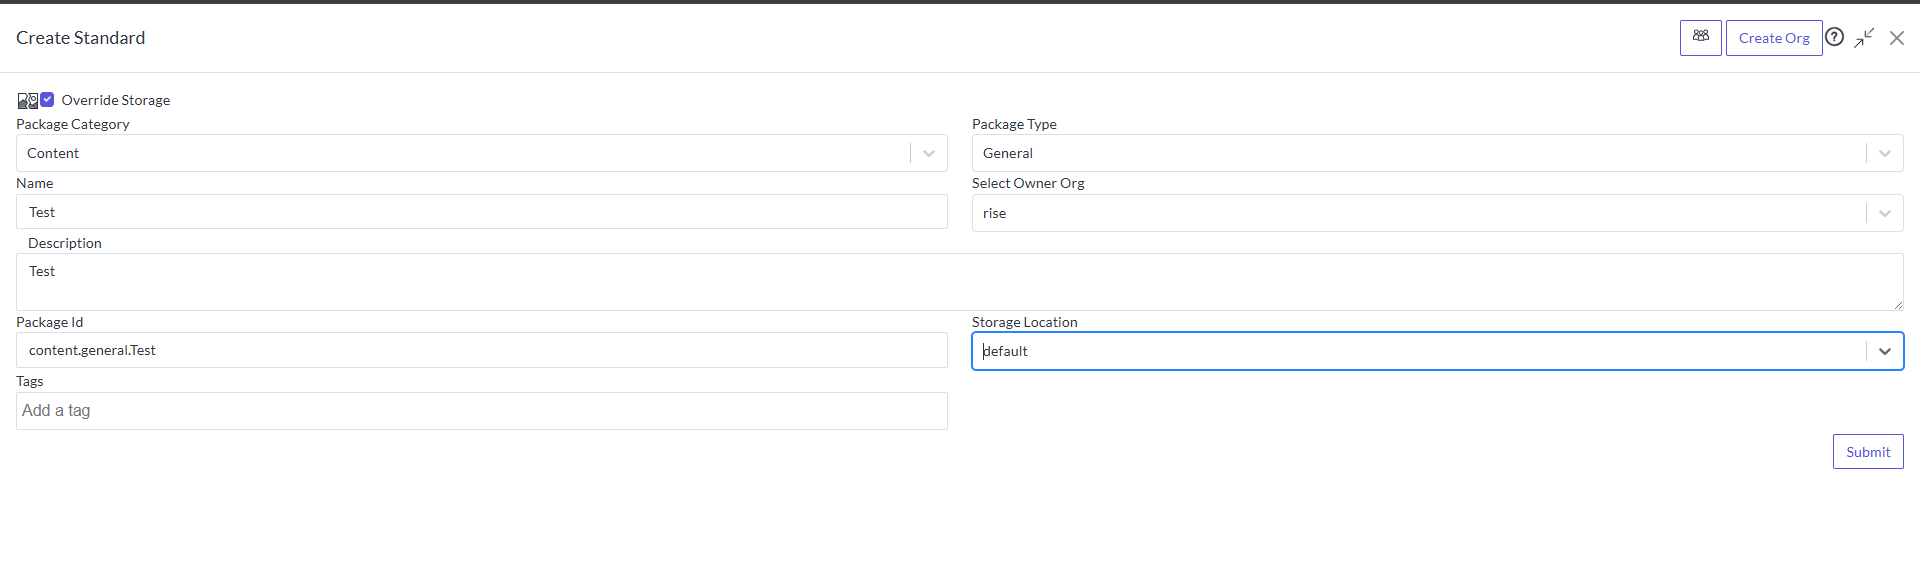
Provide the Package category as Content, Name, Description, Owner and submit.
-
After providing the package as content some of things appear like package type and Storage location
-
Package Type as General
-
Storage location as Default
-
Provde the Package Category as Content and after keeping all it will appear like this
-
Submit it. So the Content Package got Created it will appear like this

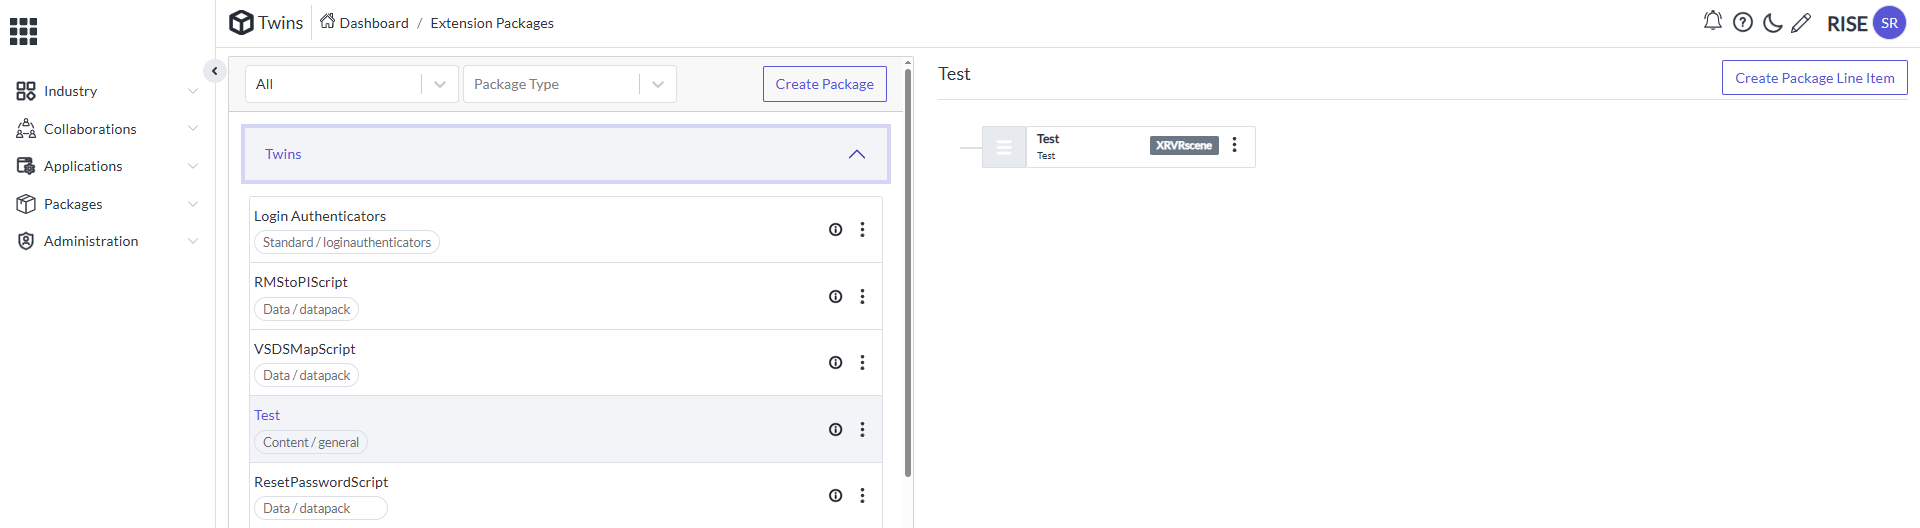
Creation of Line Item
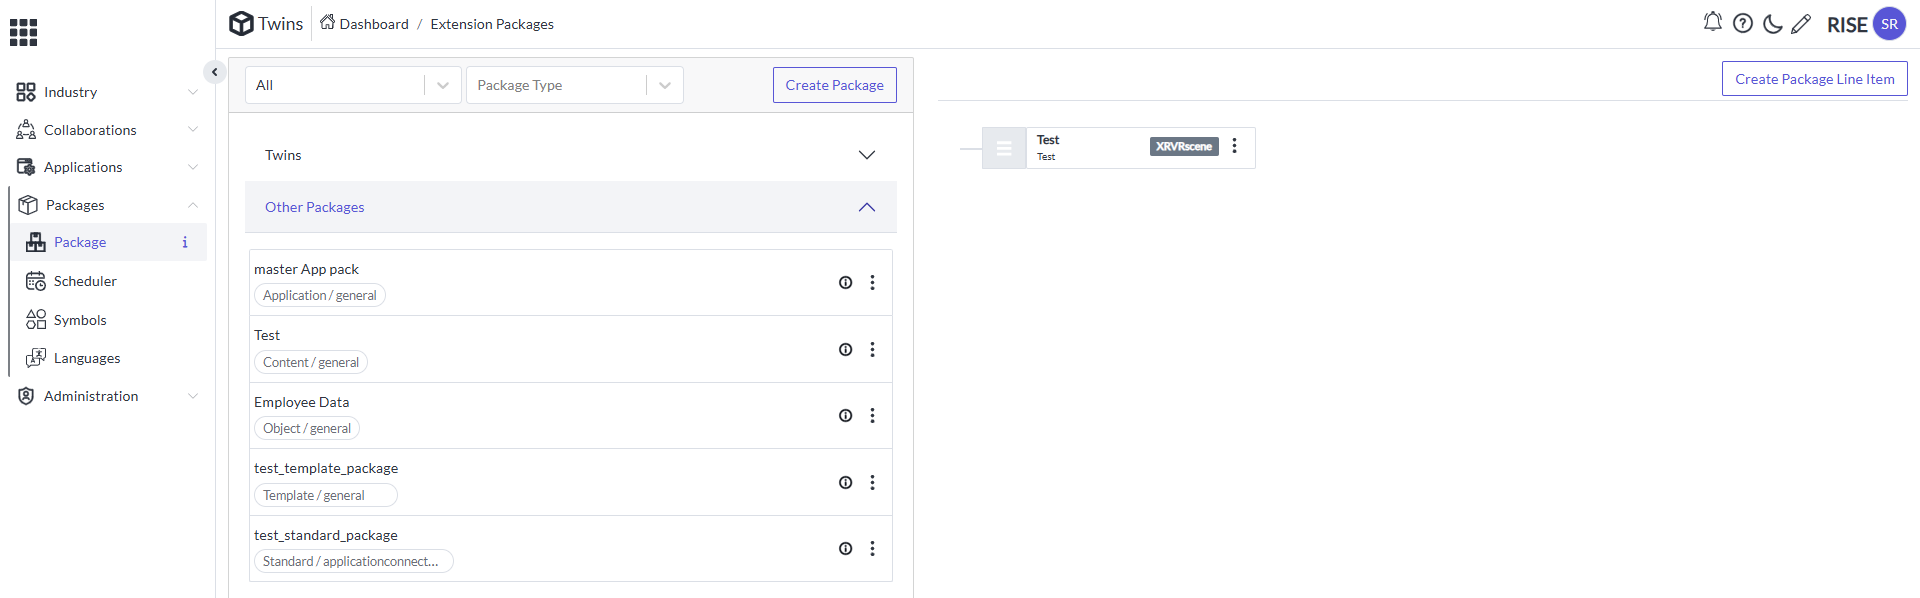
-
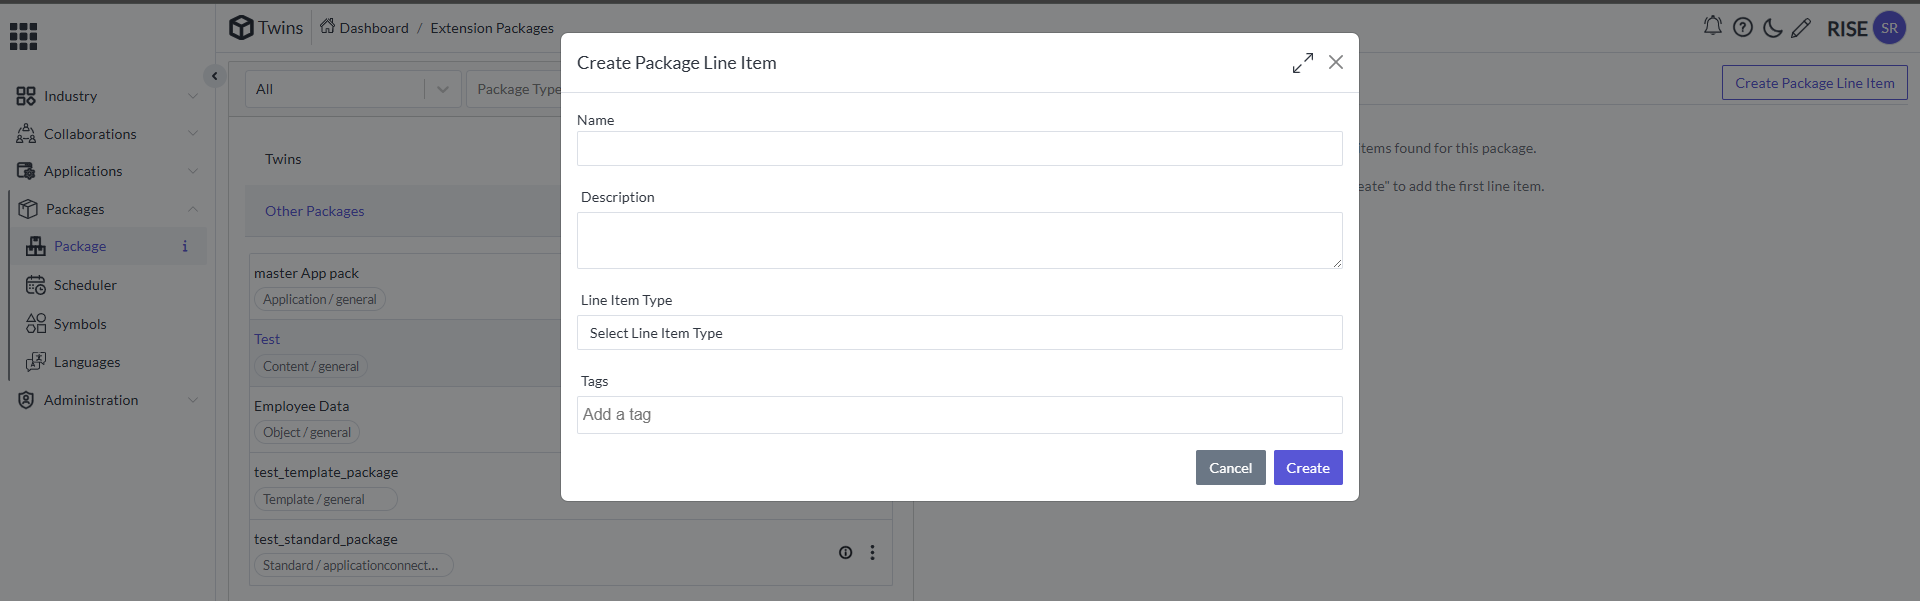
Select the content package and click on the Create Package Line Item. It will appear like this
-
Now provide the Name and Description and click on the create
-
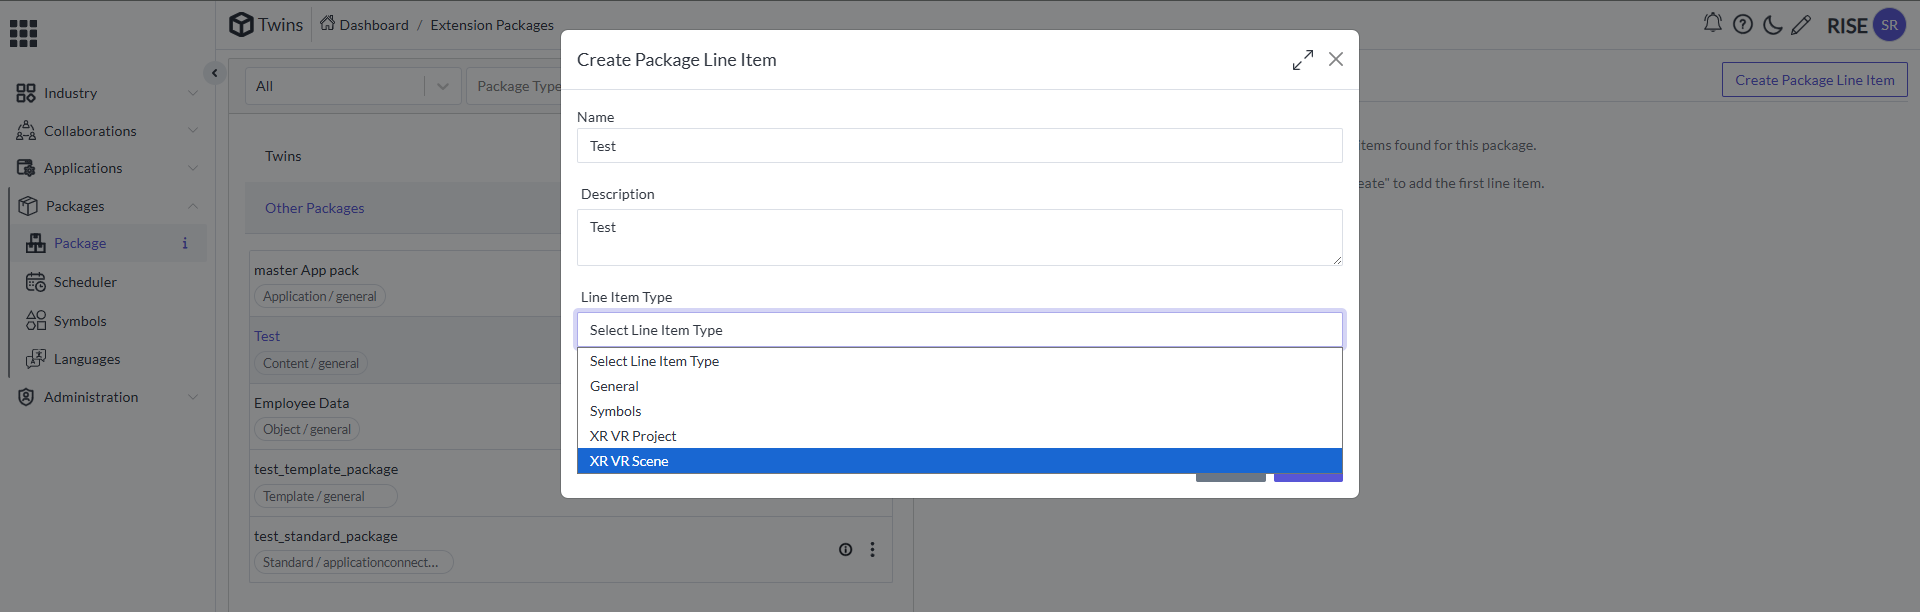
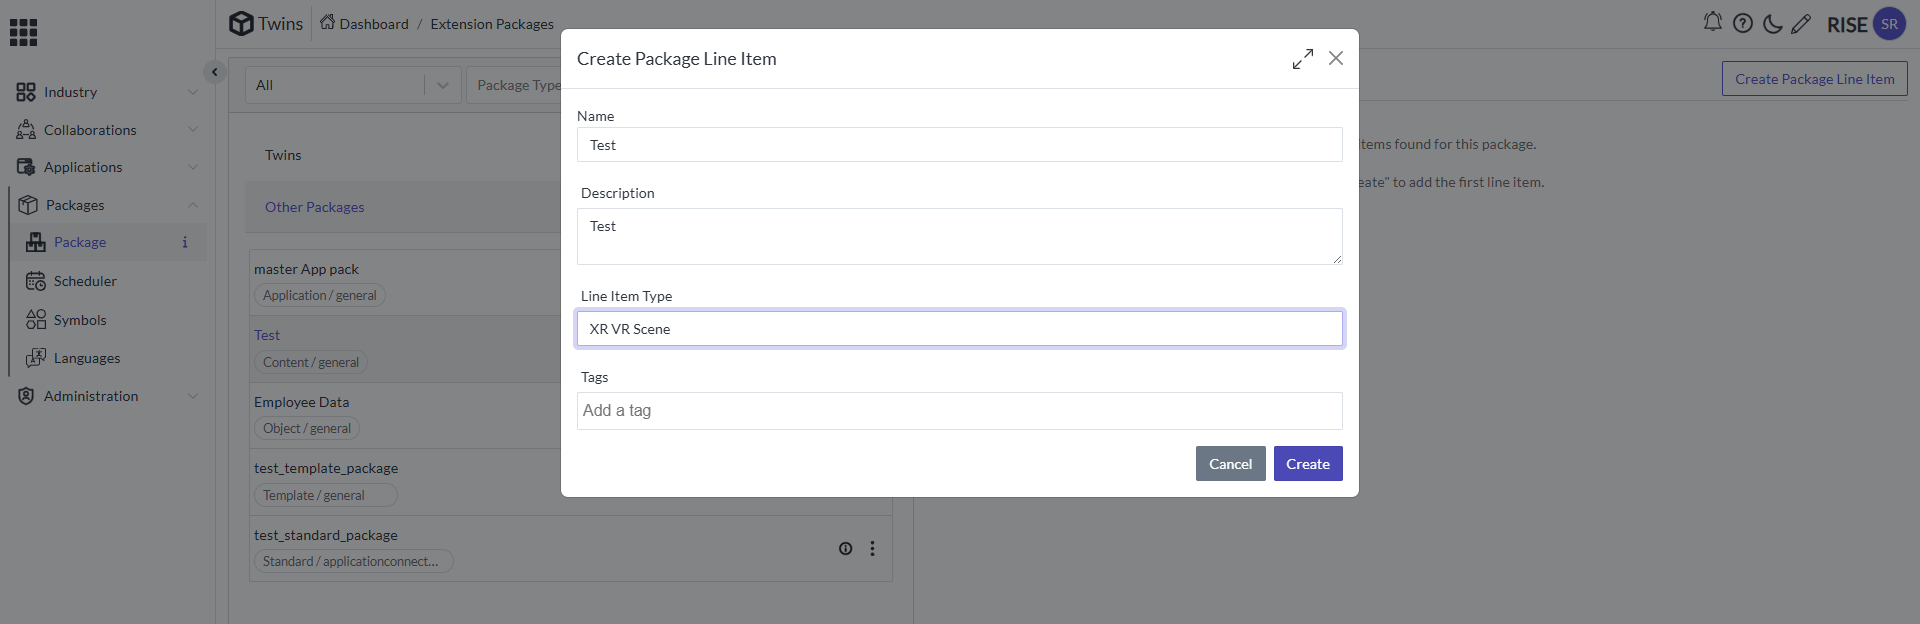
At the Line-Item type drop down select on XR VR Scene and click on Create
-
So he line item got created and now click on the action button it will appear like this
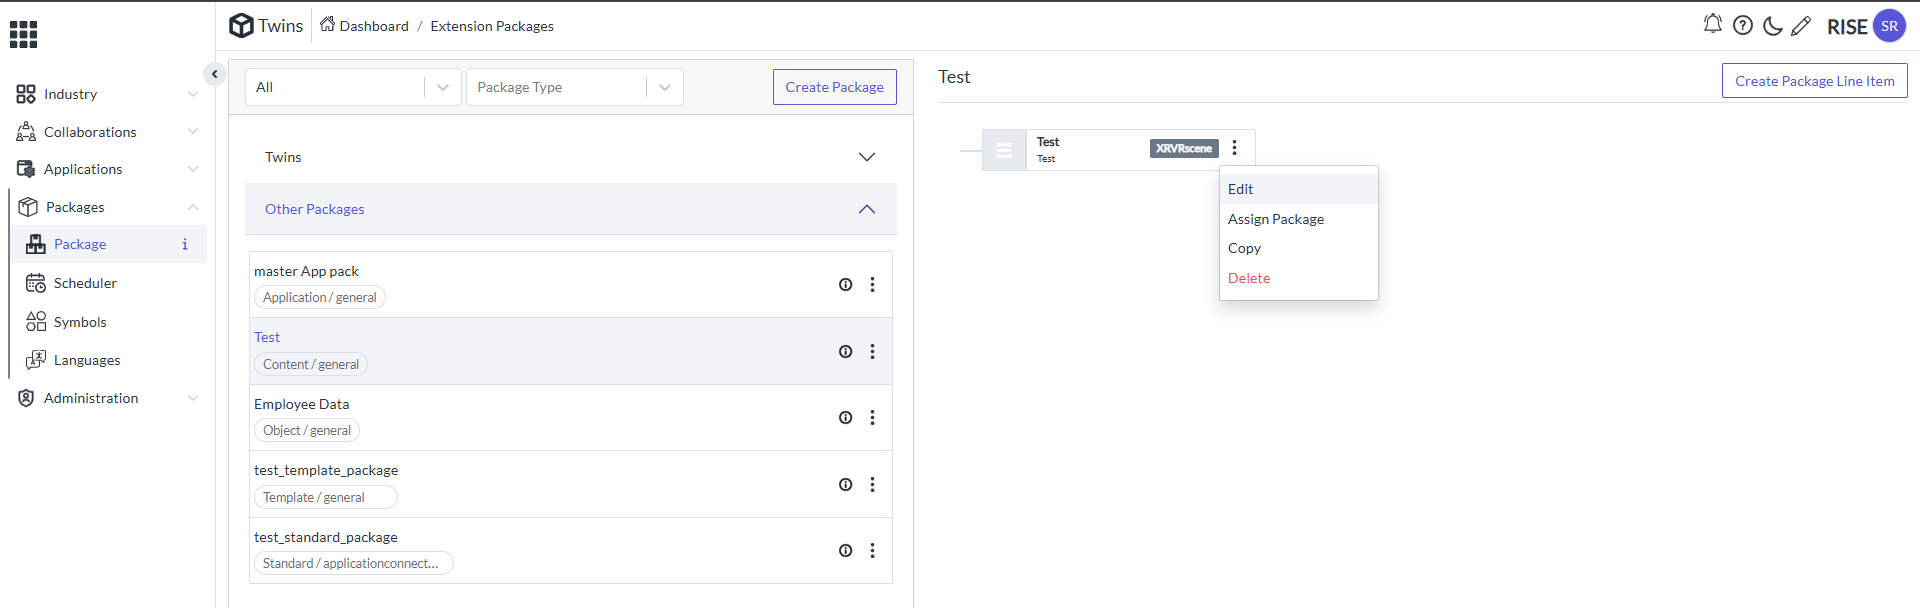
-
Select Edit and it will appear like this
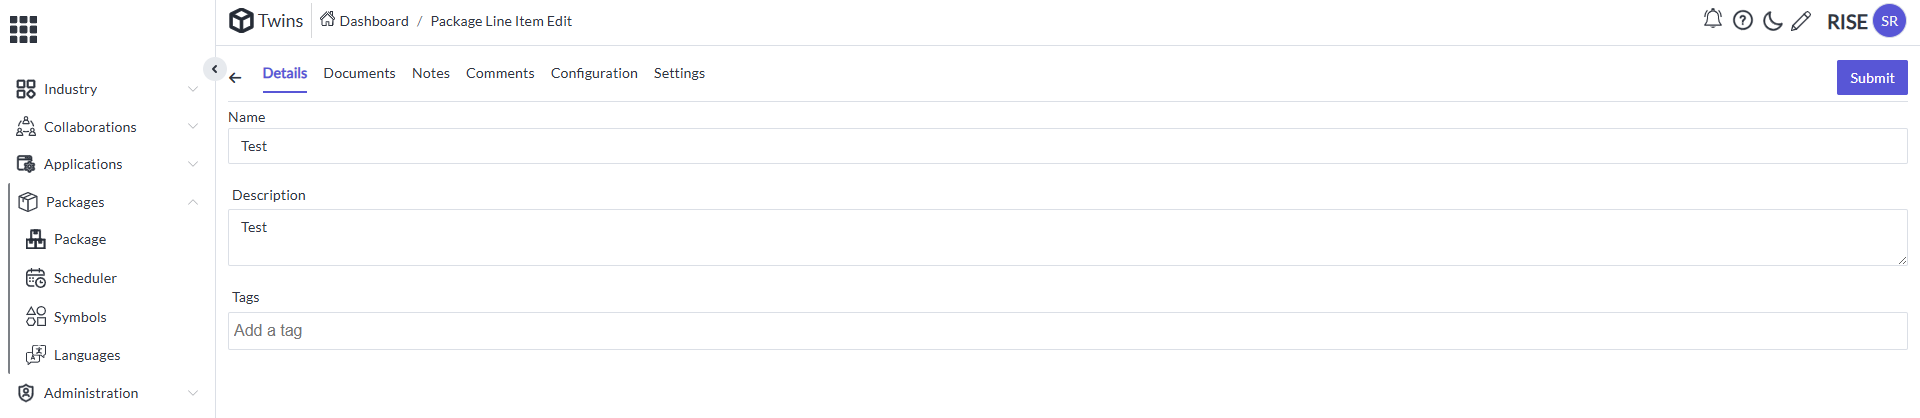
-
Go to the Documents the page will appear like this
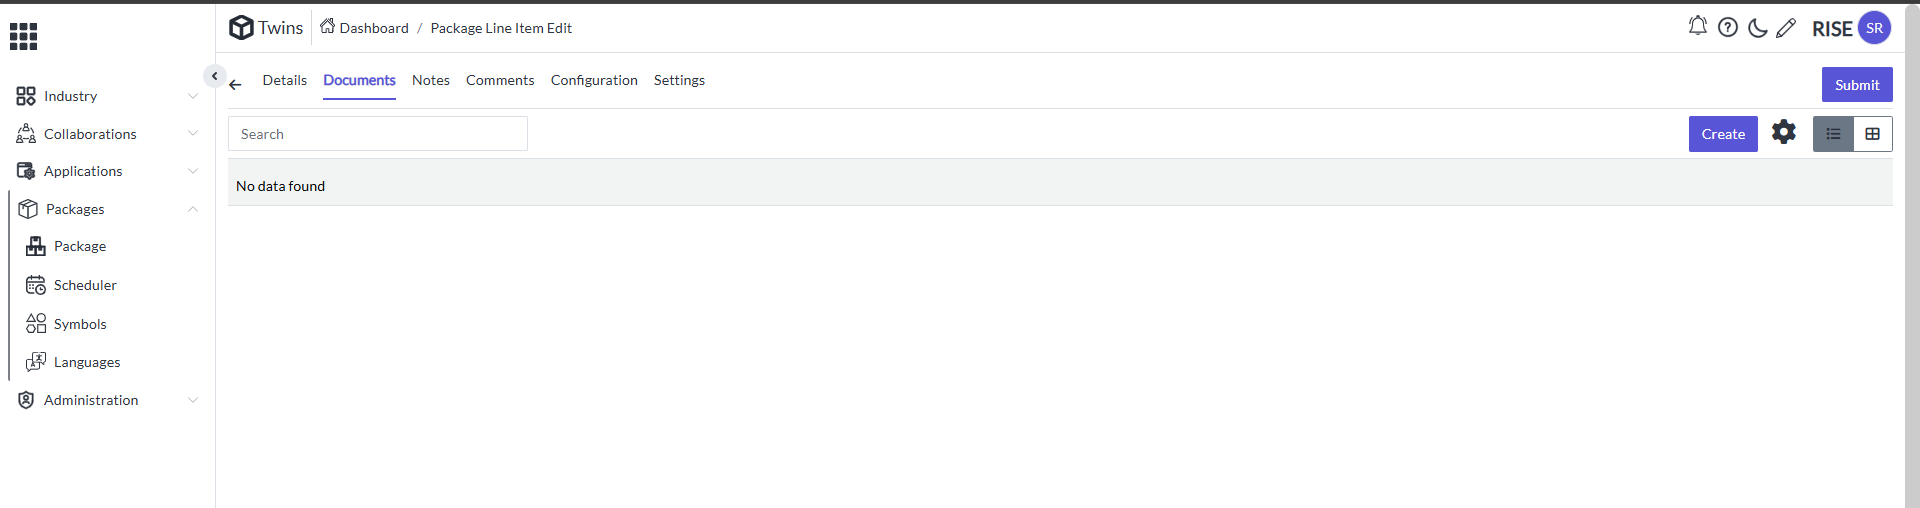
-
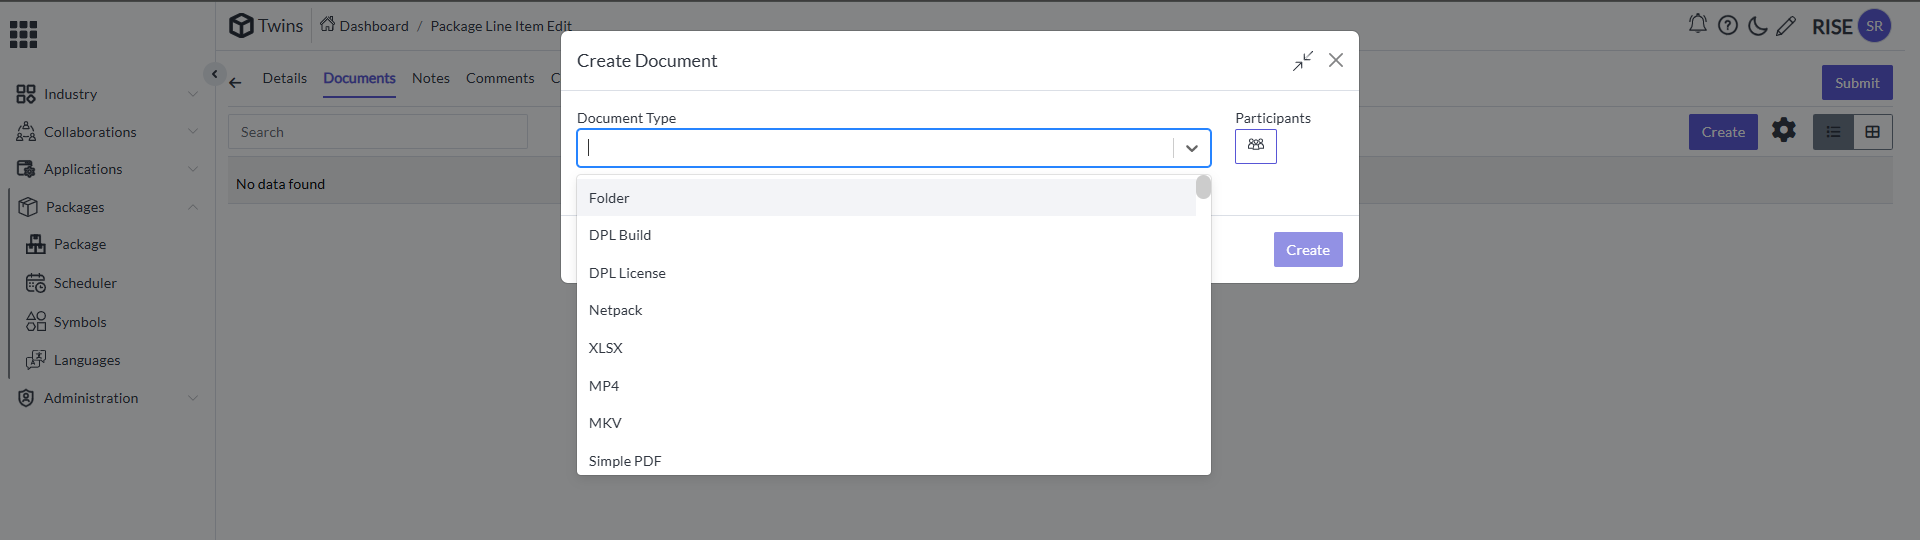
Select Create so it will appear like this
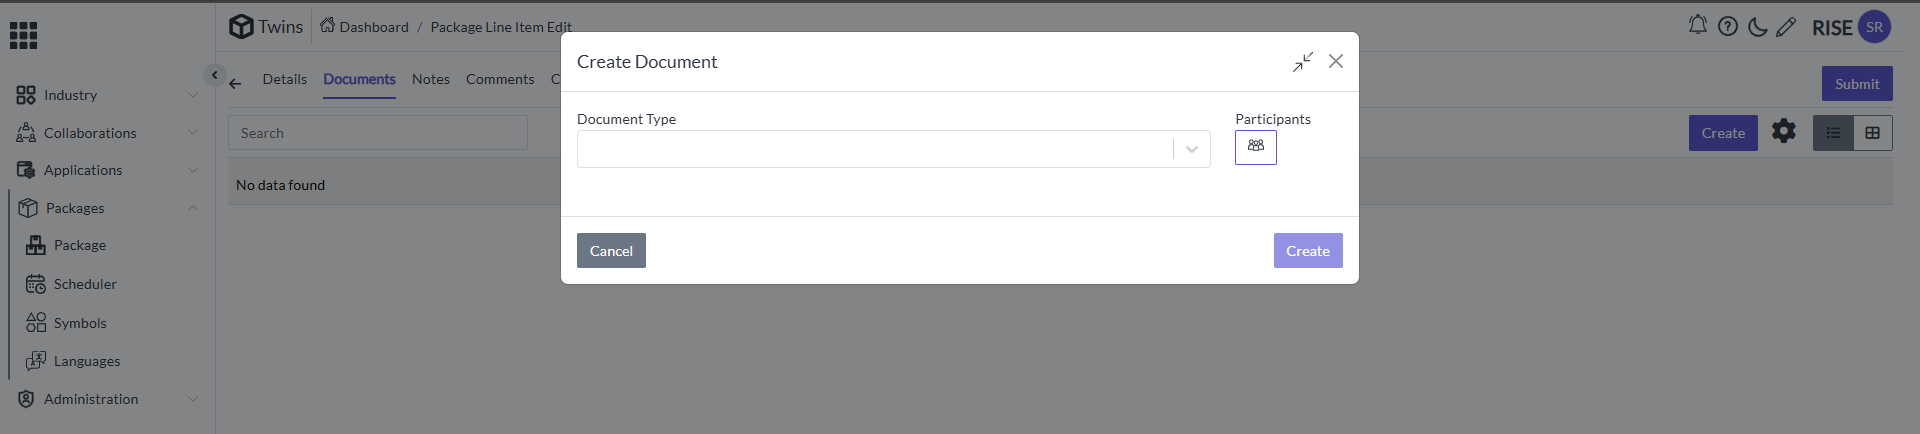
-
Select the Document type as folder
-
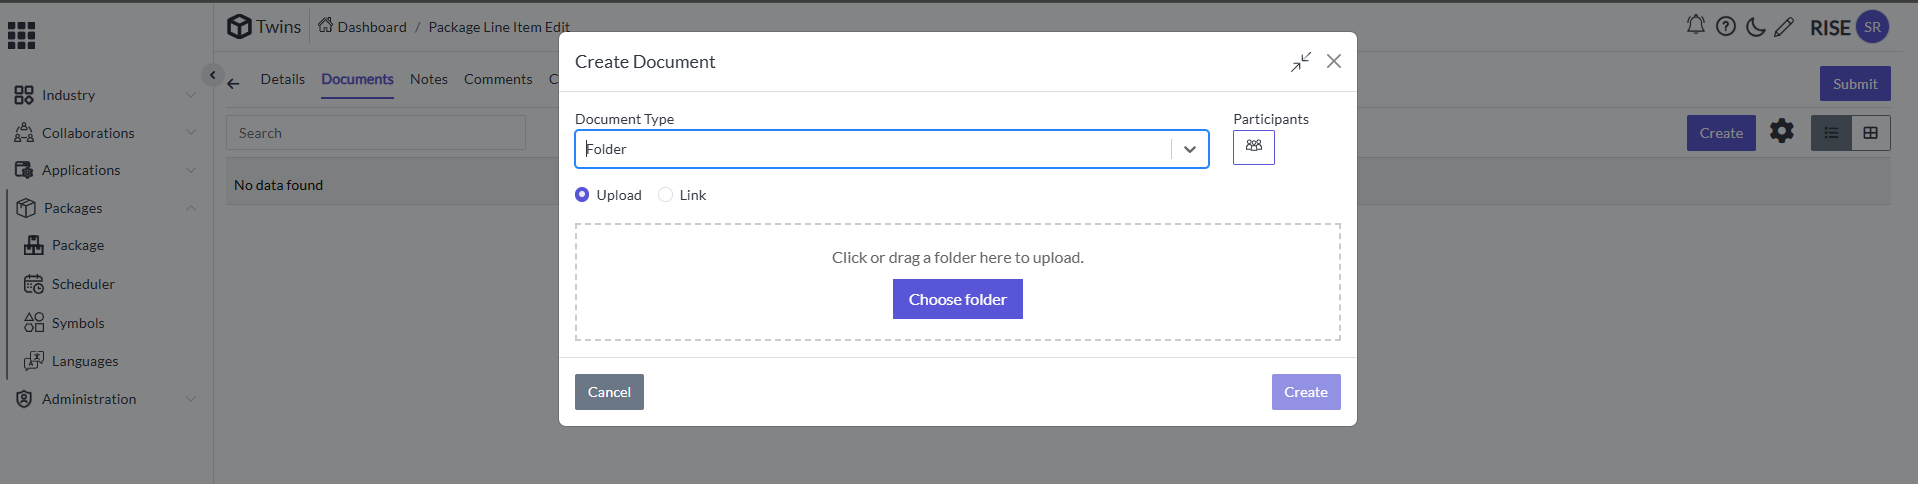
After selecting the Document type as folder it will appear like this
-
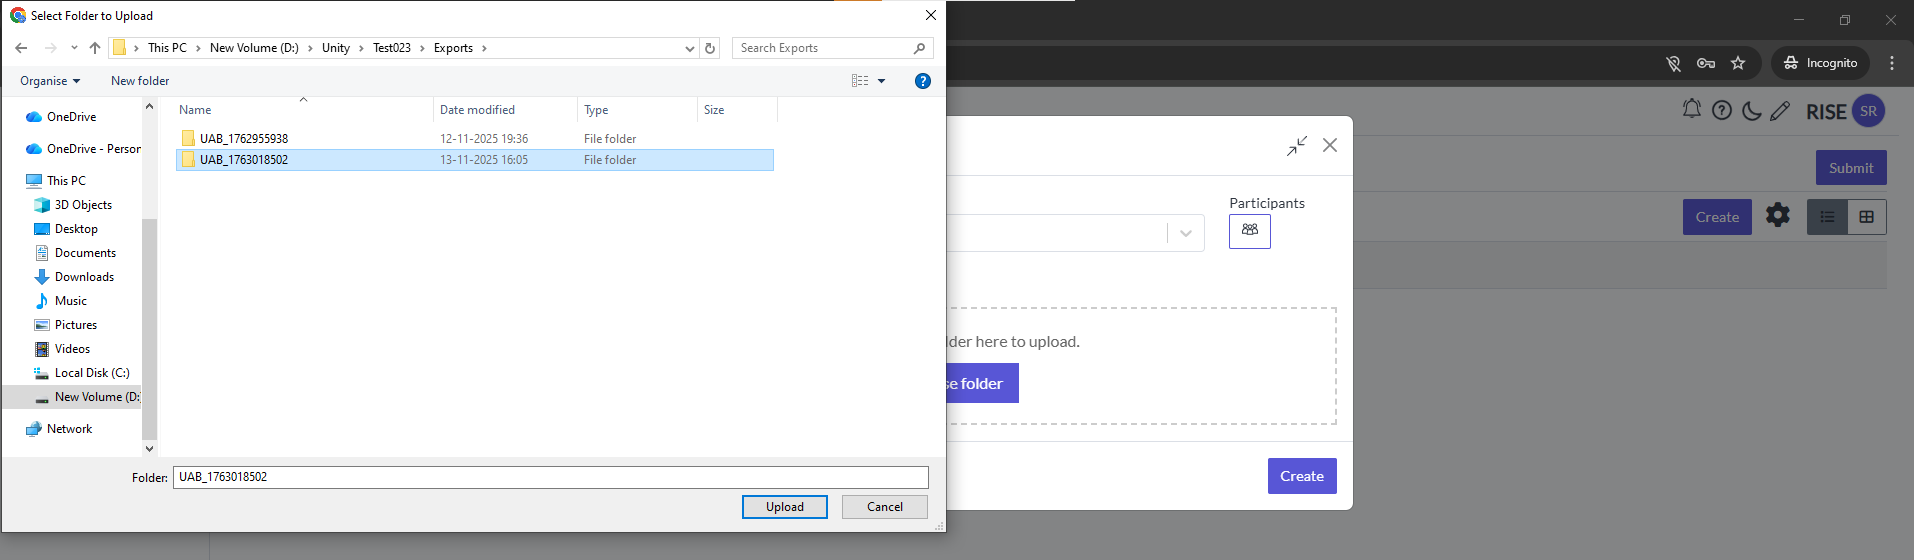
Click on Choose Folder it will connect to the File explorer. It will appear like this
-
Select the folder and click on upload in the file explorer
-
It will ask for confirmation like this

-
Click on upload in that pop up
-
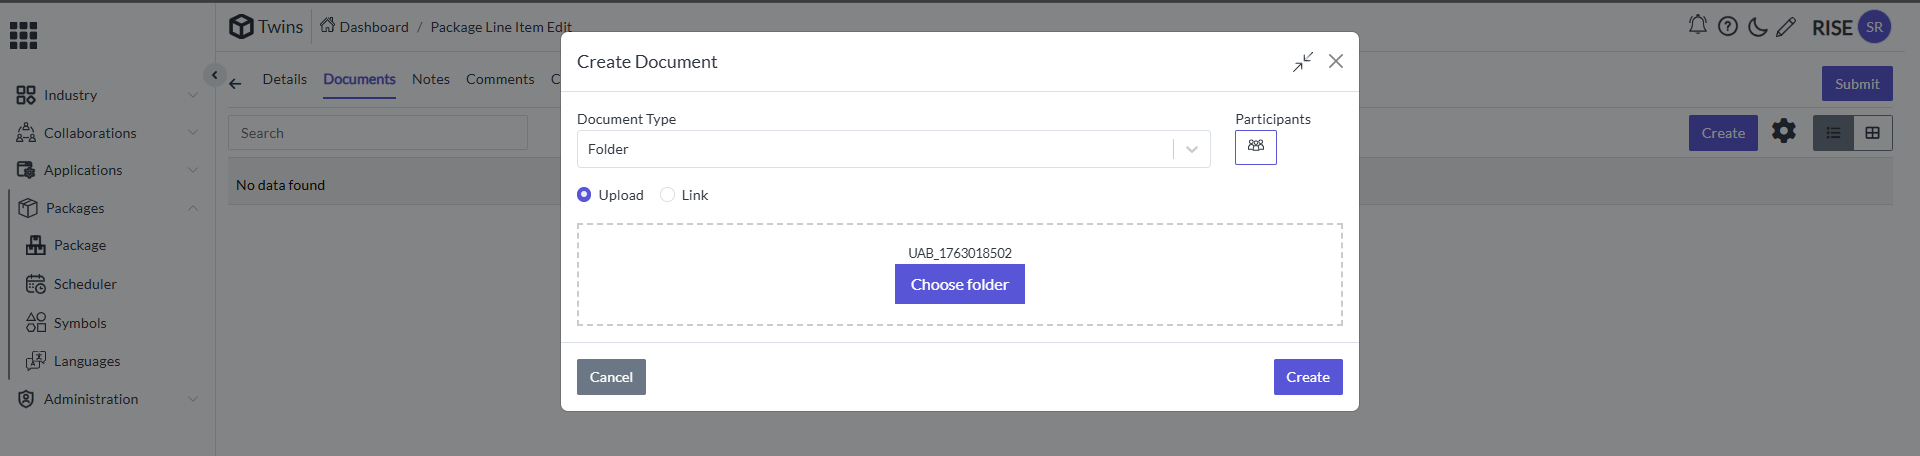
Click on Create so it will appear like this
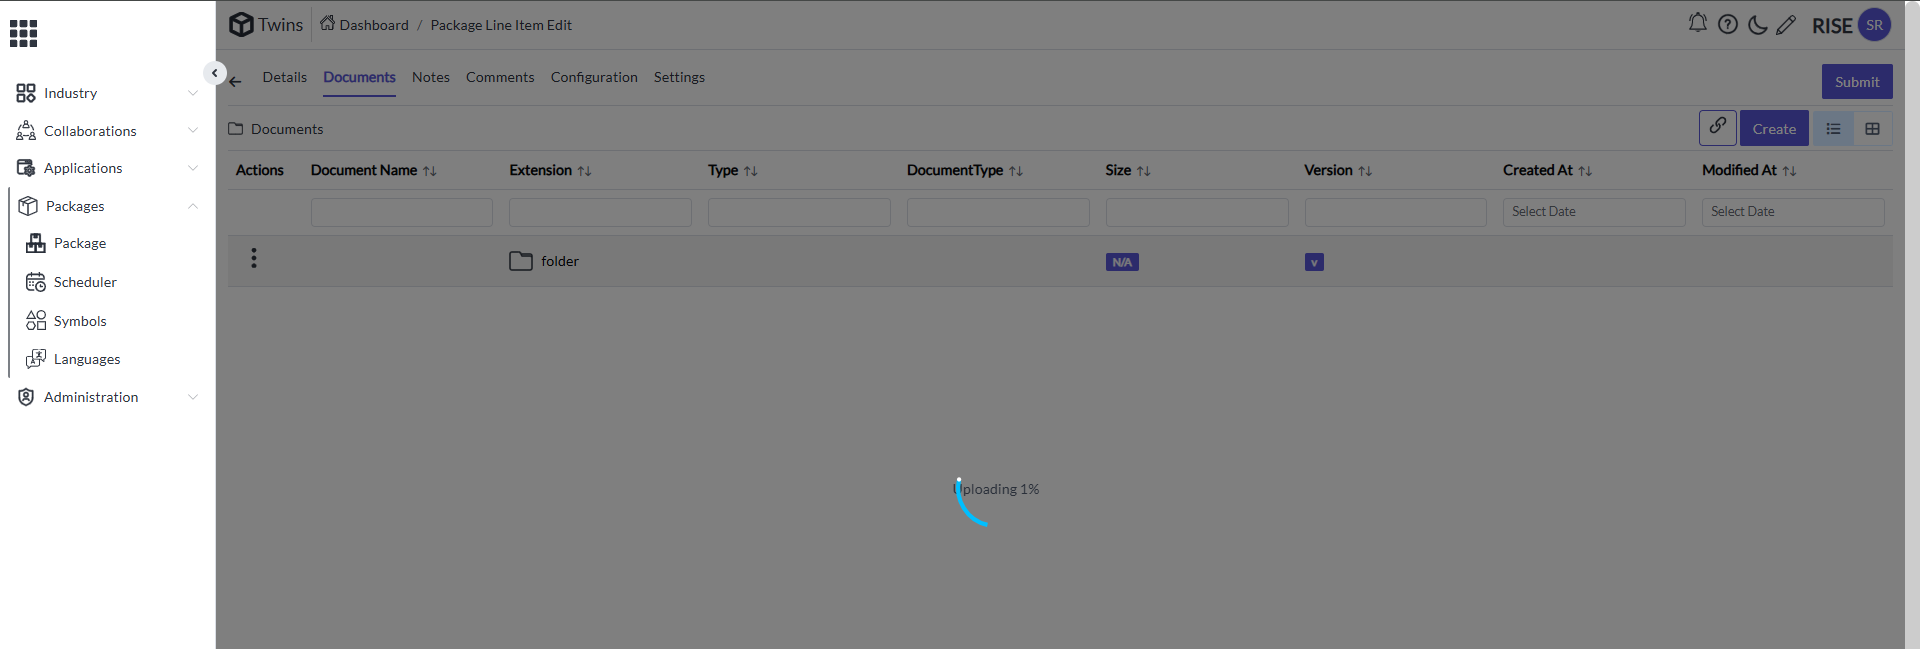
-
After completing of the uploading click on submit in the top left corner
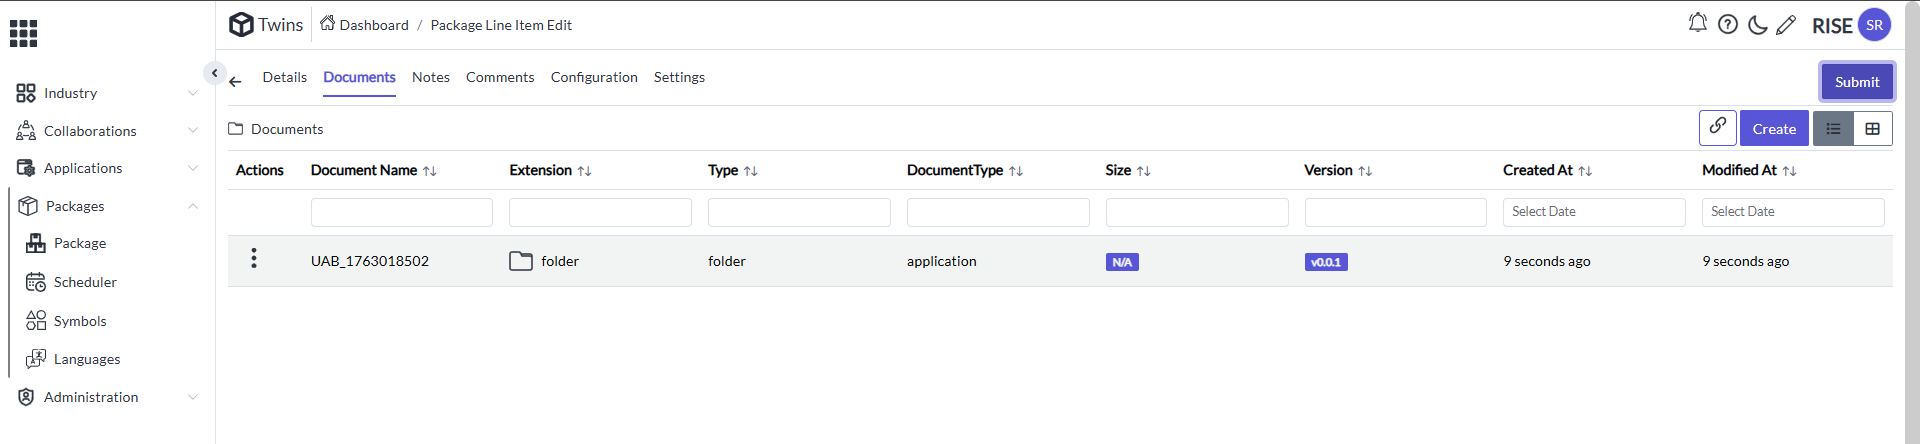
-
So it will appear like this
Exporting of the Content Package
-
Select the Package in the right-side split view
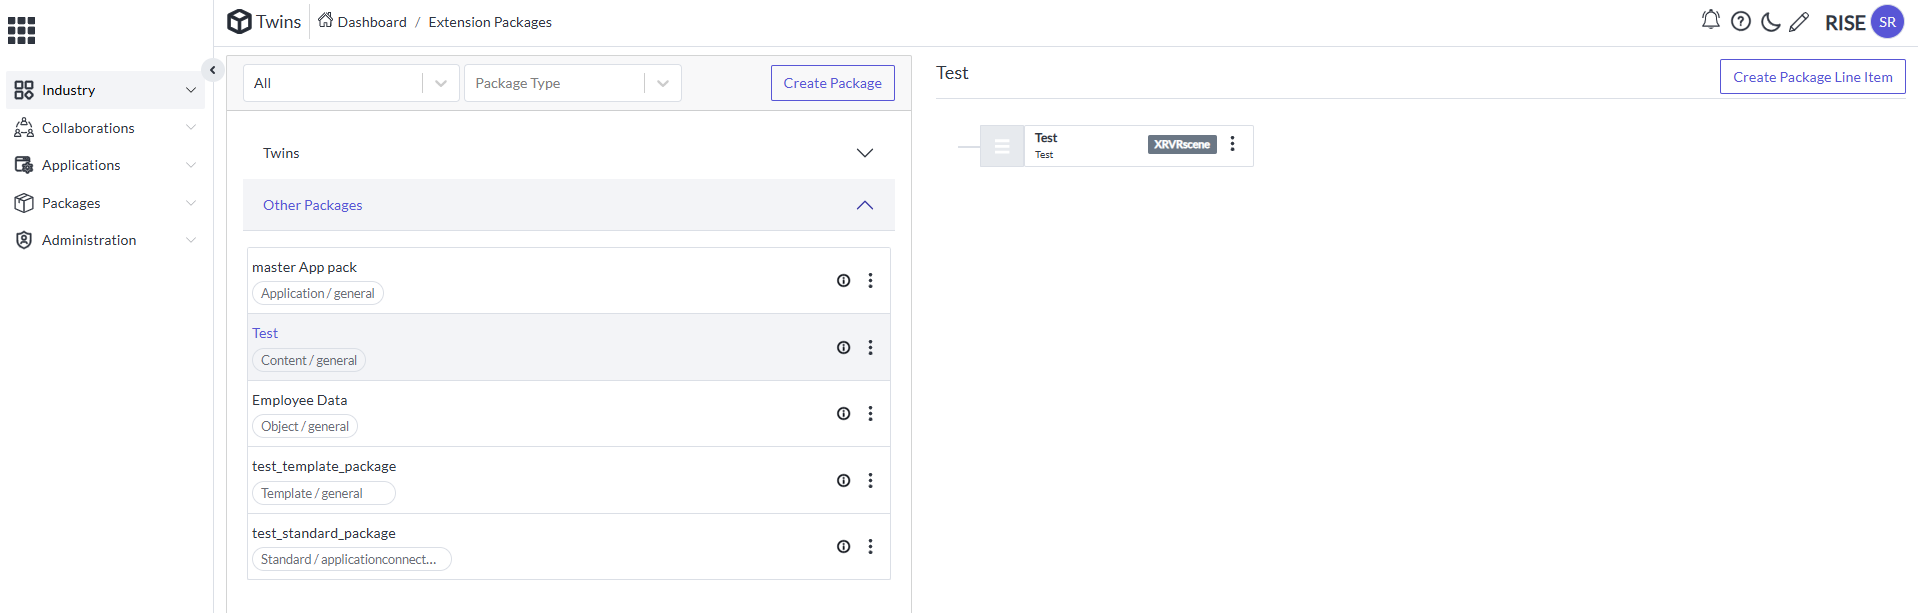
-
Select the action button to get some options
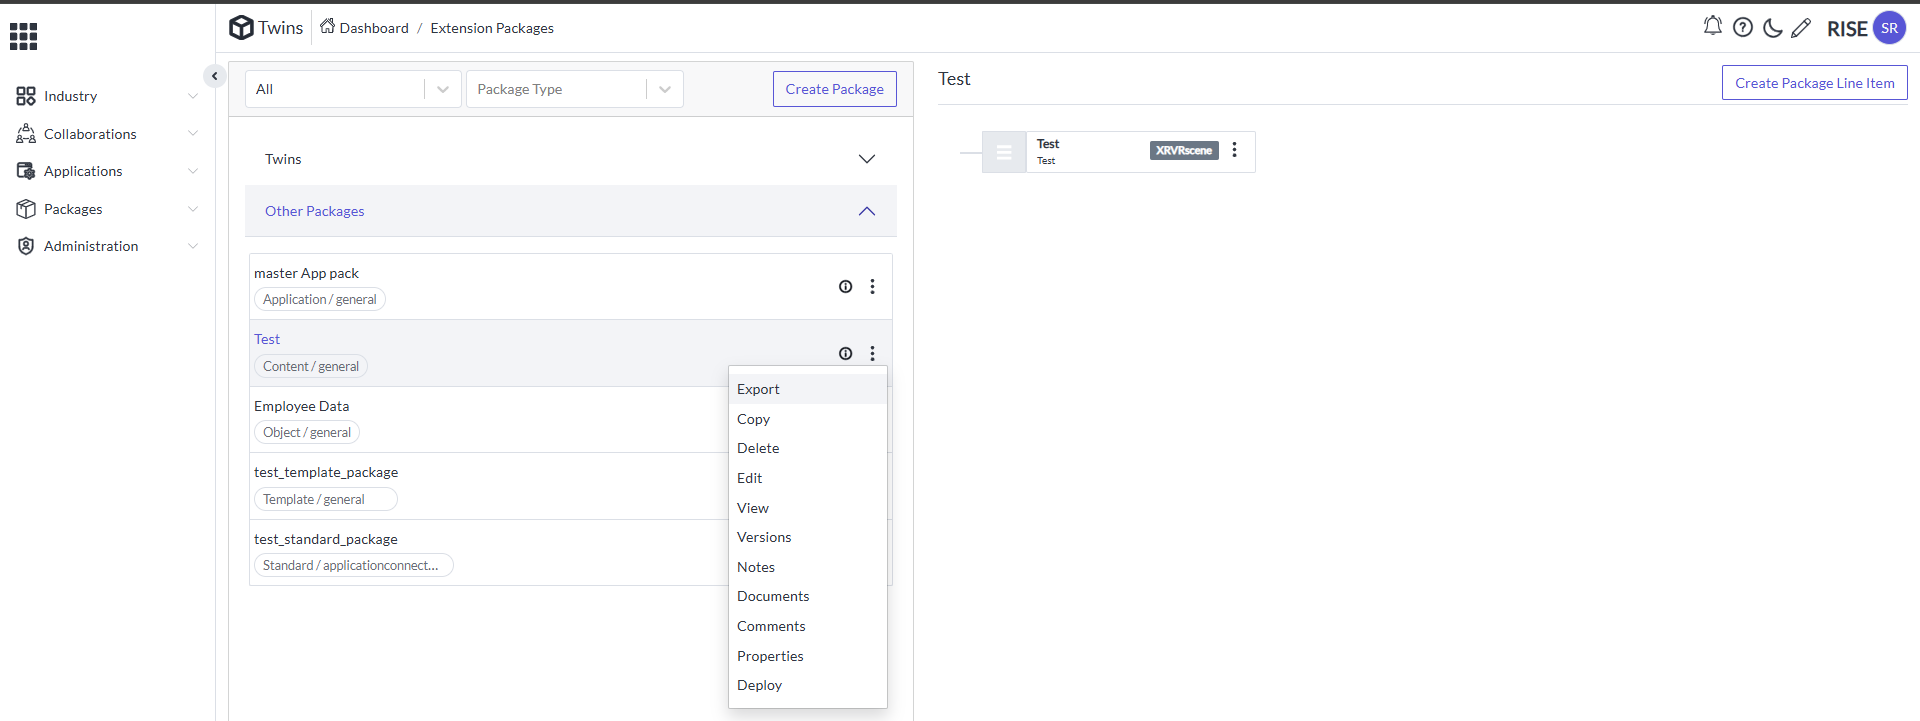
-
Click on export it will take to the next page like this
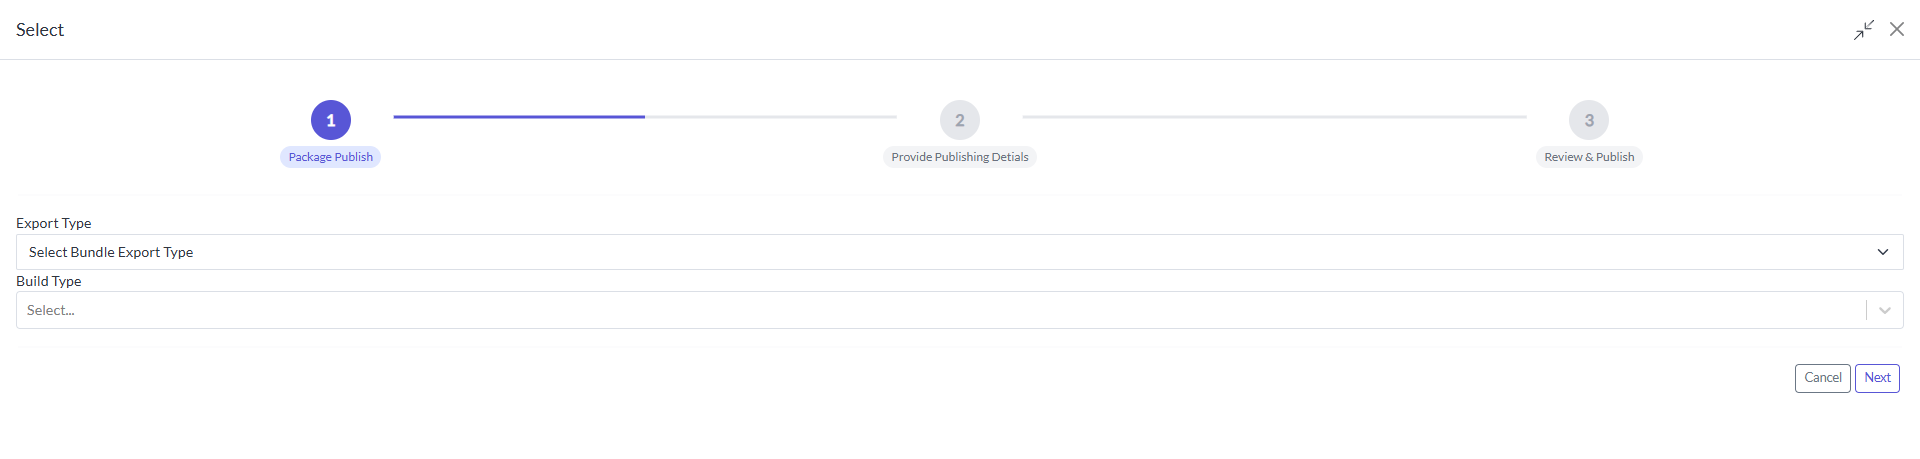
-
Provide the Export type by using drop down and build type too
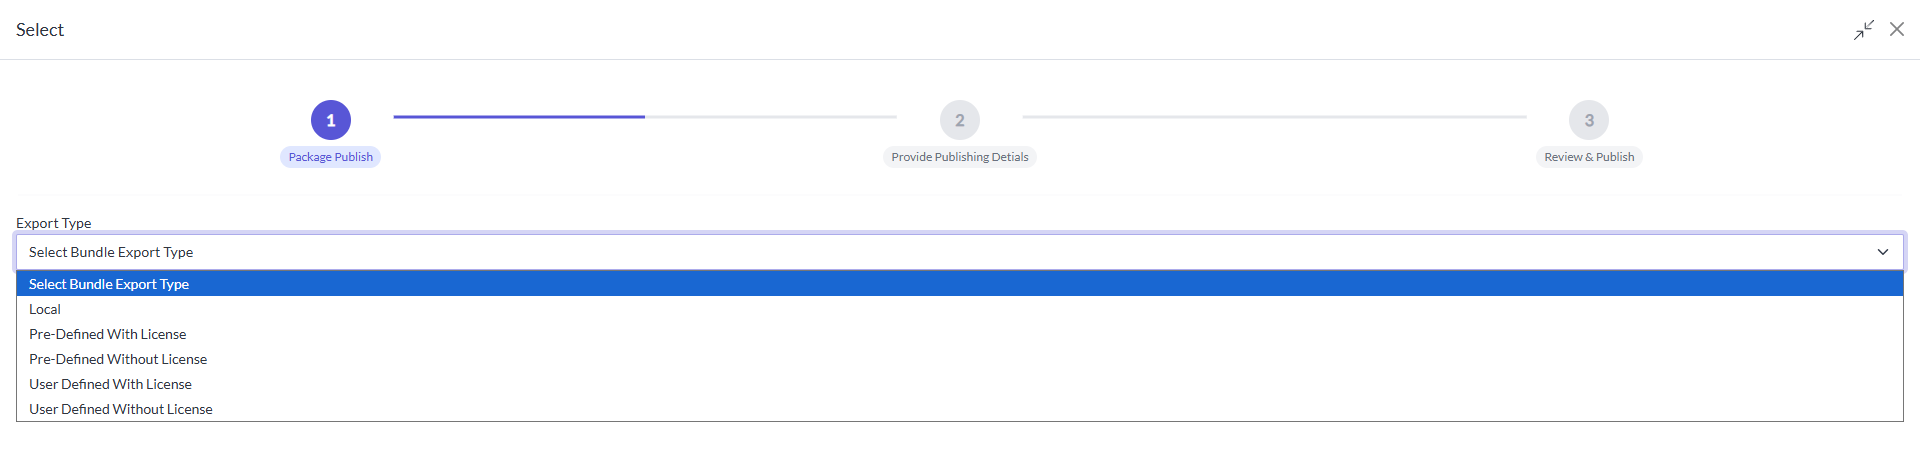
-
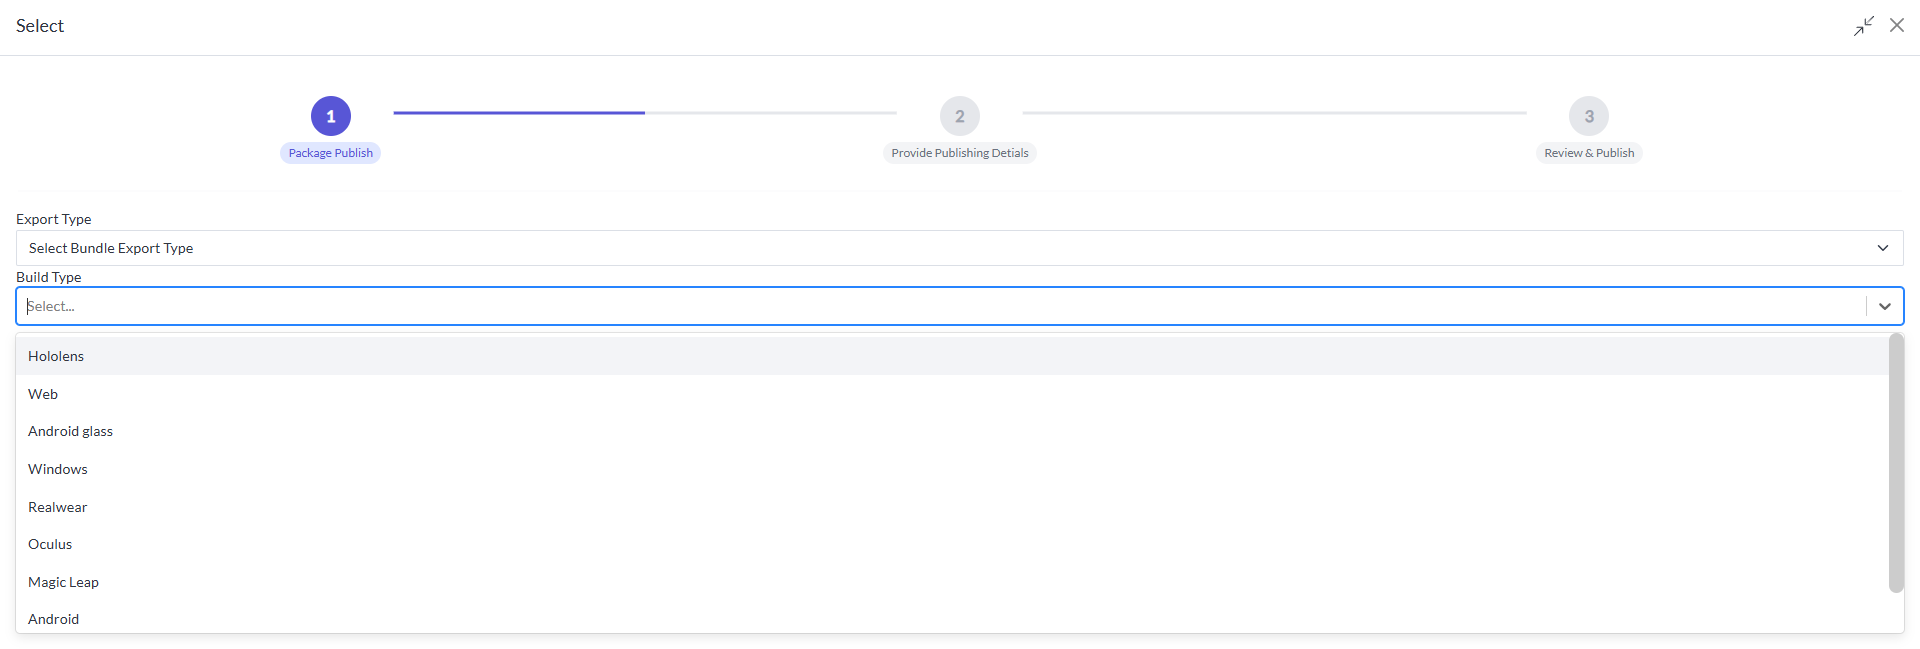
In Export Type as local and Build Type as Web
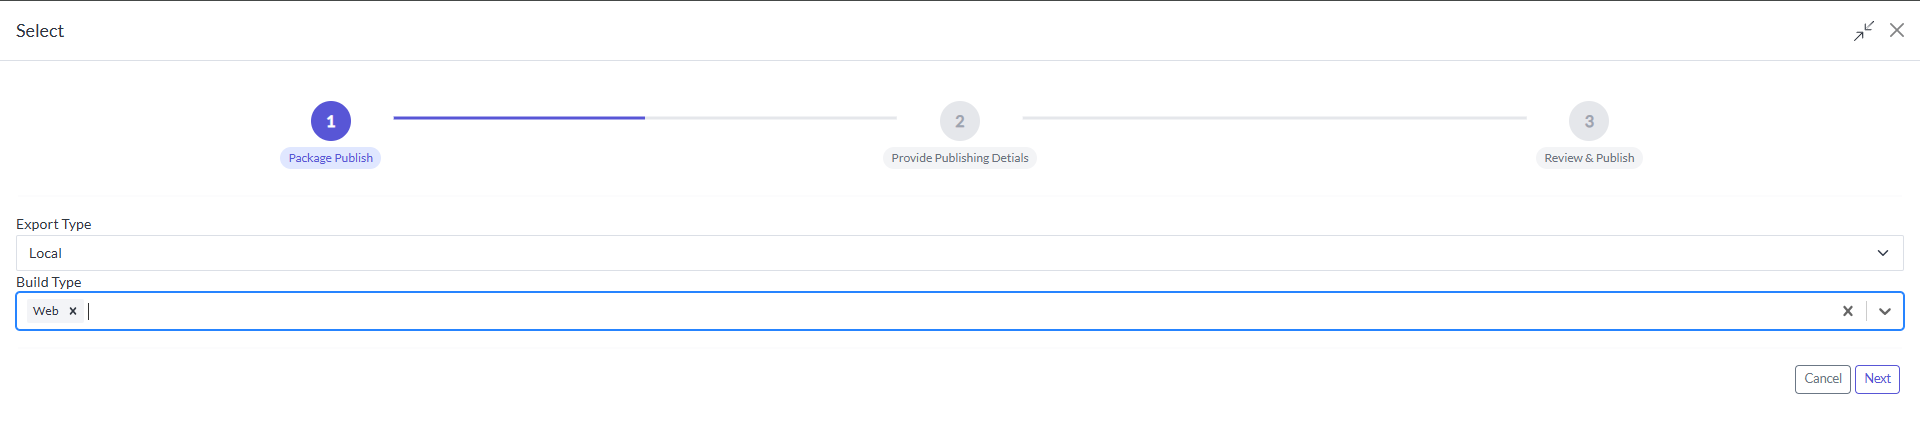
-
Now click on next it will take to the step 2. And it will appear like this

-
Simply click on next to move to the step3
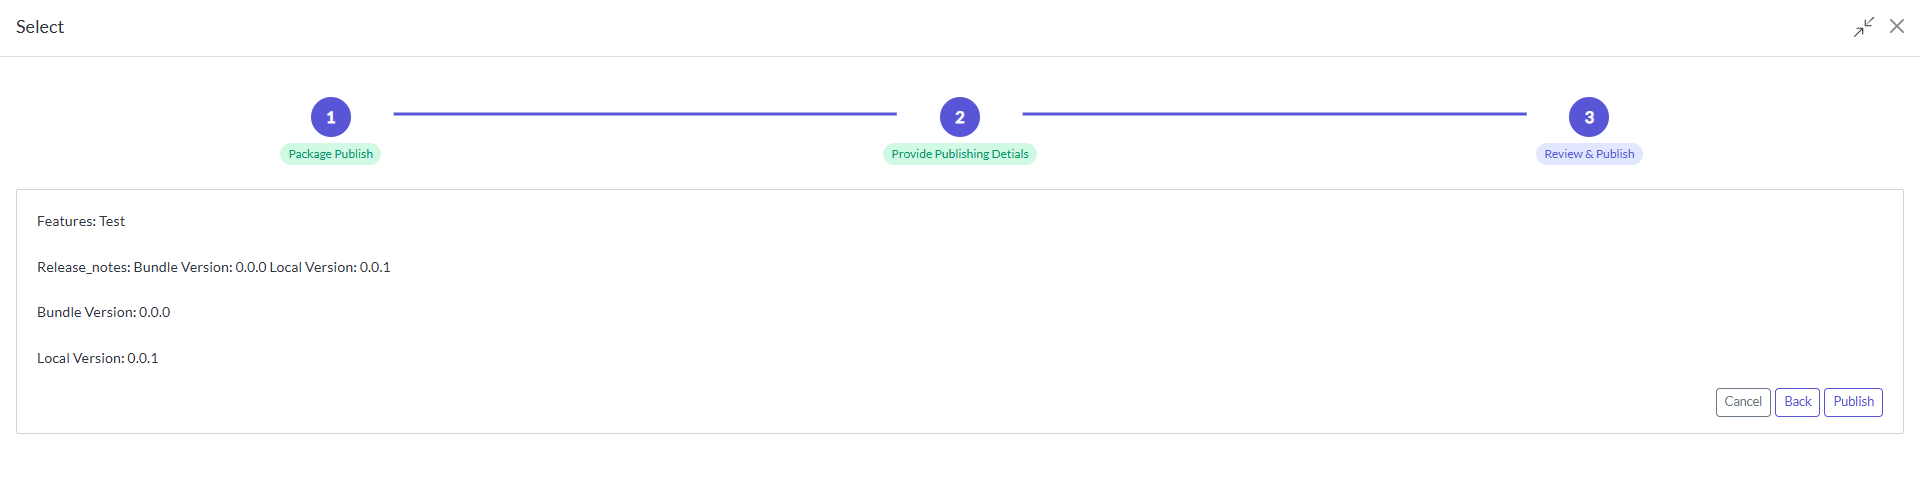
-
Check the build versions and click on publish
Creation of Locations
-
Select the Industry Drop down it will appear like this
-
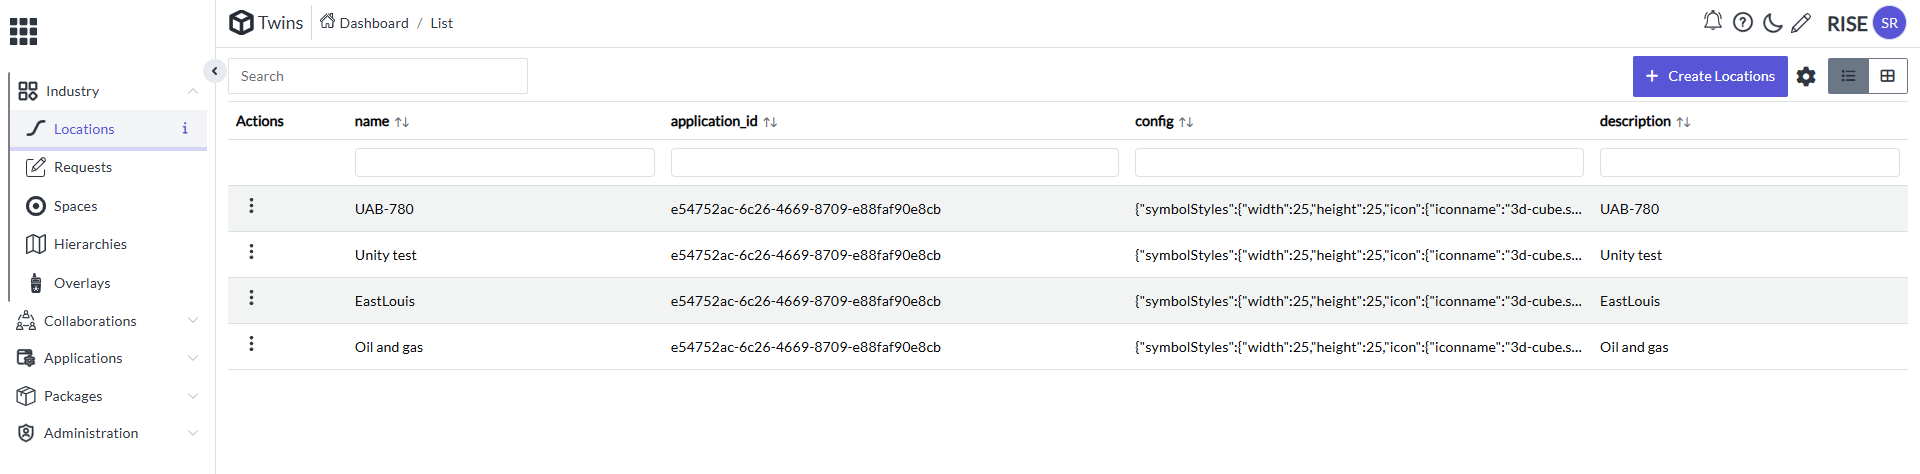
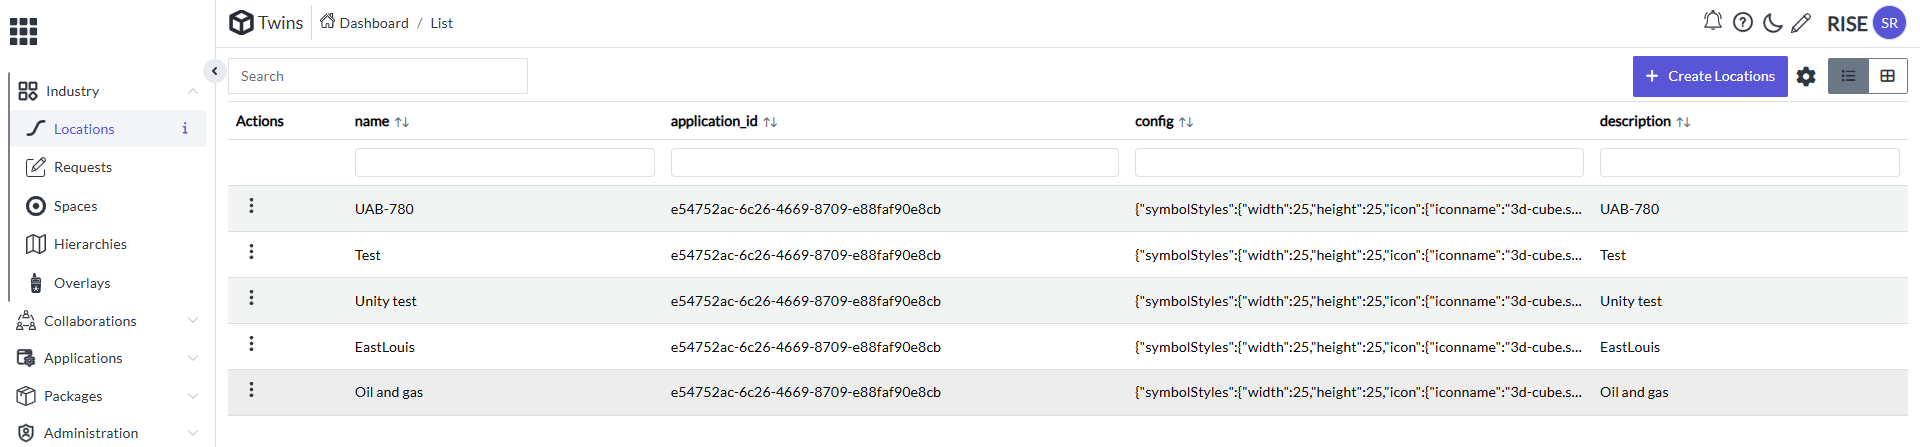
Select on the Locations in the drop down of the industry in the side menu bar. It will appear like this
-
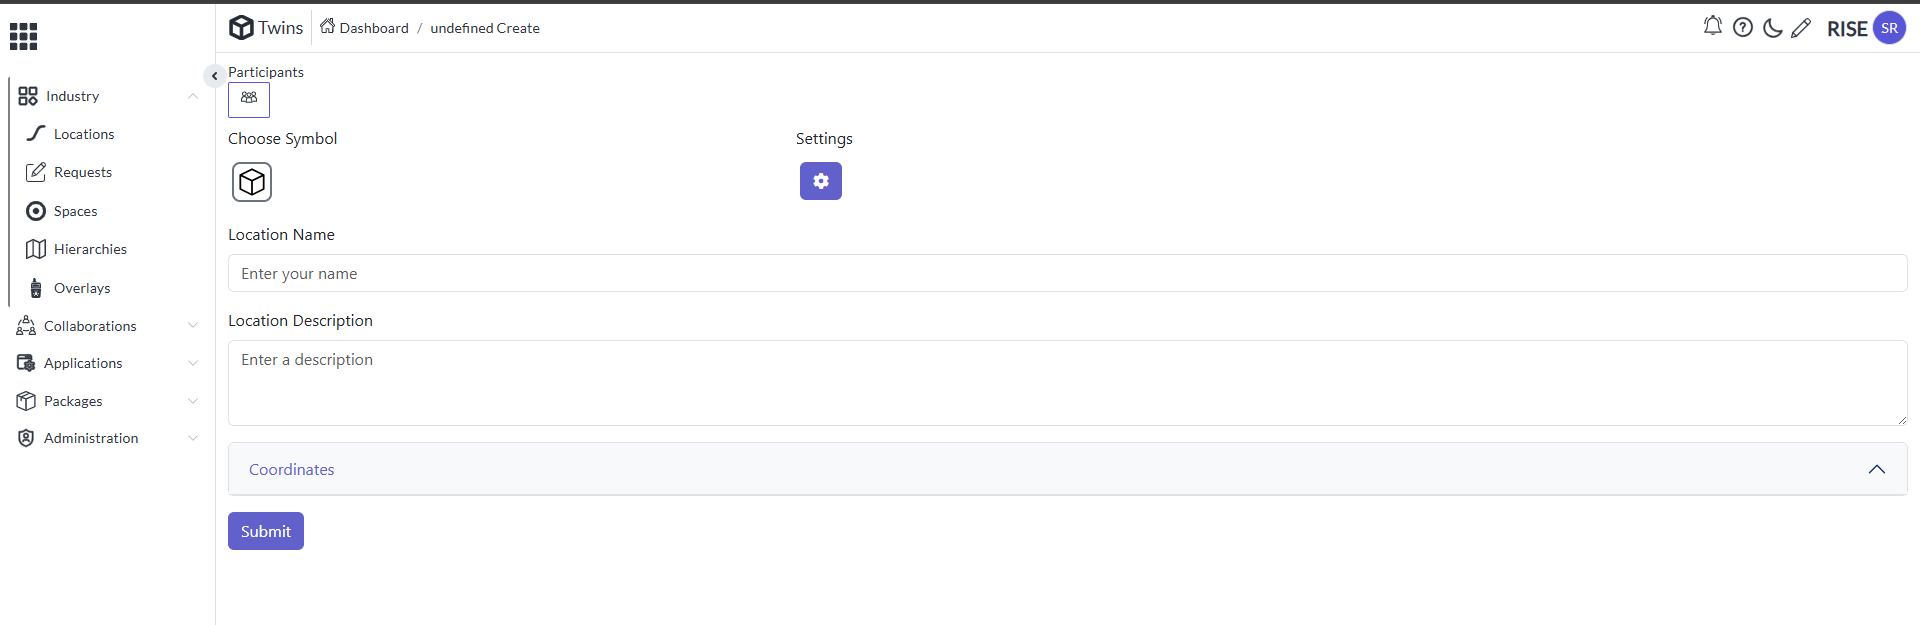
Select the Create location it will appear like this
-
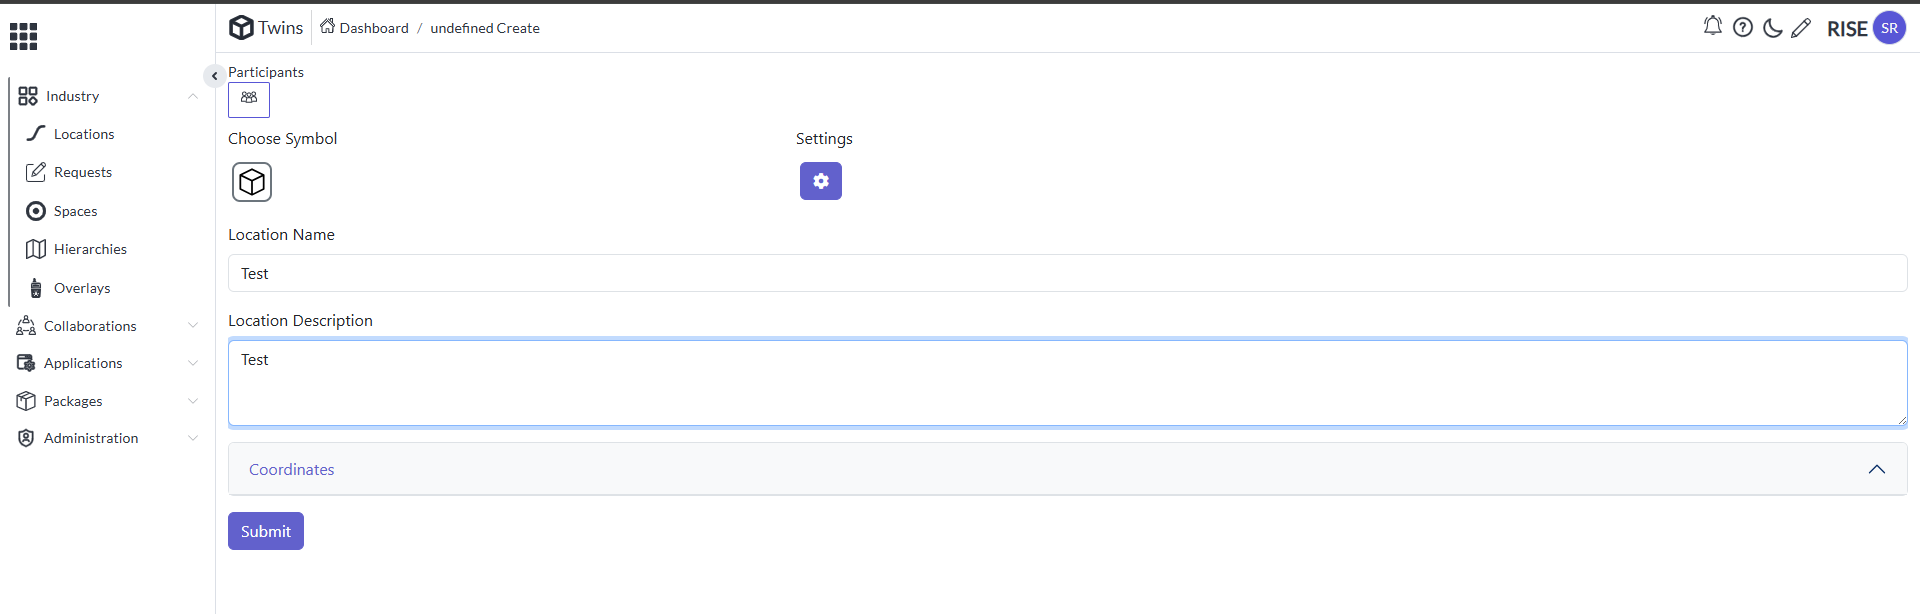
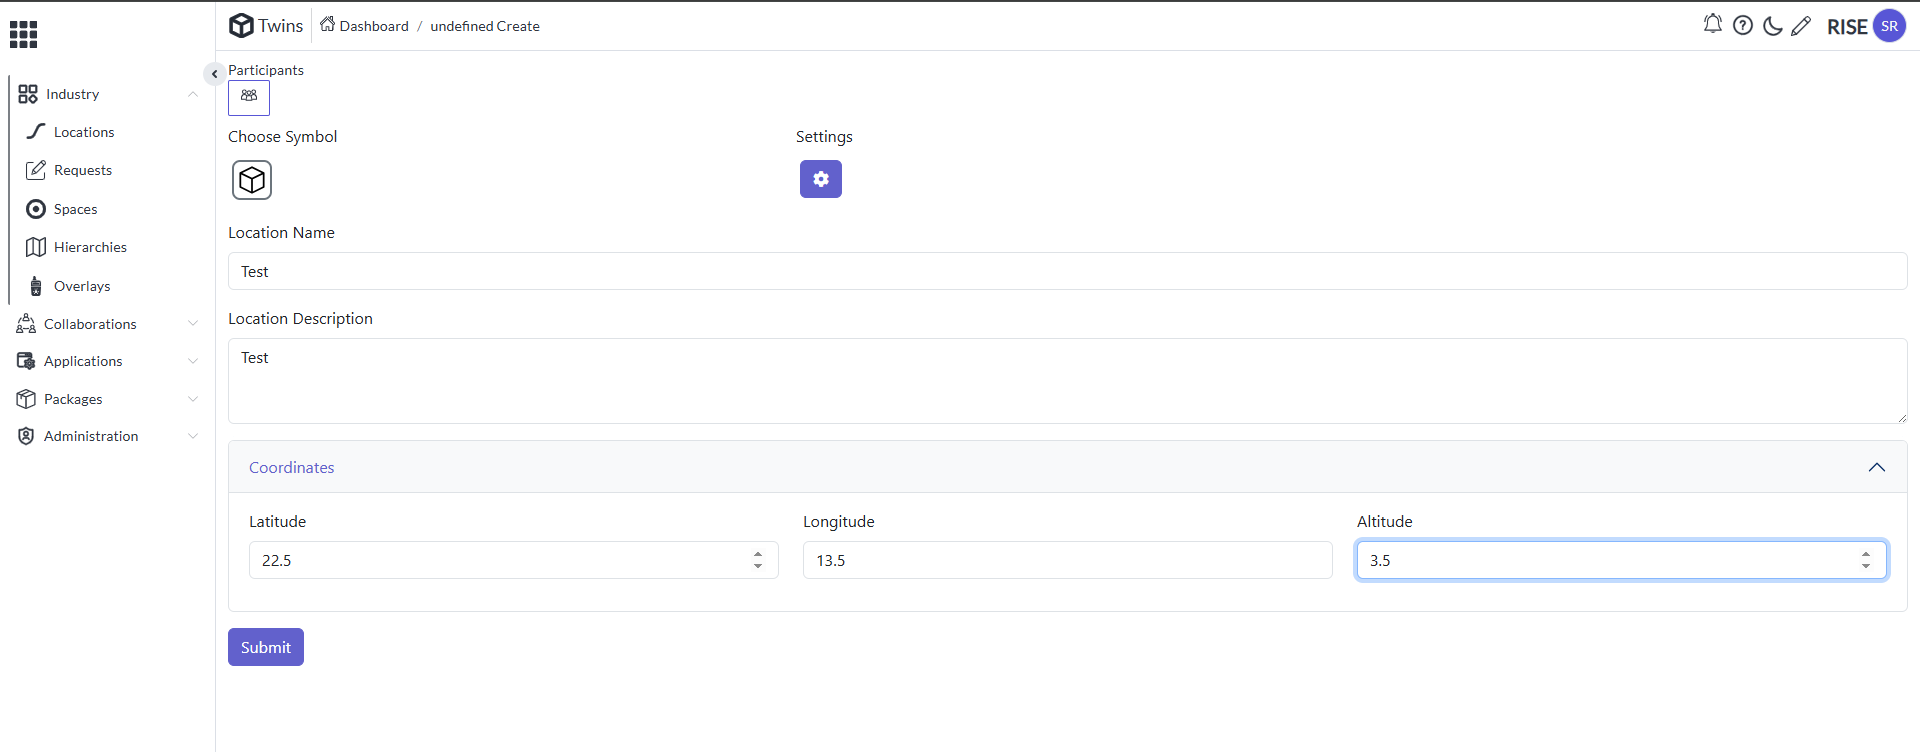
Provide the Location Name and Location Description
-
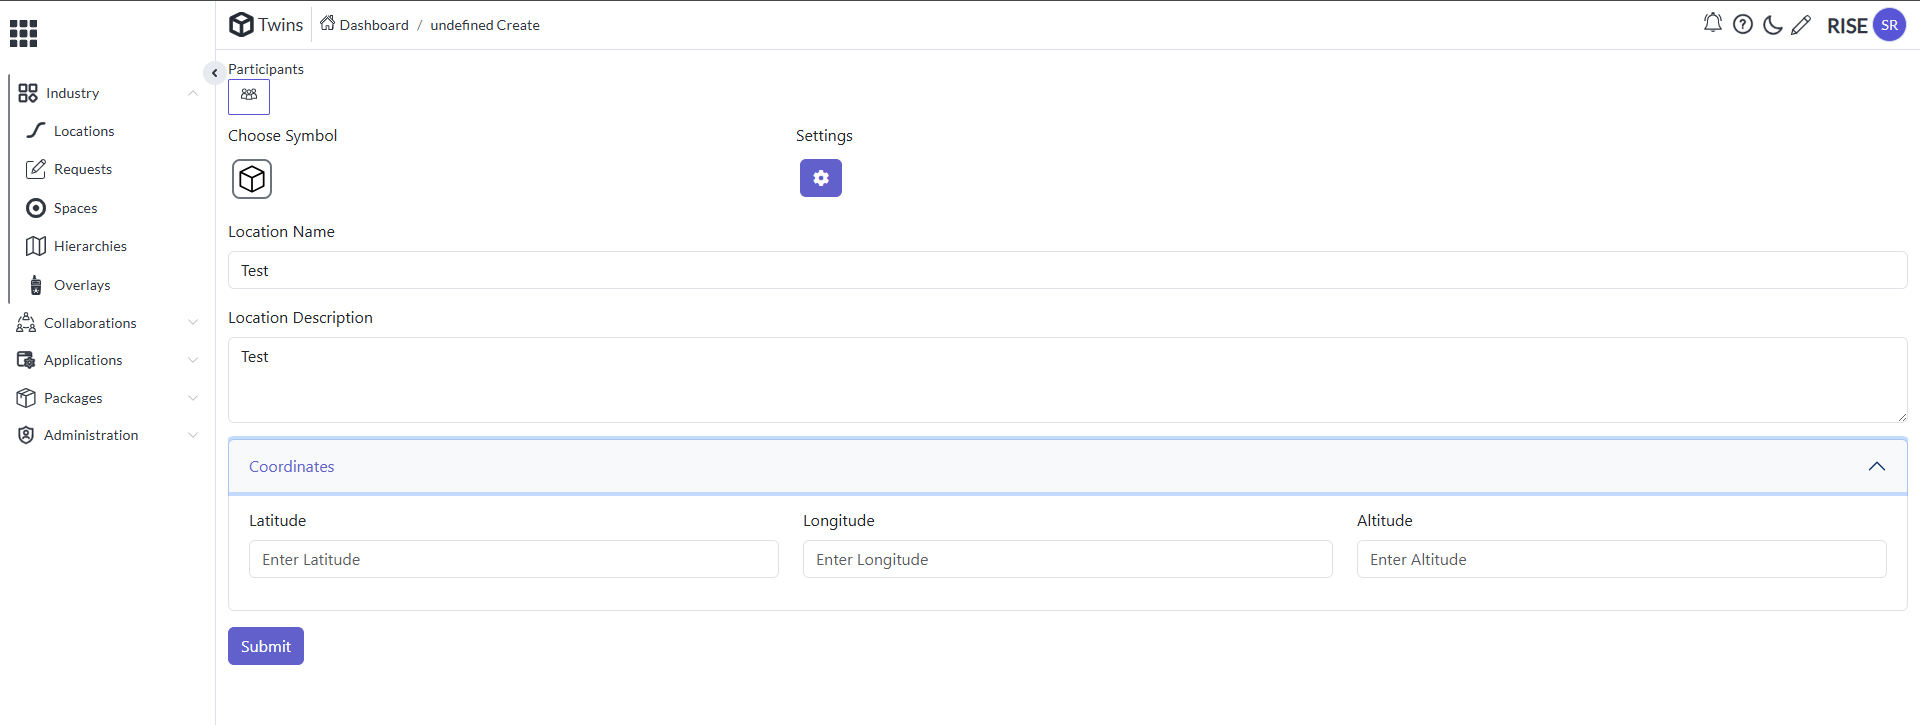
Now open the Co Ordinates drop down it will appear like this
-
Provide the Latitude, Longitude and Altitude valves
-
Click on Submit so it will appear like this
Creation of Space
-
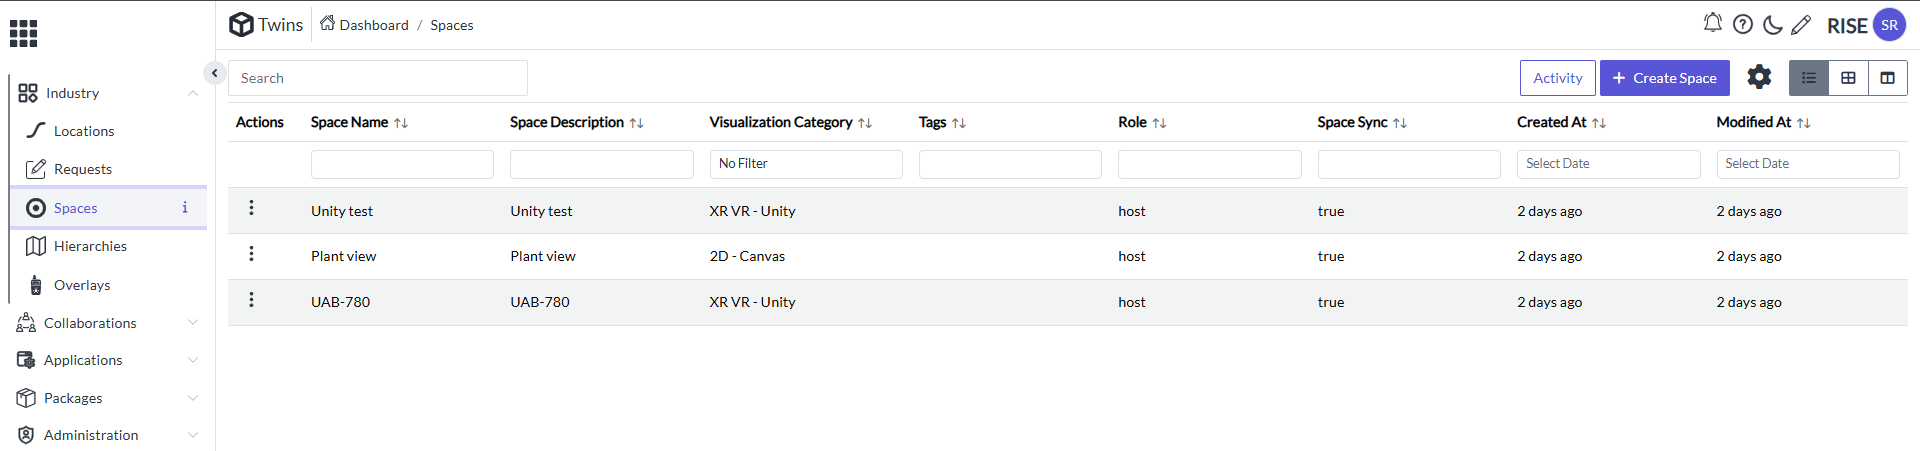
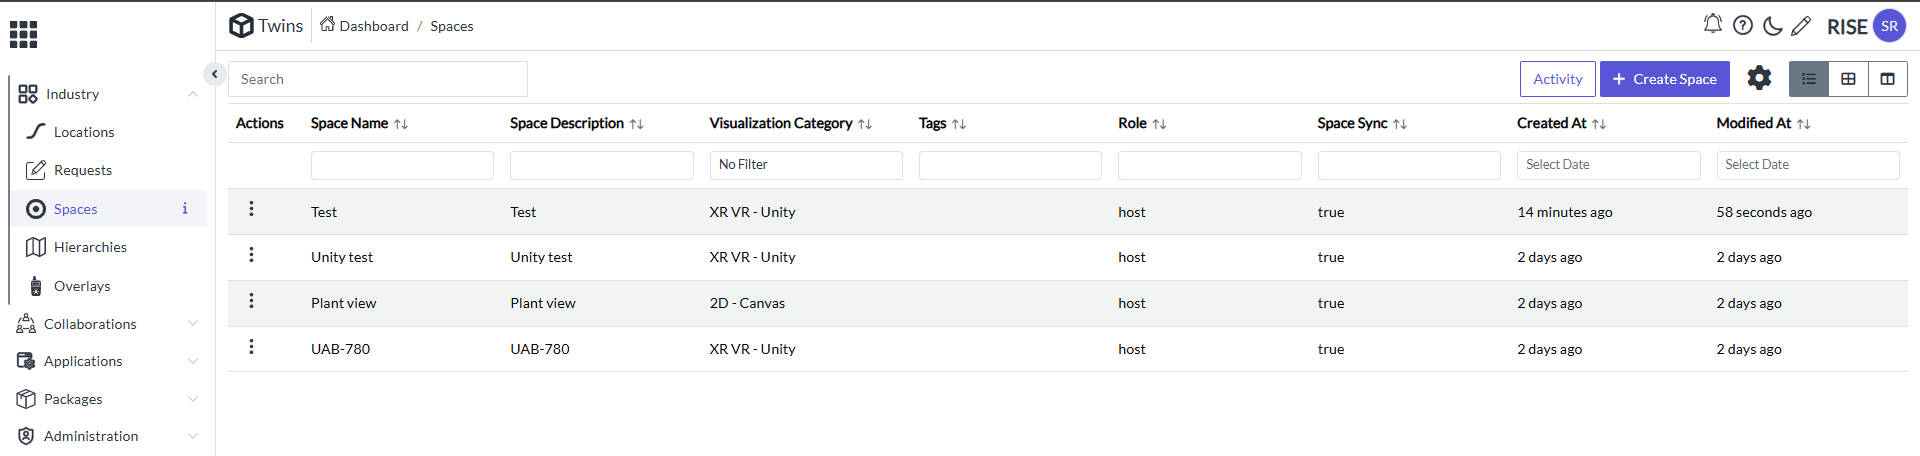
Select the Spaces in the right-side menu bar it will appear like this
-
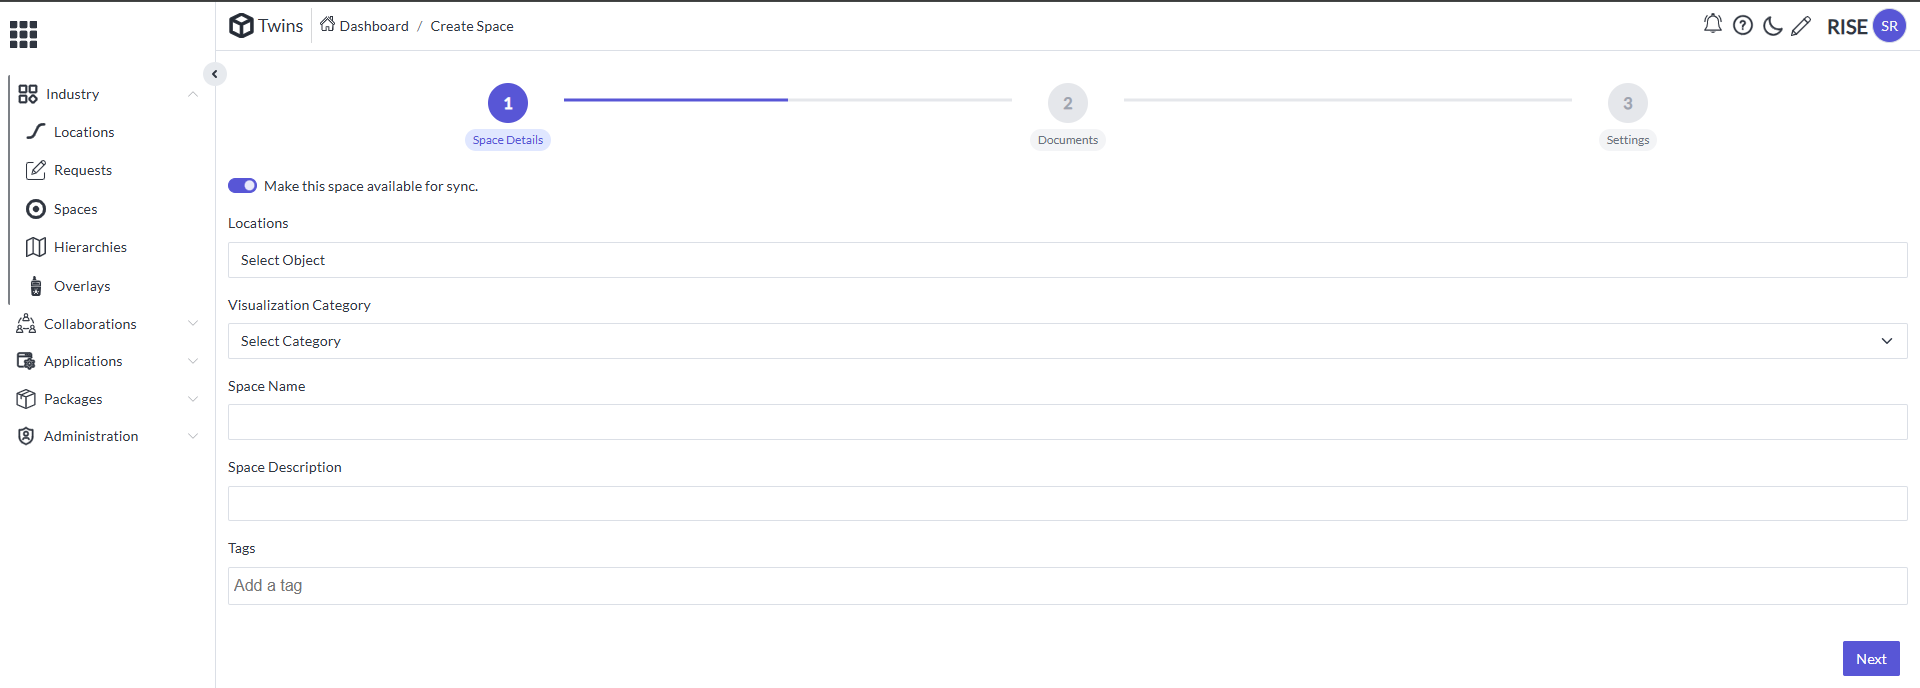
Click on Create Space it will appear like this
-
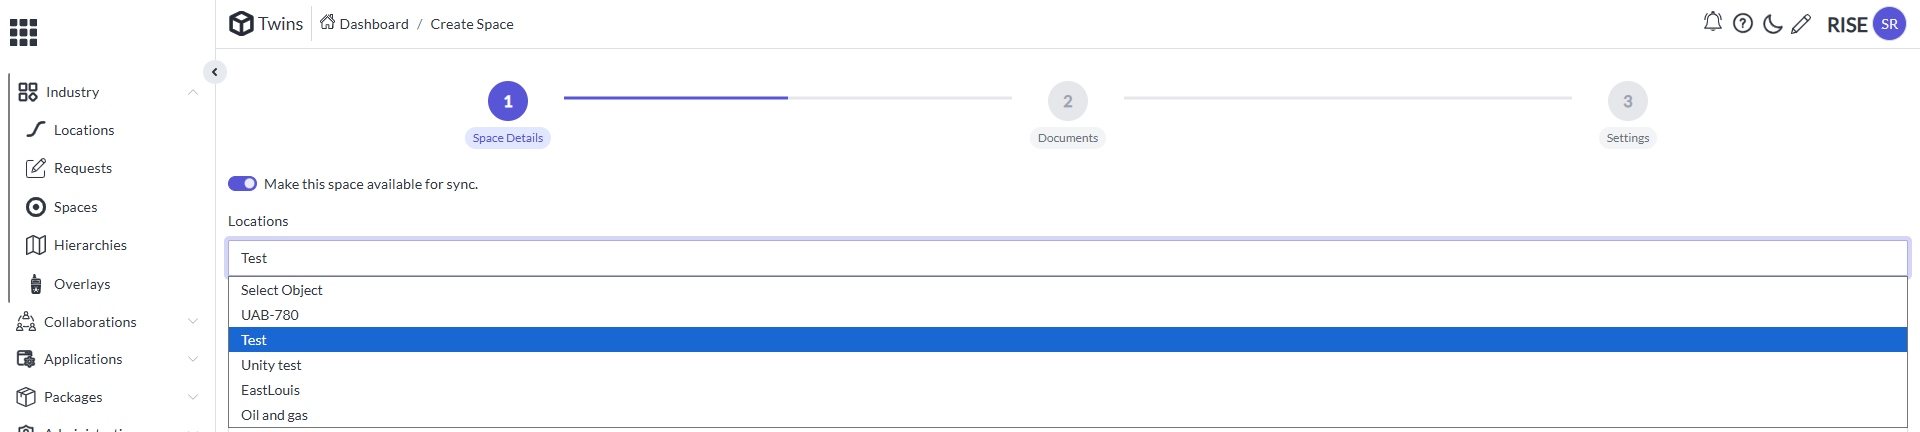
Select the Locations simply drop down it and select the location created
-
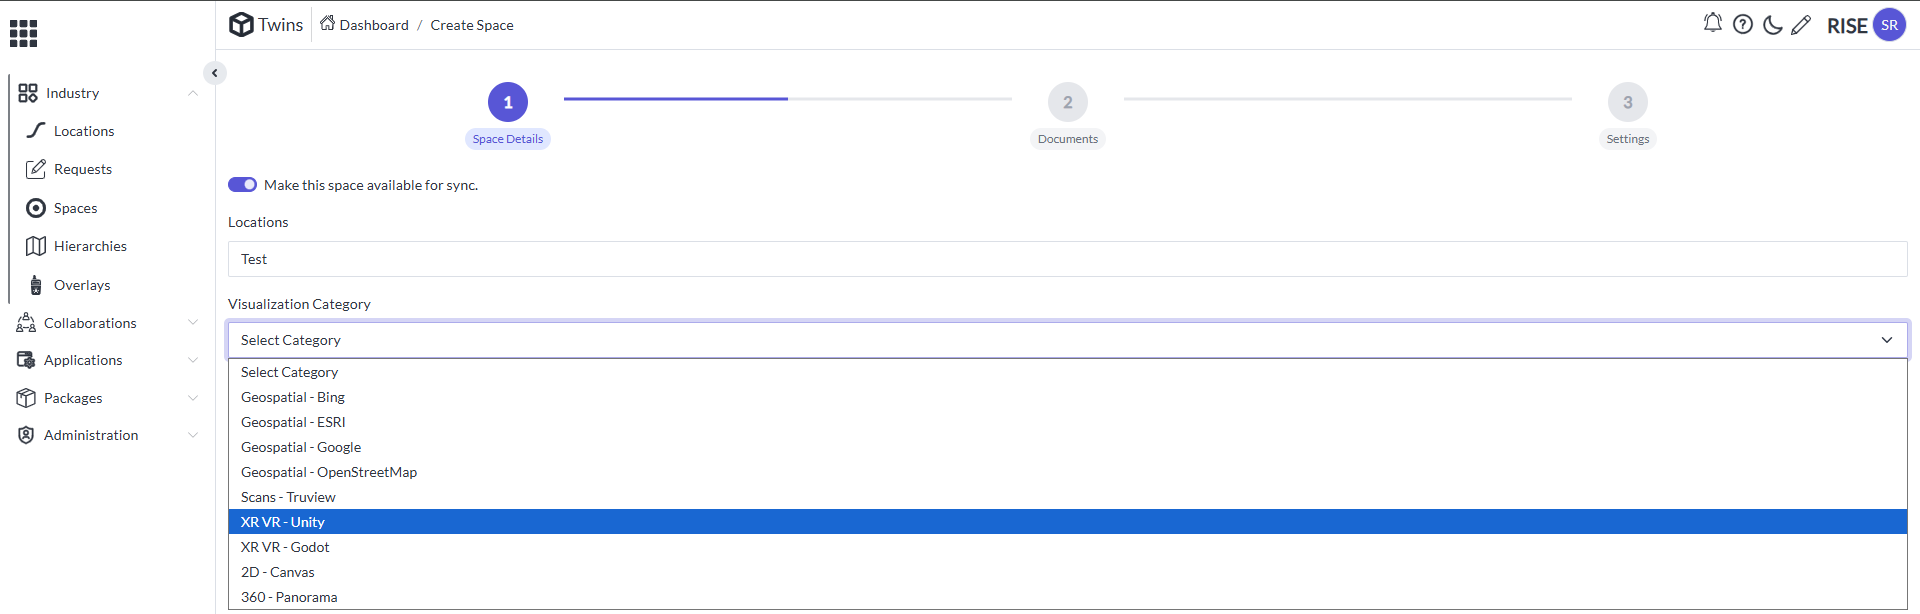
Similarly for the Visualization Category drop down also select for the XR VR Unity
-
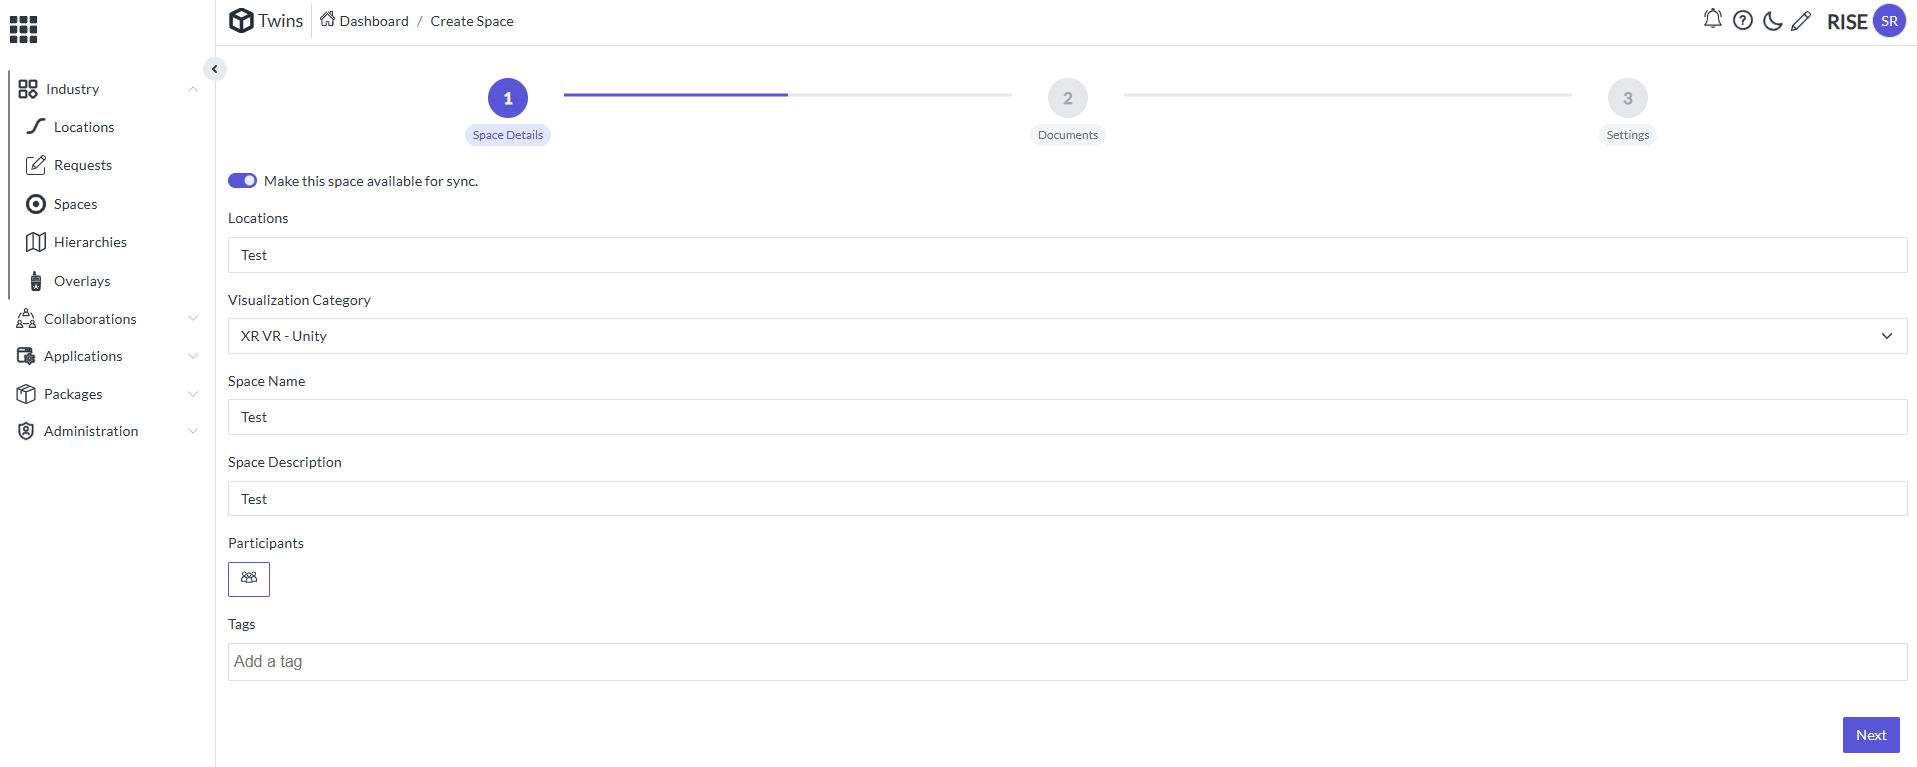
Provide the Space name and Space category
-
Click on Next
-
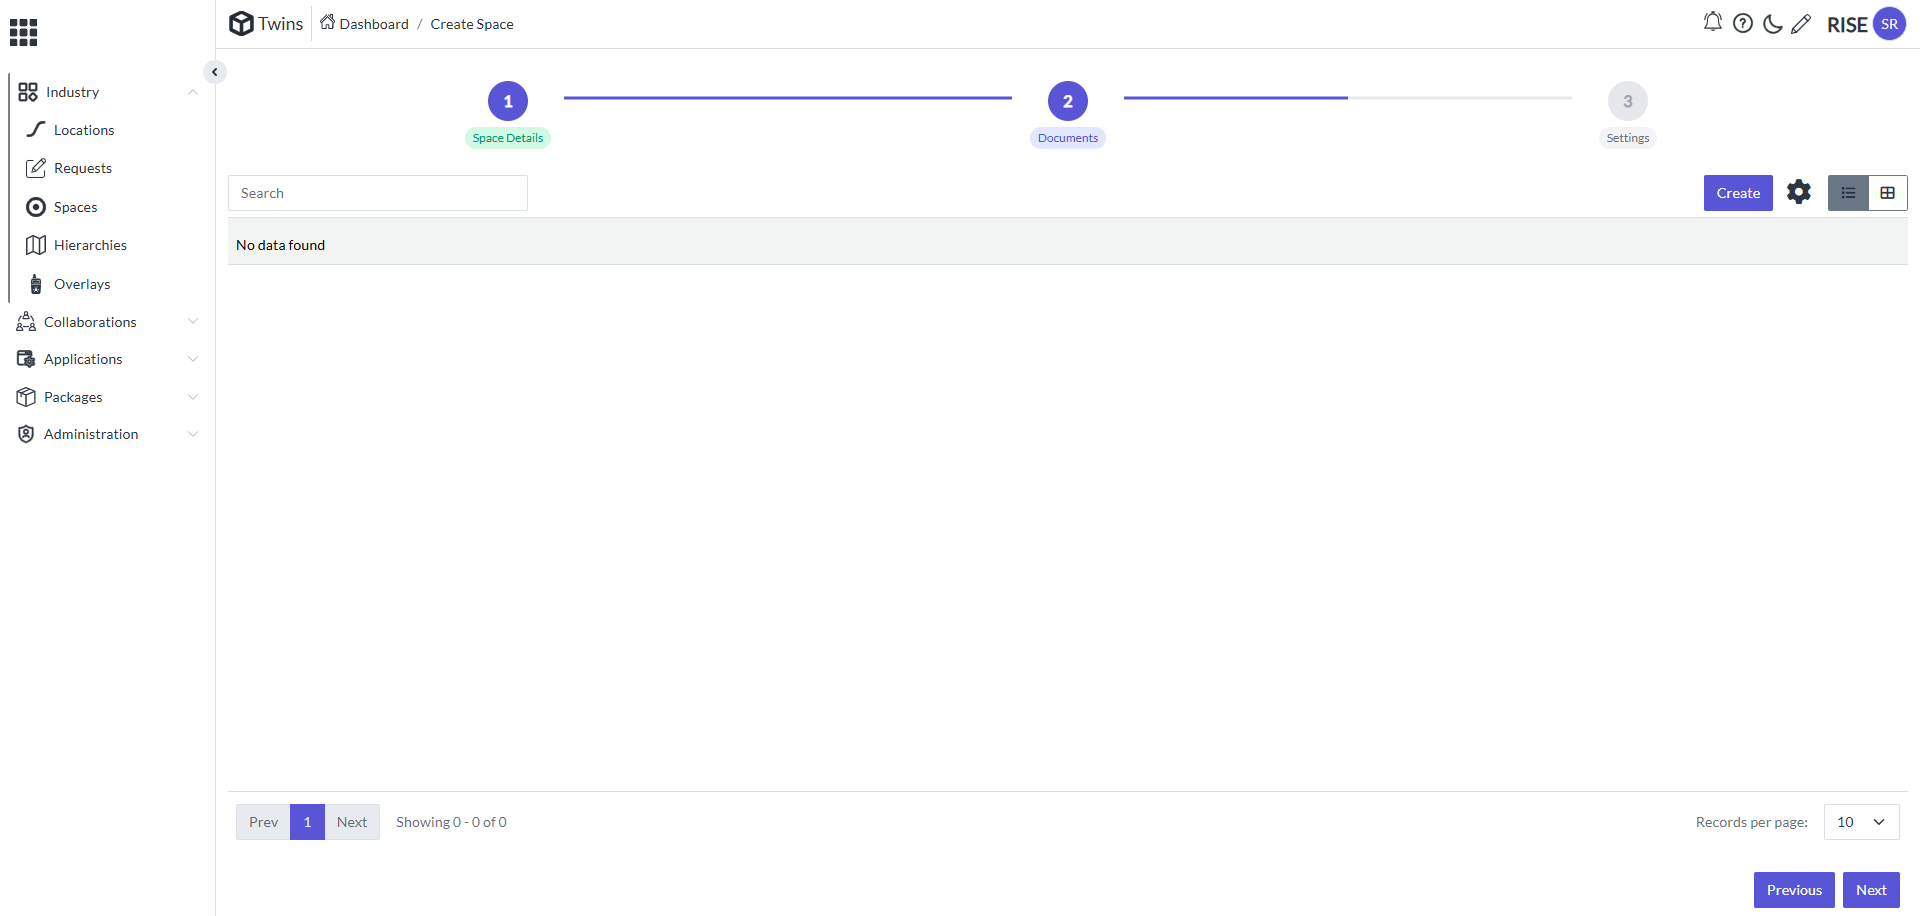
And Click on Next

-
Now close it or select the Hierarchies
Assigning Hierarchy
-
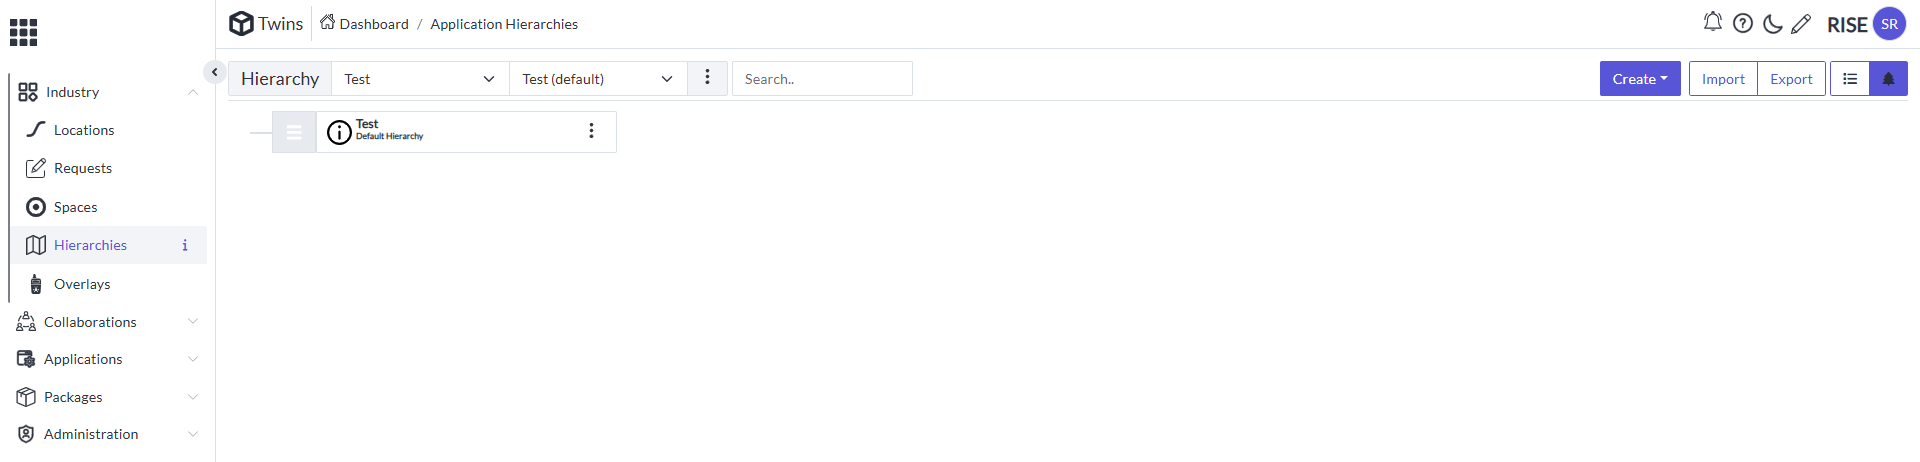
Select Hierarchies in the side menu bar it will appear like this
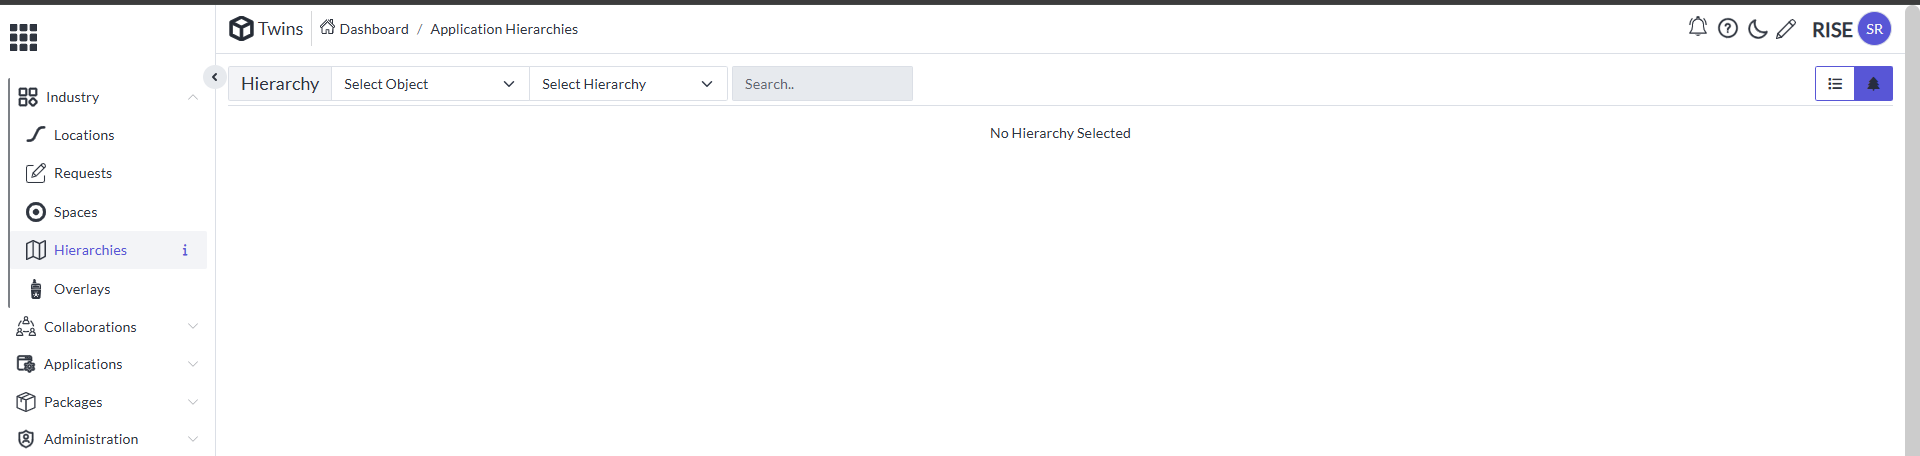
-
In the Select object drop down it will appear like this
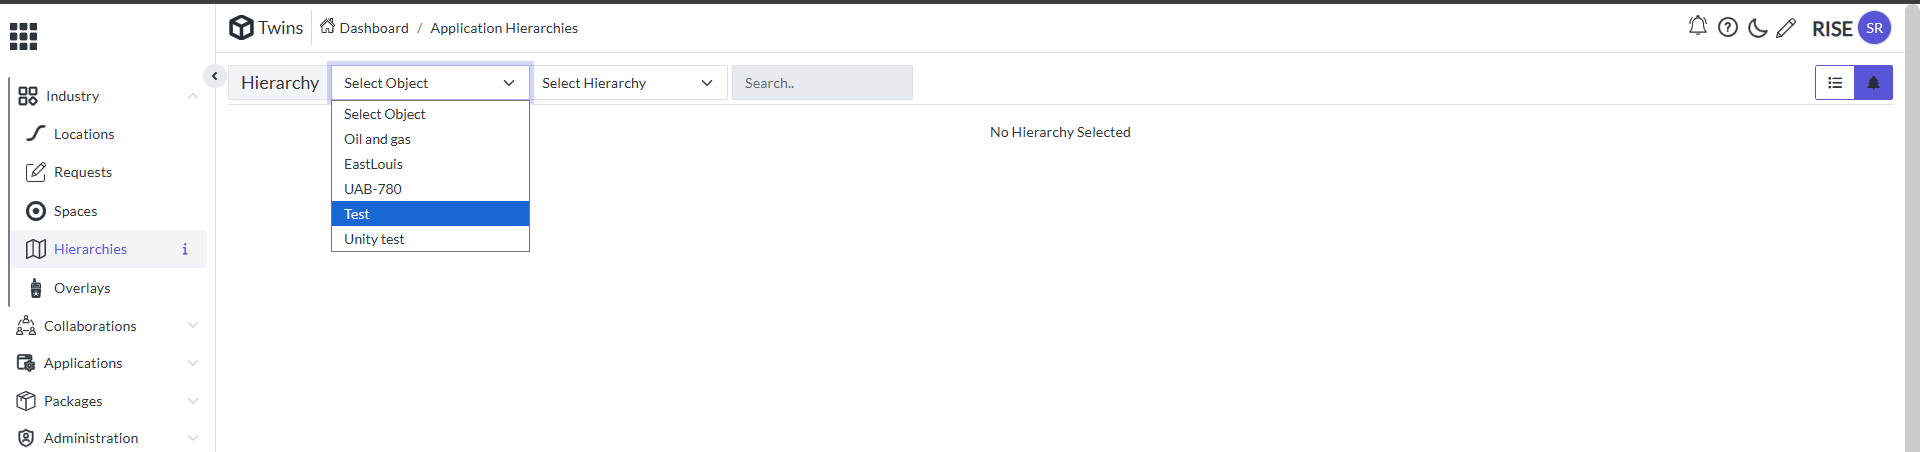
-
Make sure that we are getting the same name as we created as the Location. Select it and It will appear like this
-
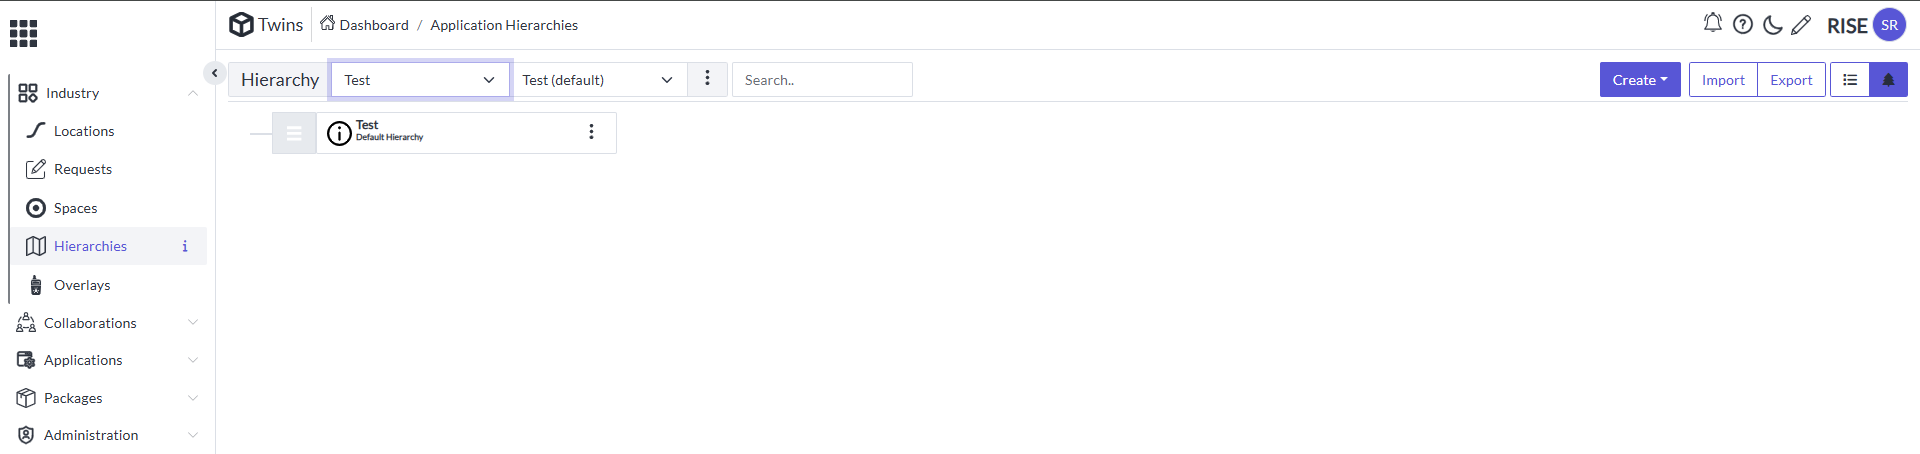
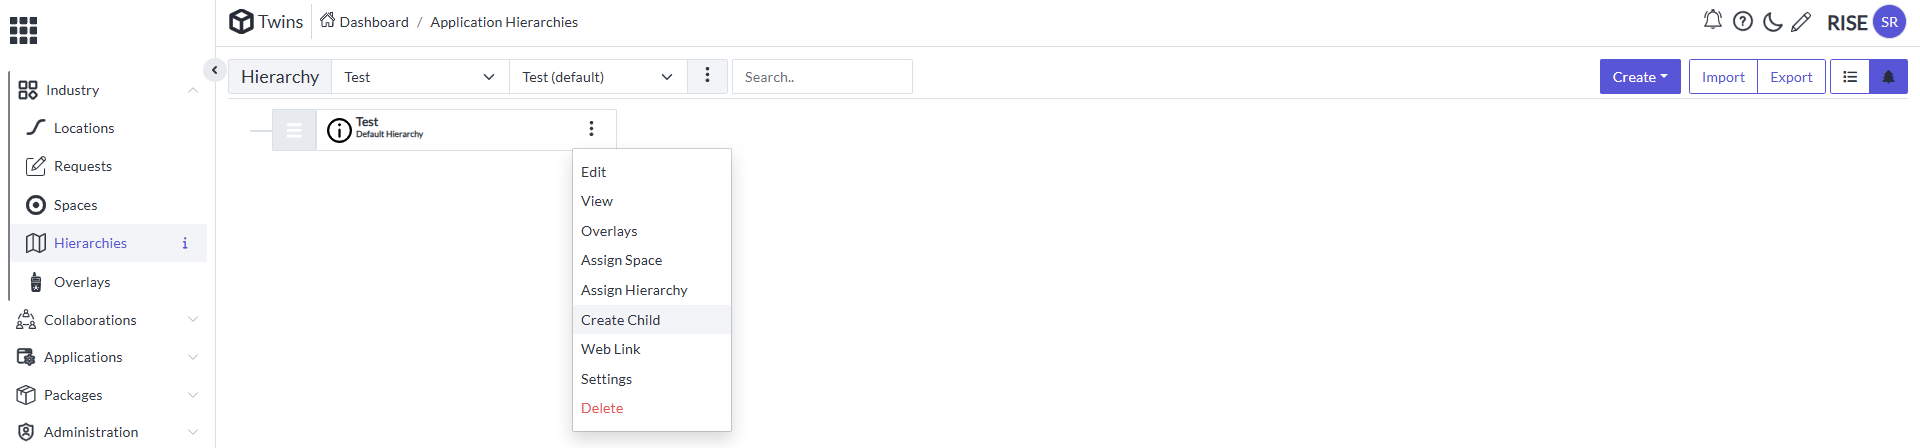
Now go to Test (Default) action menu it will appear like this
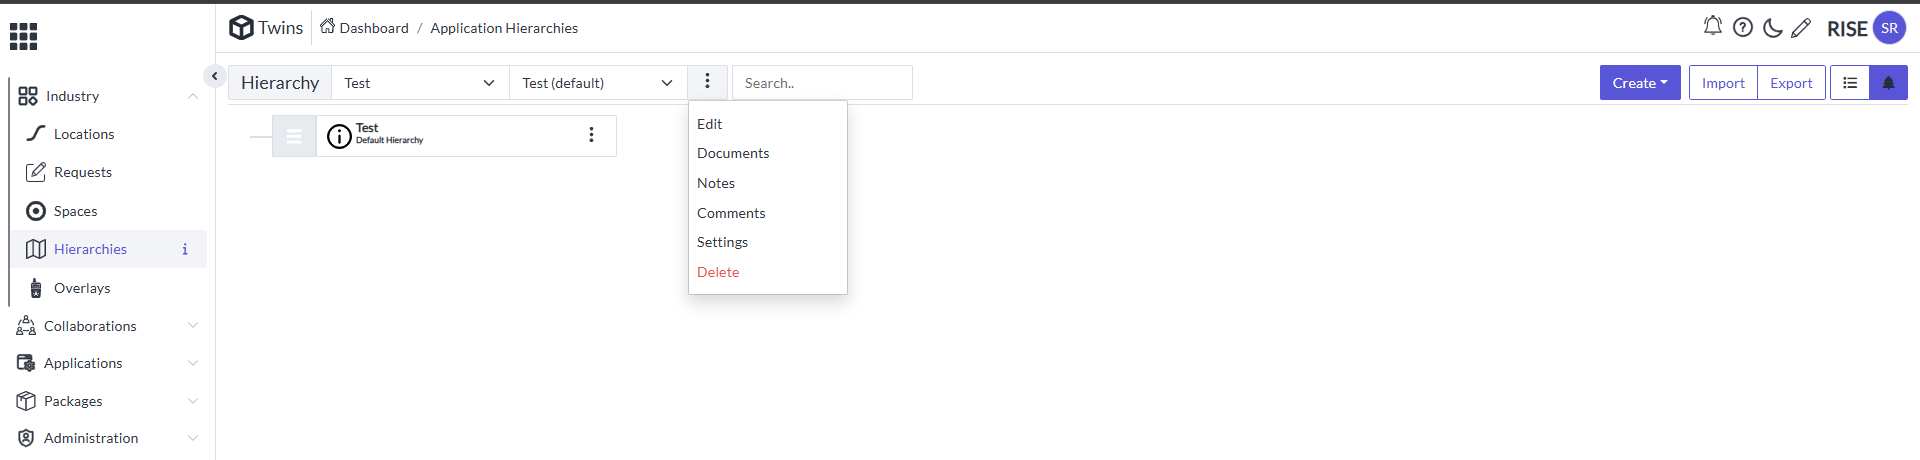
-
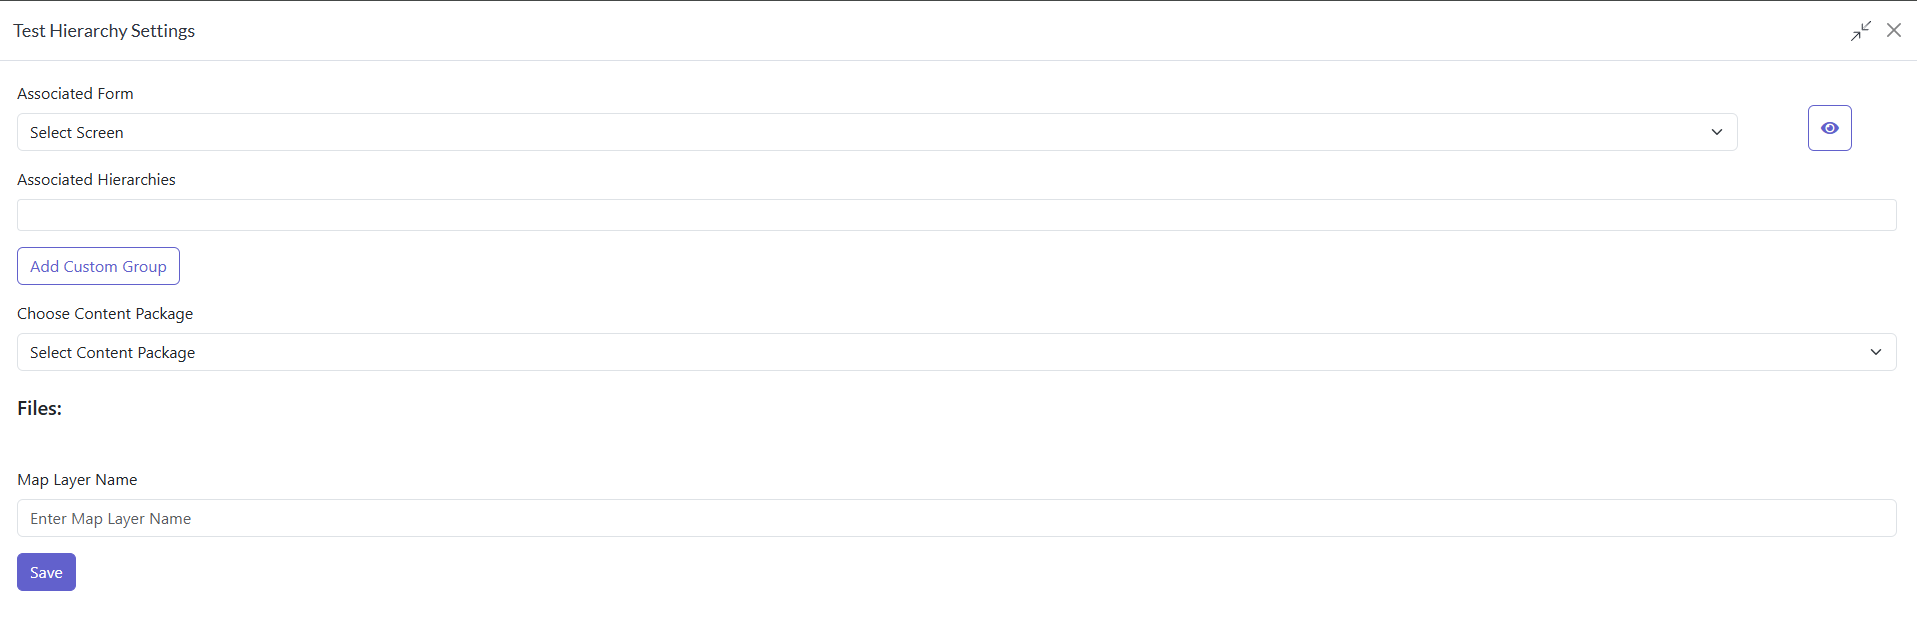
Go to settings it will appear like this
-
Open Choose Content Package drop down it will appear like this

-
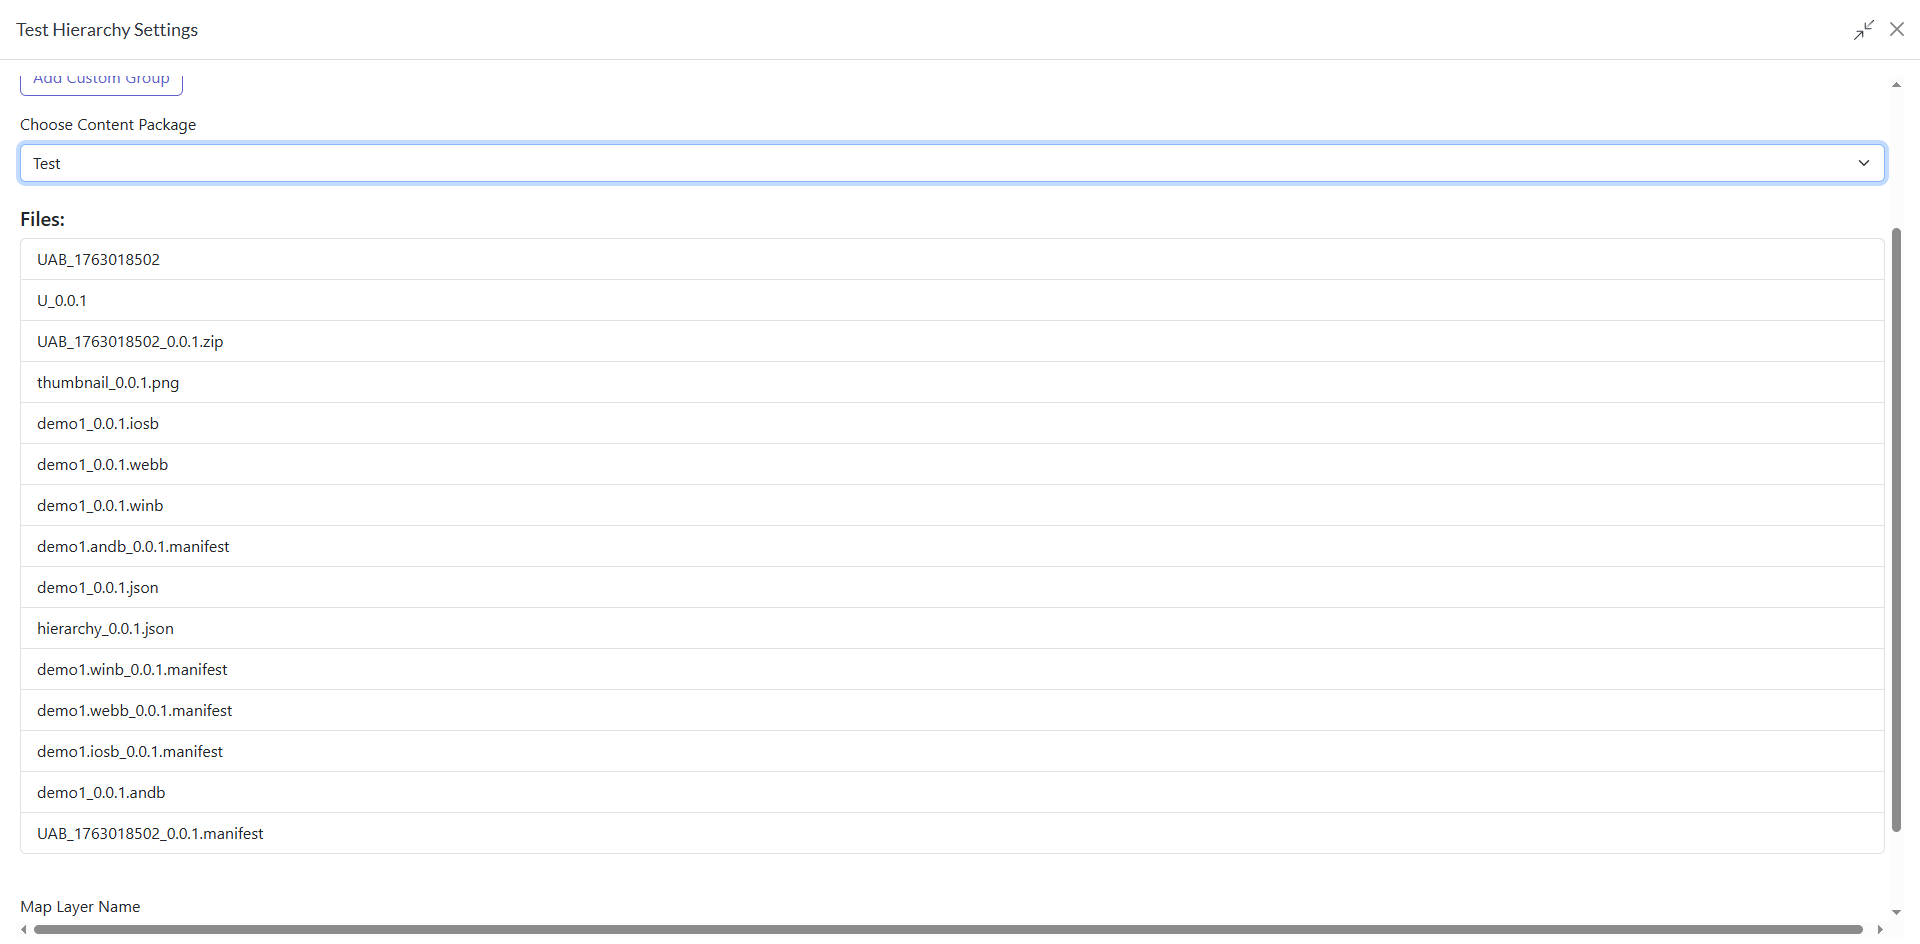
In that select the name of the Content package Created
-
These are the files which we already explored in the content package scroll down and click on save it will appear like this
Assigning Space
-
Now select the Test in the below open the action
-
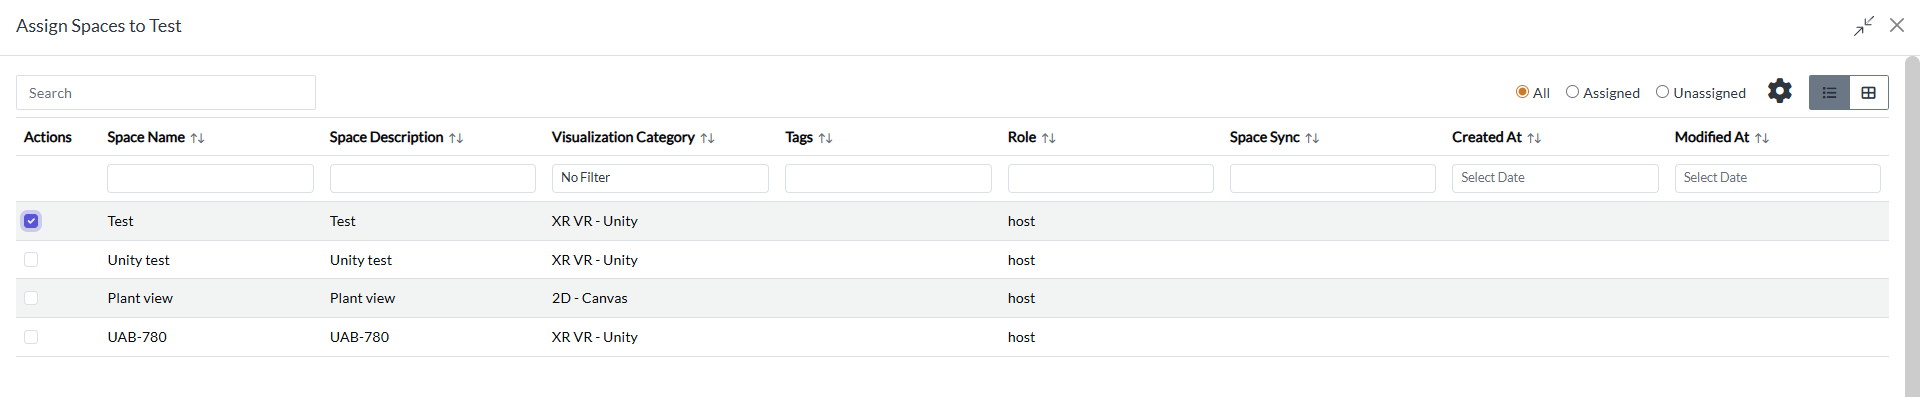
Select the Assign Space it will appear like this

-
Go to All and it will appear like this

-
Now check the space name create and make a mark
View Space
-
Go to space and it will appear like this
-
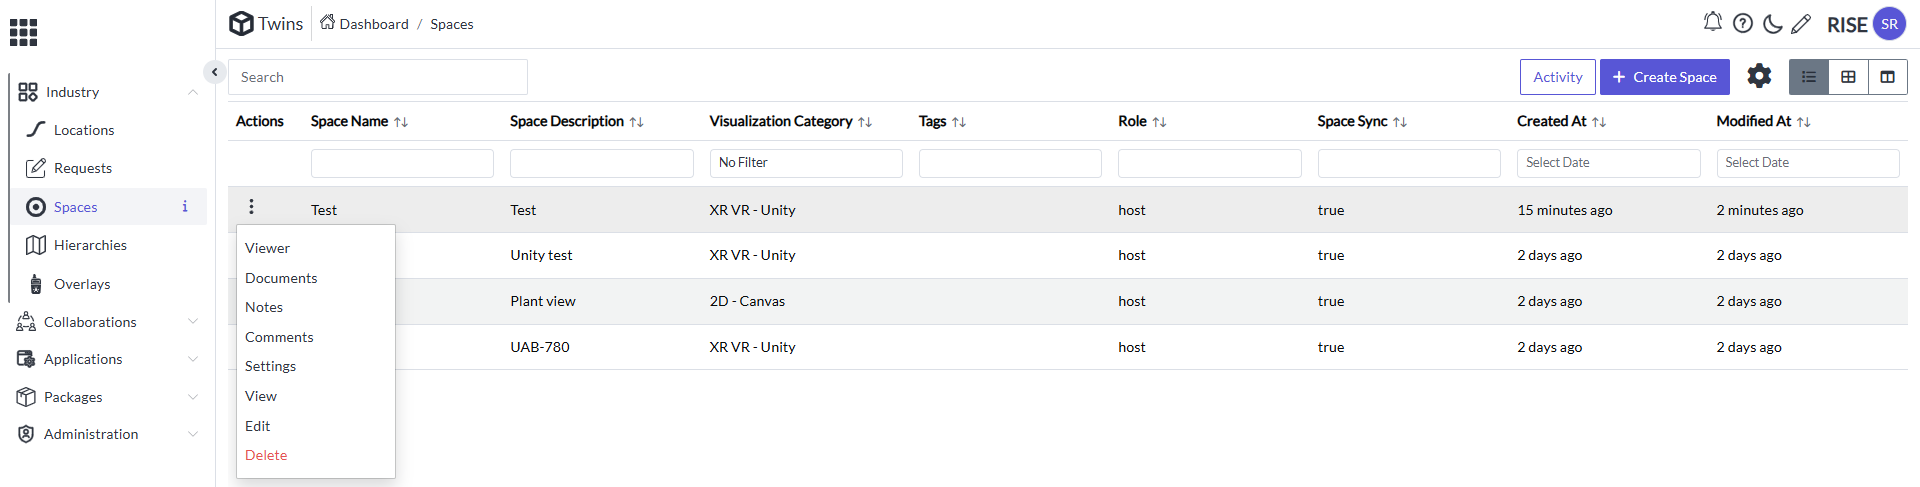
Now select the space action button it will appear like this
-
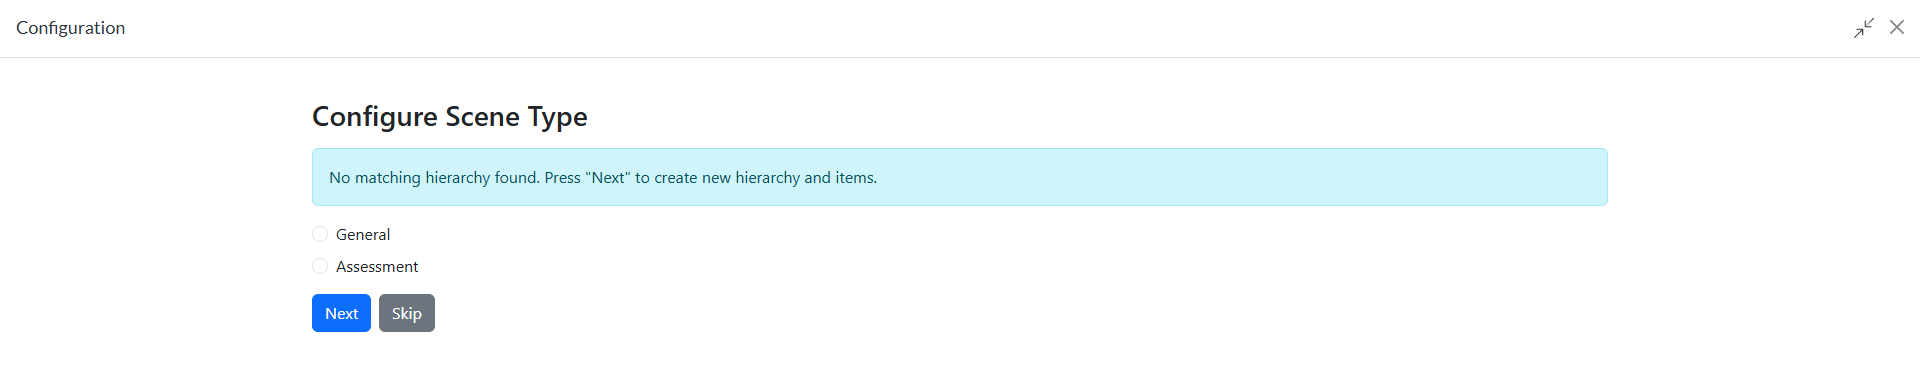
Select the Viewer so the XR VR Unity space will launch
-
Click on Skip so it will appear like this