Installation
Minimum System Requirements
- CPU: Dual-core processor with a minimum speed of 2.5 GHz
- Operating System: Windows 10 (64-bit)
- RAM: 8 GB
- Graphics: OpenGL 3.3 or higher with at least 1 GB of video memory
- Storage: Minimum of 1 GB free disk space for installation
Additional Notes:
- Windows 11 and Windows Server 2022 are supported.
- Starting from the 2021.1 release, Windows 8 and Windows 8.1 are no longer supported.
- Boot Camp for macOS is not officially supported.
- Windows 7 is no longer supported as of the 2021.0 release.
- Virtual machines are not officially supported.
Recommended System Requirements (Workstation)
- CPU: Latest Intel i7 quad-core processor or equivalent, running at 3.5 GHz
- Operating System: Windows 10 (64-bit)
- RAM: 64 GB
- Graphics:
- NVIDIA GTX 900 or 1000 series with 8 GB video memory, or
- NVIDIA Quadro P5500 or equivalent
- Storage: Internal SSD
Performance Recommendations:
- For optimal performance, install the latest graphics drivers from the manufacturer’s website.
- Some laptops contain dual graphics cards. Ensure that both graphics drivers are updated to the latest versions provided by the manufacturer.
Installation Process
-
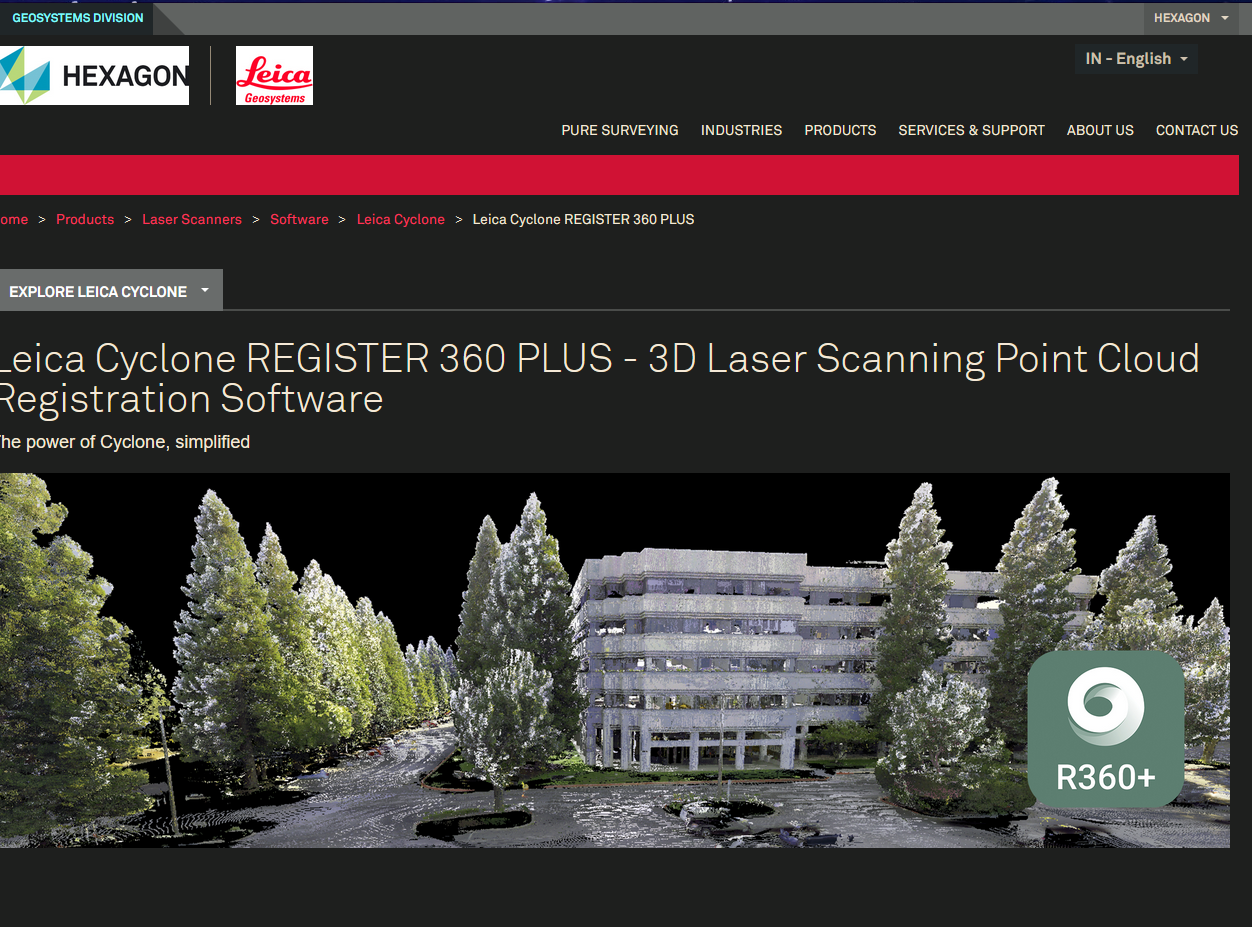
Navigate to the Cyclone REGISTER 360+ download page:
-
The page will appear as shown below:
-
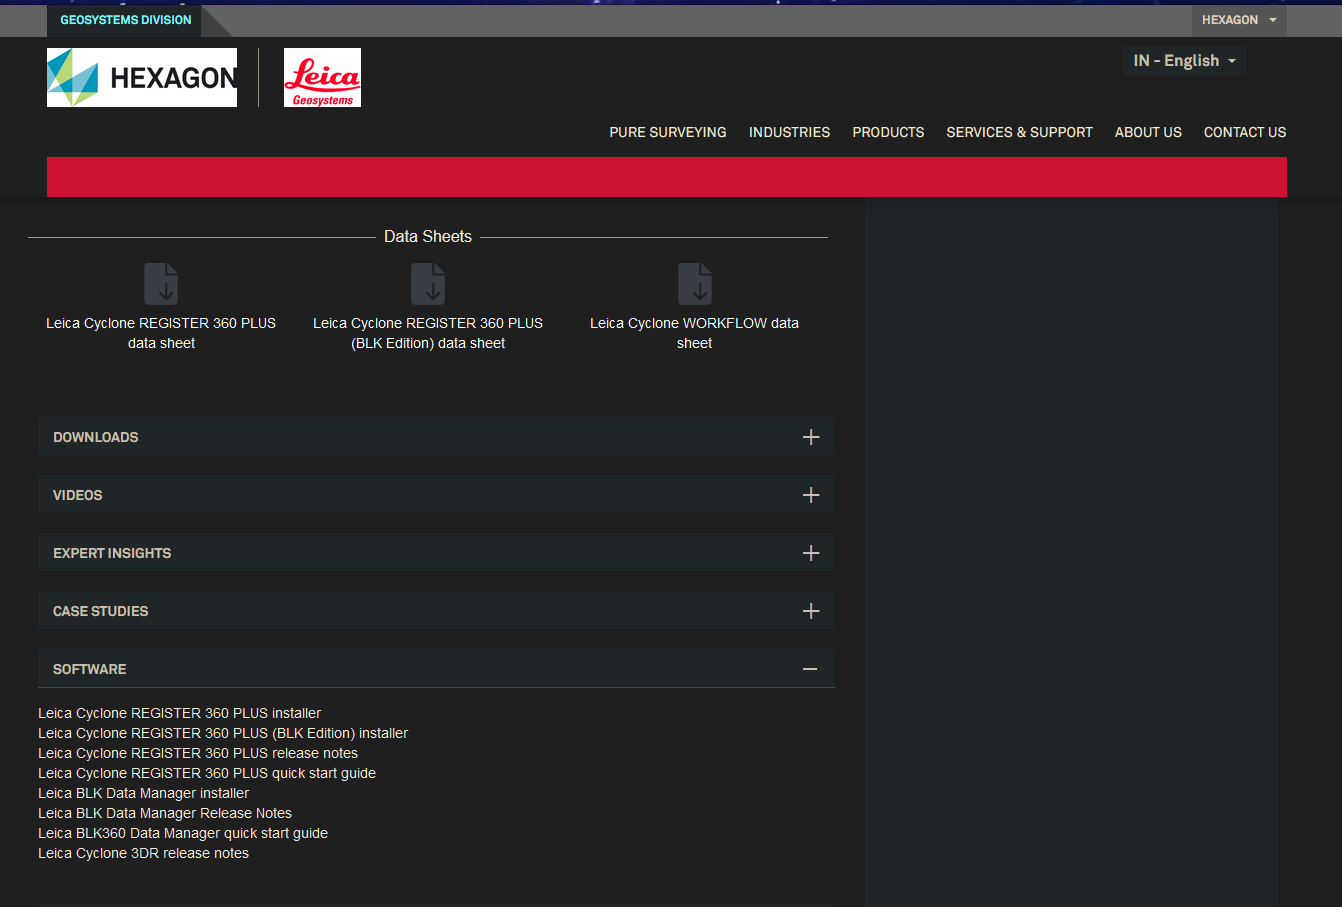
Scroll down to locate the Software section and click on Software.
-
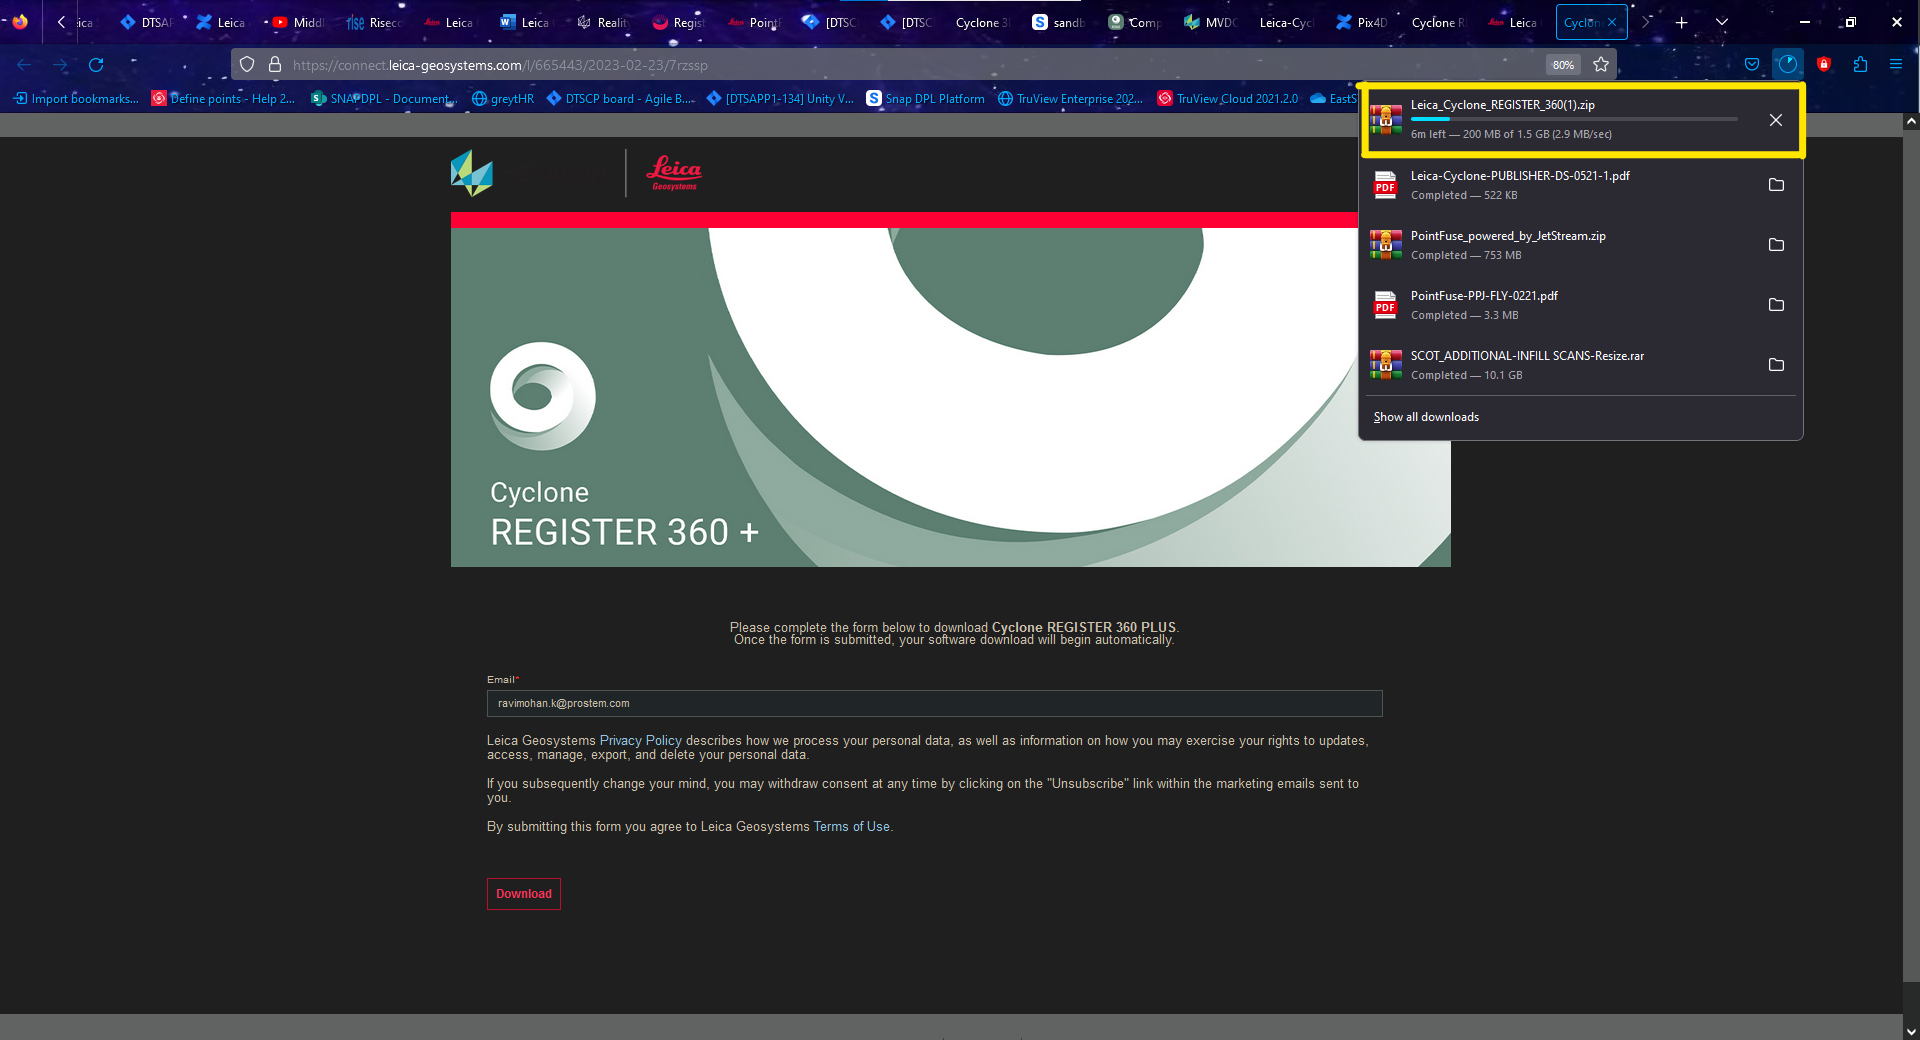
Click on Leica Cyclone REGISTER 360 Plus Installer. This will automatically generate a new download link.

-
Enter your email ID and click Download.
-
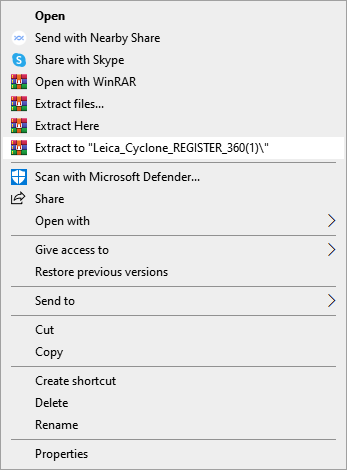
After the download is complete, extract the ZIP file.
-
Once extracted, you will see two applications in the package:
- CLM Package
- Cyclone REGISTER 360+
-
If the CLM Package is already installed for licensing purposes, there is no need to install it again.
-
Right-click on the Cyclone REGISTER 360+ Setup file and select Run as administrator.
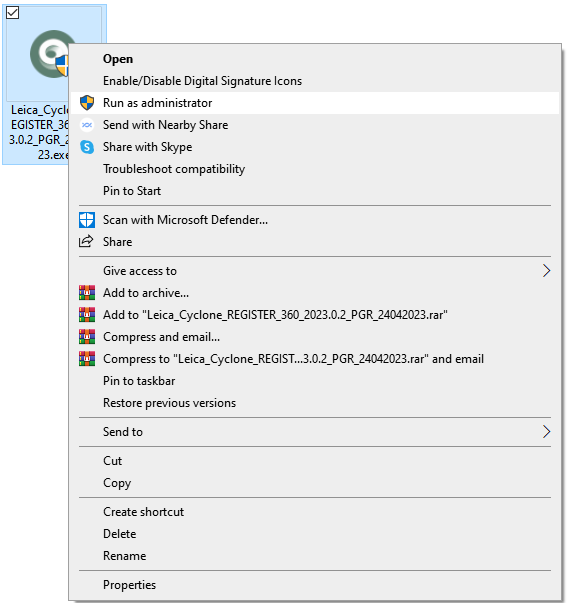
-
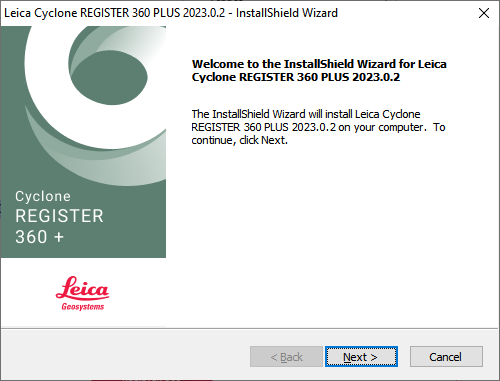
Follow the instructions displayed in the InstallShield Wizard.
-
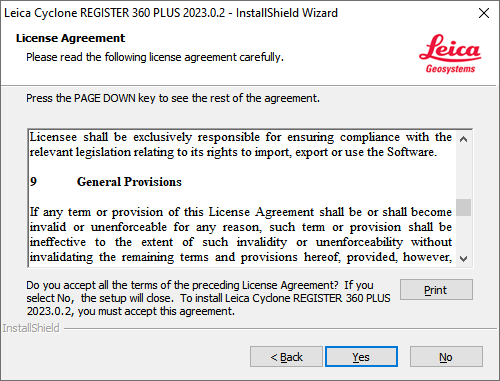
Click Yes when prompted.
-
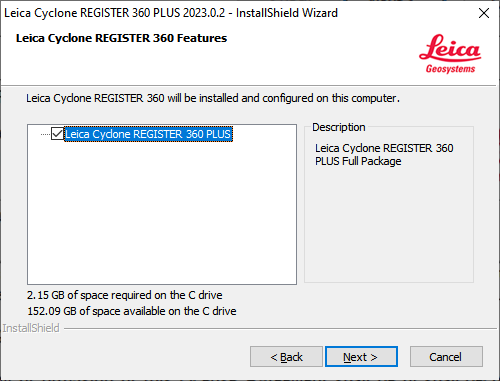
Click Next to proceed.
-
Click Install to begin the installation process.
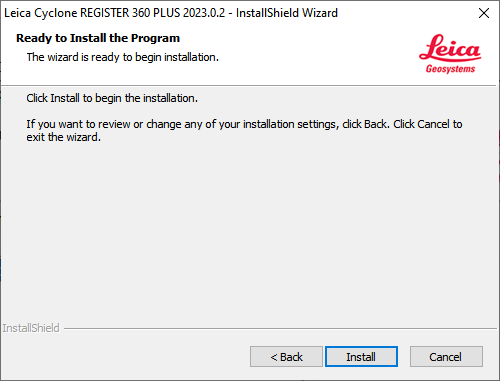
-
The installation may take some time to complete.

-
Once the installation is complete, the application shortcut will appear on the desktop.

The software must be installed on the C: drive only, as it requires system-level access for licensing and user data management.