Pix4Dmapper V4.7.5 Workflow
Objective: Convert JPG/TIFF images into georeferenced GeoTIFFs and other outputs.
Output Formats
| Data Type | File Formats |
|---|---|
| Color point cloud | .las, .laz, .ply, .xyz |
| Classified point cloud | .las, .laz |
| Orthomosaic | GeoTIFF (.tif), .kml |
| Contour lines | .shp, .dxf, .pdf |
| Digital Terrain Model (DTM) / Digital Elevation Model (DEM) | GeoTIFF (.tif) |
| Digital Surface Model (DSM) | GeoTIFF (.tif), .xyz, .las, .laz |
| Index Maps | GeoTIFF (.tif), .shp |
| Thermal Maps | GeoTIFF (.tif) |
| Reflectance Maps | GeoTIFF (.tif) |
| 3D Textured Mesh | .ply, .fbx, .dxf, .obj, .pdf |
Workflow Steps
-
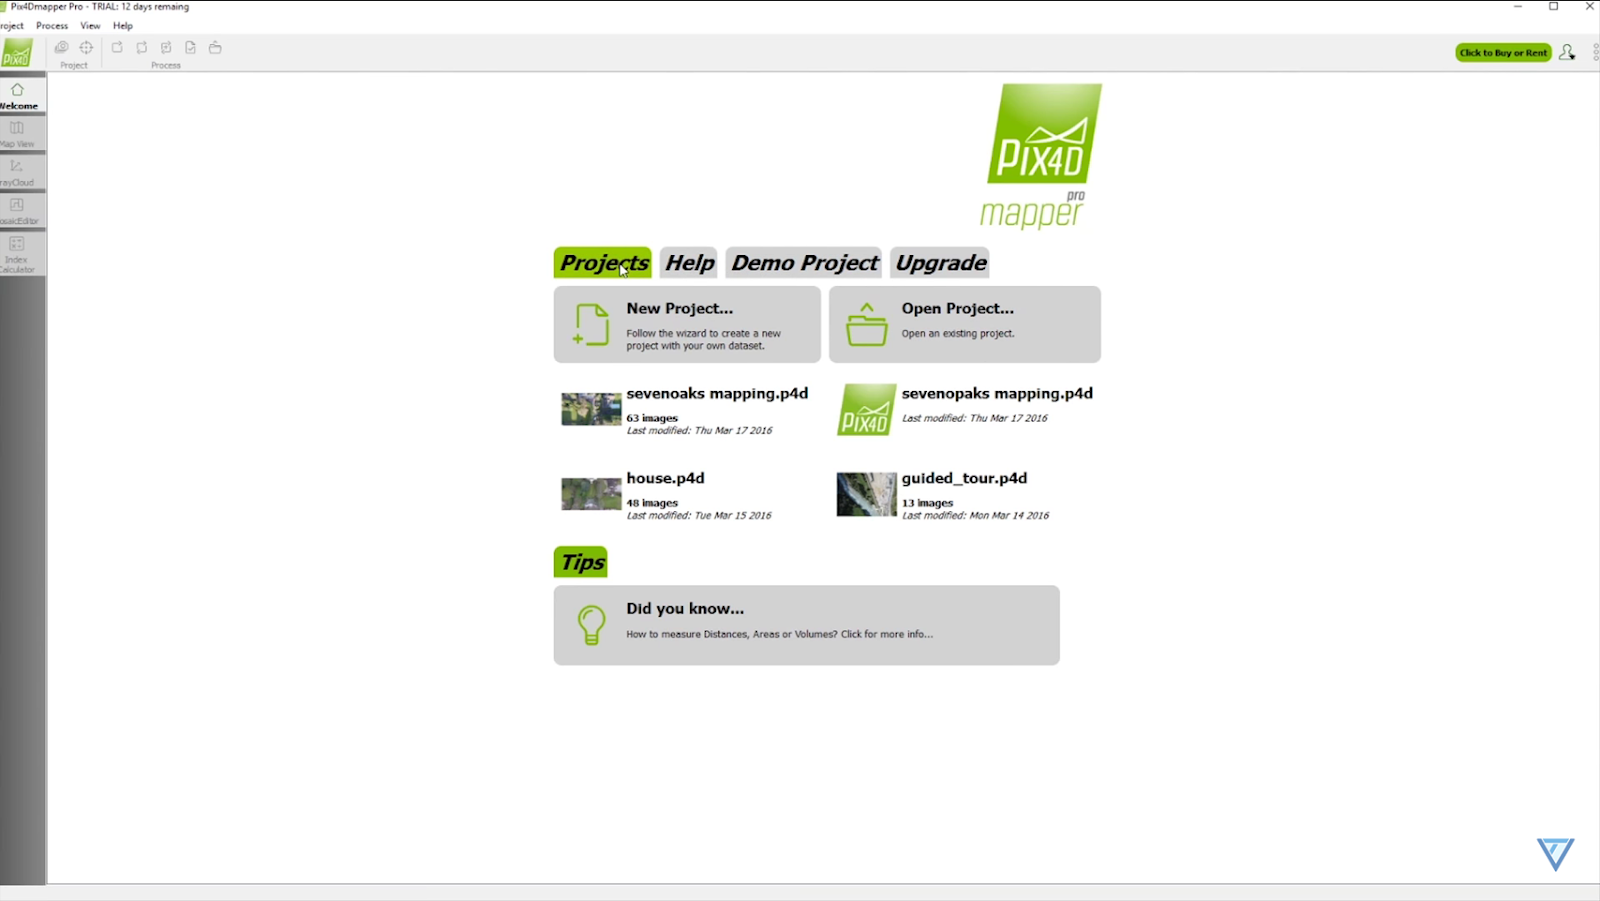
Launch Pix4Dmapper
- Open the application.
- Open the application.
-
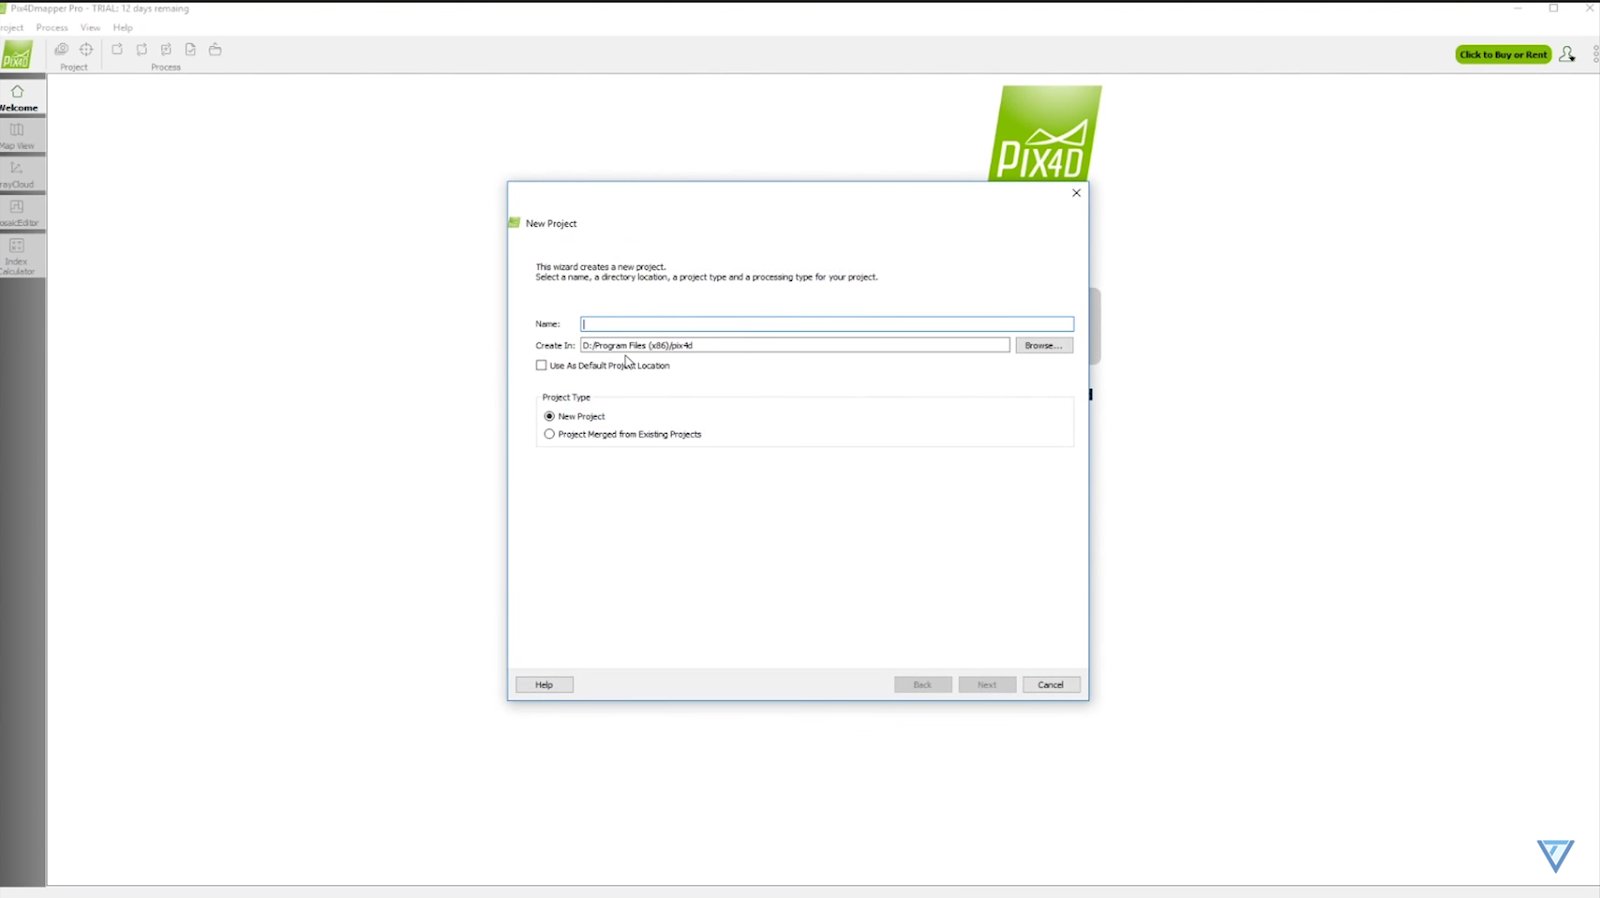
Create New Project
- Select New Project, name it, and choose the storage location.
- Select New Project, name it, and choose the storage location.
-
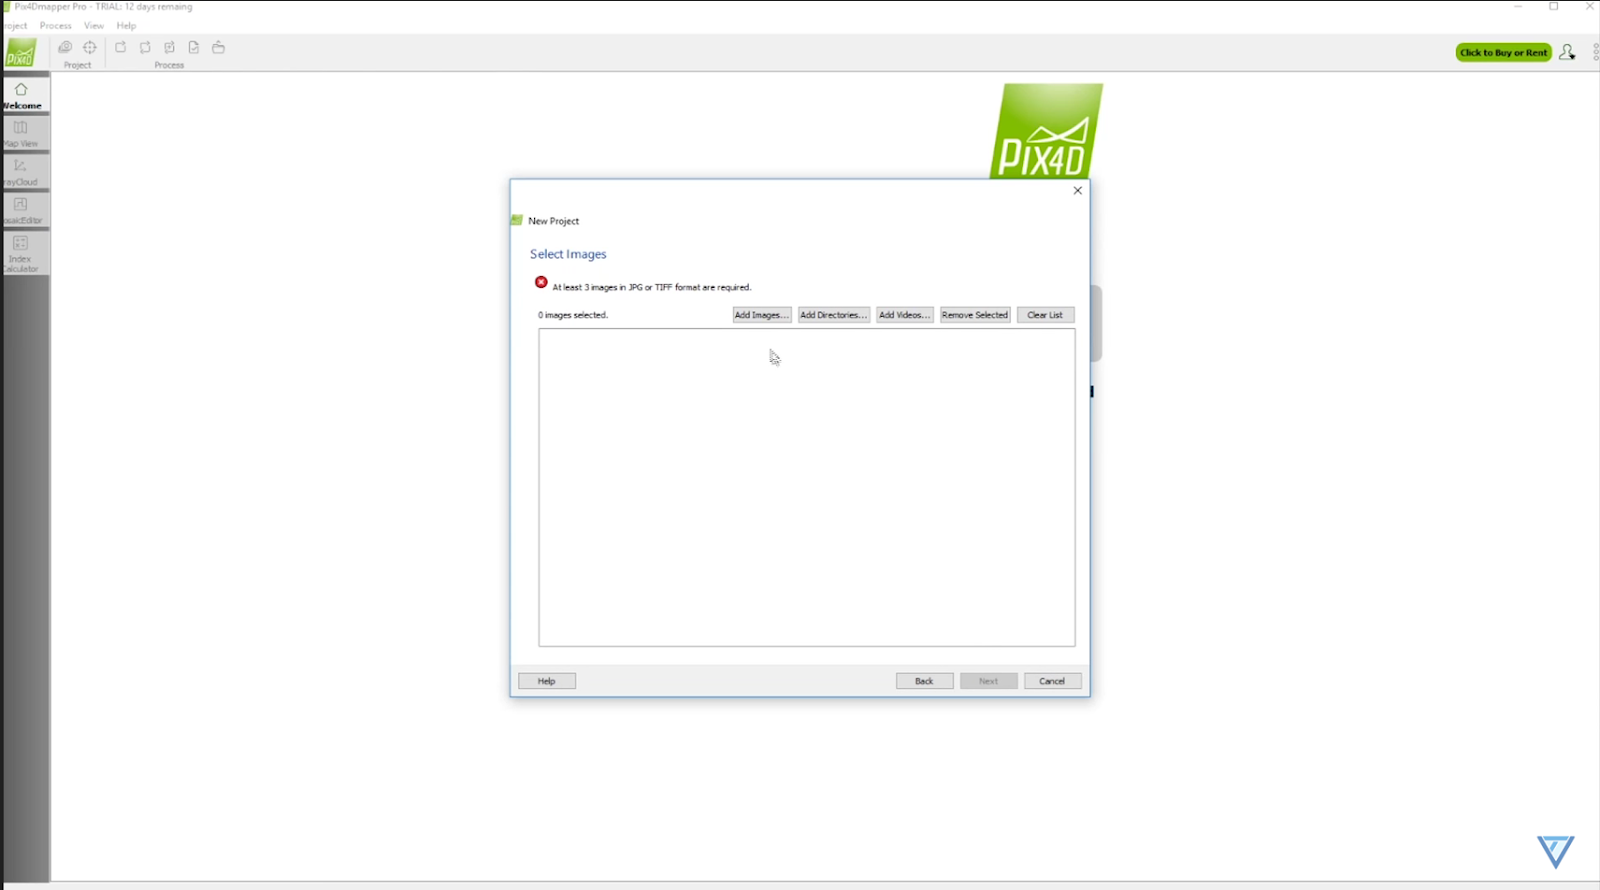
Add Images
- Import drone-captured images or download sample files from Pix4D Cloud.
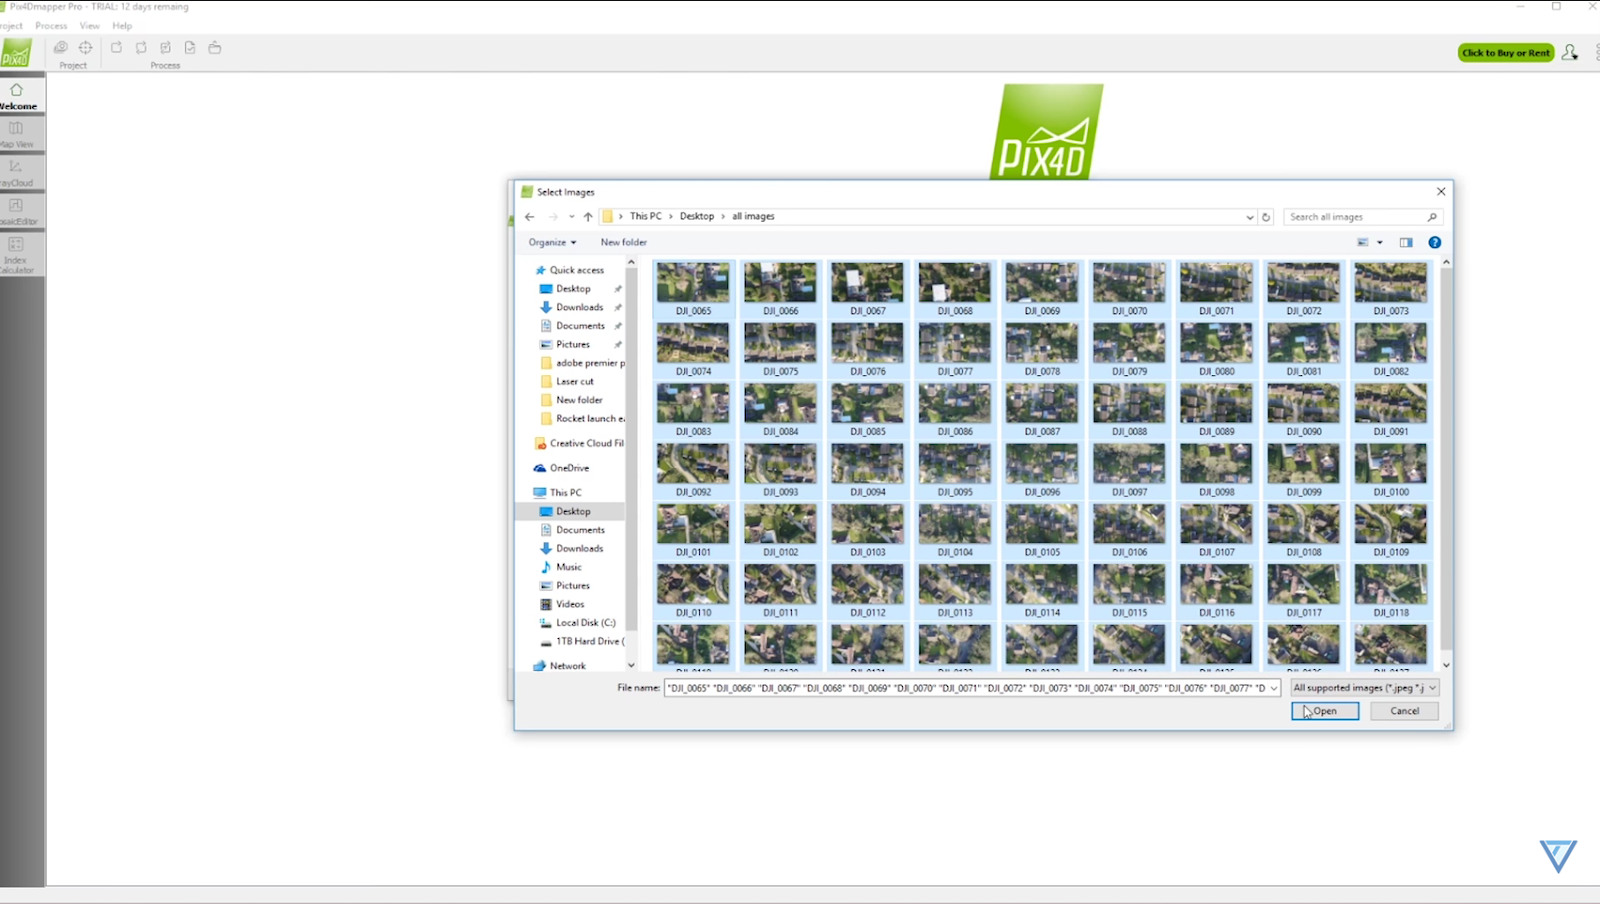
- Click Next after selecting images.
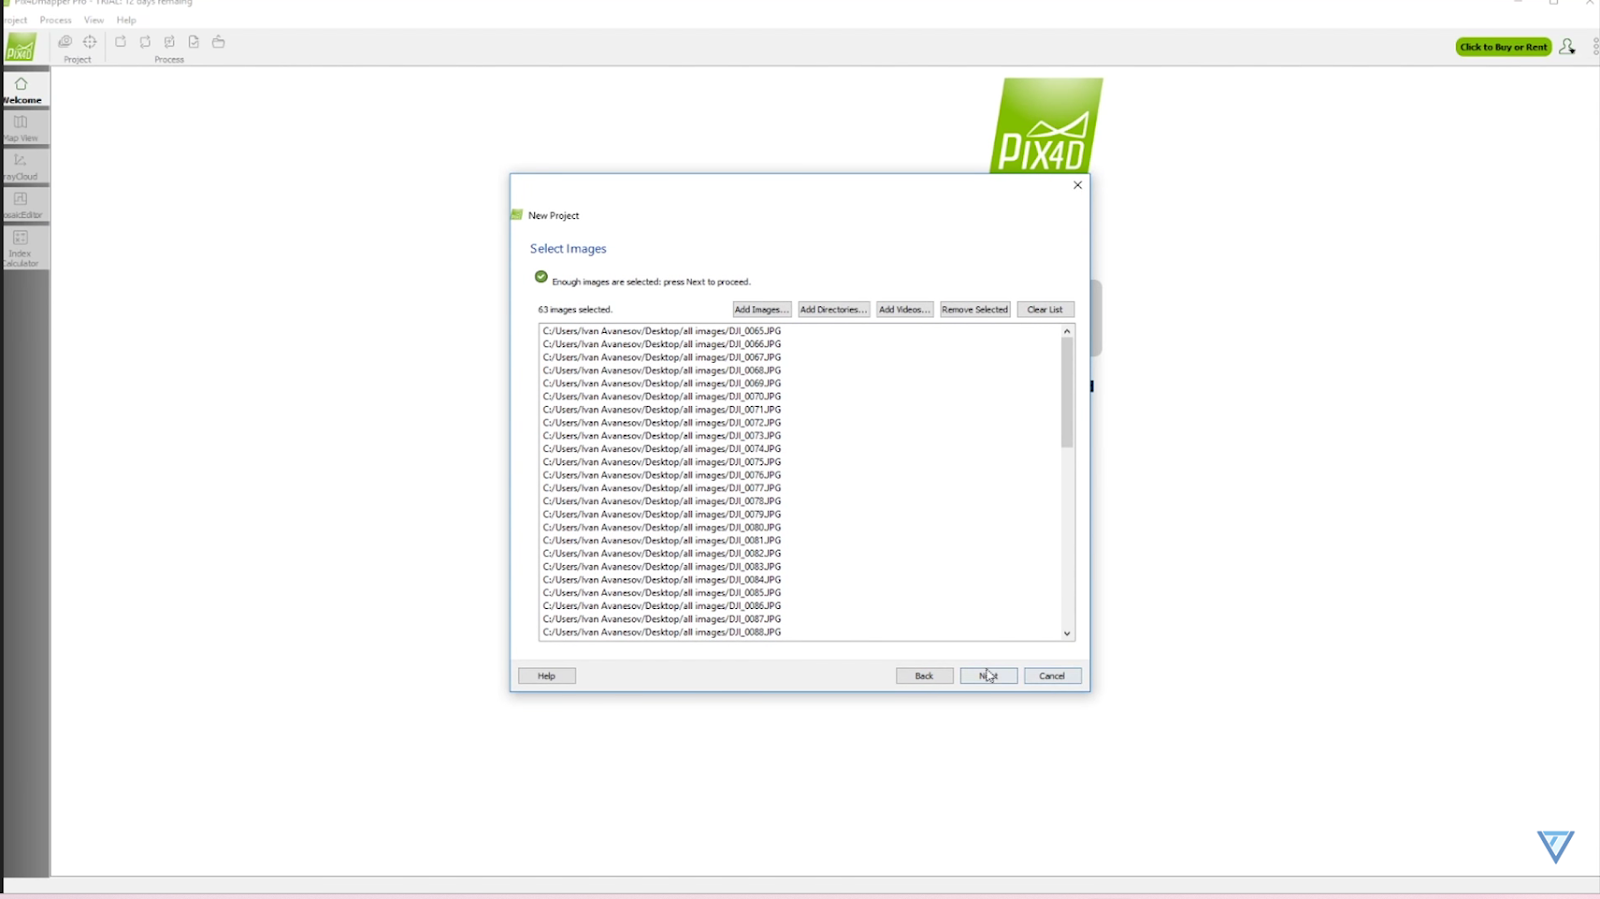
- Import drone-captured images or download sample files from Pix4D Cloud.
-
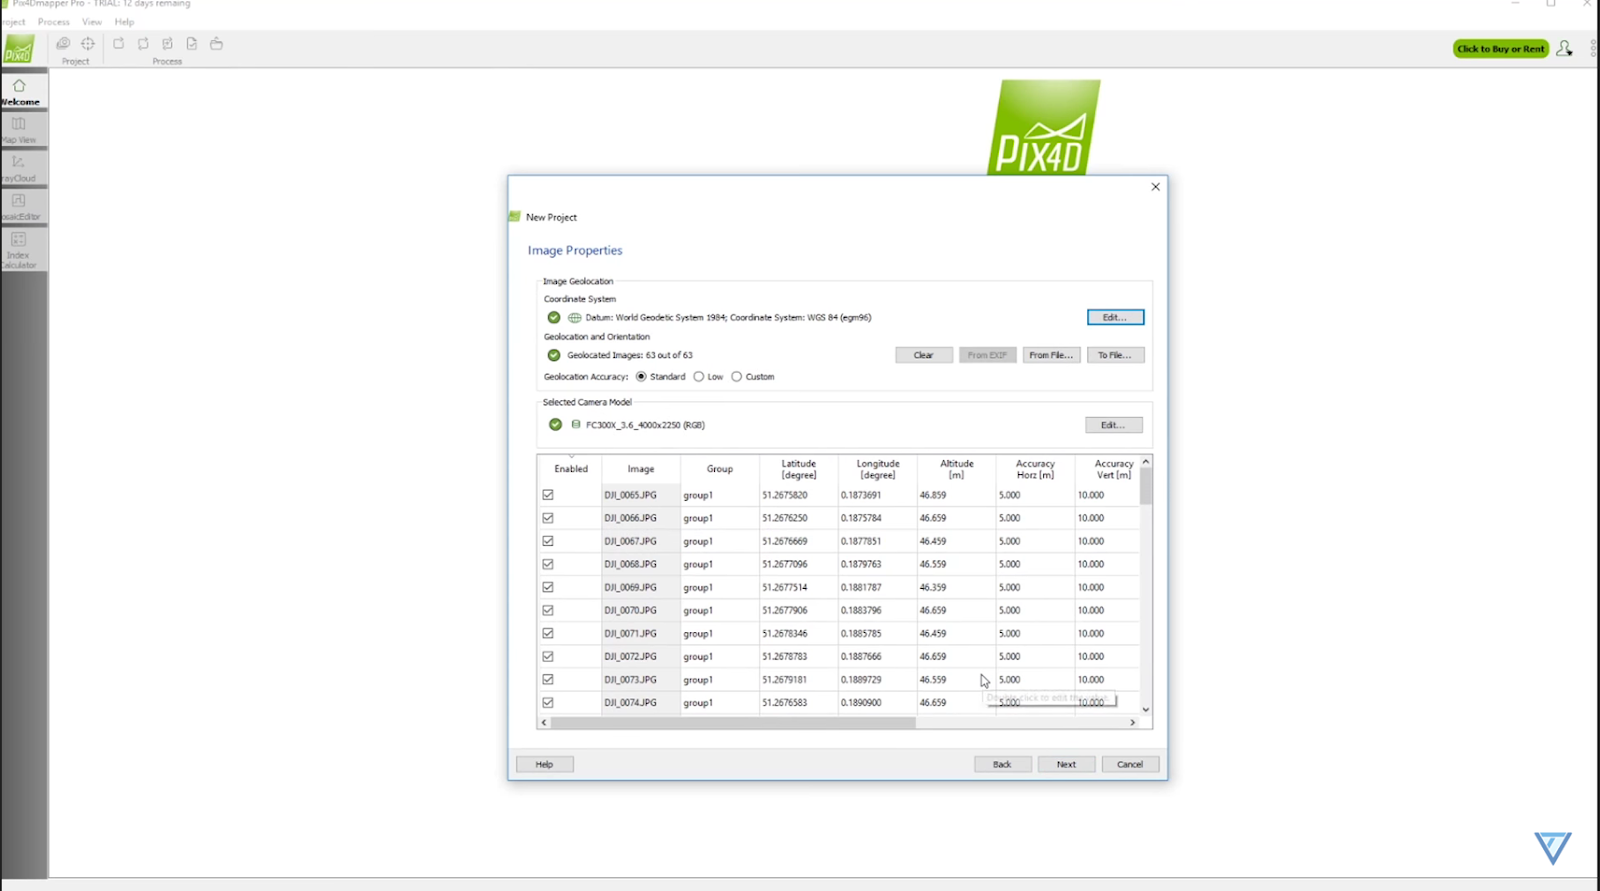
Image Properties & Processing Options
- Review image properties (can be skipped) and click Next.
- Select a processing template and click Next.
- Review image properties (can be skipped) and click Next.
-
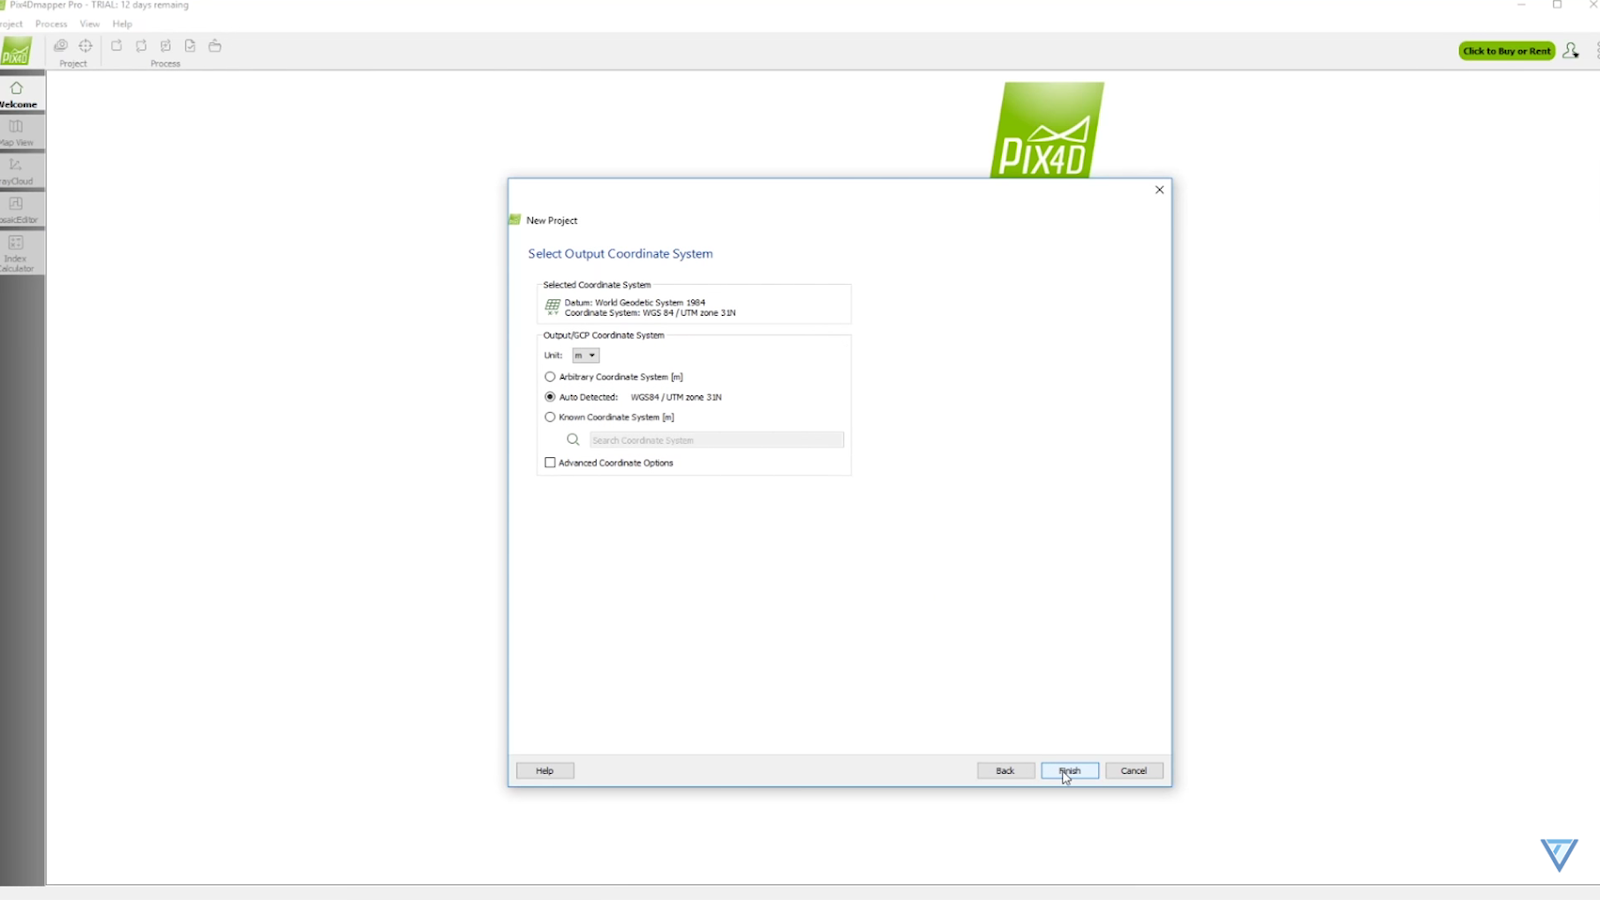
Coordinate System & Finish
- Choose the output coordinate system or leave default, then click Finish.
- Choose the output coordinate system or leave default, then click Finish.
-
Processing Steps Overview
- The workflow includes:
- Initial Processing
- Point Cloud & Mesh
- DSM, Orthomosaic, and Index
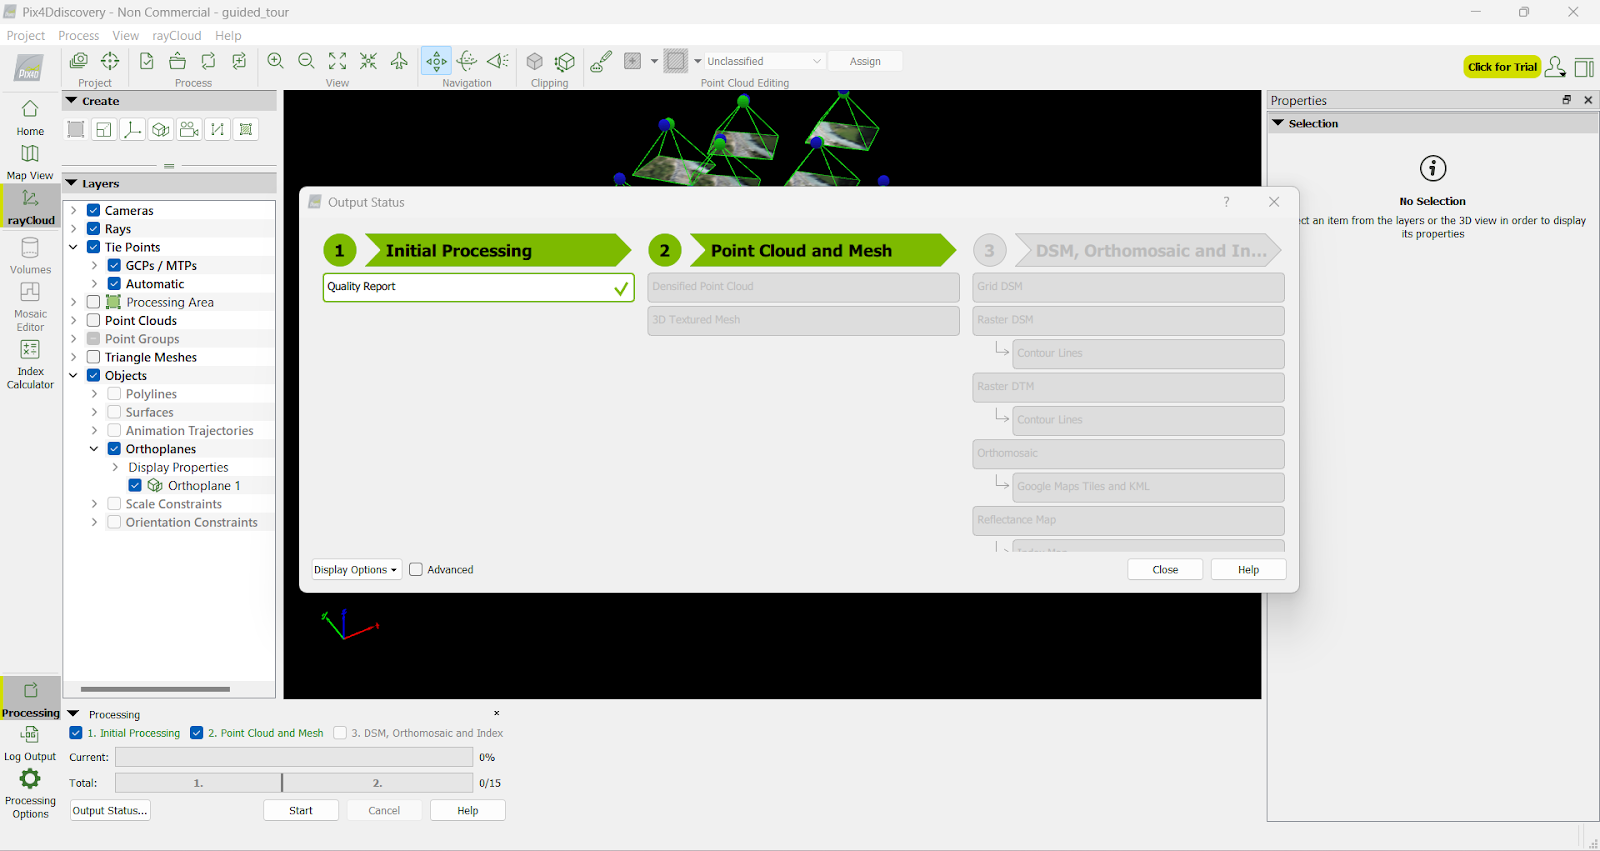
- The workflow includes:
-
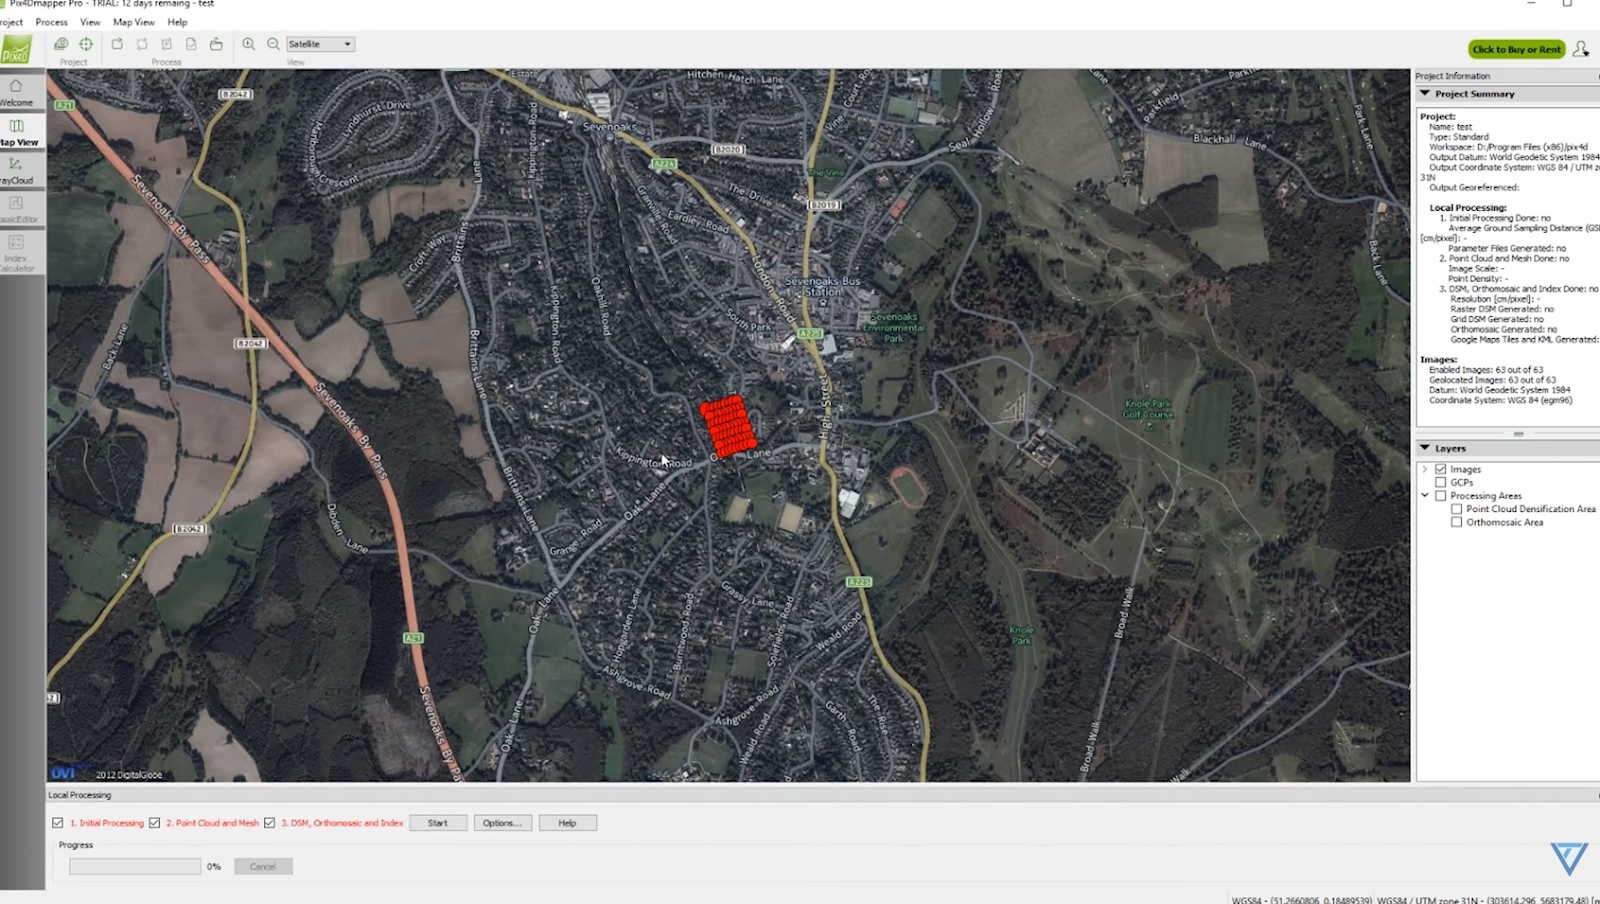
Start Processing
- Click Start. Processing time depends on project size.
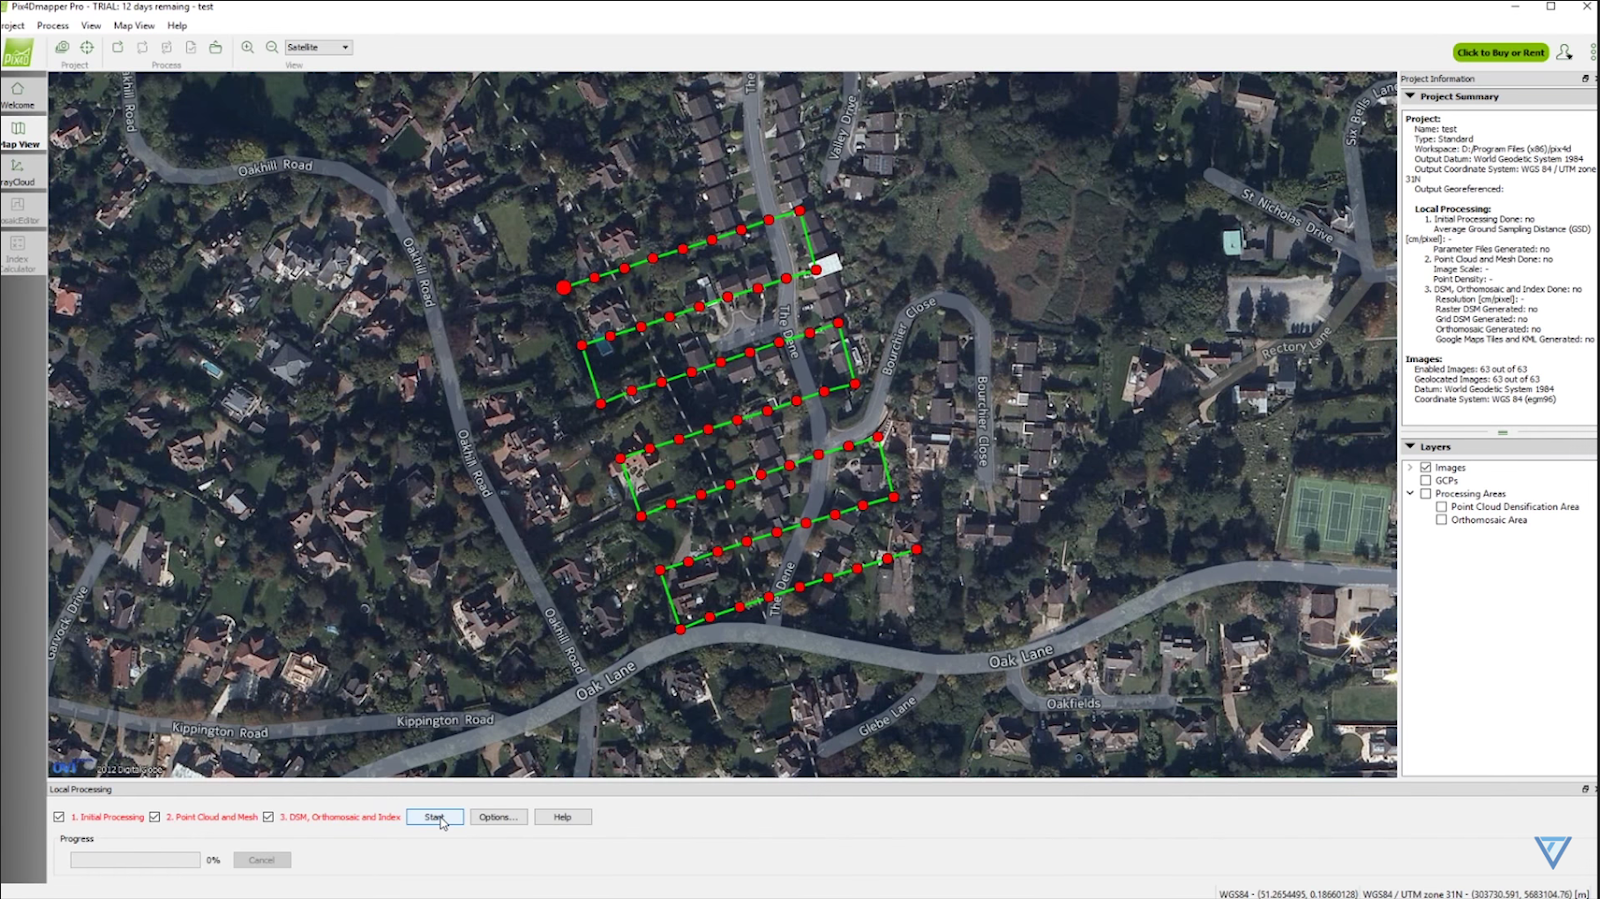
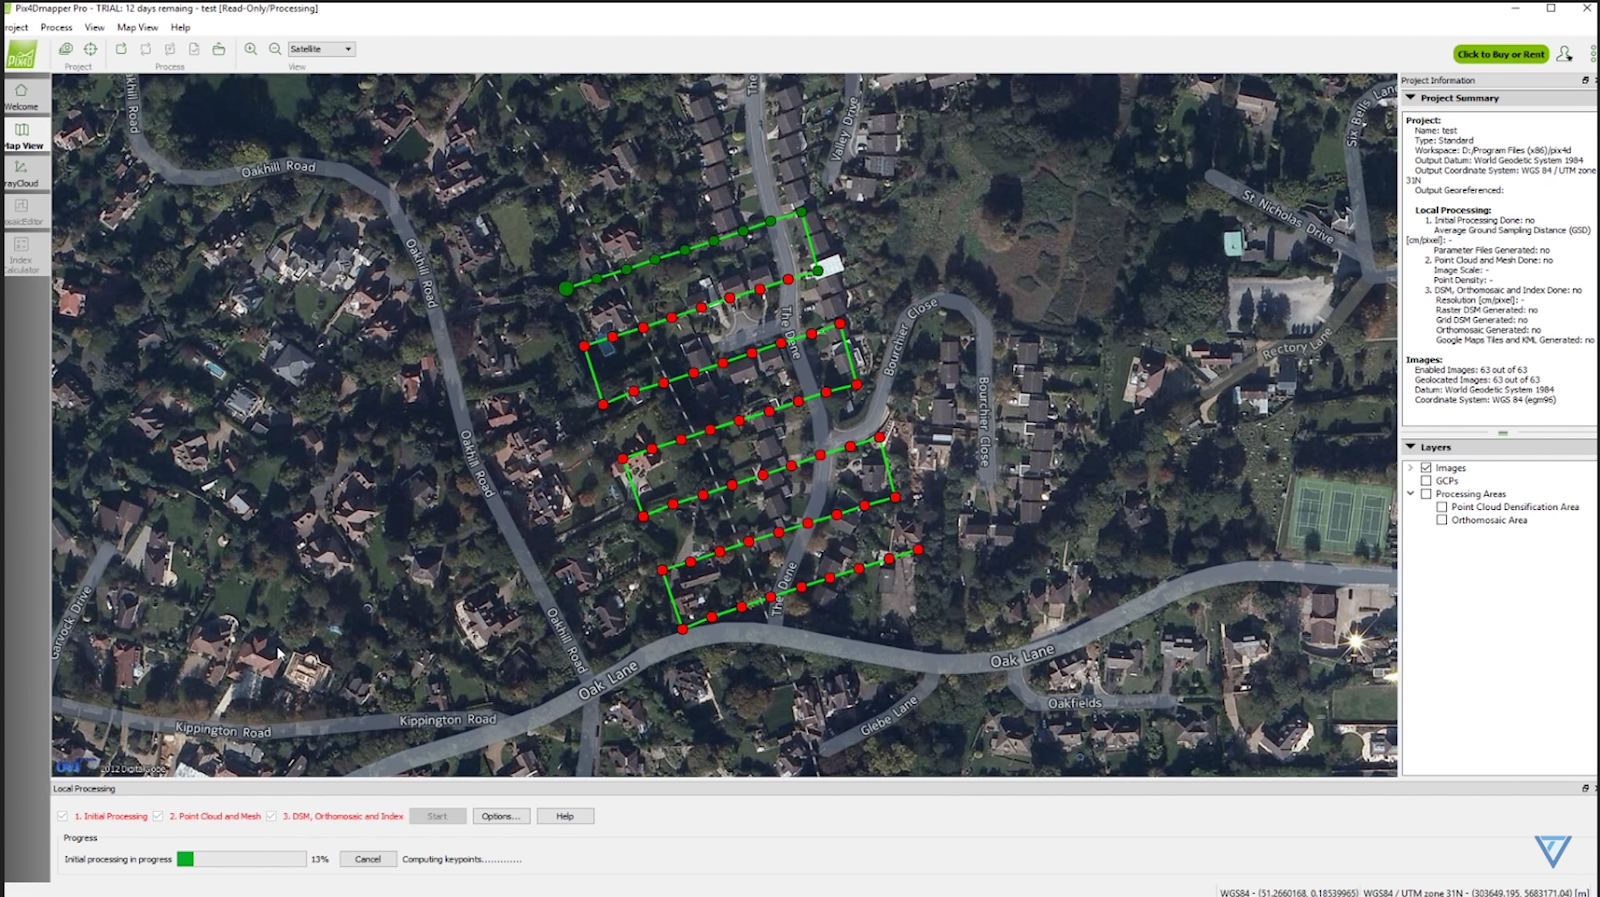
- Observe red points turning green as alignment progresses.
- Click Start. Processing time depends on project size.
-
Post-Processing
- After processing, view outputs:

- After processing, view outputs:
-
Visualize Mesh
- In the left menu, turn off Camera and turn on Triangle Meshes. Confirm processing.
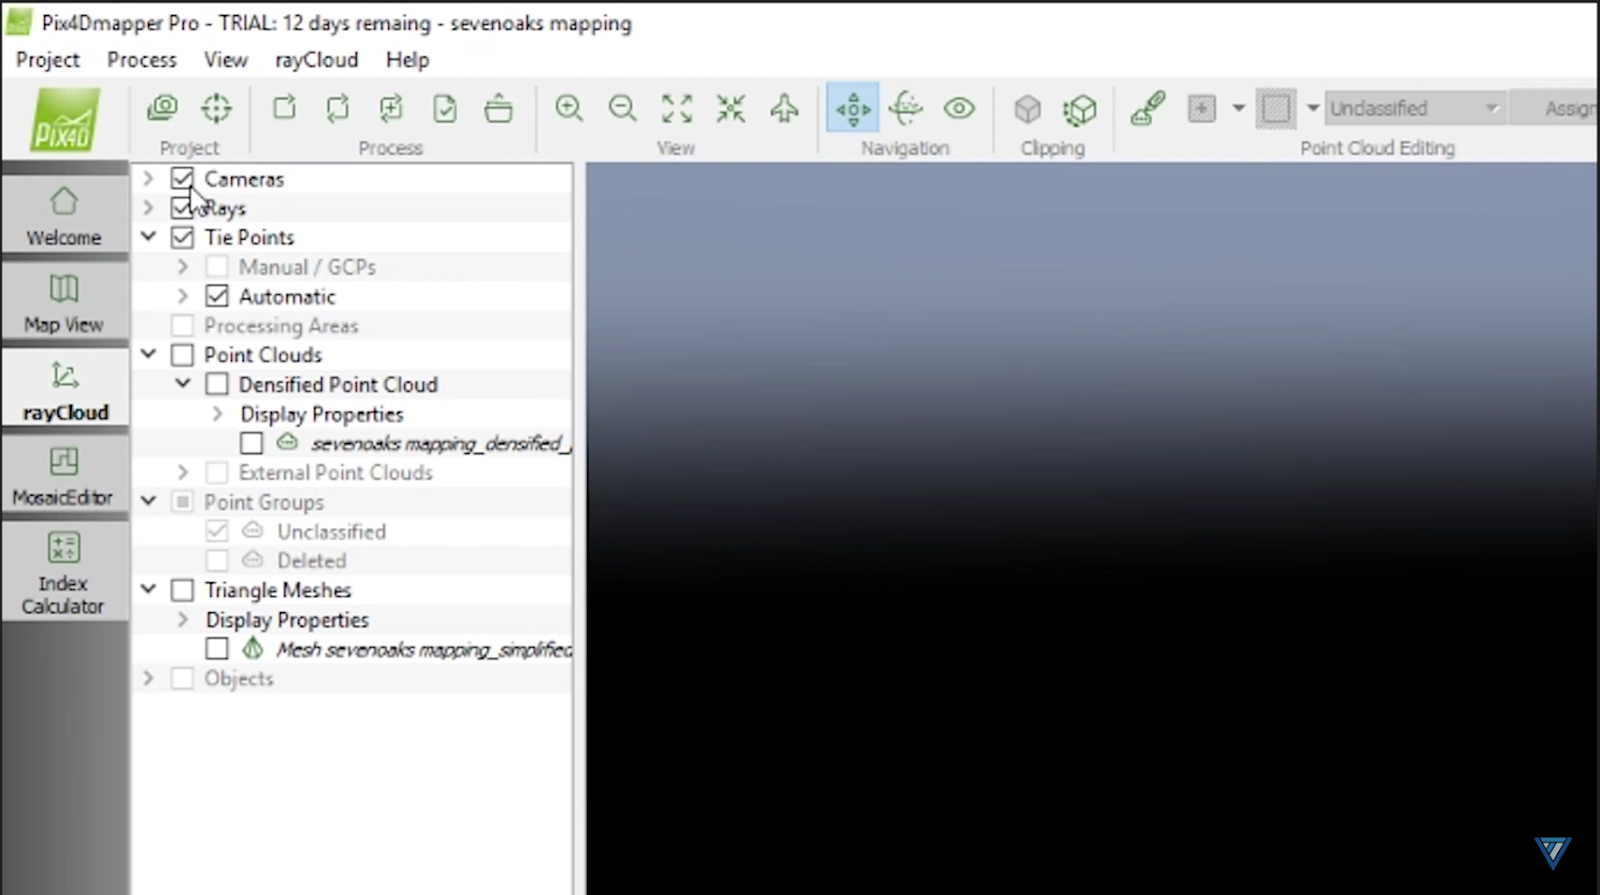
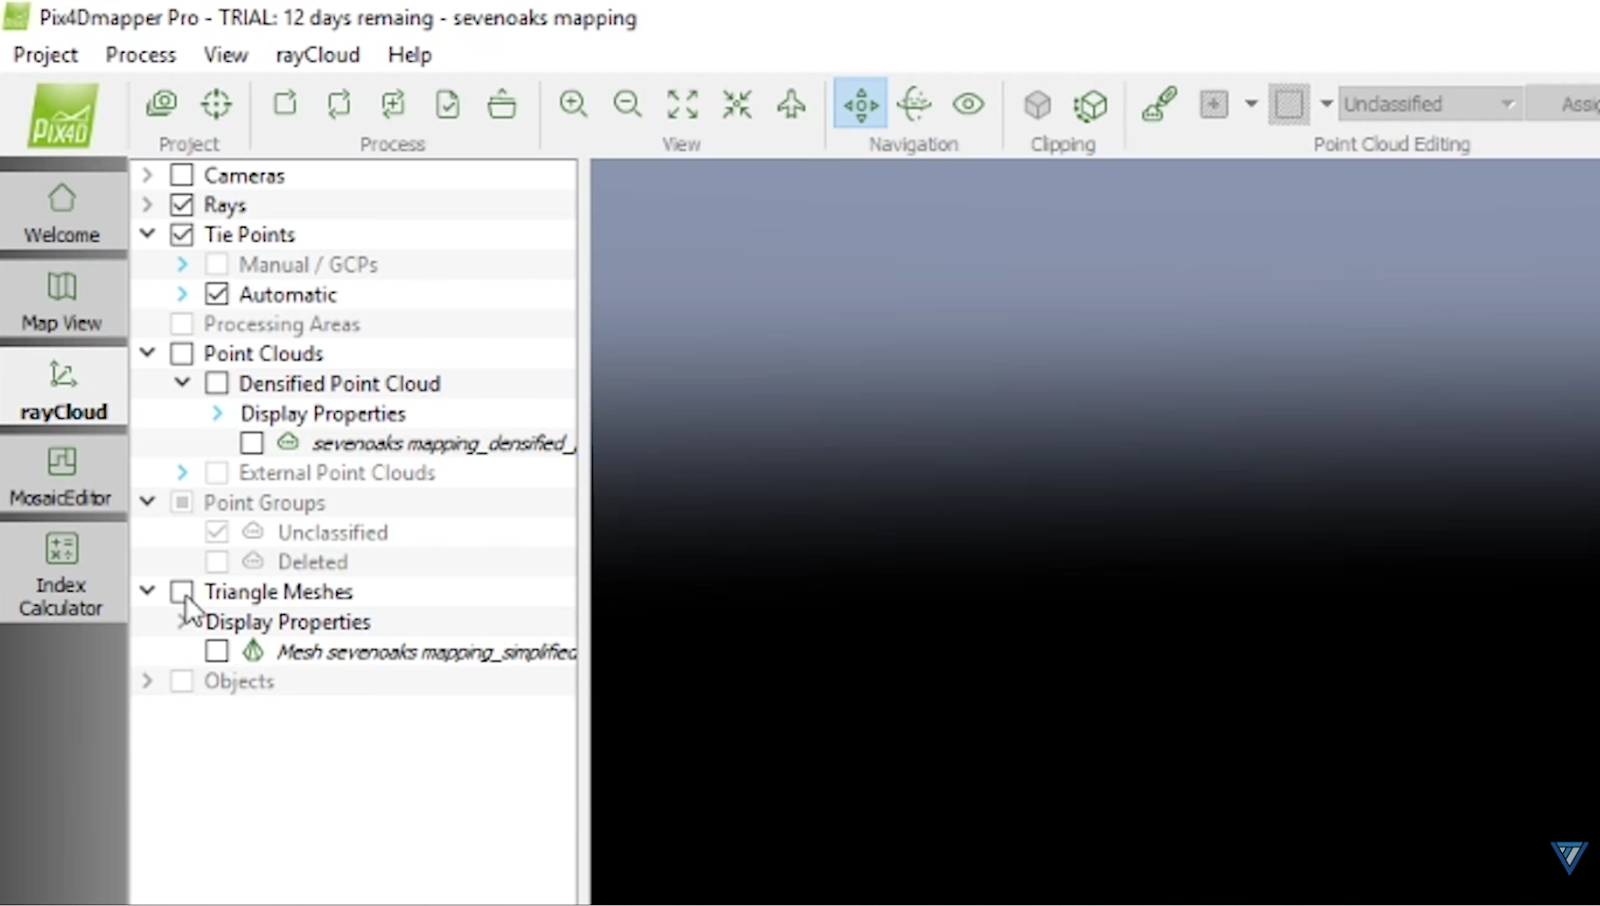
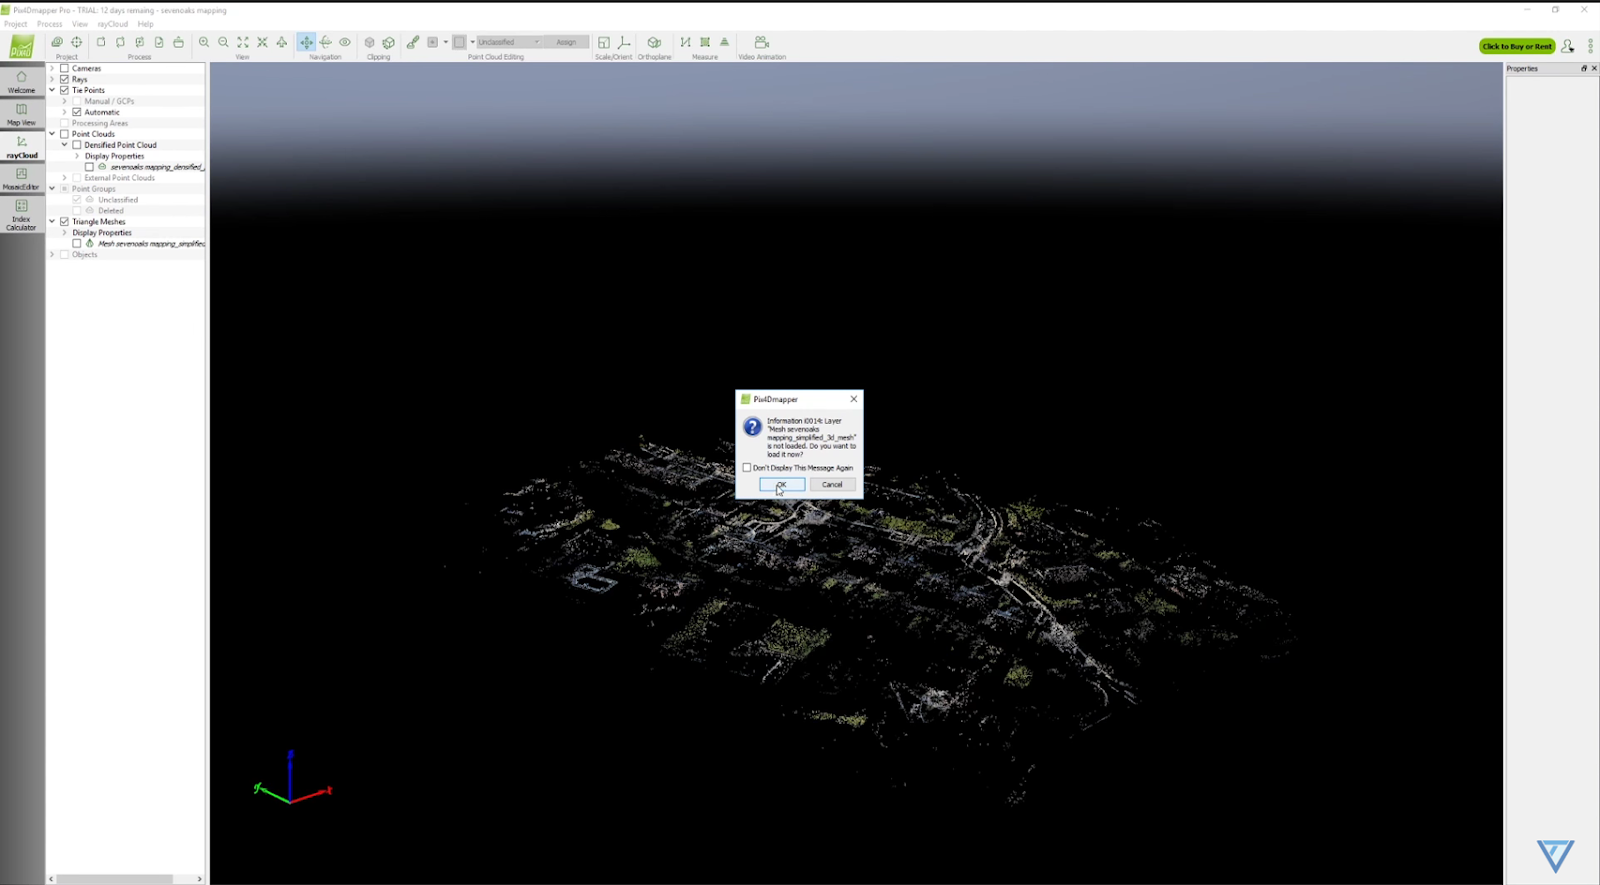
- In the left menu, turn off Camera and turn on Triangle Meshes. Confirm processing.
-
Final Product
- The completed 3D textured mesh and orthomosaic are ready for export.
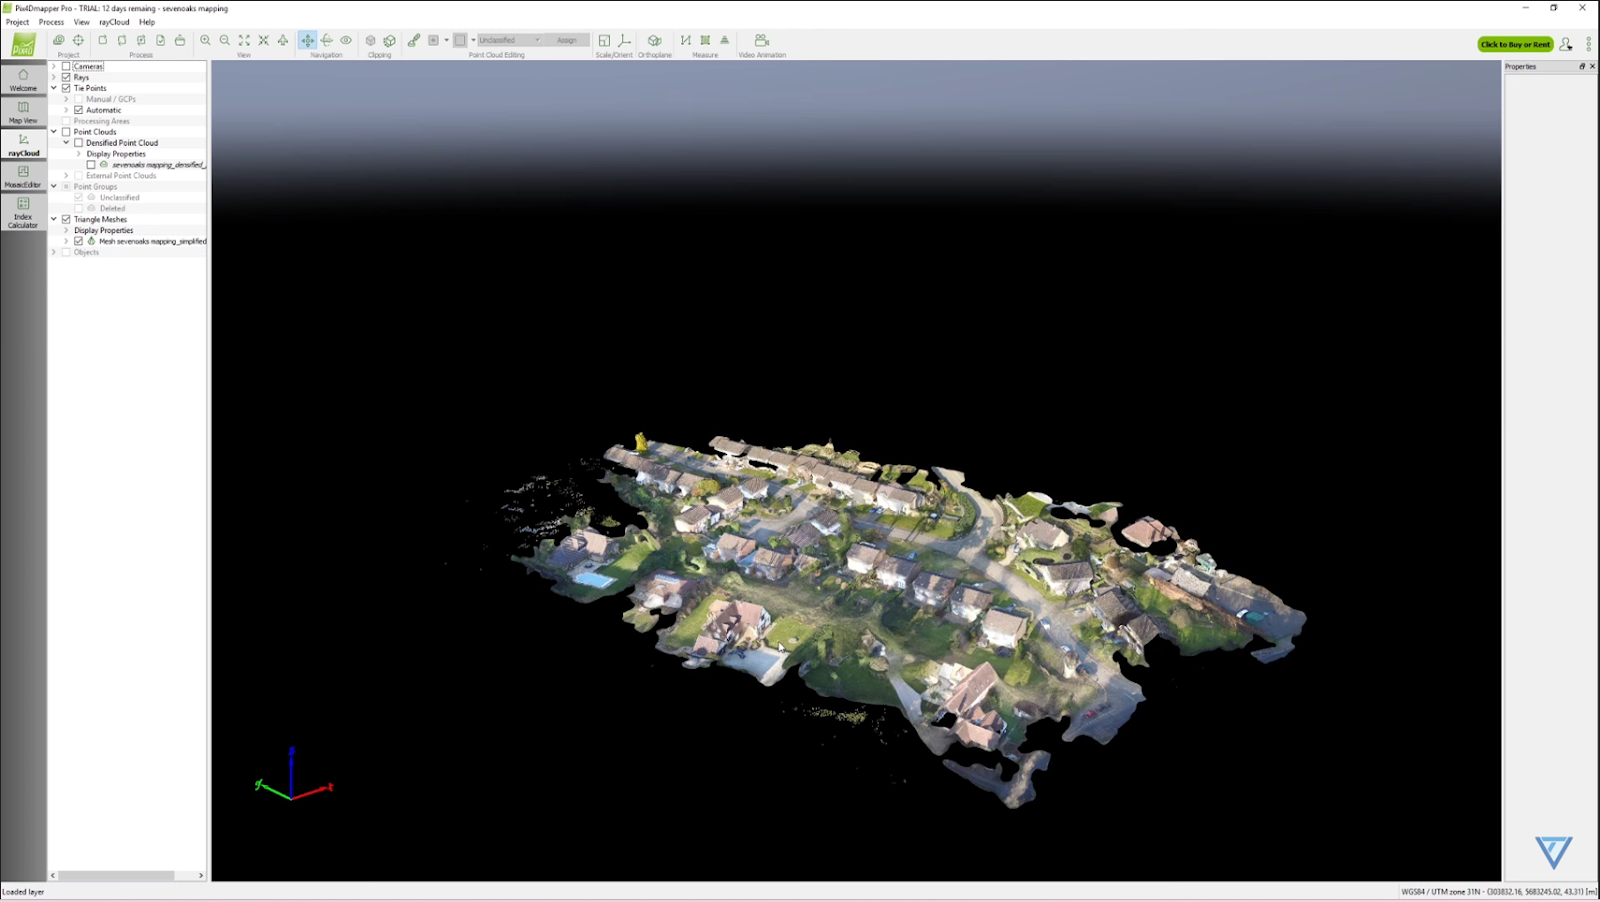
- The completed 3D textured mesh and orthomosaic are ready for export.