Revit workflow-1
Converting an LGS File to 2D Layout Using Section in Autodesk Revit
-
Launch Autodesk Revit. You will see a blank project displayed.
-
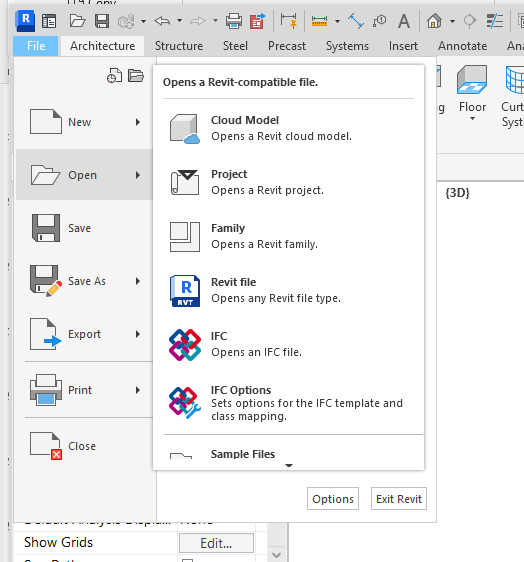
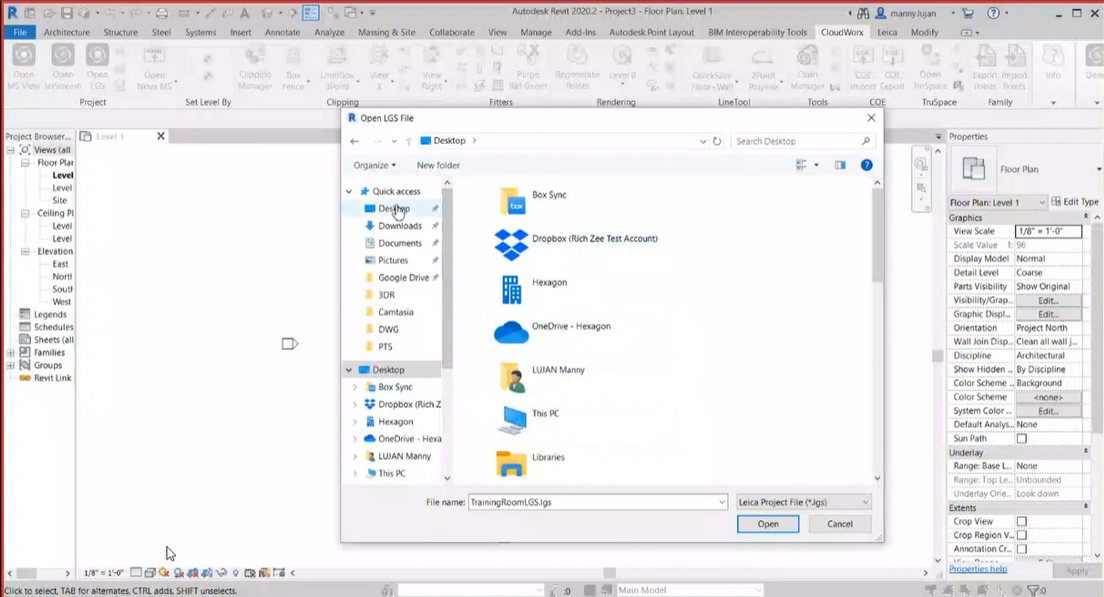
In the Cloud Worx menu, click on the Open LGS option. Then, select File and click on your Project.rvt or cwrj file to open it.
-
Locate the file and click Open to import it.
-
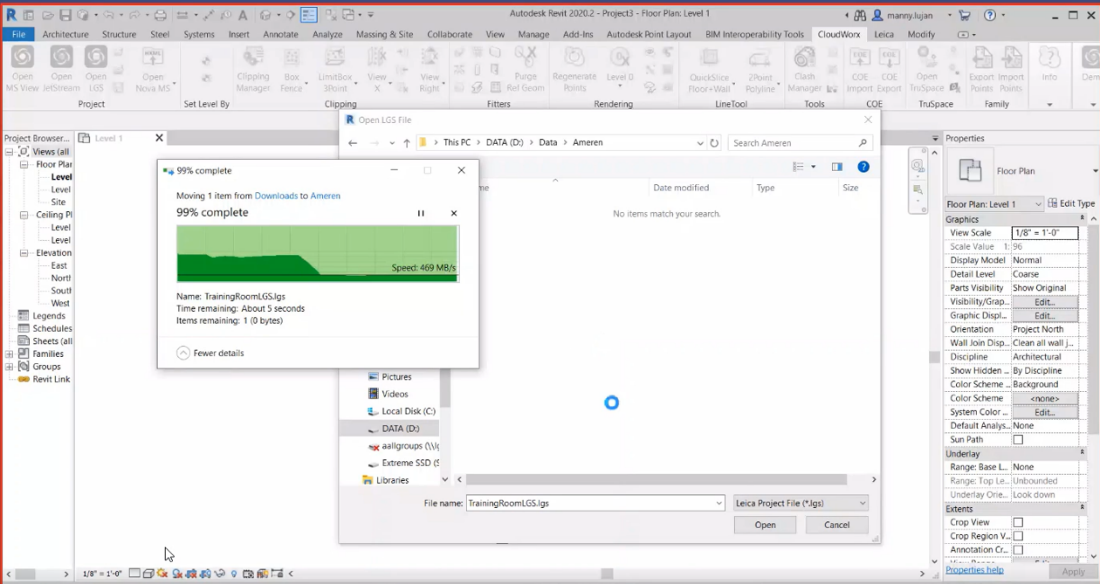
Wait for the import process to complete.
-
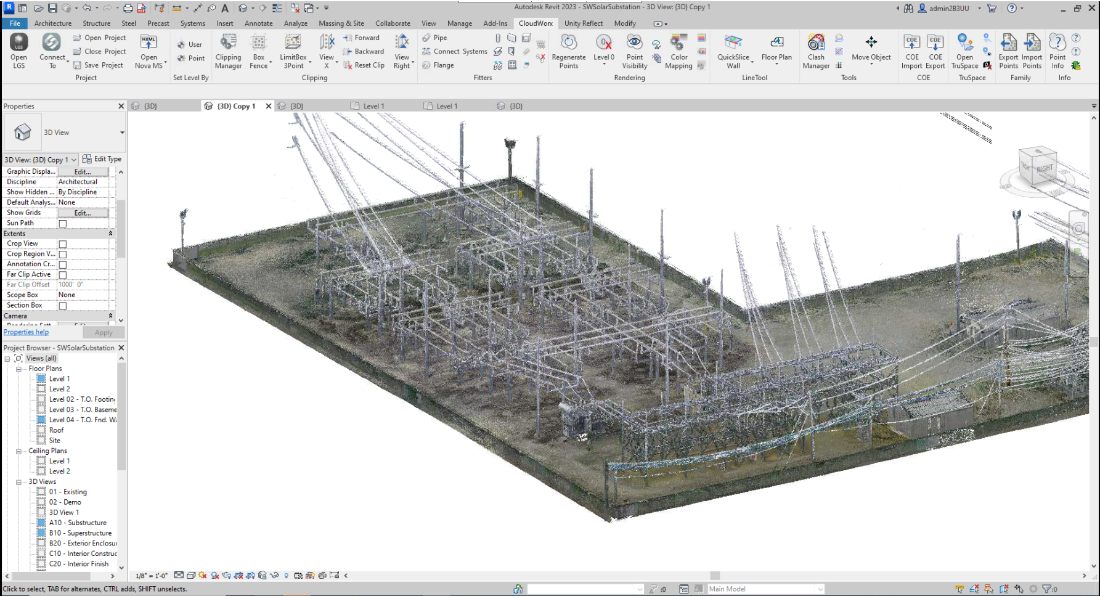
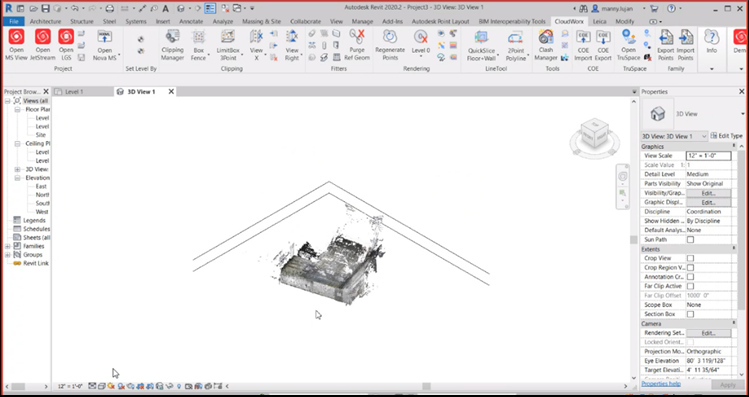
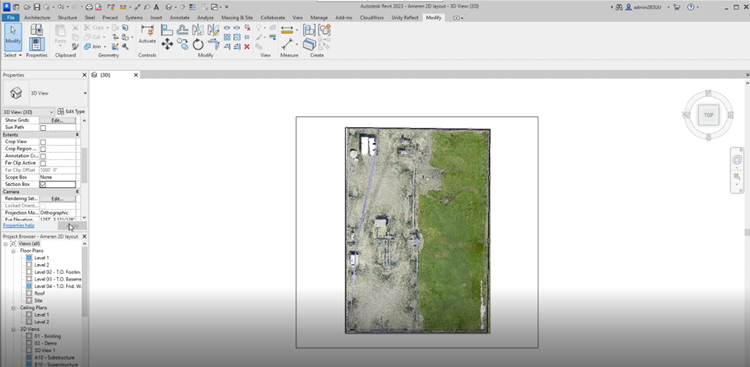
Once the file is imported, it will appear as shown below.
-
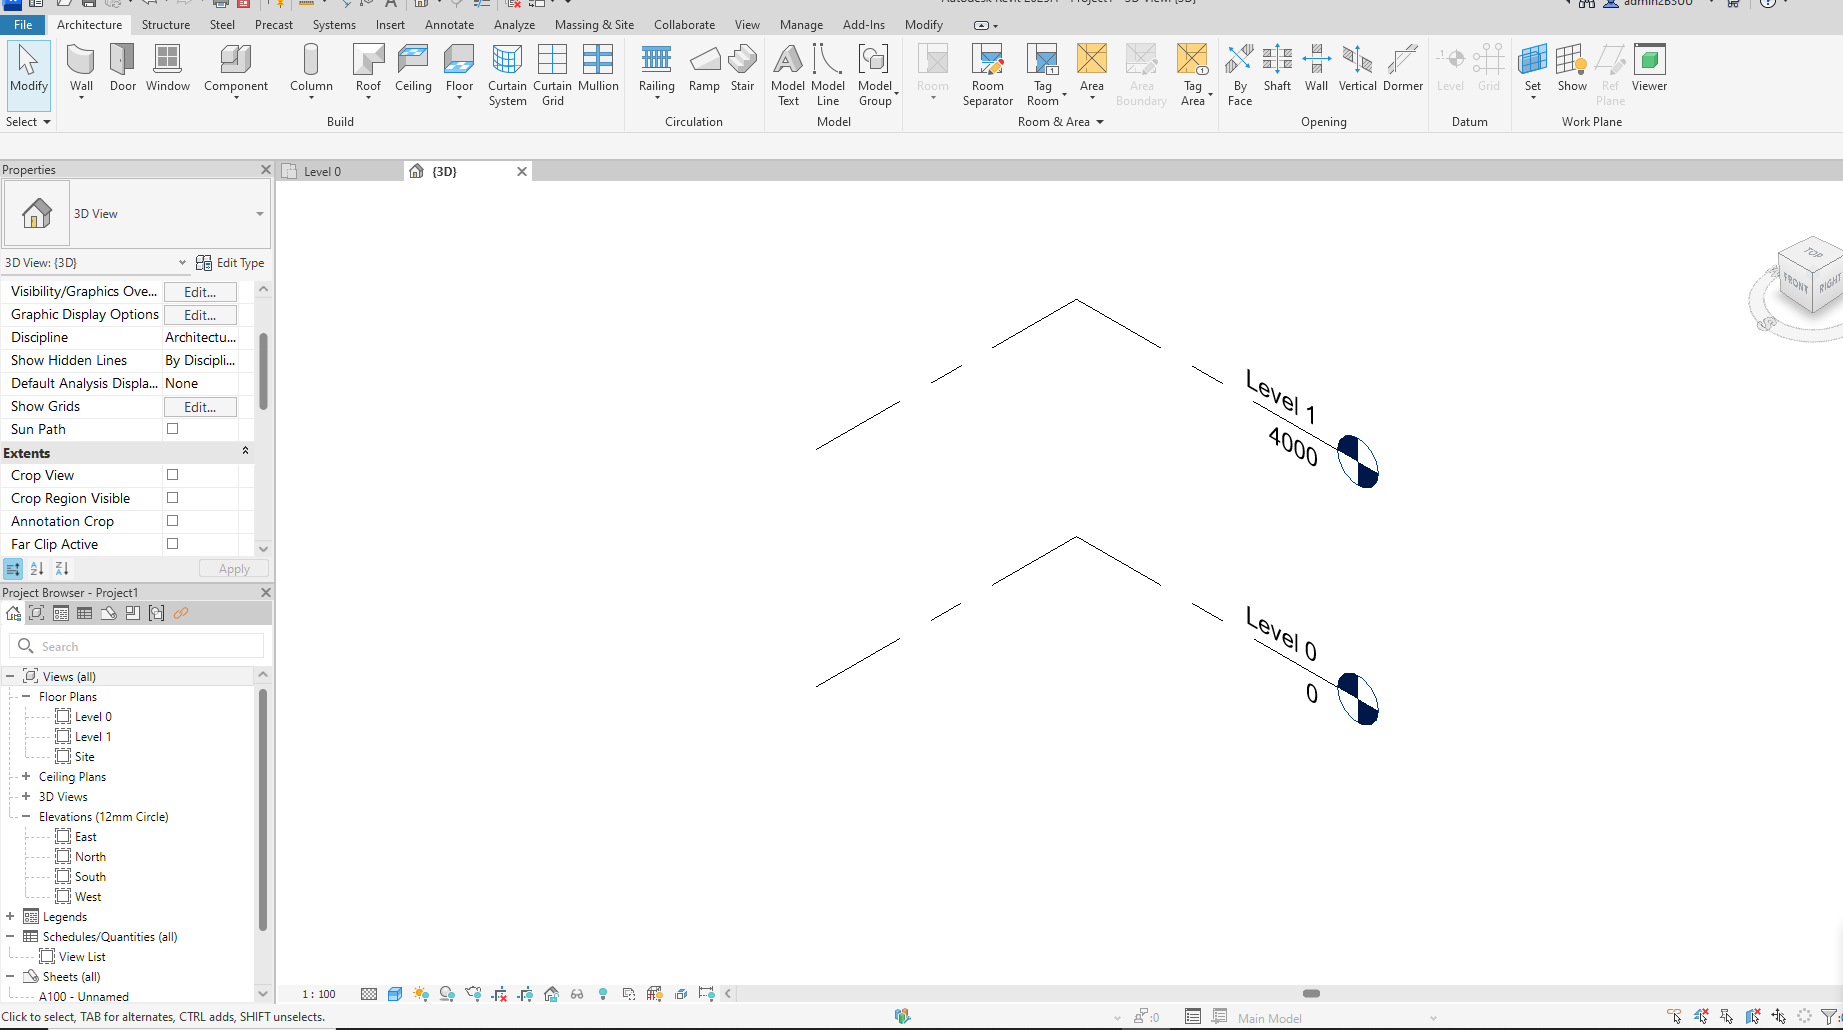
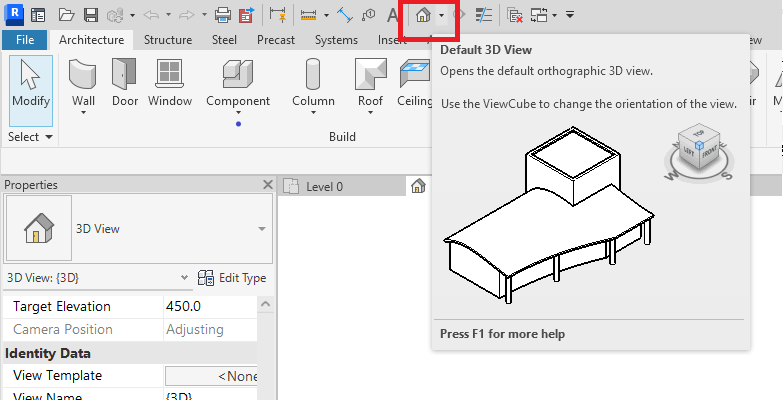
Click on the Default 3D View option in the title bar.
-
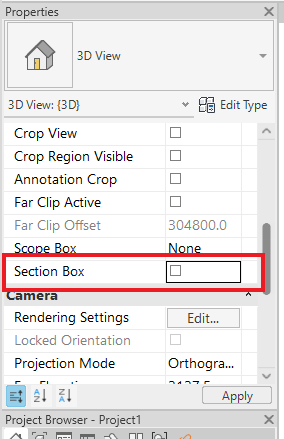
In the 3D View Properties, select the Section checkbox under Extents.
-
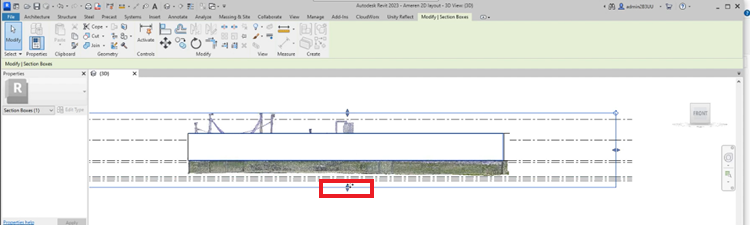
A section box will be placed around the LGS file.
-
Click on the section box line to adjust the layout by dragging the arrow.
-
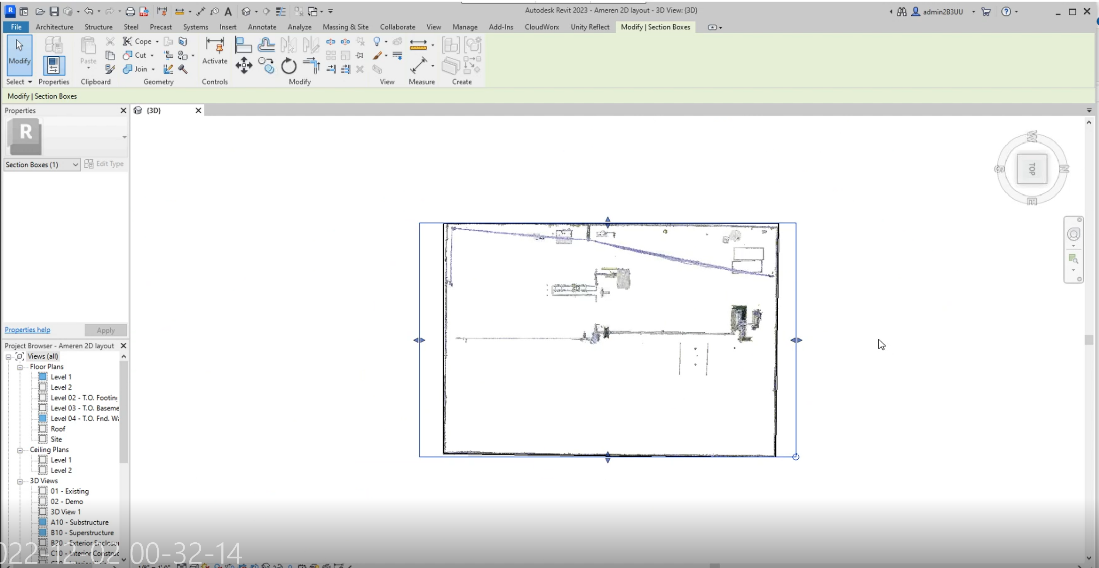
After adjusting, the top view will be displayed as shown below.
-
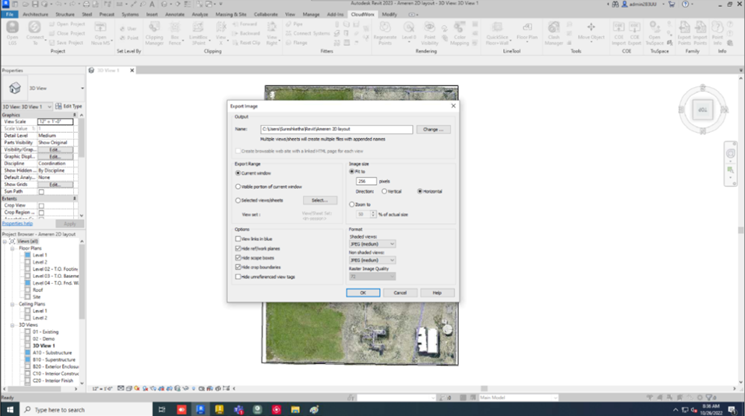
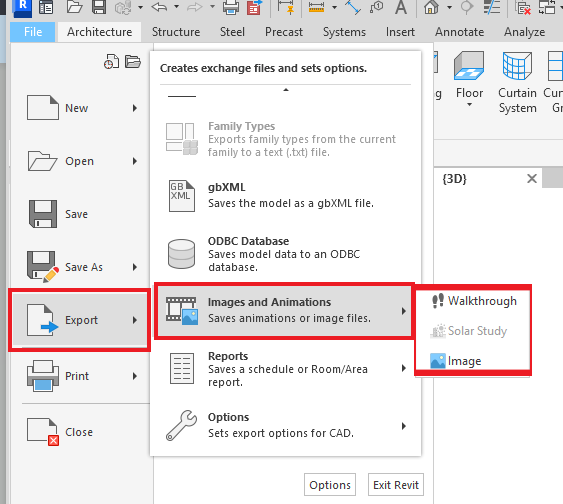
Next, click on the File menu and select the Export option. You will see several file formats available for export, such as CAD formats, DWF, FBX, IFC, Images, and Animations.
-
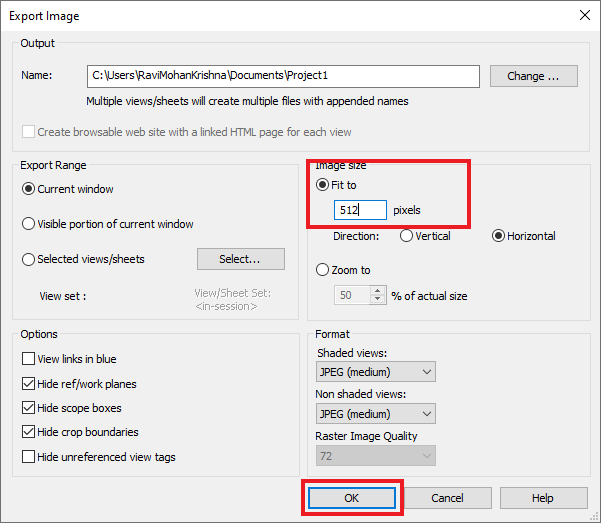
Select Images and Animations file format, then click on Image to export.
Note:
-
To revert any changes made to the LGS file, go to the Clipping Manager in Cloud Worx and uncheck the group in the clipping manager.