Installation
Minimum System Requirements: Entry-Level Configuration
| Component | Specification |
|---|---|
| Operating System | 64-bit Microsoft® Windows® 10 or Windows 11. For support details, refer to Autodesk's Product Support Lifecycle. |
| CPU Type | Intel® i-Series, Xeon®, AMD® Ryzen, or Ryzen Threadripper PRO (2.5 GHz or higher). Highest CPU GHz is recommended. Autodesk® Revit® utilizes multiple cores for many tasks. |
| Memory | 8 GB RAM. Sufficient for typical editing sessions on a single model up to approximately 100 MB on disk. This estimate is based on internal testing and customer reports, though individual models may vary. Models created in previous versions of Revit may require additional memory for the upgrade process. |
| Video Display Resolutions | Minimum: 1280 x 1024 with true color. Maximum: Ultra-High (4K) Definition Monitor. |
| Video Adapter | Basic: 24-bit color capable display adapter. Advanced: DirectX® 11 compatible graphics card with Shader Model 5 and at least 4GB of video memory. |
| Disk Space | 30 GB of free disk space required. |
| Pointing Device | MS-Mouse or 3Dconnexion® compliant device. |
| .NET Framework | .NET Framework Version 4.8 or later. |
| Browser | Chrome, Edge, or Firefox. |
| Connectivity | Internet connection for license registration and prerequisite component downloads. |
Application Installation
-
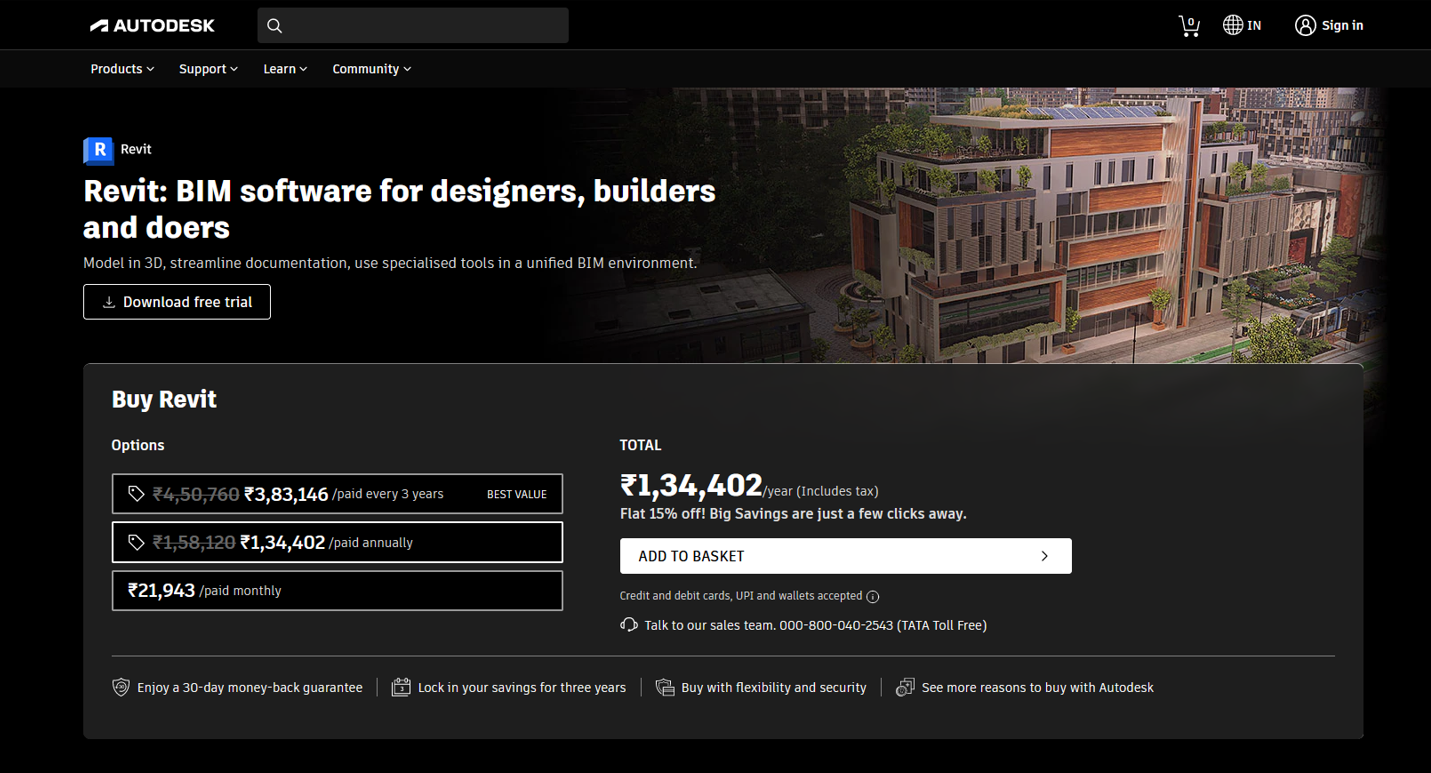
Visit the Autodesk website at Autodesk.

-
Create a student account on Autodesk.
-
Once the student account is created successfully, click on SIGN IN.
-
Enter your Email ID.

-
After entering your email ID, click Next.
-
Enter your Password and click SIGN IN.

-
After signing in, a popup window will appear. Click on View All Products.
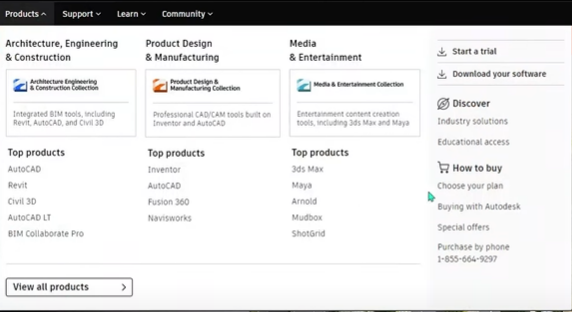
-
A new popup window will open. Scroll down to find Autodesk Revit.
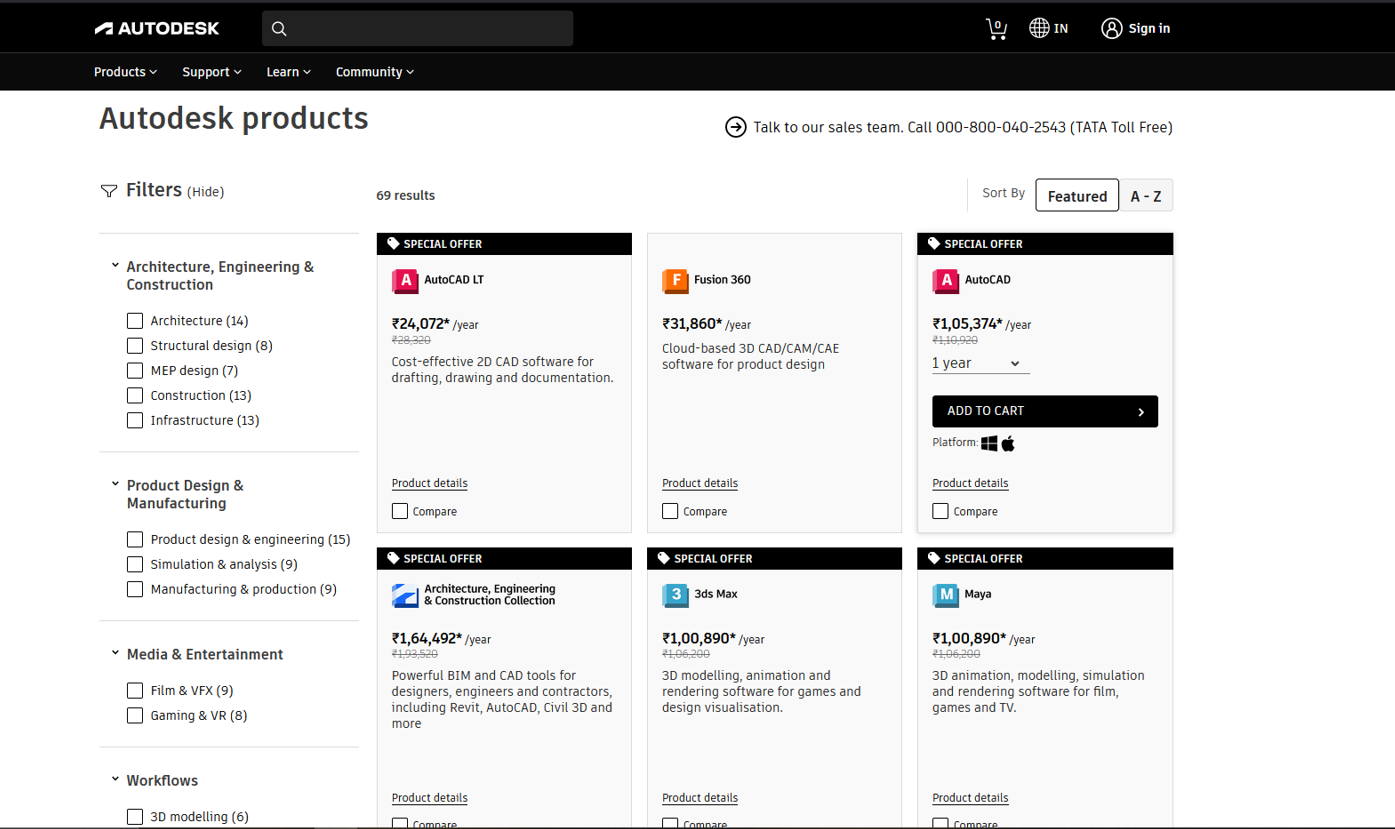
-
Click on Autodesk Revit to proceed.
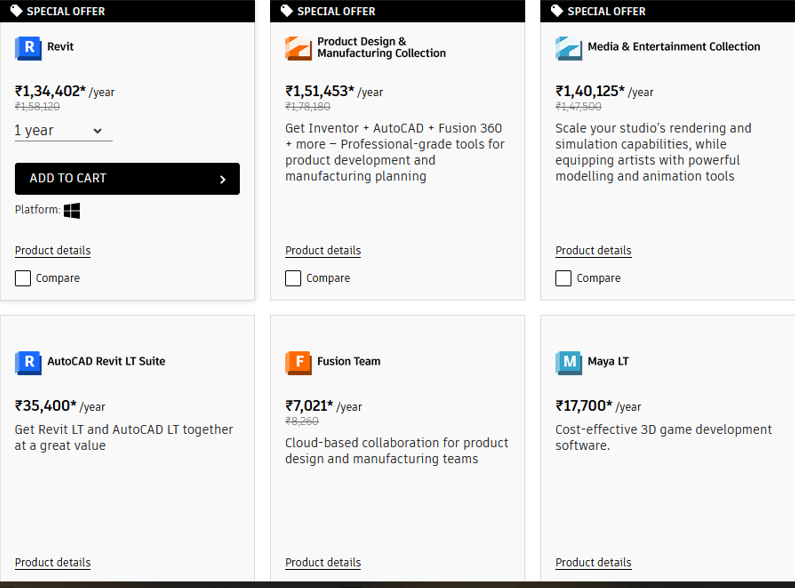
-
Download the Autodesk Revit application and continue with the billing process.
-
After the installation file is downloaded, begin the installation process.

-
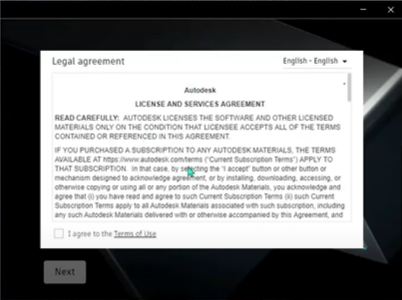
Once the software is ready for installation, read the Autodesk License and Service Agreement carefully and click NEXT.
-
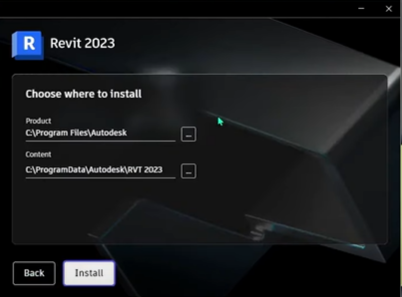
Choose the destination drive for the installation. After selecting the location, click Install.
-
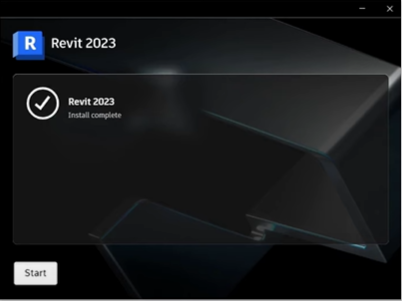
Autodesk Revit 2023 will now be installed.
-
Once installation is complete, click Start to launch Autodesk Revit.