Autodesk Maya Workflow-2
Animation.
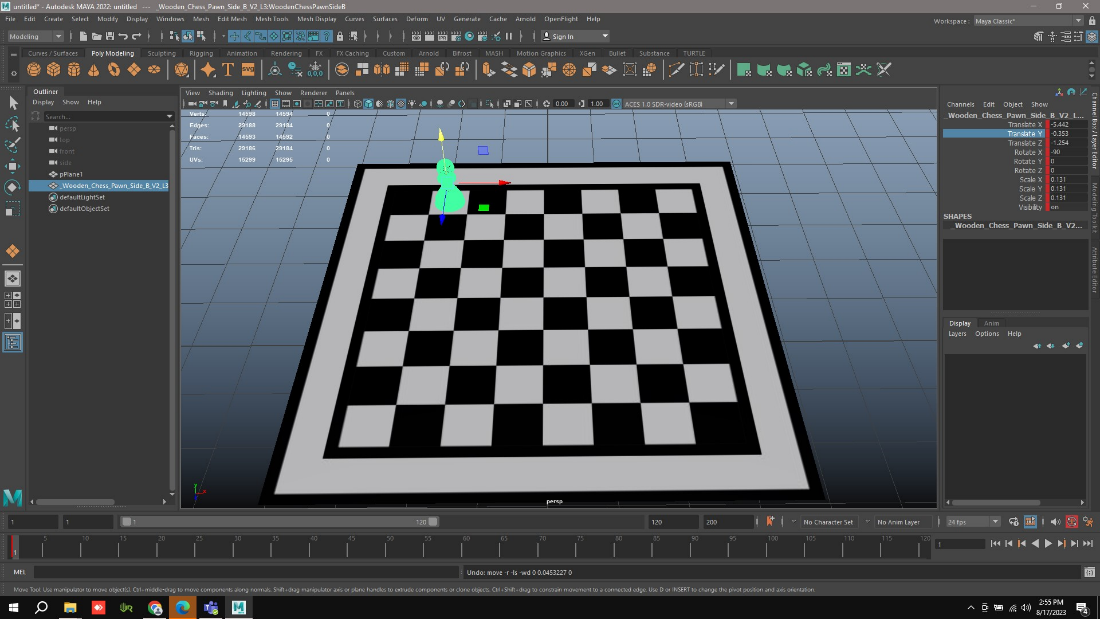
Normal Animation:
-
The 3D object which came from the Modelling can be Animated here.
-
If we notice below there the time lapse visible.
-
In pressing the S button, the key appears in the red color. It means the keyis applied.
-
Now by using X Y Z axis we can make the Animation. As like this
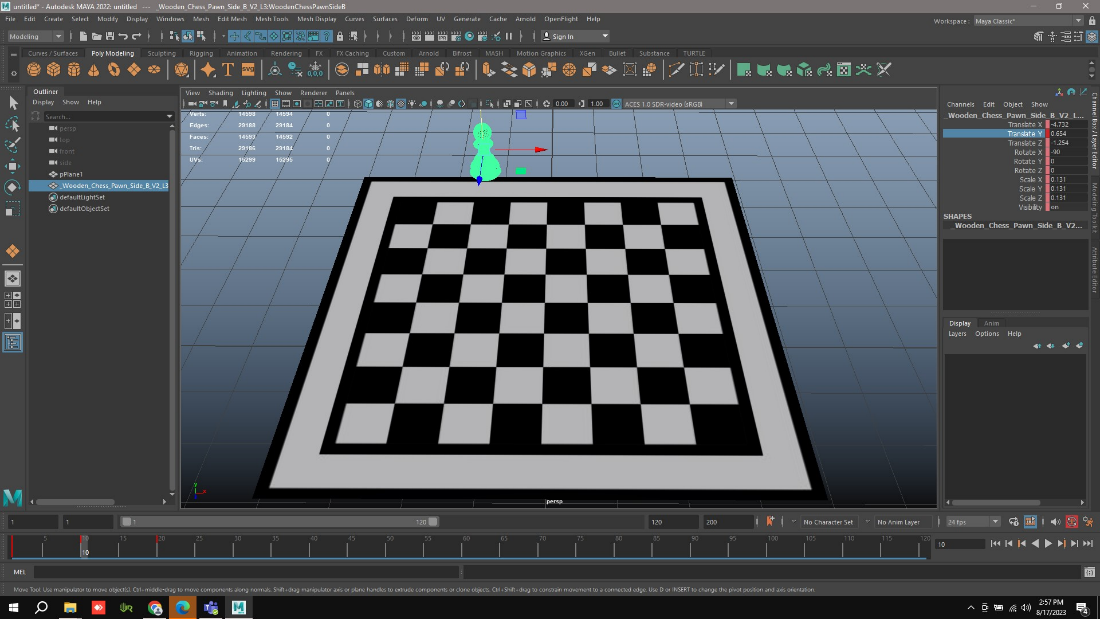
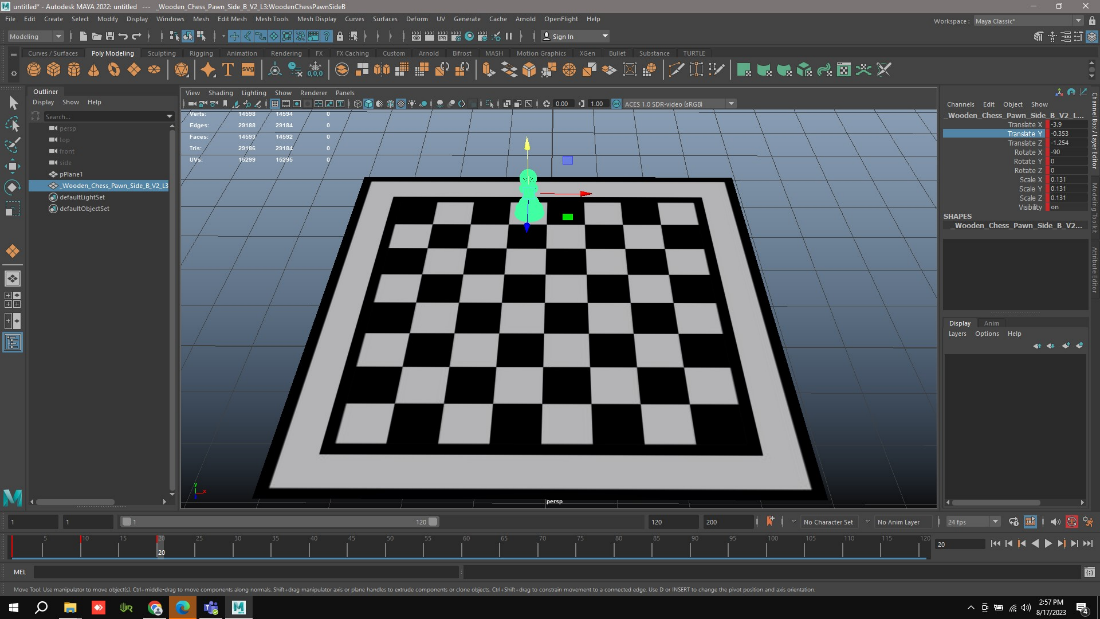
- If we click on Play it will play the Animation. How we did by using the Axis.
Rig Animation:
-
Similarly for rig animation the same process will be carried out.
-
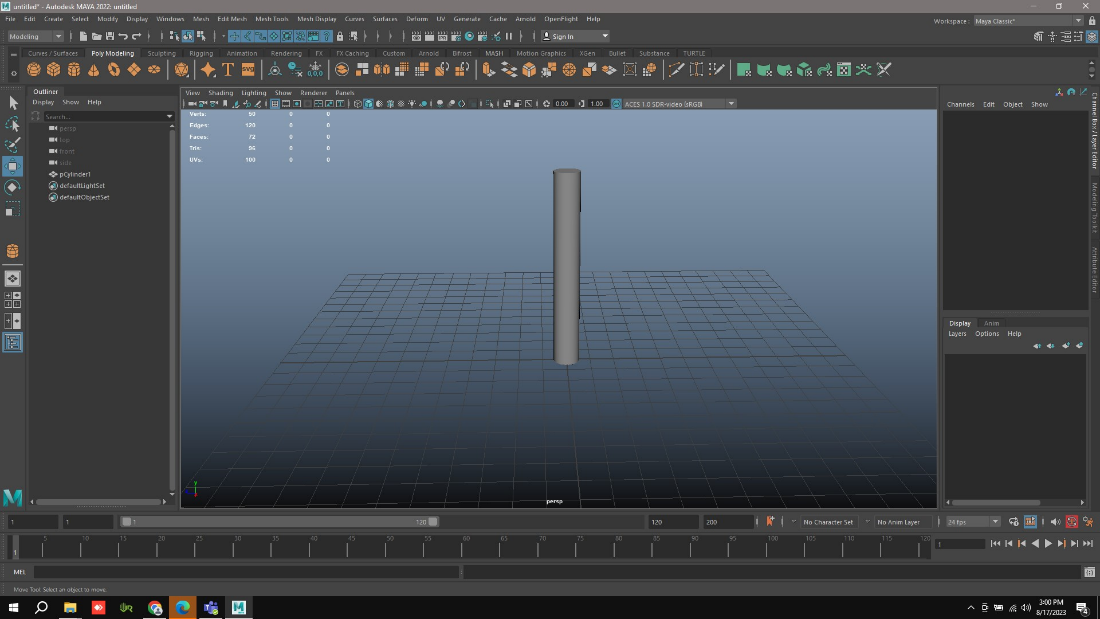
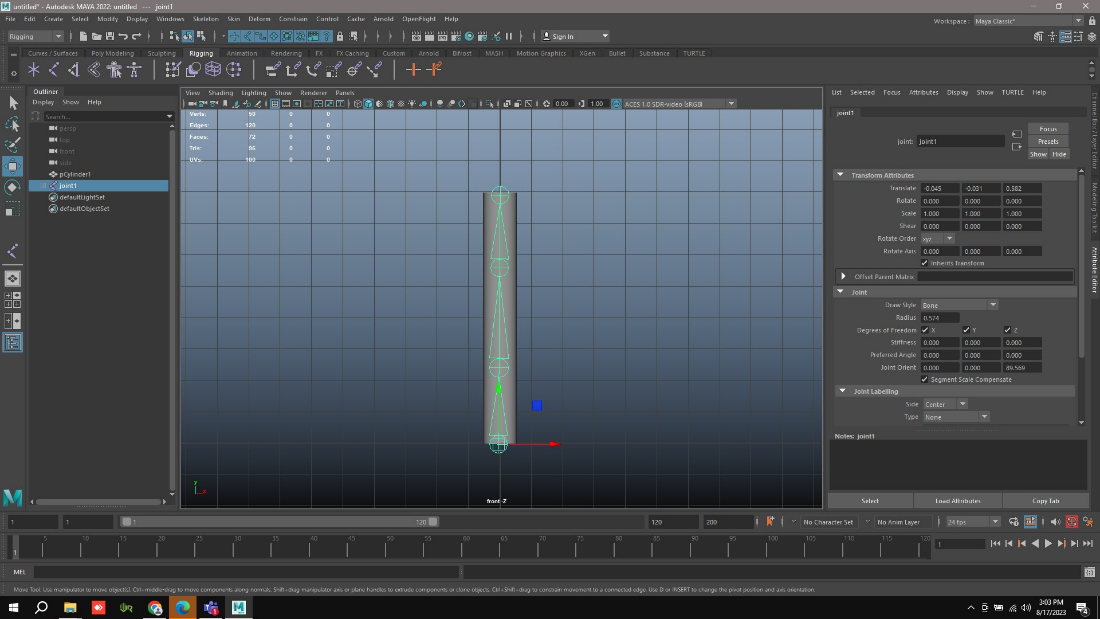
Select the Shape in the menu. As here am selecting the Cylinder to Rig Animation.
-
Select Rigging workbench
-
Go to select on the menu and select Create joints icon.
-
Select joints after Mesh Go to Skin and add Blend Skin. So that it will Appear in the viewer.

-
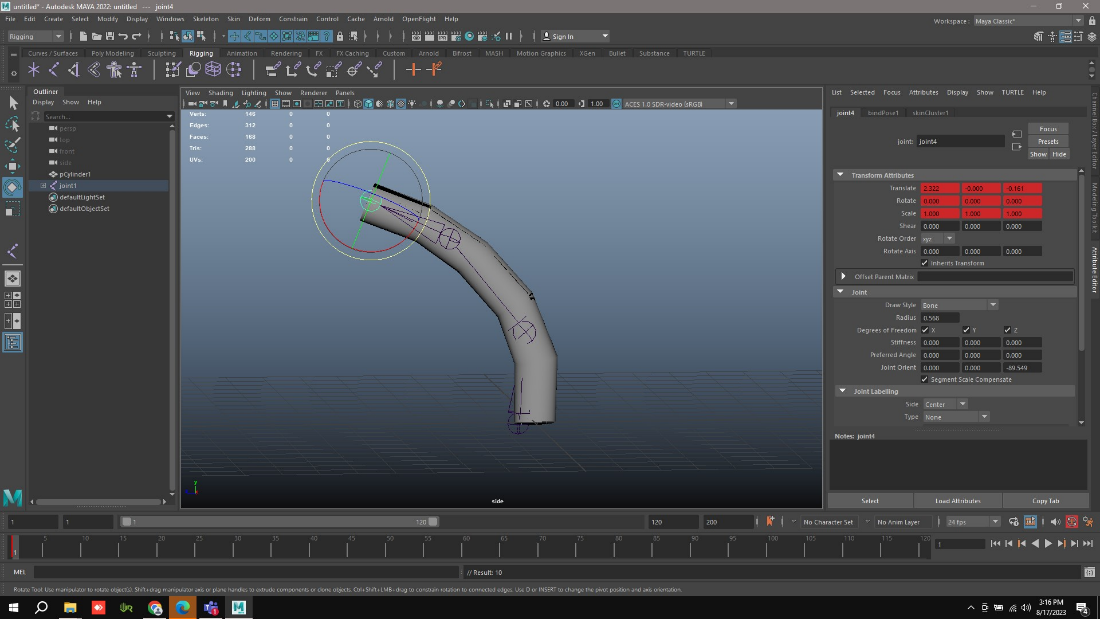
By using the joints, we can create animation based on joints.
-
In the timeline by pressing S key, we can provide keys.
-
We can do animations by giving keys and movements of the joint.
-
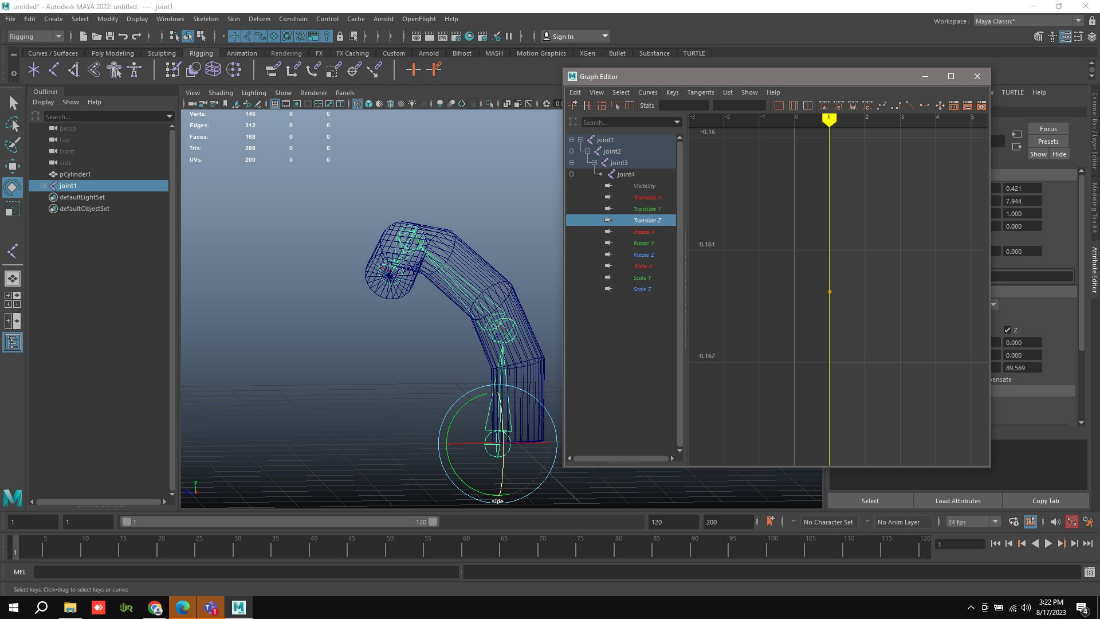
Click on open windows menu option and select animation editor then graph editor option will appear. So that we can give the Smoothness for the Animation.
-
Graph editor we can used to edit the smoothness of the keys.
-
We can also do rig animation for Fbx files also.