Cyclone3DR Workflow-1
Creating Mesh with texture in Cyclone 3DR
-
To create mesh, it requires point cloud data. ex: LGS, PTX, .E57, PTS, LAS .... Etc
-
We are generating with. LGS format file.
-
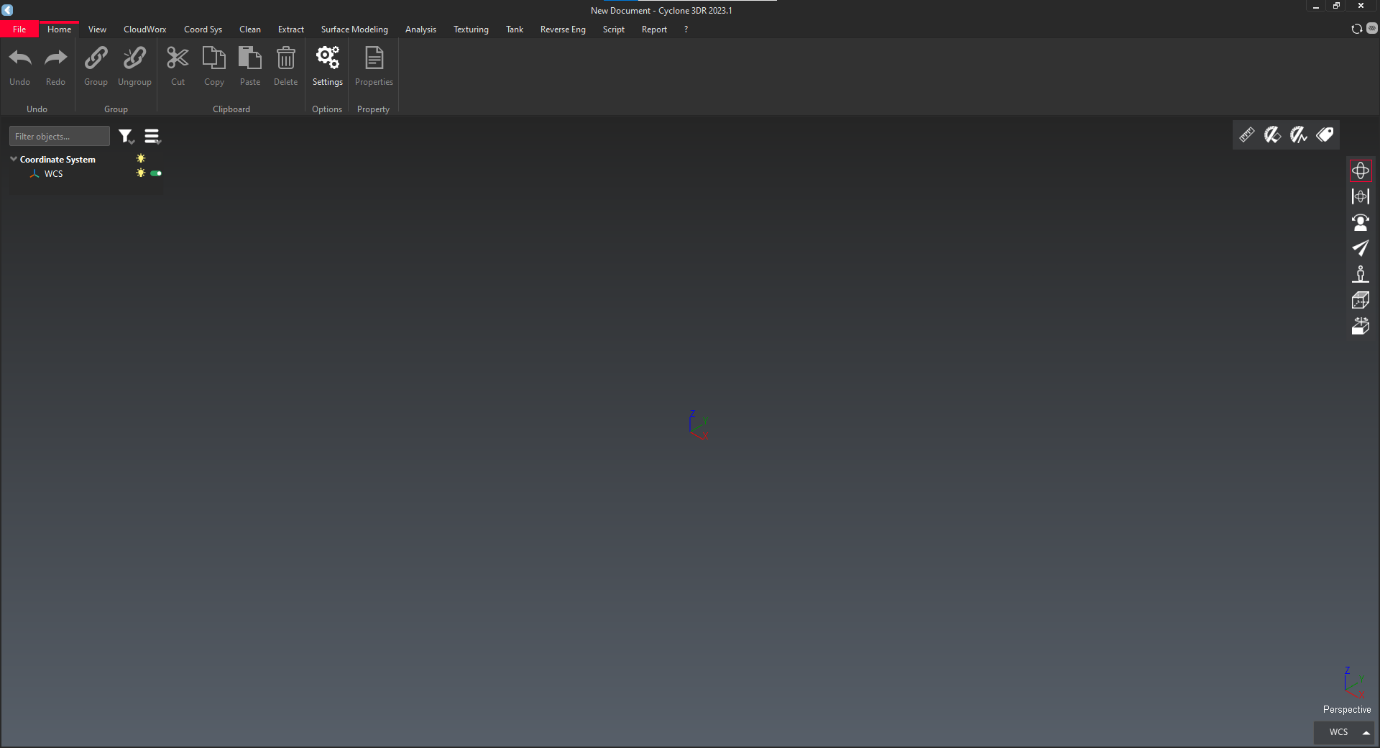
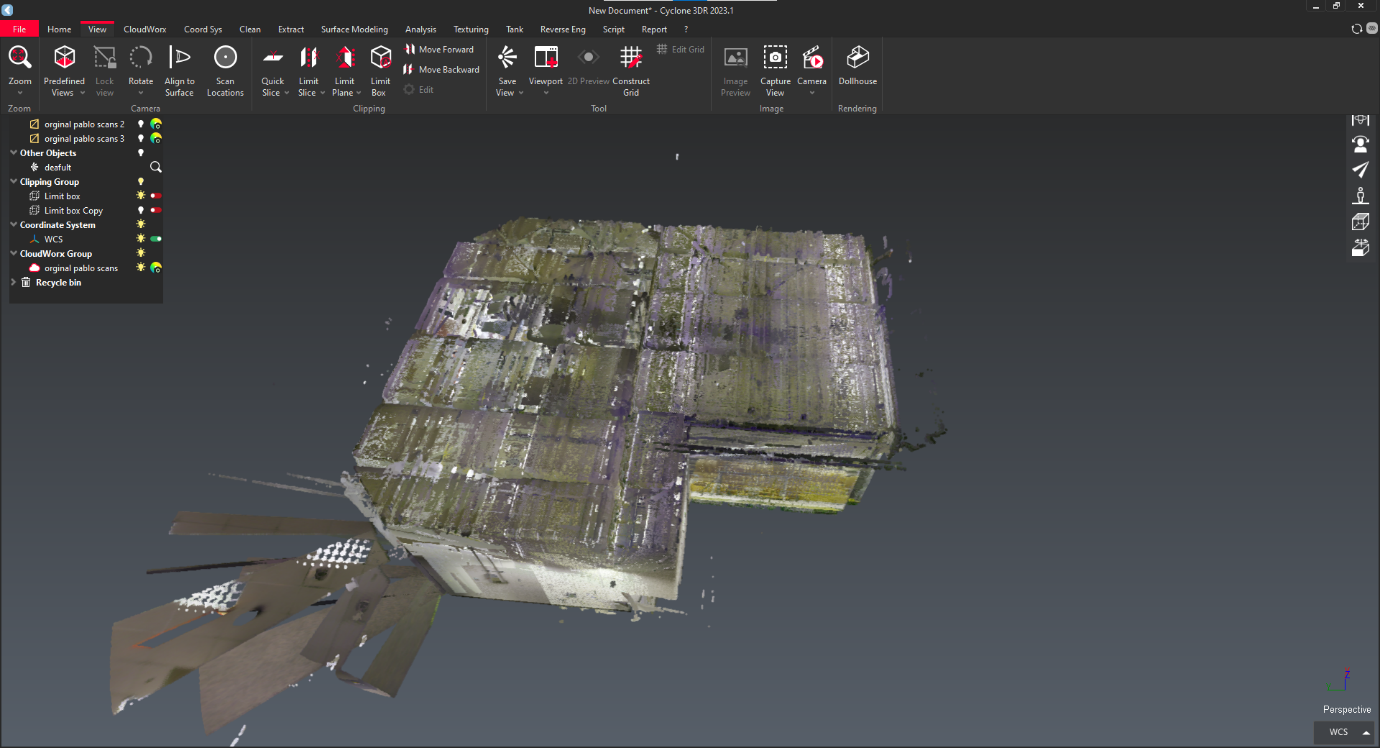
Open the "Cyclone 3DR" application interface shown below.
-
-
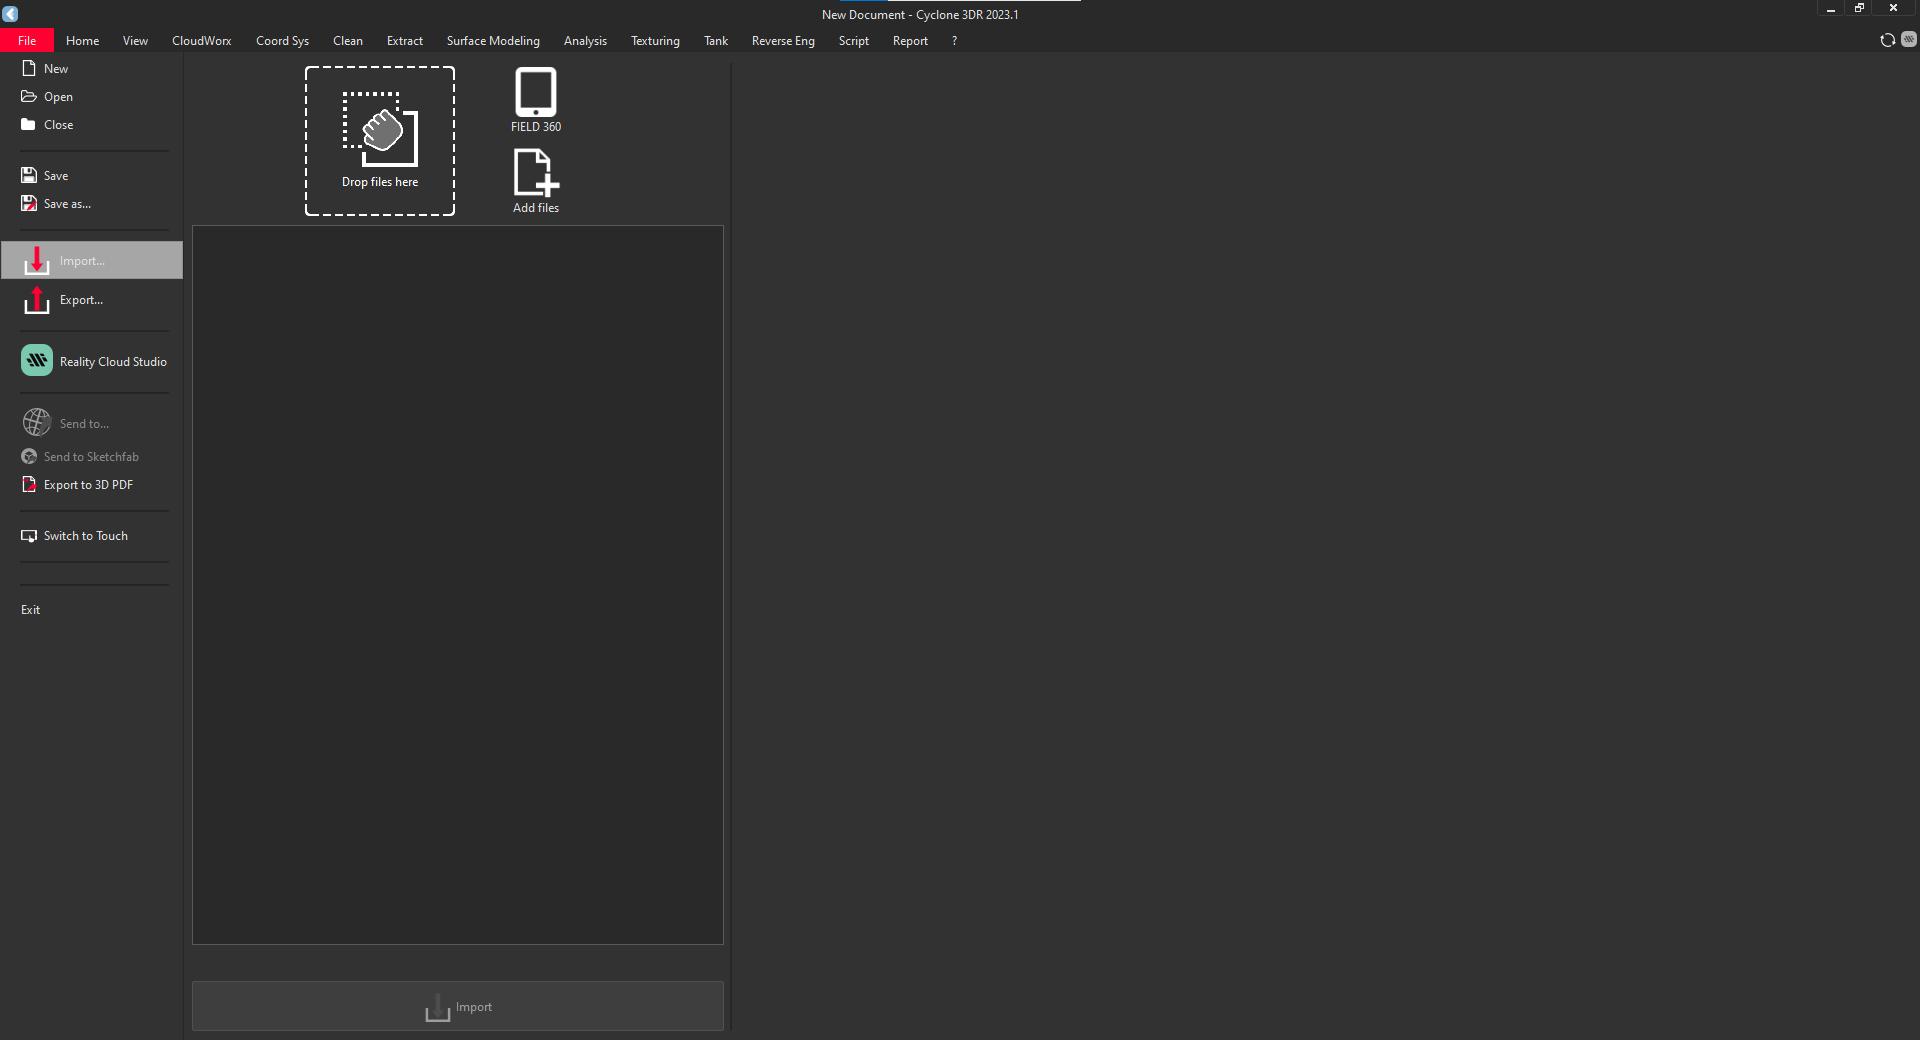
Open "File" menu and click on "Import" to select "browse".
-
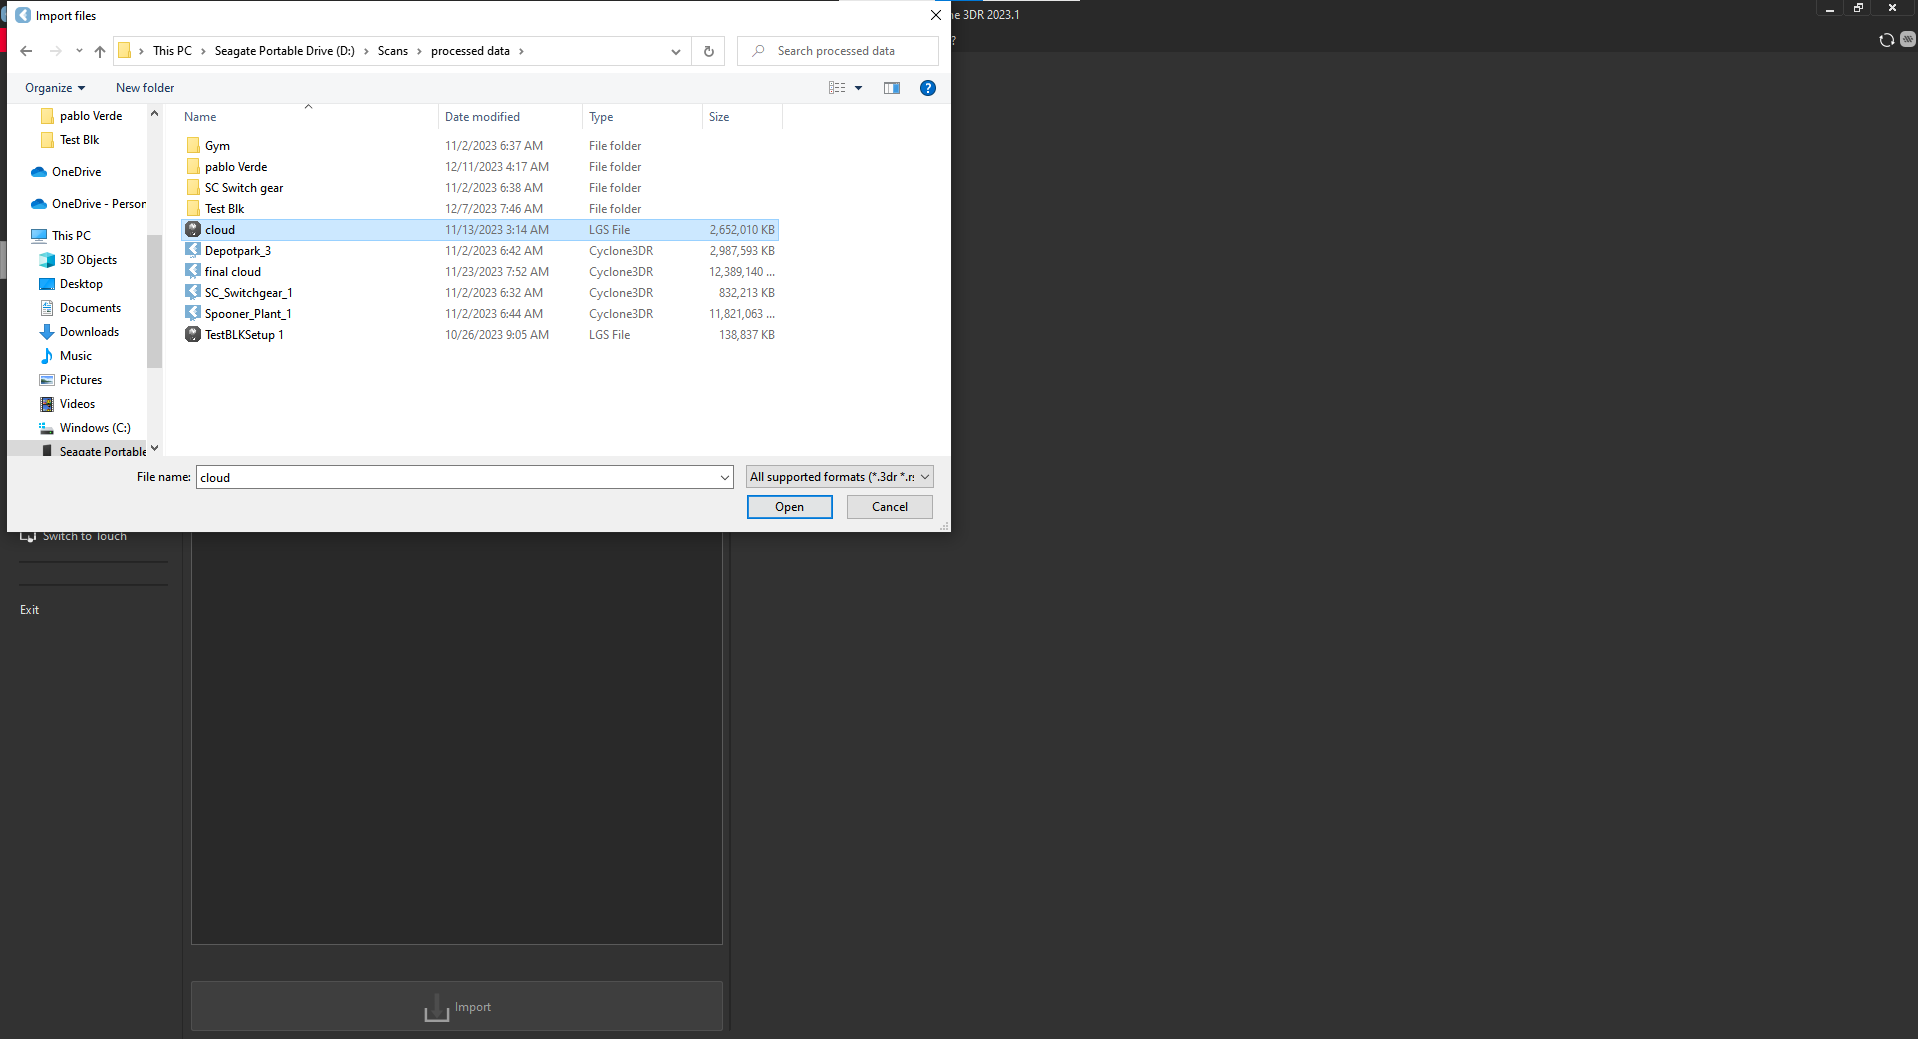
Locate the file and click on "open".
-
After remove "images" and select and "cloud".

-
Click on "import".

-
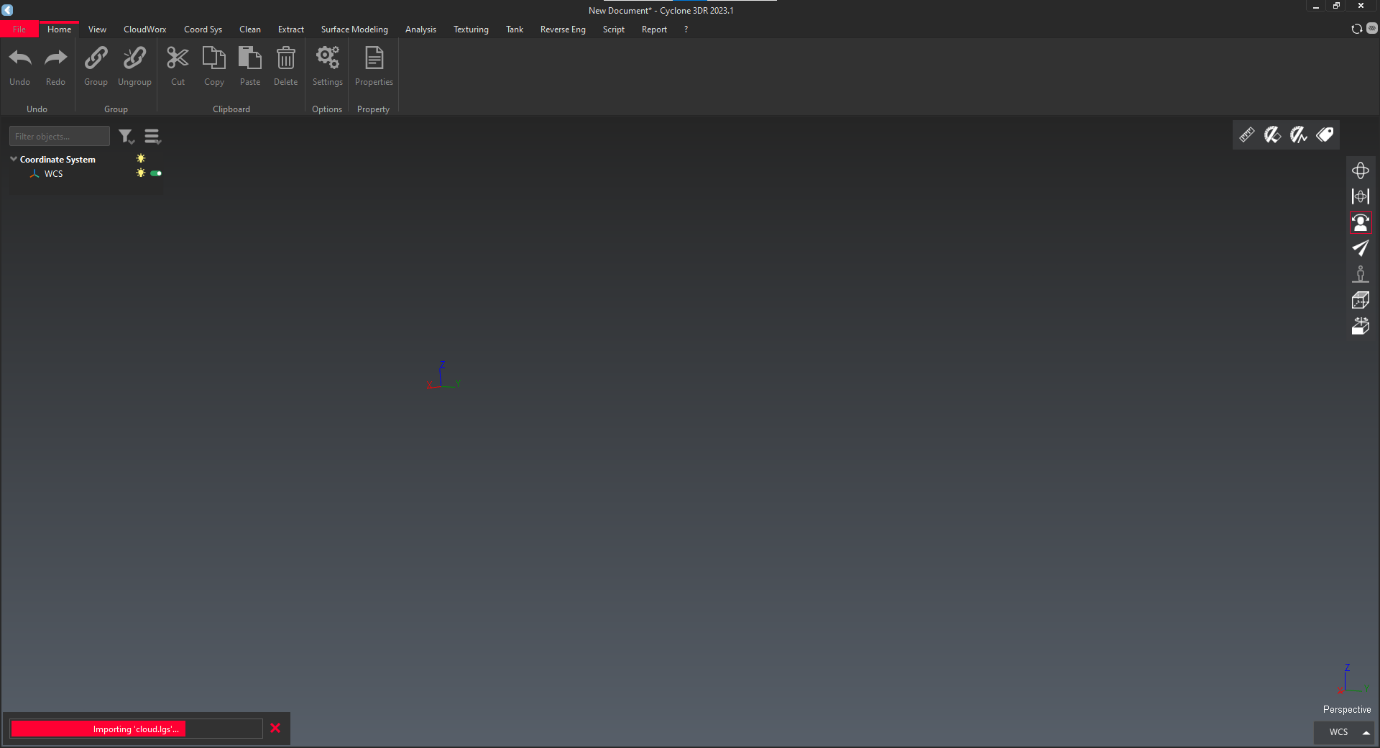
It takes some time import.
-
Entire Cloud shown Below.
-
To create a mesh first selecting required area. Some cases we cannot see the area, so we must choose limit box.
-
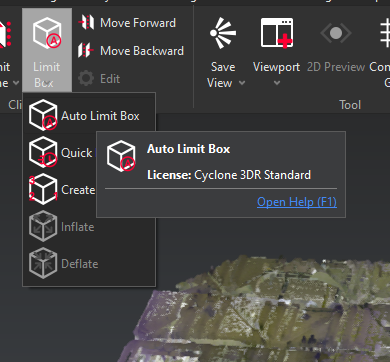
To View the cloud in limit box, click on "View" menu and select "limit box" and there is down arrow, click on that and select "auto limit box" option.
-
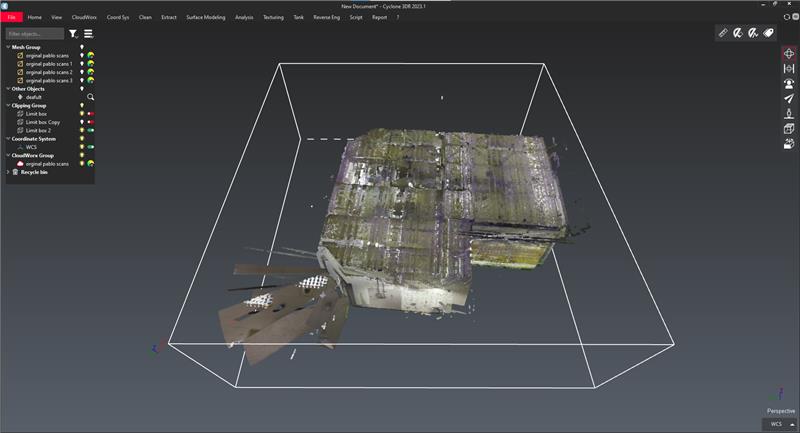
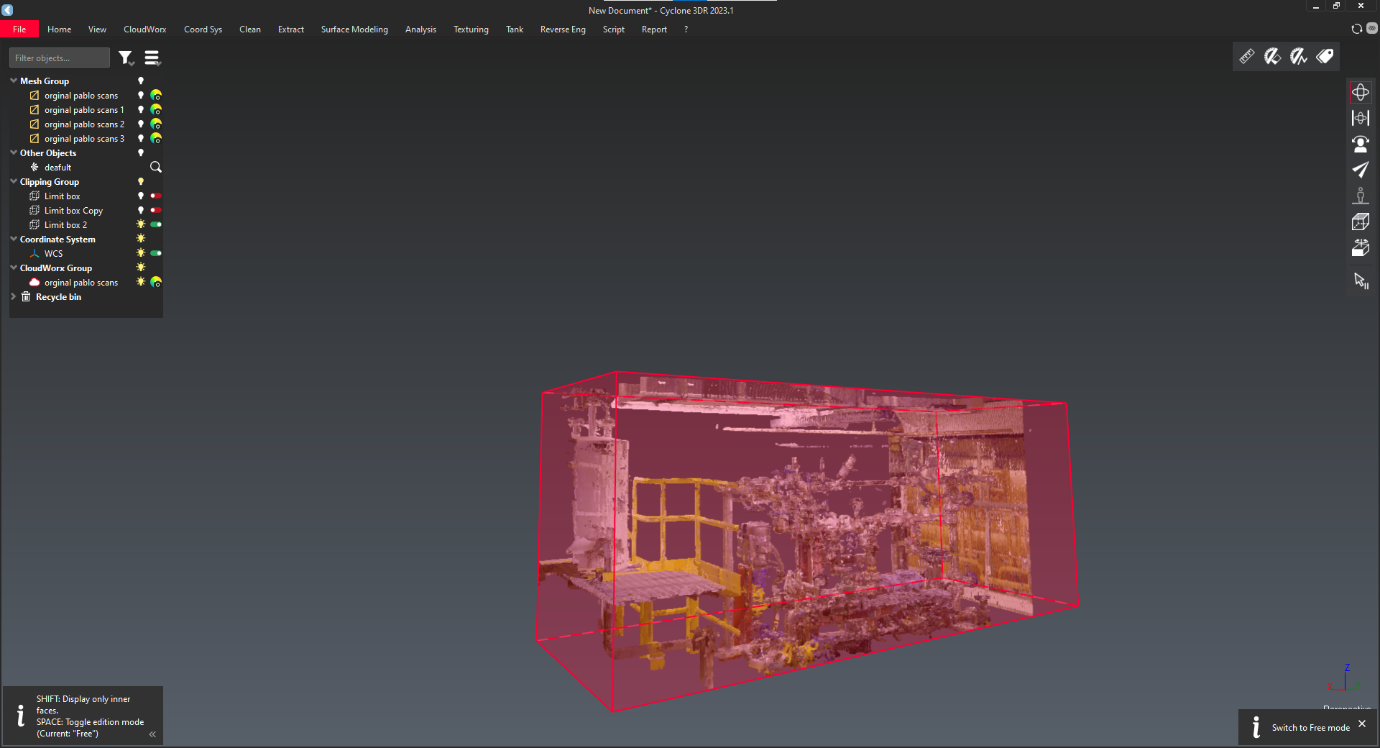
Limit box will appear shown In below image.
-
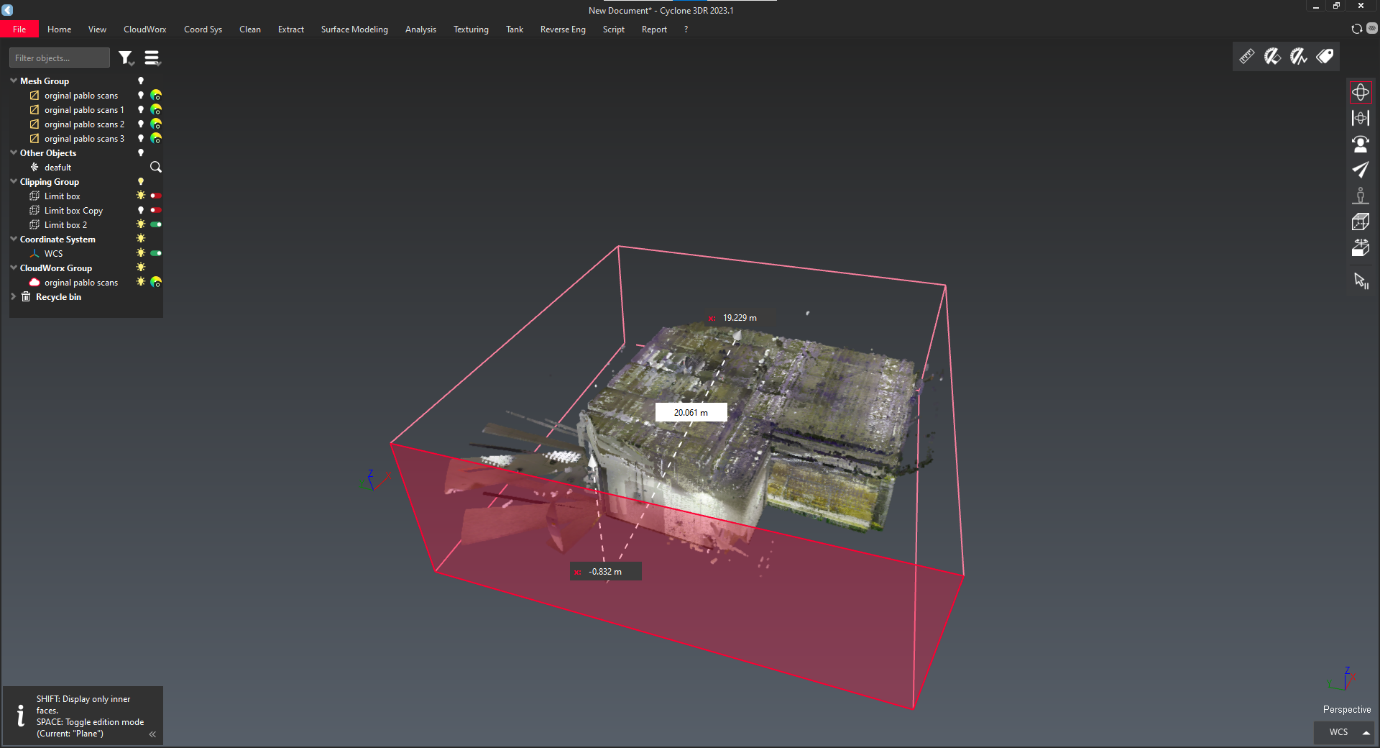
To activate the limit box press "CTRL + spacebar".

-
In limit box there are different option to move the limit box.
-
Plane mode: only any of side can move the plane but other edges will constant.
-
Free mode: entire limit box can move in all direction.
-
Slice mode: in this option Limit box will move along axis.
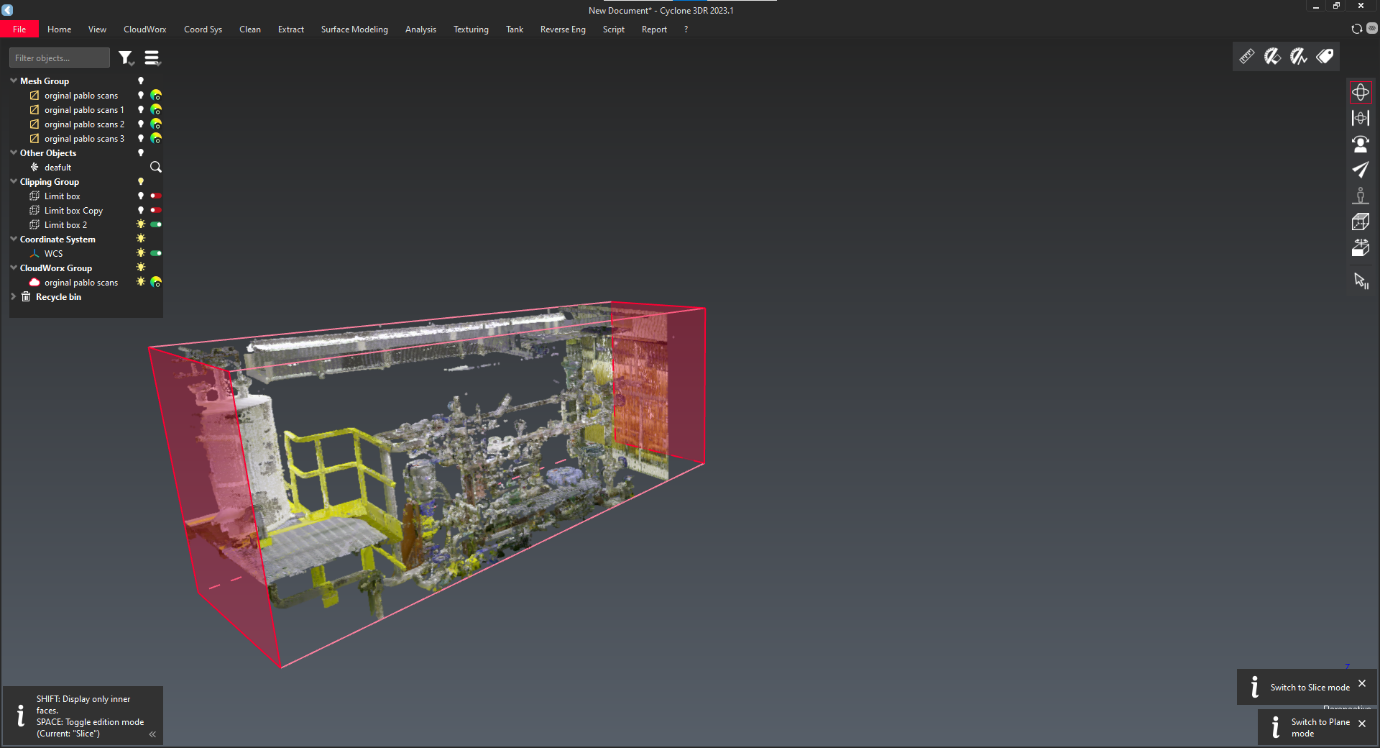
-
-
Do required limit box option to find your object to create mesh.
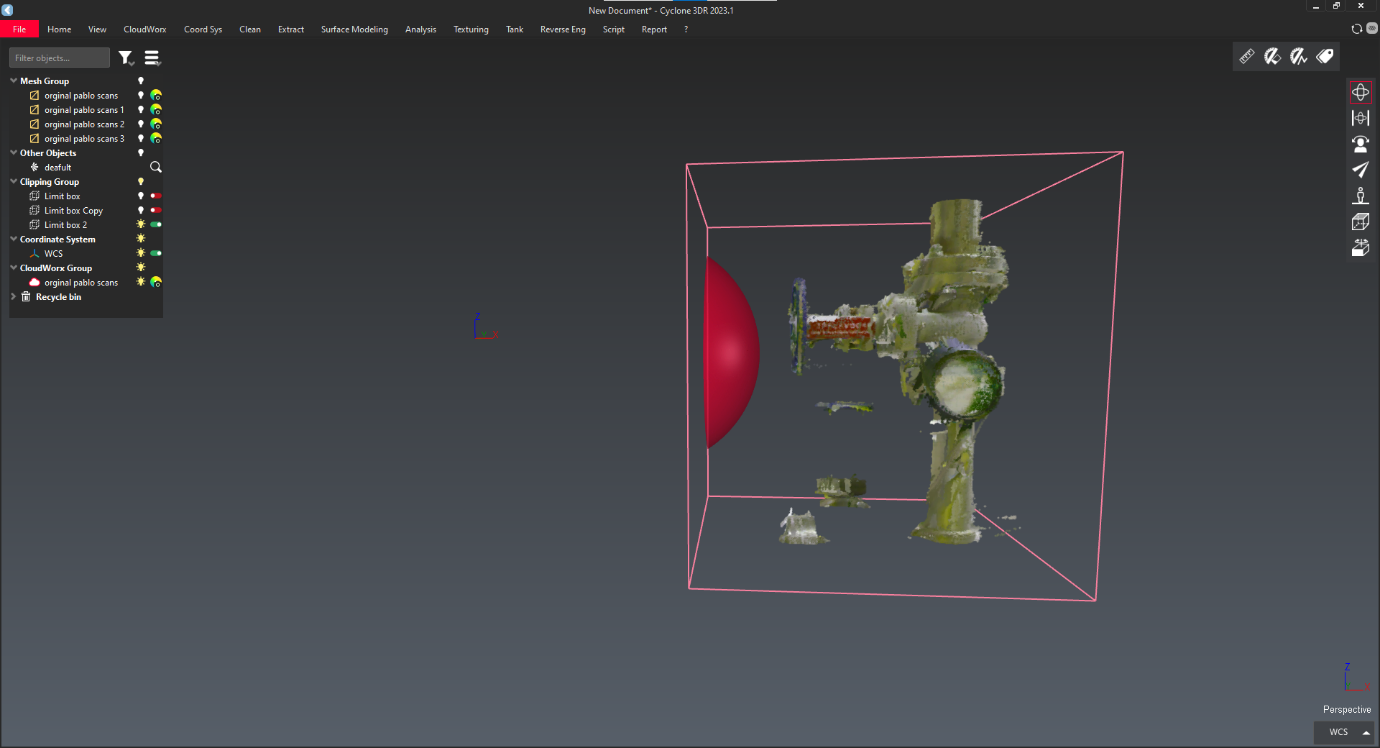
-
After that turn of your Limit box.
-
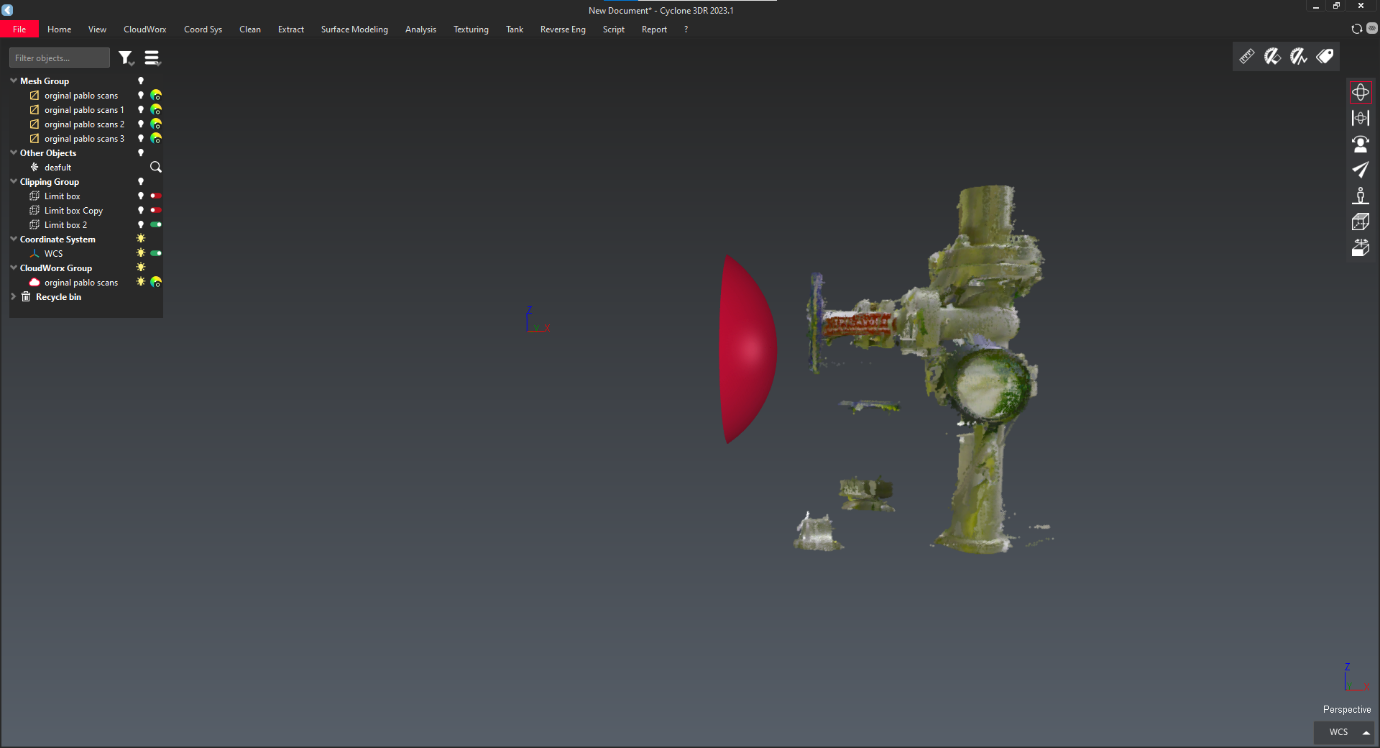
Select point cloud.

-
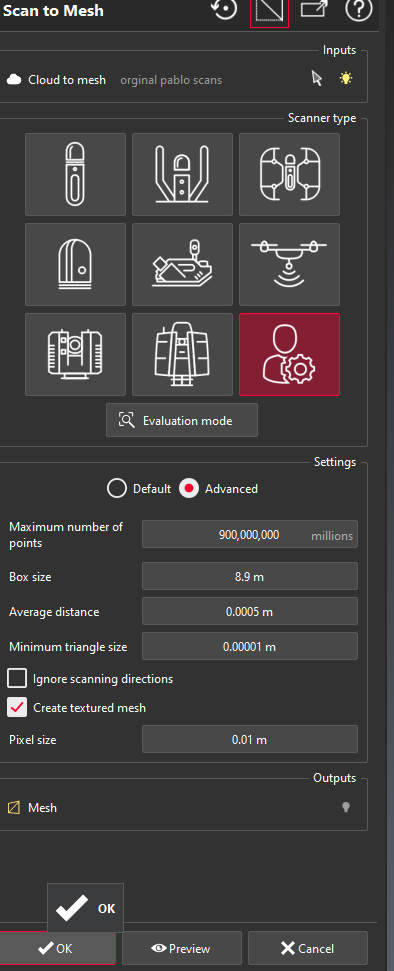
Go to "surface modelling" option and select "scan to mesh".

-
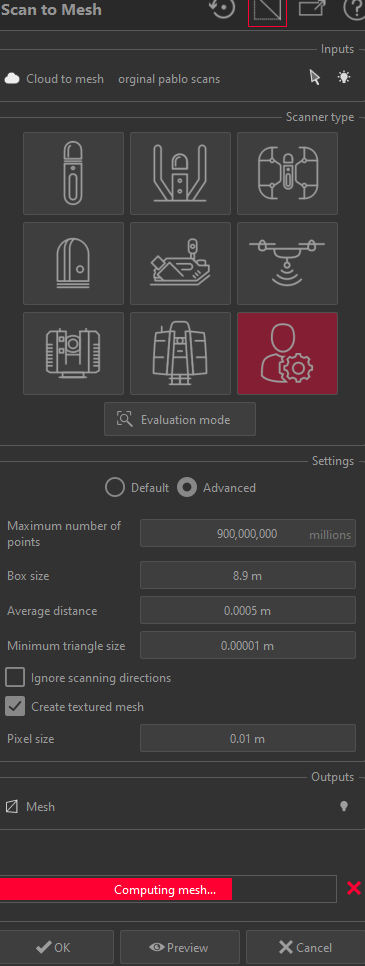
Adjust your parameters and click on "Ok" to generate mesh.
-
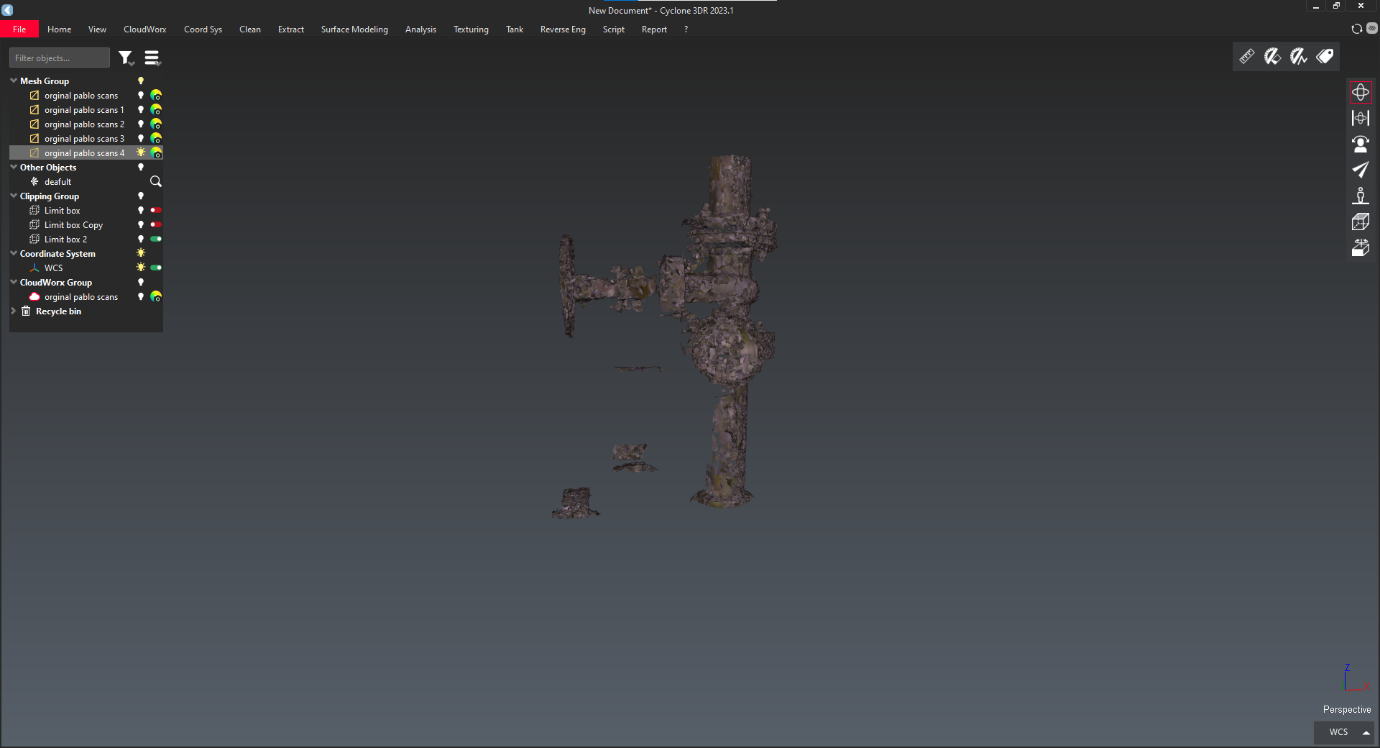
It takes some time to generate mesh.
-
Generated mesh shown below.
-
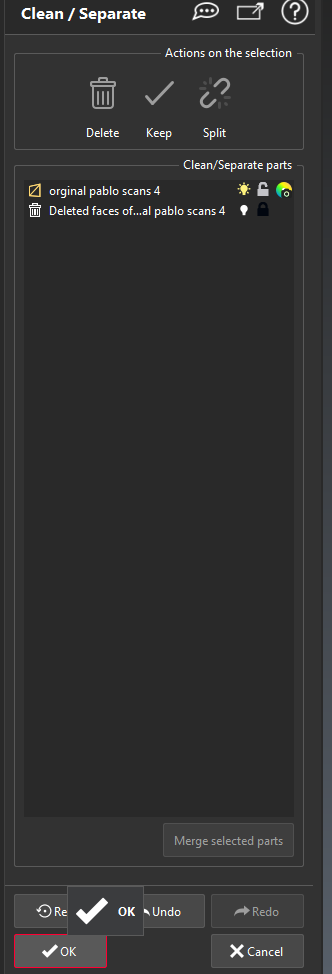
To remove unwanted mesh, go to "surface modelling" menu and select "clean and separate" option.
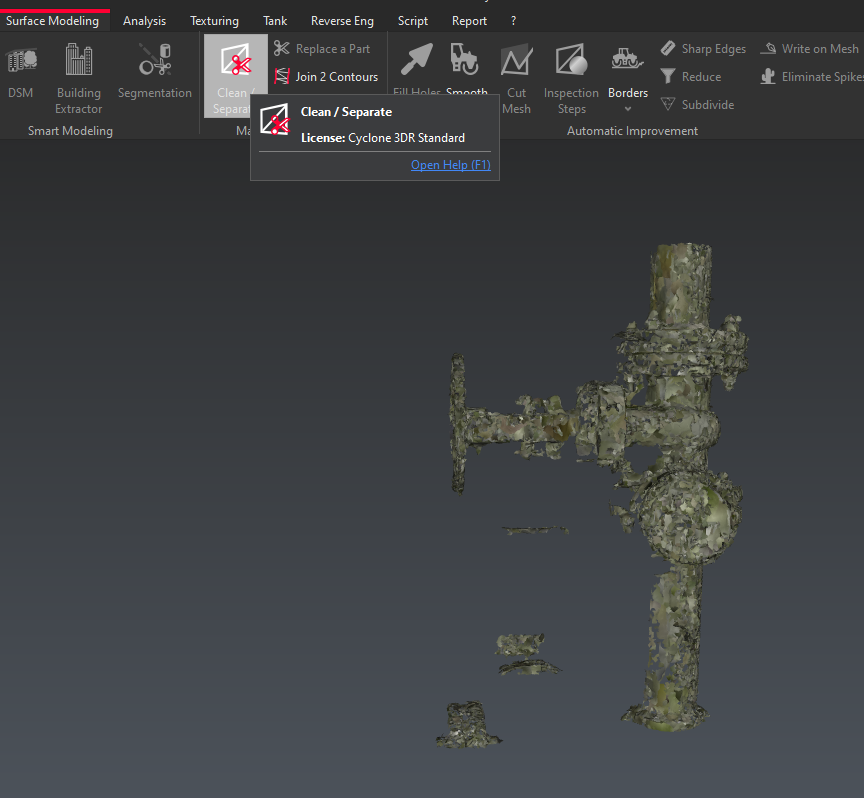

-
In bottom those are the types to capture mesh. Select free because it has any shape to capture.
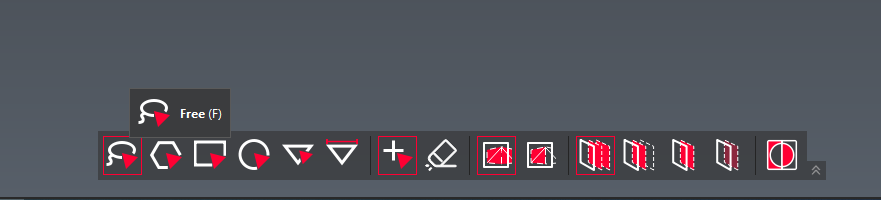
-
Select the unwanted mesh like below image.
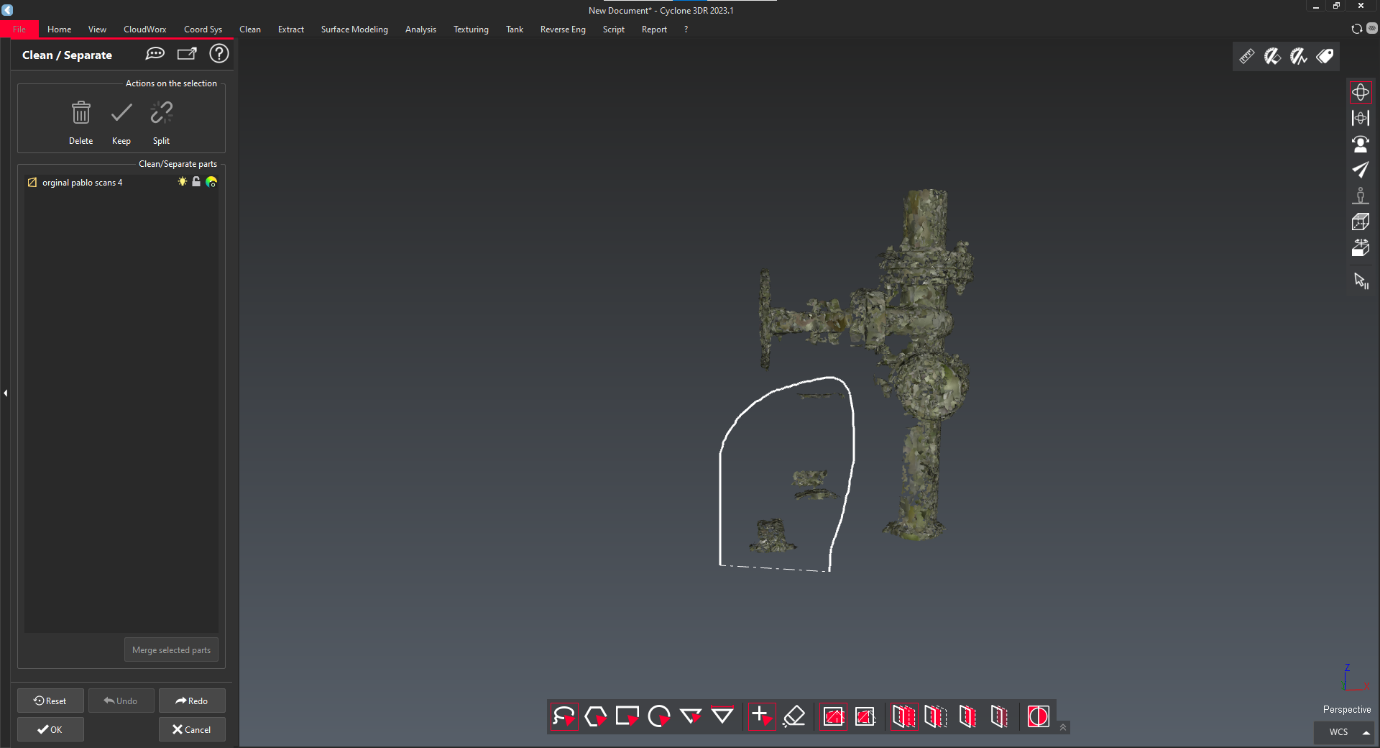
-
Selected area will be highlighted in below image.
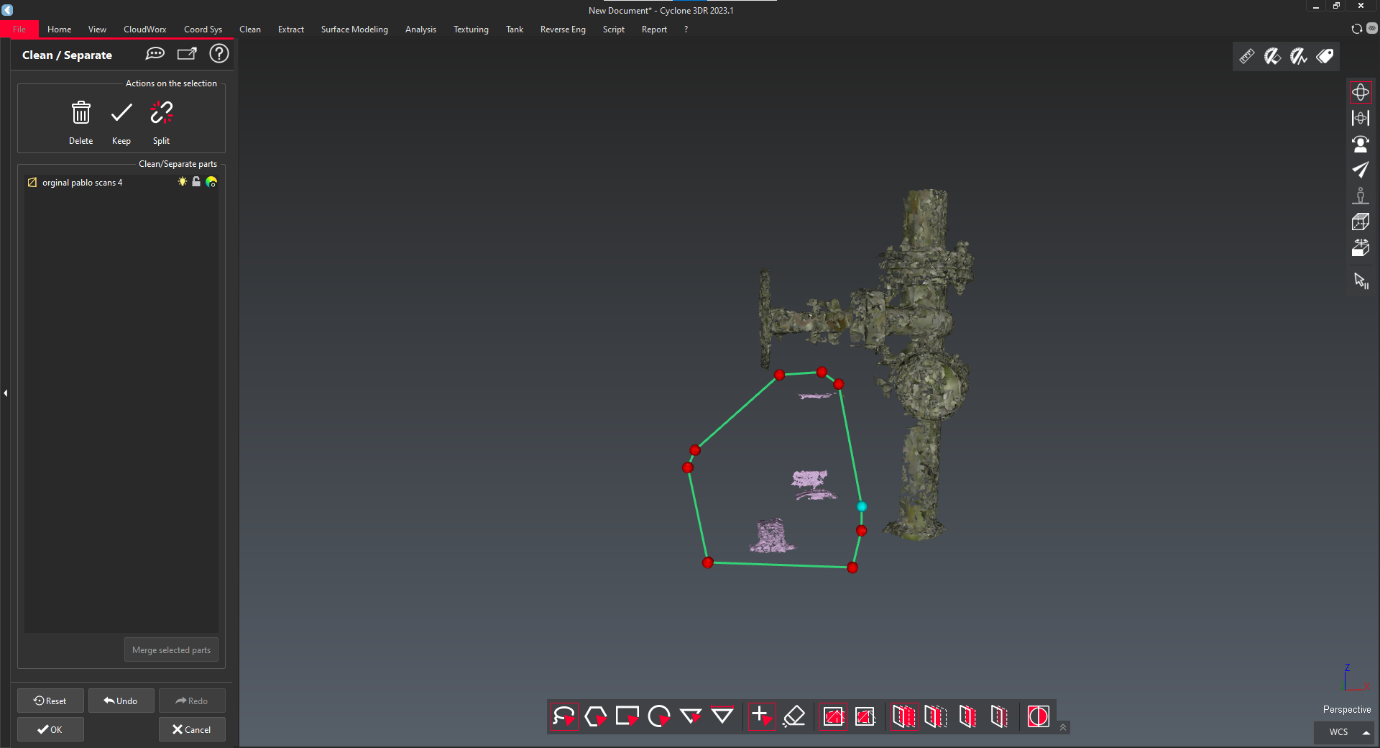
-
If highlighted are to be delete, select "delete" or remain area to delete select "keep" for outside area. After that click "OK" to continue.
-
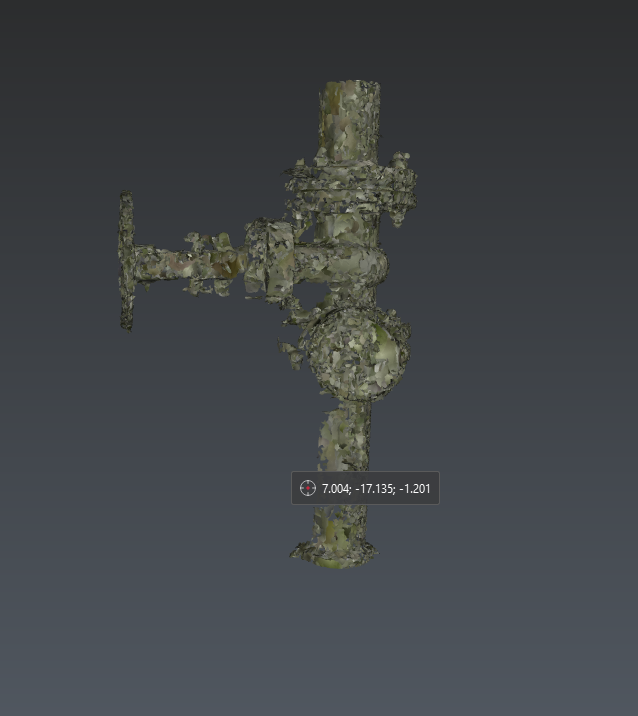
Cleaned are shown Below.
-
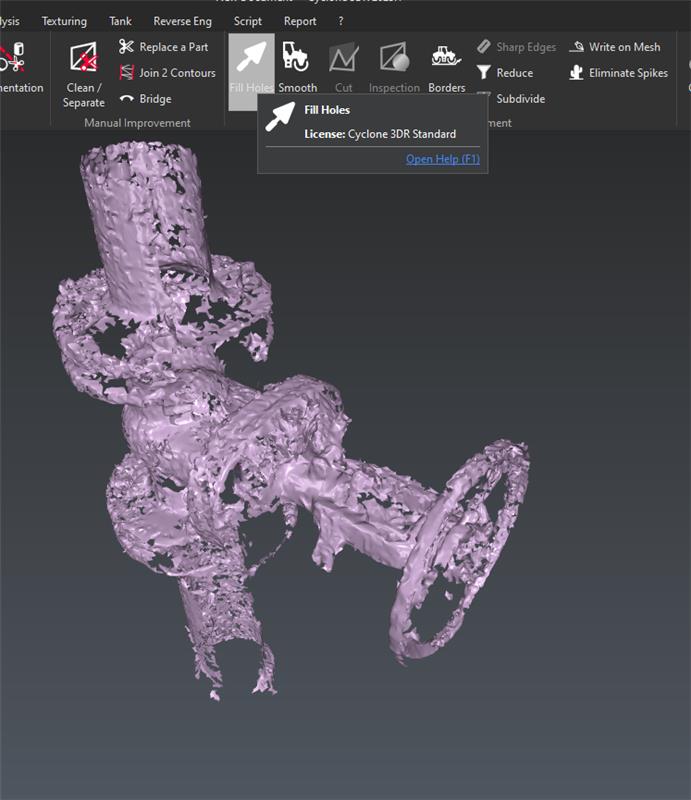
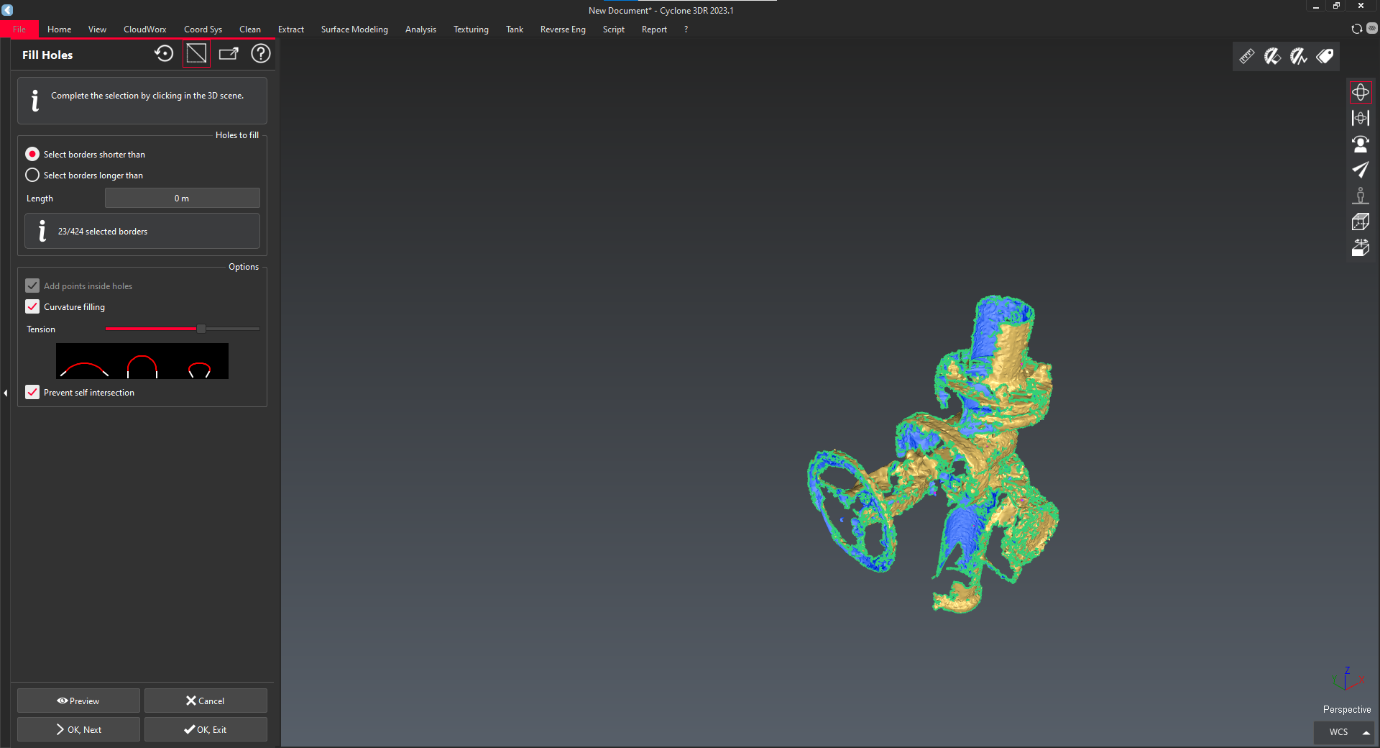
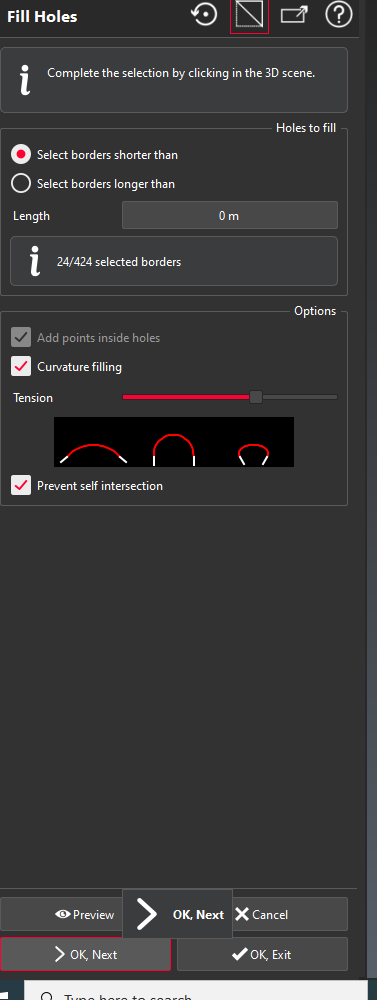
But it looks uneven surface and voids are there. So, to fill holes go to "fill holes" in same menu.
-
To fill all holes press "CTRL + A" to select all holes. And "OK,Exit".
-
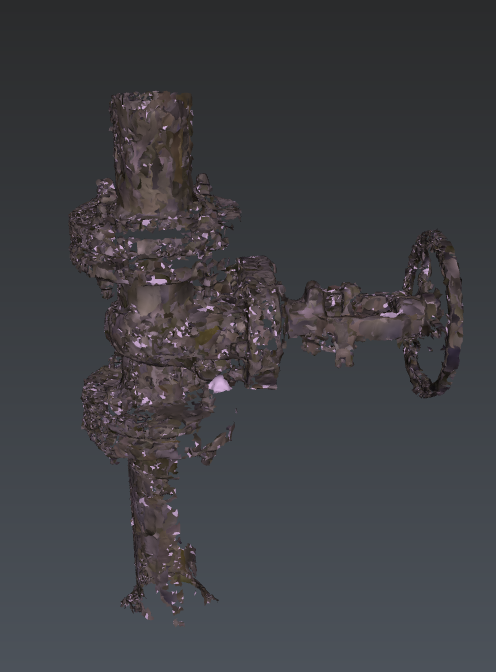
After that mesh shown below.
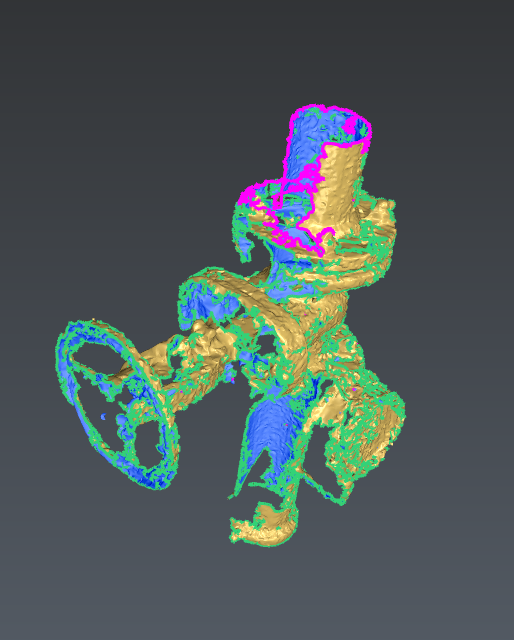
-
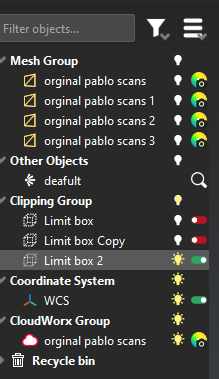
To view the mesh with texture go to Layers and select your mesh.
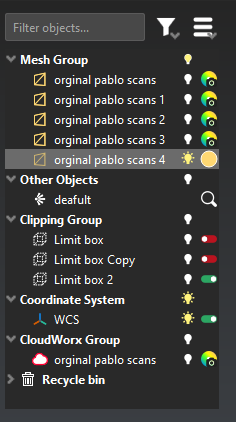
-
Right click on layer and select "texture".
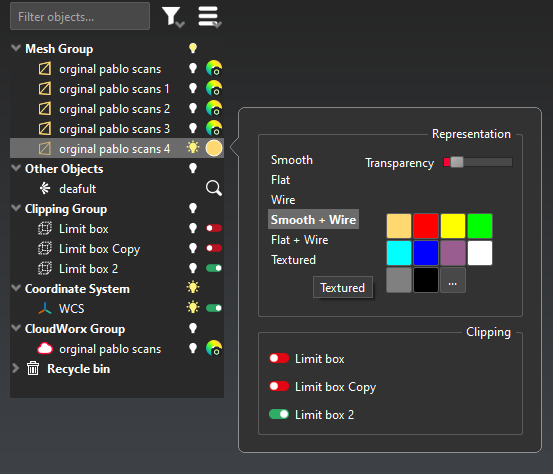
-
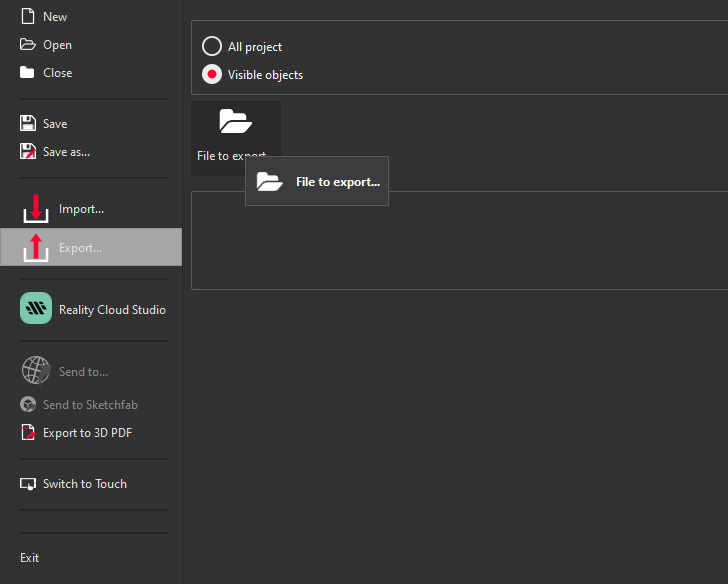
To export the cloud the go to "File" menu and select "export". After that click on "File to export" option and locate the path.
-
It has different formats to save the file.
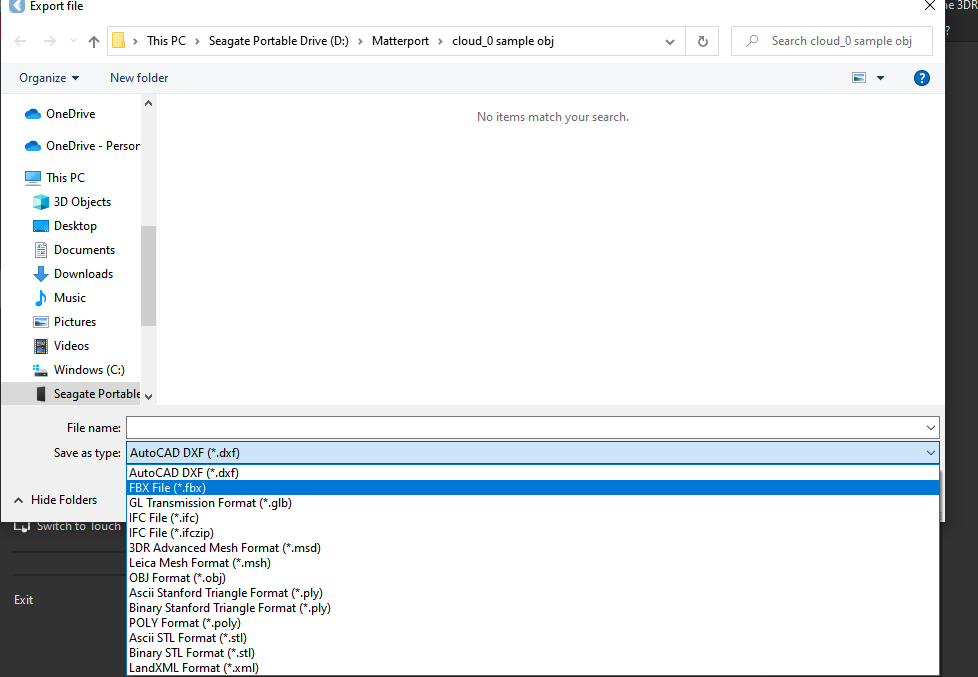
-
Select your format and check whether texture is selected are not .
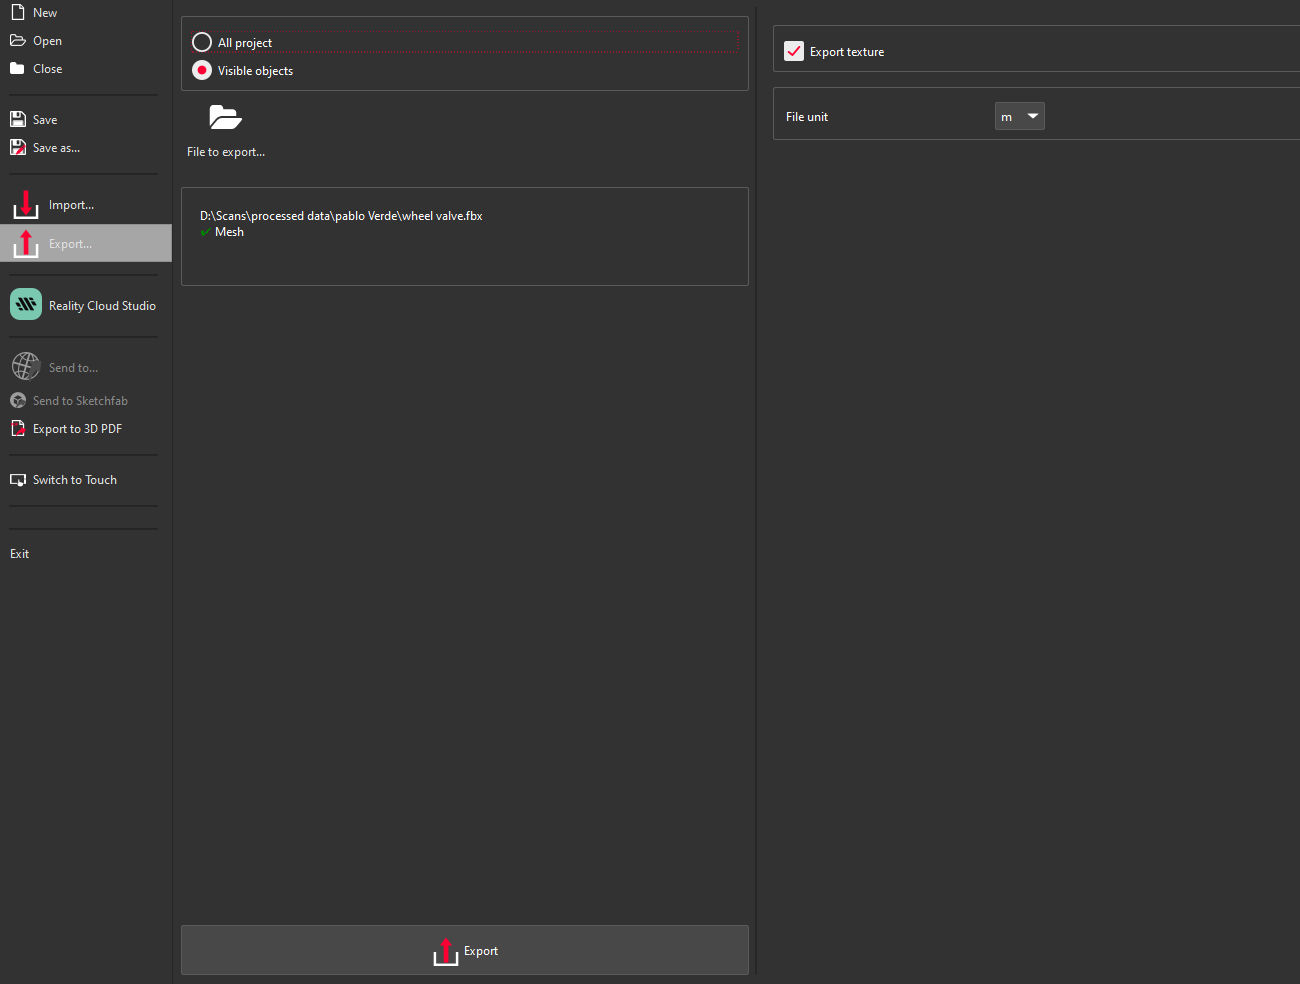
-
And click on "Export" to save the file.
