Creating Connections
To create a Data Connection in DPL Studio:
1.Open or Create a DPL Package
If you do not already have a DPL package file open, perform one of the following actions:
- Create a new DPL package by going to the File menu and selecting New. (-OR-)
- Click Action: Create a new DPL package in the Dynamic Help pane.
You can also open an existing DPL package by:
- Going to the File menu and selecting Open. (-OR-)
- Clicking Action: Open an existing DPL package in the Dynamic Help pane.
Then, navigate to the required .DPLpack file.
A new tab will appear at the top of the workspace with the package file name or Untitled if a new package is created.
- Create a New Connection
Perform one of the following actions:
- Go to the Dynamic Help pane (top-left pane) and select Action: Create a connection to your data. (-OR-)
- In the Data pane (bottom-left pane), right-click the Connections icon and select New Connection.
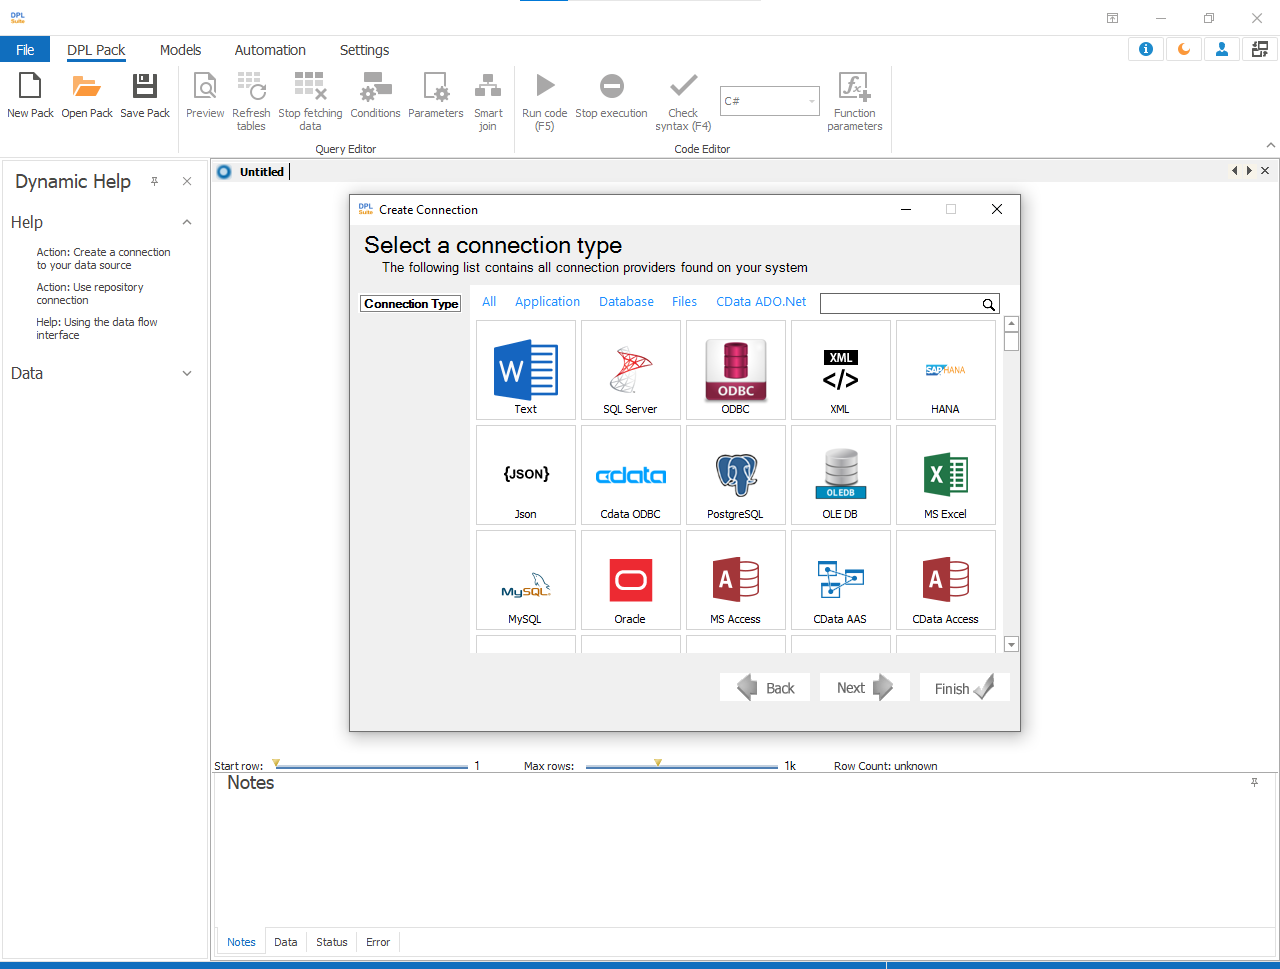
- Select the Data Connector
When the Create Connection dialog appears:
-
Browse through the available tabs to find the required data connector.
-
Select the connection type from the list of available providers installed on your system. Click the required connector type.
-
Click Test connection and finish
Supported connector types include:
-
CData ADO.NET Connectors
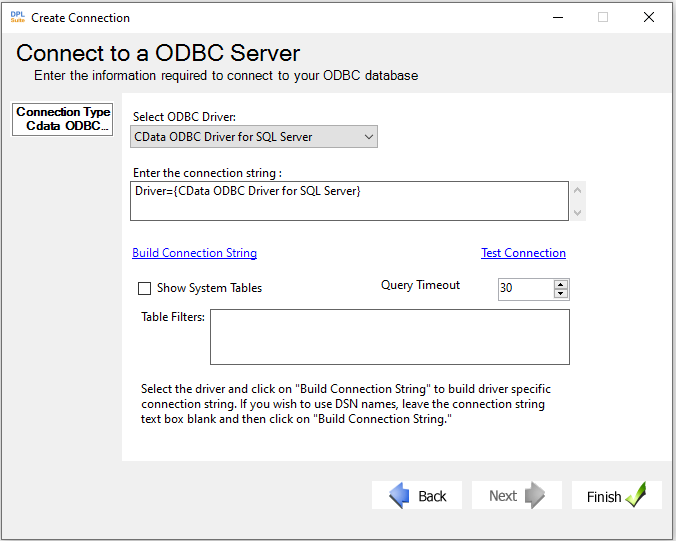
- Rename the Connection
By default, the connection name will be New Connection.
To rename the connection:
- Slowly click the connection name twice, (-OR-)
- Press F2, (-OR-)
- Right-click the connection and select Rename.
Then enter a meaningful connection name.
Note
The available tasks in the Dynamic Help pane will change as your Digital Process Logic package grows.
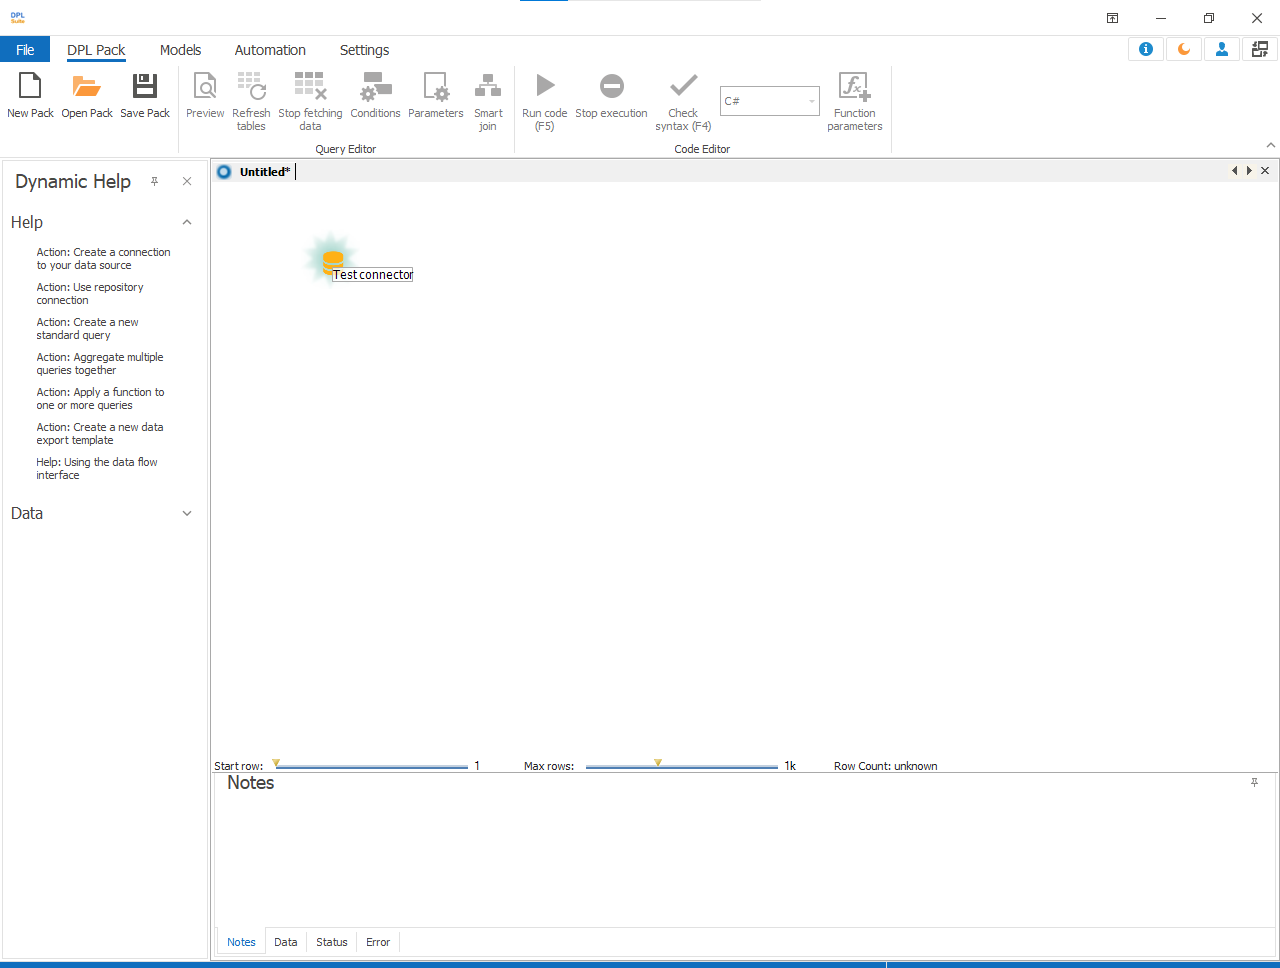
- Create a Standard Query
After creating the connection, the next step is to create a Standard Query to select and work with data from that connection.