Interface
DPL Studio Interface
DPL Studio provides a single integrated environment to run DPL and other DPL modules. By default, the workspace contains three main sections: the Document Area, Data Pane, and Dynamic Help Pane. A settings is displayed at the top of the application, and additional specialized features are available through the Settings menu.
Note
When DPL Studio is opened for the first time, the Data Pane appears empty. The Connections, Queries, and Export Templates folders are displayed only after creating or opening a DPL Studio package (DPLpack).
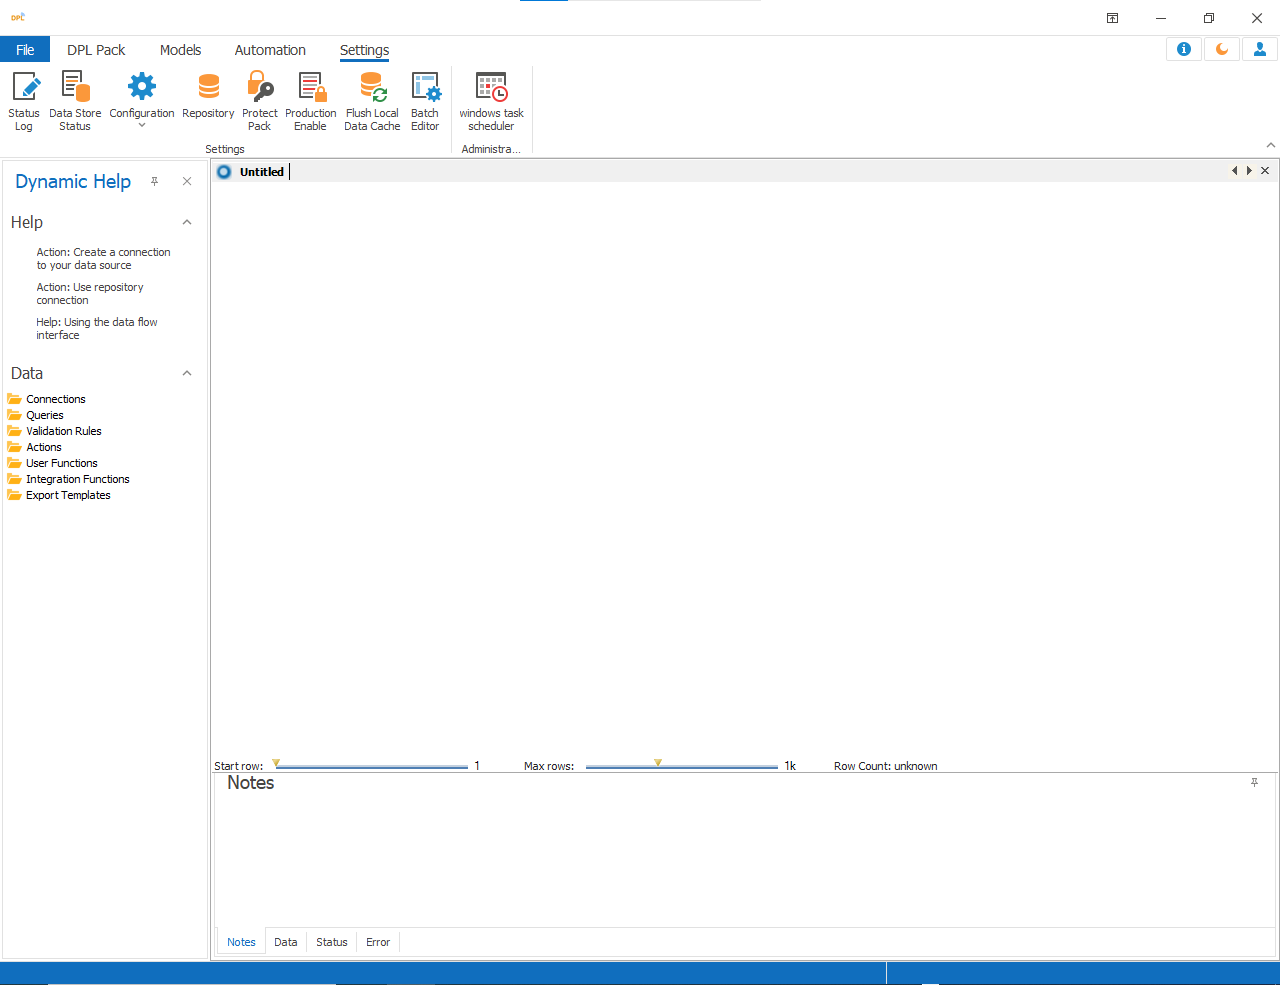
Document Area
The Document Area is the main workspace section and can contain multiple documents simultaneously. Each document is displayed as a tab above the workspace. Users can switch between documents by clicking the corresponding tab. To close a document, click the “X” button at the top-right corner of the document tab.
Note
A tabbed document does not always represent a single DPLpack file. DPL uses child documents to edit or view different parts of a package. Only the parent document represents the actual file. When child documents are saved, their changes are committed to the parent document. The physical file is saved only when the parent document is saved.
Data Pane
The Data Pane, located at the bottom-left side of the application, contains all available:
- Connections
- Queries
- Export Templates
Each category is displayed as a folder. From this pane, users can navigate through package elements and perform common operations.
Available Functions
Create a New Item : Right-click the required folder and select the item to create. Rename an Item : Right-click the item and select Rename, or press F2. Delete an Item : Select the item and press DEL, or right-click and select Delete. Edit/Open an Item : Double-click the item or right-click and select Edit.
Dynamic Help Pane
The Dynamic Help Pane provides context-sensitive help related to the currently selected document or task.
Clicking hyperlinks in this pane either:
- Opens a related online help topic, or
- Performs a specific action.
Hide or Restore Dynamic Help:
- To hide the pane, click the black “X” at the top-right corner.
- To restore it, select Dynamic Help from the Help menu.
Settings
The Settings contains shortcuts for the most commonly used actions within the current module.
- Settings that are not applicable in the current context appear disabled (greyed out).
- The settings can also be dragged and positioned as a floating tool window.
Settings Menu
The settings menu provides access to DPL-specific functions.
Status
The Status option displays the status console, which contains:
- Time stamps
- Status messages
- Process execution details
This feature is useful for troubleshooting complex DPL packages.
Data Storage
To reduce repeated requests to data sources, DPL Studio caches fetched data locally in an area called Data Storage.
The data storage system:
- Stores cached data
- Performs joins across heterogeneous data sources
- Improves performance

Supported Databases
Currently, DPL Studio supports:
- Microsoft SQL Server 2005
- Microsoft Access 2003
Using SQL Server provides better performance compared to Access. Microsoft Access application installation is not required on the machine.
Steps to View or Fllush Cached Data
-
Click Settings → Data Storage
-
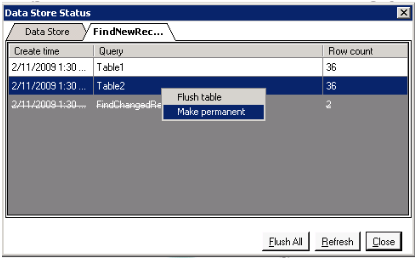
The Data Storage tab displays messages when data stores are created or removed.
-
The Package tab displays:
-
Query names
-
Creation time
-
Row count

Flush a Single Query
- Right-click the query name
- Select Flush Table
Make a Table Permanent
- Right-click the query name
- Select Make Permanent
Permanent tables are displayed in pink color.
Flush a Permanent Table
- Right-click the permanent table
- Select Flush Table
Flush All Tables
- Click Flush All
When temporary queries are flushed, they remain visible with a strike-through line until the Refresh button is clicked.
Types of Cached Tables
There are three types of cached tables:
- Permanent
- Cached
- Temporary
Temporary tables are mainly used by Text/XML connectors and transform queries.
Configuration
The Configuration option contains several settings categories.
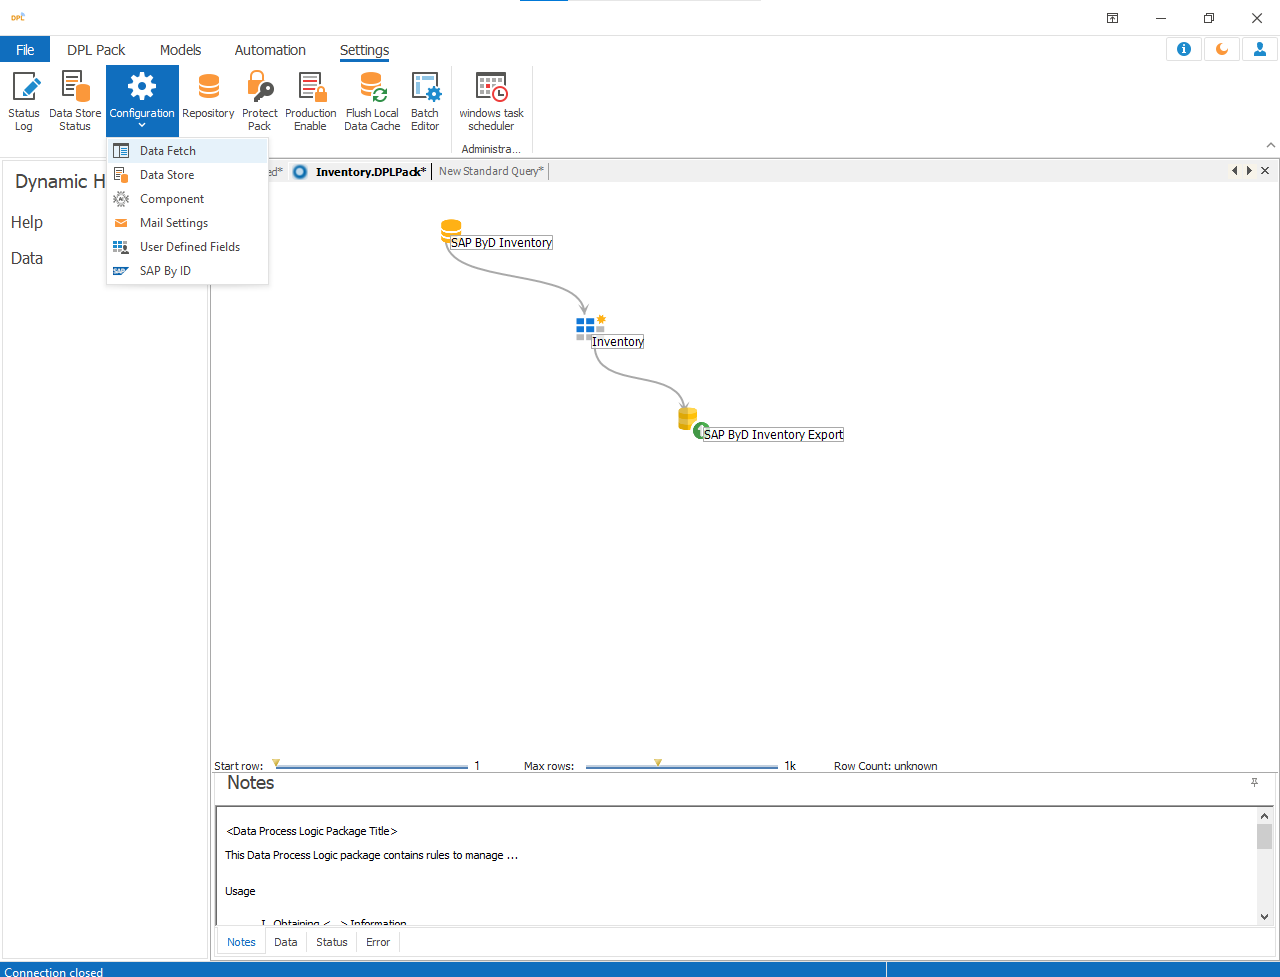
Data Fetch Settings
These settings help optimize performance.
Available Options
Max rows fetched on preview : Sets the default maximum preview row count. Max time duration on preview : Defines the timeout duration for fetching preview data. Temporary data store path : Specifies the location for storing temporary cache files.
Supported Databases Microsoft Access
Supports : Access 2003, 2007
Access allows a maximum of 255 selected columns.
SQL Server
Supports : SQL Server 2005 only SQL Server Configuration
- Enable Use SQL Server
- Enter : Server Name, Username, Password
- Click Test Connection
Mail Settings
Mail configuration is required for sending HTML reports through email.
Required Details
- Mail Server
- Port
- Return Address
- Username
- Password
User Defined Fields (UDF)
User Defined Fields allow users to pass special parameters to command-line exports.
Required Details
- Key
- Value
Flush Local Data Cache
DPL caches data locally to improve performance and reduce load on data providers. Flushing the cache forces DPL to fetch updated data from the original source again.
This is useful when:
- Source data has changed
- Cached data is outdated
Protect Pack
Protect Pack secures a DPL package from unauthorized access.
Steps to Protect a DPL Pack
- Click Settings → Protect Pack
- Enter : Username, Password, Confirm Password
- Click OK

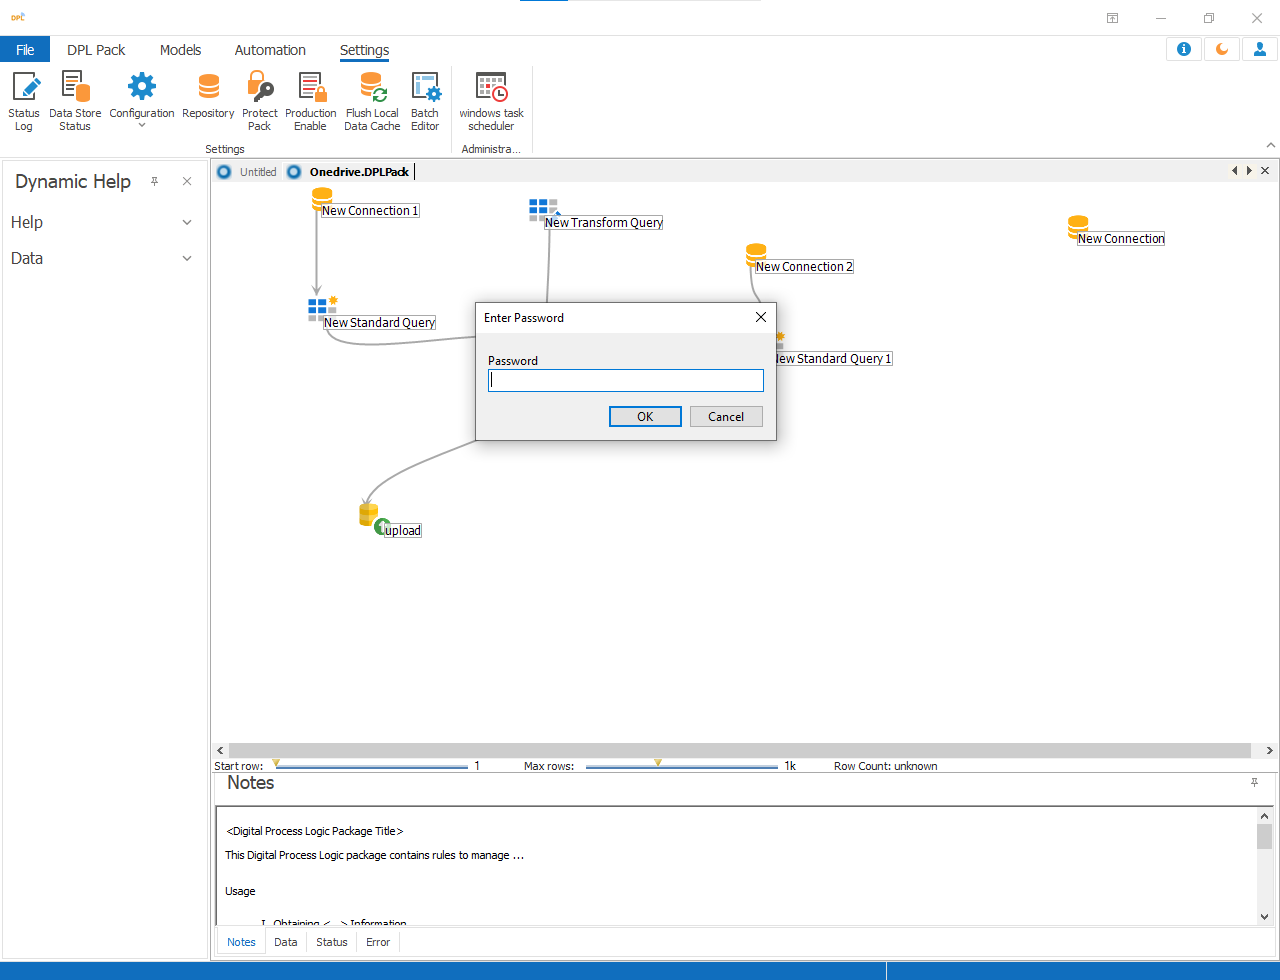
Production Enable
The Production Enable feature makes the DPL package read-only and disables:
- Dynamic Help Pane
- Data Pane
The package must first be secured using Protect Pack.
Steps to Enable Production Mode
- Click Settings → Production Enable
- Enter the password
- Click OK
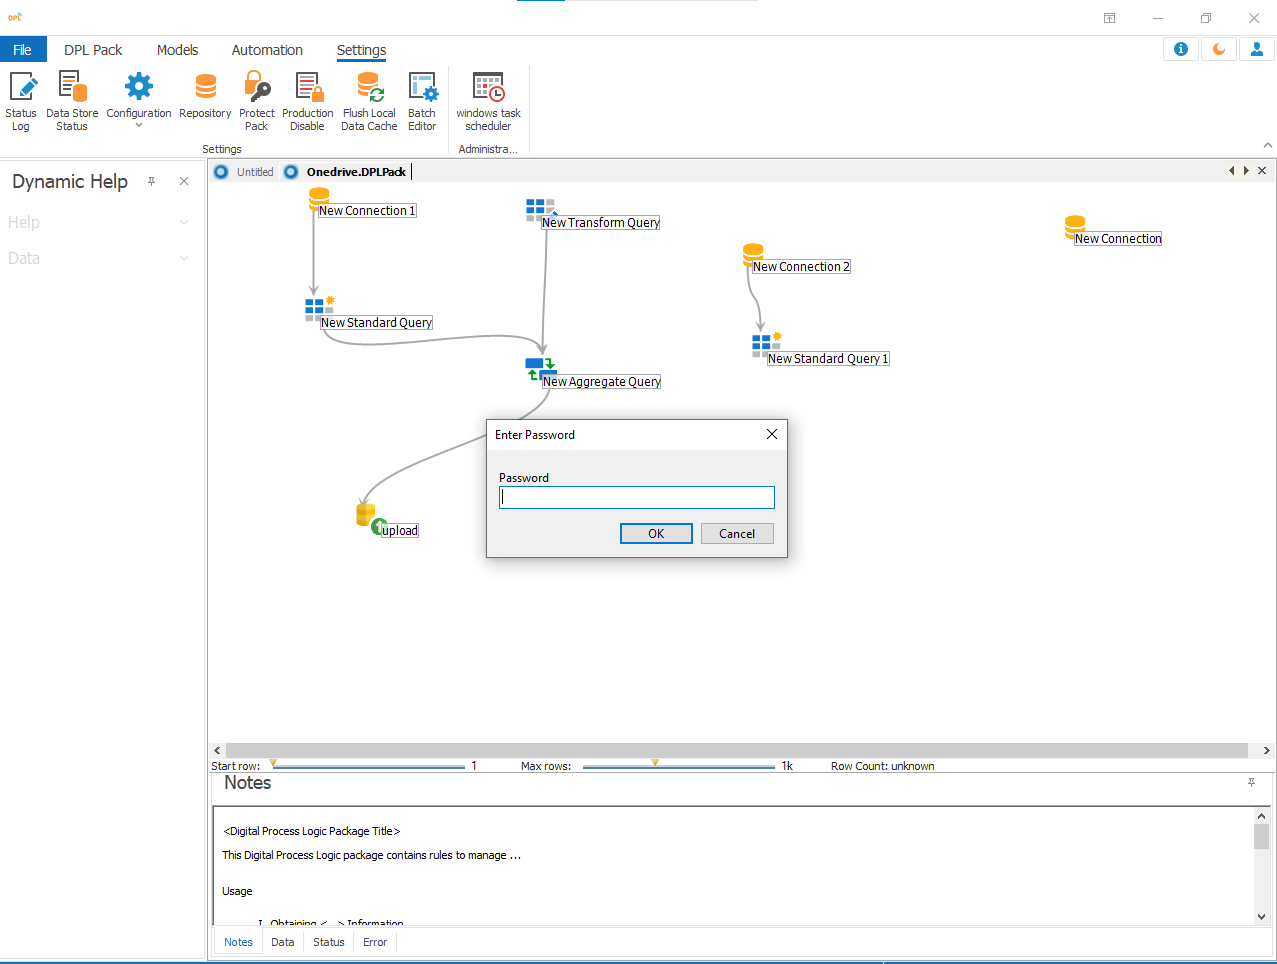
Production Disable
Steps to Disable Production Mode
- Click Settings → Production Disable
- Enter the password
-
- Click OK
Windows Task Scheduler
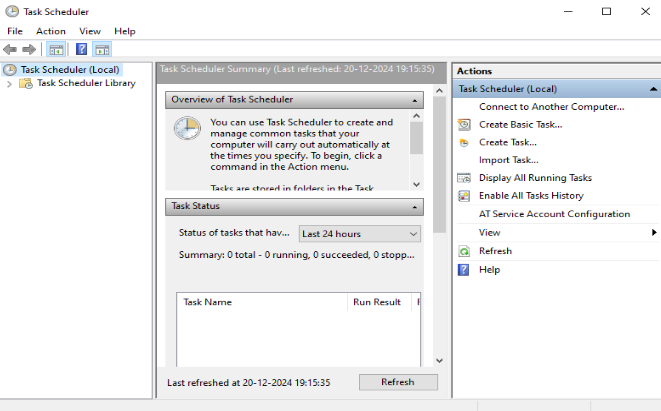
Selecting Windows Task Scheduler from the Tools menu opens the Windows Task Scheduler interface, allowing scheduled execution of tasks and DPL processes.